

Page 1
BOEN & ORION
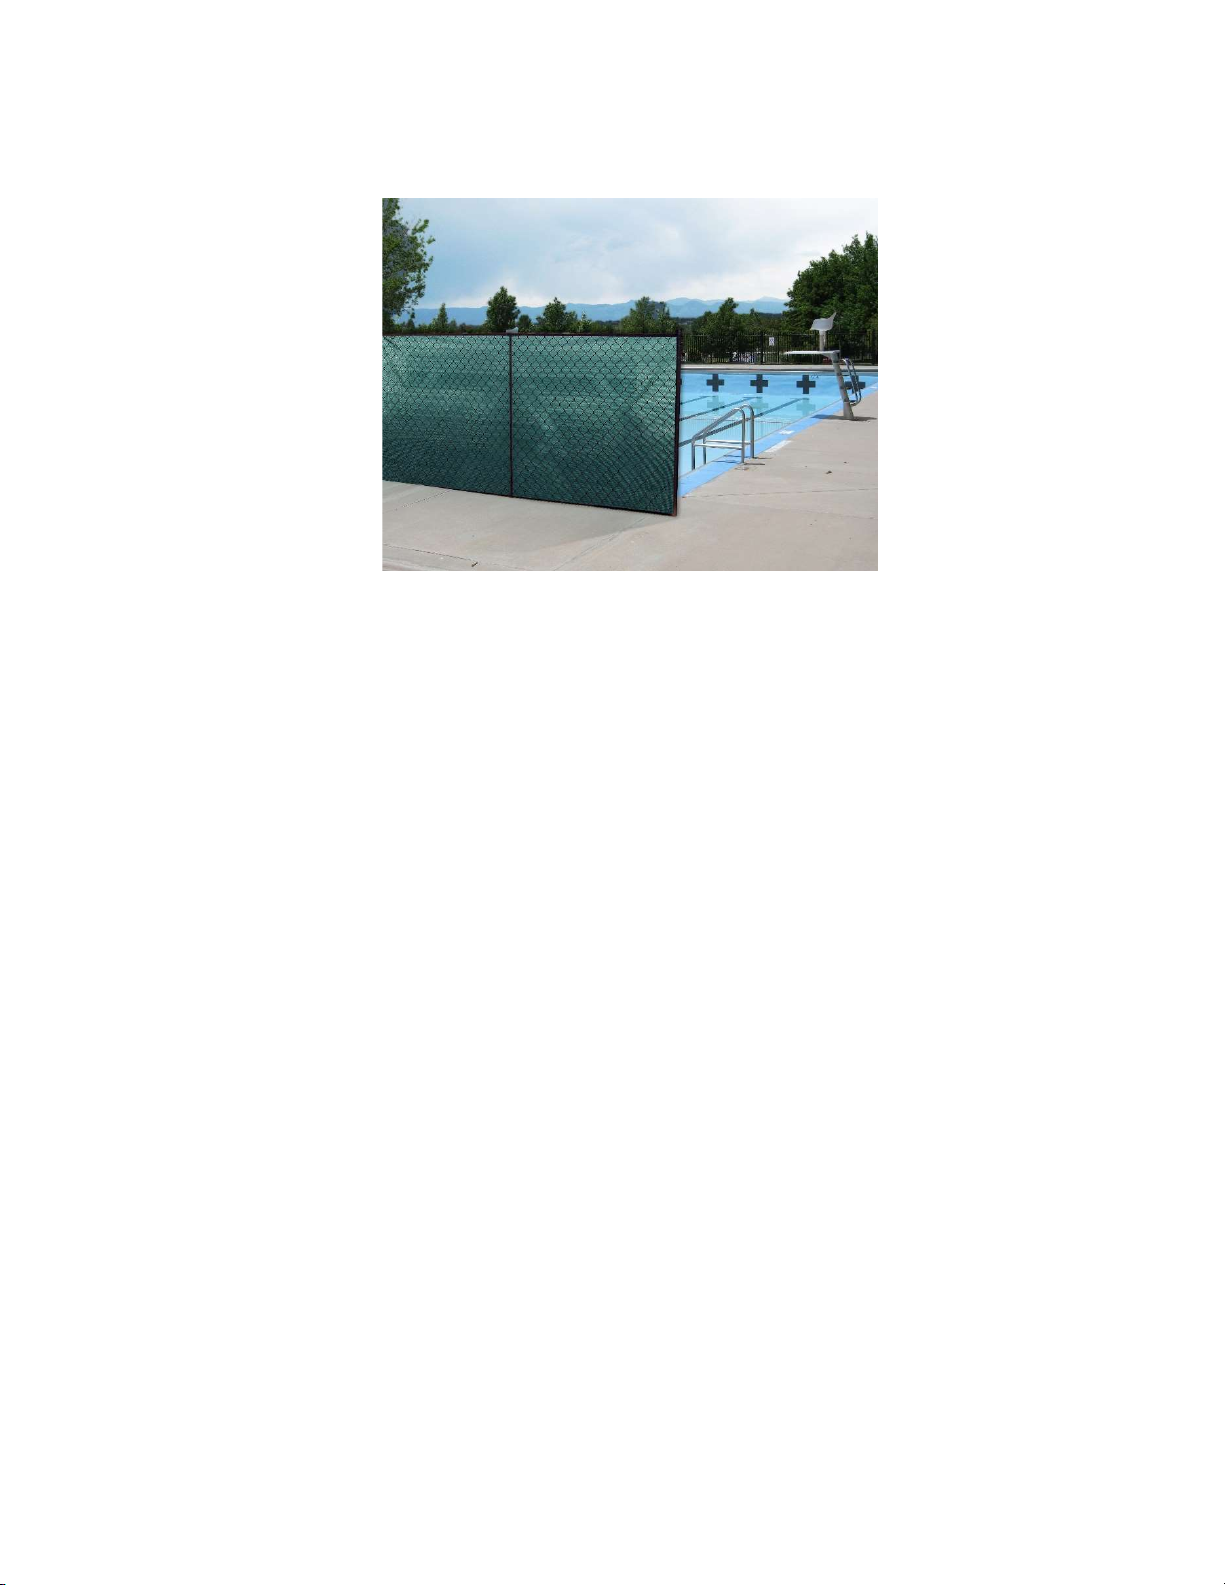
PRIVACY FENCE SCREEN INSTALLATION (Onto Chain Link Fencing)
1. ROLL OUT THE FENCE SCREEN
Lay out your fence screen panel(s) in front of the fence you are planning to install onto. The fence screen
is sized to be installed on the flat side of a chain link fence.
Use a few “S” hooks to temporarily hang the panel on the fence. By “lifting” the panel, it lessens the
weight and makes it easier to attach and tighten the zip ties at the grommet.
Note: Initially, the panel may appear shorter than the fence area as there may be wrinkles in the fabric
which will be removed during installation for a clean fit.
2. WORK ACROSS THE TOP
For the best appearance, we recommend that you hang the screen with the smooth side of the
grommets facing out, hem against the fence. Line up a corner of the fence screen panel one diamond
down from the top of the fence line.
Work your way across the top, pulling hand tight and attaching zip ties through each grommet as you
go. By working across evenly and pulling hand tight each time, the material will stretch to its full, correct
size, and ensure a wrinkle-free fit.
Attach at every grommet. Do not skip grommets. Attachment at all grommets distributes the force
when there is a high wind load. Using fewer grommets for attachment results in more load on attached
grommets and greater chance of ties breaking.
3. WORK TOP TO BOTTOM
Go back to end and from top-to-bottom attach vertical edge to the fence all the way to the bottom,
again pulling taut as each tie is secured. Continue attachment along bottom pulling taut and making it
as wrinkle free as possible. Continue top/bottom attachment until panel is completely in place.
Note: Make sure tie is secure, but don’t over tighten zip ties (Tightening the tie wraps too much might
result in wrinkling of cover and insufficient room to straighten out panel).
Maintenance: Occasional cleaning of excess dust and debris can be achieved using plain water.
 Loading...