

Page 1
A. Software Installation [Windows Operating System]
1. Insert the MirrorBoard CD-ROM into your computer’s drive. If the menu does not automatically launch, locate and run
the Autorun.exe file.
2. From the MirrorBoard Disc Menu, choose the appropriate drivers for the operating system running on your PC
(Windows XP or Windows 7/ Vista).
3. Several drivers will be installed, one at a time. Windows may request a restart. Click on the cancel button and do not
restart the computer until all the drivers have been installed. These include:
a) Microsoft .NET Framework 2.0 (XP only, cancel if already installed)
b) Wireless USB WinDrivers
c) USB Tablet Manager
d) Power Presenter RE
e) DisplayLink Graphics Adapter Software
After all the software has been installed, the MirrorBoard Setup Wizard will request a restart. Restart the computer. A
gray icon will appear in the Windows system tray (located at the lower right of the desktop).
In Windows 7, you may have to click on the up arrow to display all icons.
4. Plug the included wireless USB dongle into the USB port of your computer. The drivers will install automatically and
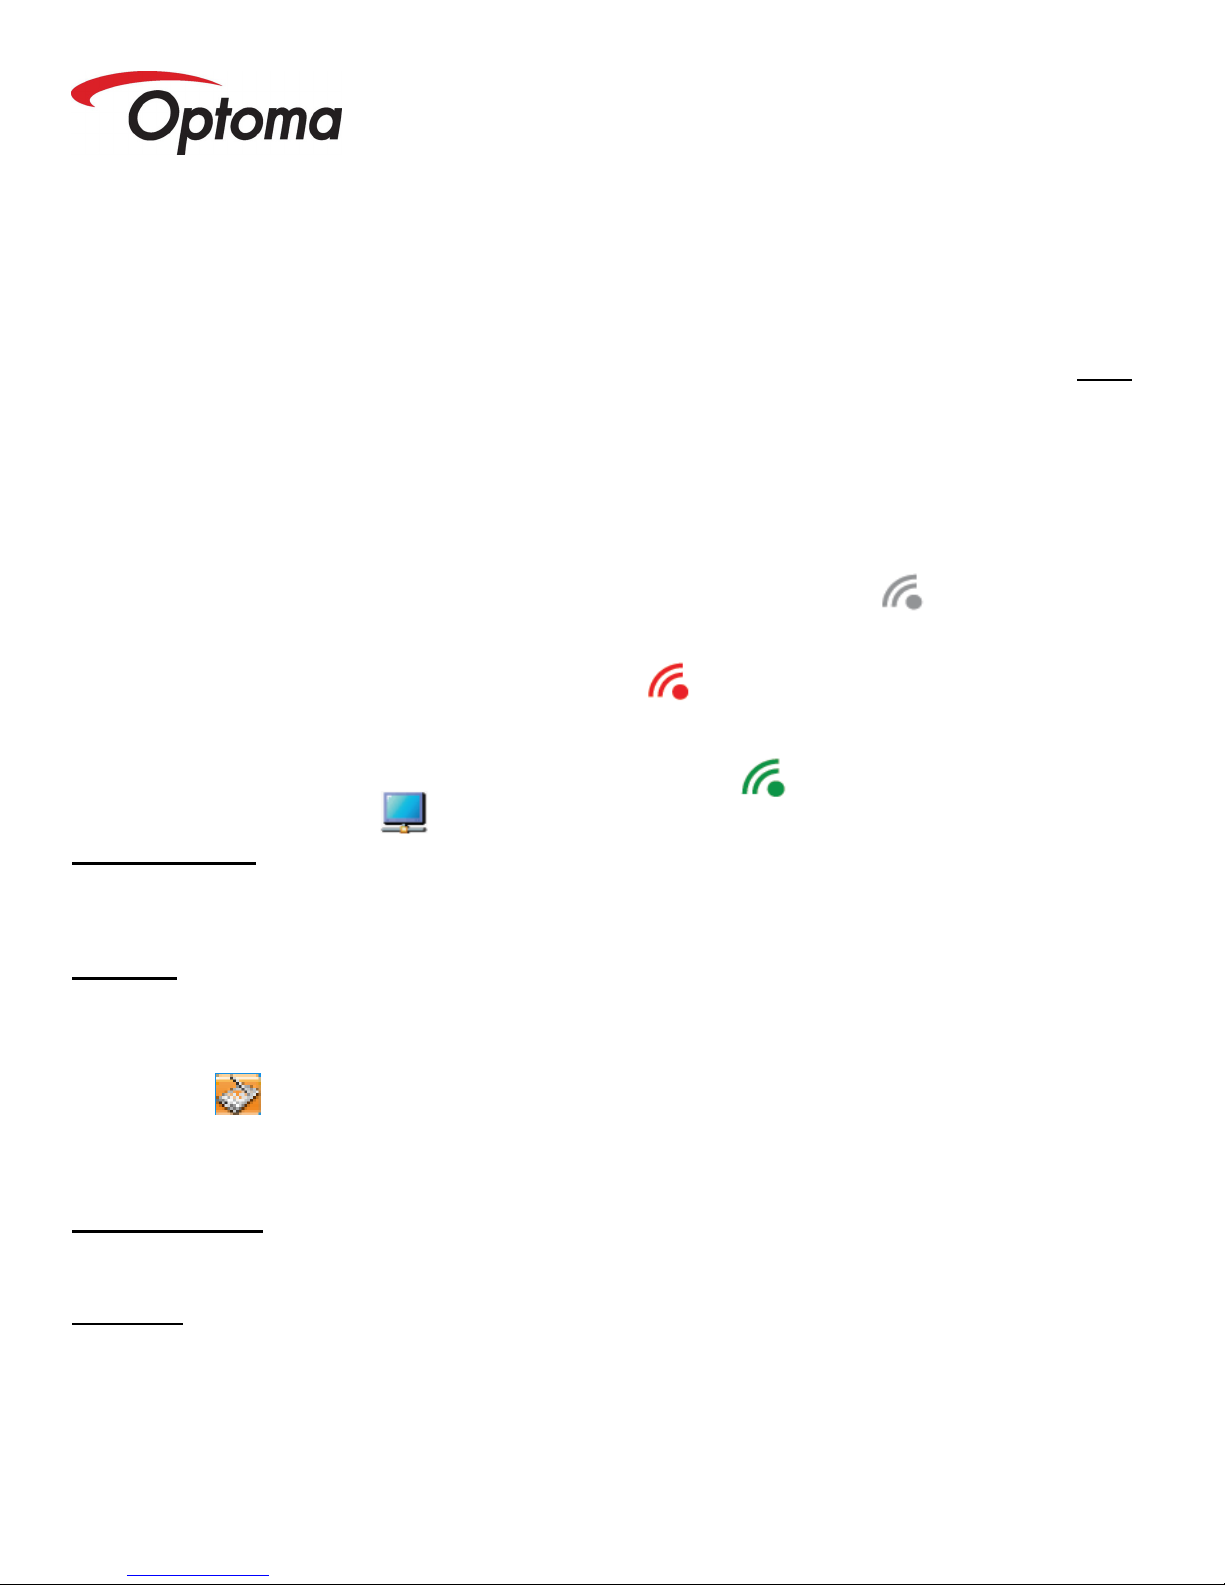
the gray icon will turn red. If Window requests a restart, allow it.
5. Turn on the MirrorBoard by holding the green button on the top left end of the unit for one second and then releasing it.
The green LED on MirrorBoard will blink a few times and, after a few seconds, the icon in the computer taskbar icon will
turn green. Your computer screen will be flashing during initial installation.
6. Set MirrorBoard to mirror mode
Windows XP / Vista
and the computer’s main display. Note that your computer display may adjust. The MirrorBoard automatically sets both
the MirrorBoard and the computer display to a common resolution. You may see “black bars” on MirrorBoard and/or the
computer display.
Windows 7
“Apply.” Please note that your computer display may adjust. The MirrorBoard automatically sets both the MirrorBoard
and the computer display to a common resolution. You may see “black bars” or a lower resolution on MirrorBoard and/or
the computer display.
B. Calibration
The pen needs to be calibrated before first use. Click the Pen Pad icon and choose “Calibration.” Follow the instructions.
C. Using the MirrorBoard with a Projector
Windows XP / Vista:
With the MirrorBoard in Mirror mode, duplicate (clone) the display to the projector the same way you would connect a
projector to just the computer.
Windows 7:
Make sure that your MirrorBoard is powered on and connected wirelessly to the computer. Next, plug in your projector.
Right click the Desktop of your PC, and select Screen Resolution. There should be three displays shown in the window. If
display 1 is duplicated to another screen, then in the Multiple Displays section, choose to "Extend These Displays", and
click Apply. Next, click on Screen 2 (Projector), and in the Multiple Displays section, select "Duplicate Displays 2 and 3".
Click Apply. Next, select the display that says 2|3. Check the "Make This My Main Display" box, and click Apply. This
should mirror the displays on the MirrorBoard and the projector. Next, click on screen 1 (or the computer's main display).
In the Multiple displays drop down box, select "Disconnect that display". Close all of the Display properties windows.
: Click the icon and choose “Advanced settings.” Set “multiple displays” to “Duplicate these displays.” Click
: Click this icon to set the mode to “Mirror”. Mirror mode will show the same image on MirrorBoard
MirrorBoard Quick Start Guide
 Loading...