

Onwa KP-6299C, KP-8299C, KP-1299C Owner's Manual

KP-6299C/8299C/1299C
OPERATOR'S MANUAL
MARINE GPS PLOTTER

CONTENTS
1 OPERATION OVERVIEW 2
1.1 Keypad instruction 2
1.2 Turning ON and OFF Power 3
1.3 Adjusting Brilliance and DIM 3
1.4 4Display Modes
FOREWORD 1
2 5PLOTTER DISPLAY OVERVIEW
2.1 5Choosing the Display Range
2.2 5Shifting the Cursor
2.3 Shifting the Display 6
2.4 Centering Own Ship's Position 6
2.5 Coordinates 6
2.6 Map data 7
2.7 Heading Line 7
2.8 Range Circle 8
2.9 Palette 8
2.10 Map Orientation 9
2.11 Perspective View 9
3 11TRACK
3.1 11Changing Track Plotting Interval, Stopping Plotting
3.2 12Displaying the Track
3.3 2Creating Track Data 1
3.4 Erasing Tr ack 13
3.5 Erasing All Backup Data 13
4 14W A YPOINT/MOB
4.1 14Entering Waypoints
4.2 16Entering the MOB Mark
4.3 Displaying Waypoint Name 16
4.4 Operation on the Waypoint Editing 17
4.5 Erasing Waypoints 18
5 ROUTES 19
5.1 19Creating Routes
5.2 Editing Routes 21
5.3 22Erasing Routes
6 4DESTINATION 2
6.1 Setting Destination by Cursor 24
6.2 Setting Destination by Waypoint 25
6.3 25Setting Route as Destination
6.4 27Setting Track Data as Destination
6.5 28Canceling Destination
7 ALARM 31
7.1 Anchor Drag Alarm 31
7.2 Arrival Alarm 32
7.3 XTE (Cross-Track Error) Alarm 33
7.4 Speed Alarm 33
7.5 Voltage Alarm 34
7.6 Time A larm 34
7.7 Buzzer Type Selection 35
6.6 Distance 29
8 DRAWING 36
8.1 Drawing Marks 36
8.2 Drawing Lines 37
8.3 Drawing Place name 37
8.4 Editing Drawing Marks 38
8.5 Editing Drawing Lines 39
8.6 Editing Drawing Place Name 40
8.7 Erasing Drawing Marks 41
8.8 Erasing Drawing Lines 42
8.9 Erasing Drawing Place Name 43
9 OTHER SETTING 44
9.1 Map Scale 44
9.2 Unit of Measurement
44
9.3 Bearing Reference 45
9.4 Magnetic Variation 46
9.5 Deviation 47
9.6 Time 47
9.7 TTG/ETA speed 48
9.8 GPS setting
48
10 ECHO SOUNDER OVERVIEW 51
10.1 Sonar mode 51
10.2 Gain
53
10.3 Range
53
10.4 TVG 54
10.5 Pic. Advance 55
10.6 Split ratio 55
10.7 Sonar menu 56
10.8 Alarm 61
10.9 System menu 62
10.10 Data Field 63
11 MAIN PERFORMANCE AND SPECIFICATIONS 65
11.1 Plotter Characteristics 65
11.3 GPS Receiver Characteristics 66
11.4 AIS interface 67
11.5 Physical 67
11.6 Equipment List 67
12 INSTALLATION 69
12.1 Verifying the contents 69
12.2 Installing the unit 70
12.3 KP-6299C Table of connecting 71
12.4 KP-8299C Table of connecting 72
12.5 KP-1299C Table of connecting 73
12.6 KP-6299C Display unit size 74
12.7 KP-8299C Display unit size 75
12.8 KP-1299C Display unit size 76
11.2 Power Supply 66
The KP-6299C/8299C/1299C ONWA GPS PLOTTER aid are specially designed
for the vessel traffic management, ONWA is a professional brand of the domestic
and foreign navigation products.
The products are designed to be all-sealed and waterproof, can be rapid
position-fixing and resistant to poor environment. The software is powerful by
using the advanced ARM9 processors can be capable to display faster, and the
design for operation is professional and reasonable, can be easy to use. The
built-in Large-capacity map storage space provides intuitive and accurate
indication to navigation. It s applicable to the navigation and position-fixing of
various vessels at sea and rivers, as well as the information
collection, river management, etc. For the application for different types of the
products please refer to the following
'
hydrographic
5
Major Display Mode
Suppor t Onwa K-char t system
C-Map
MAX Compatible
AIS
Interface
Large
Capacity of User Data
Track
Return Function
FEATURES
FOREWORD
1
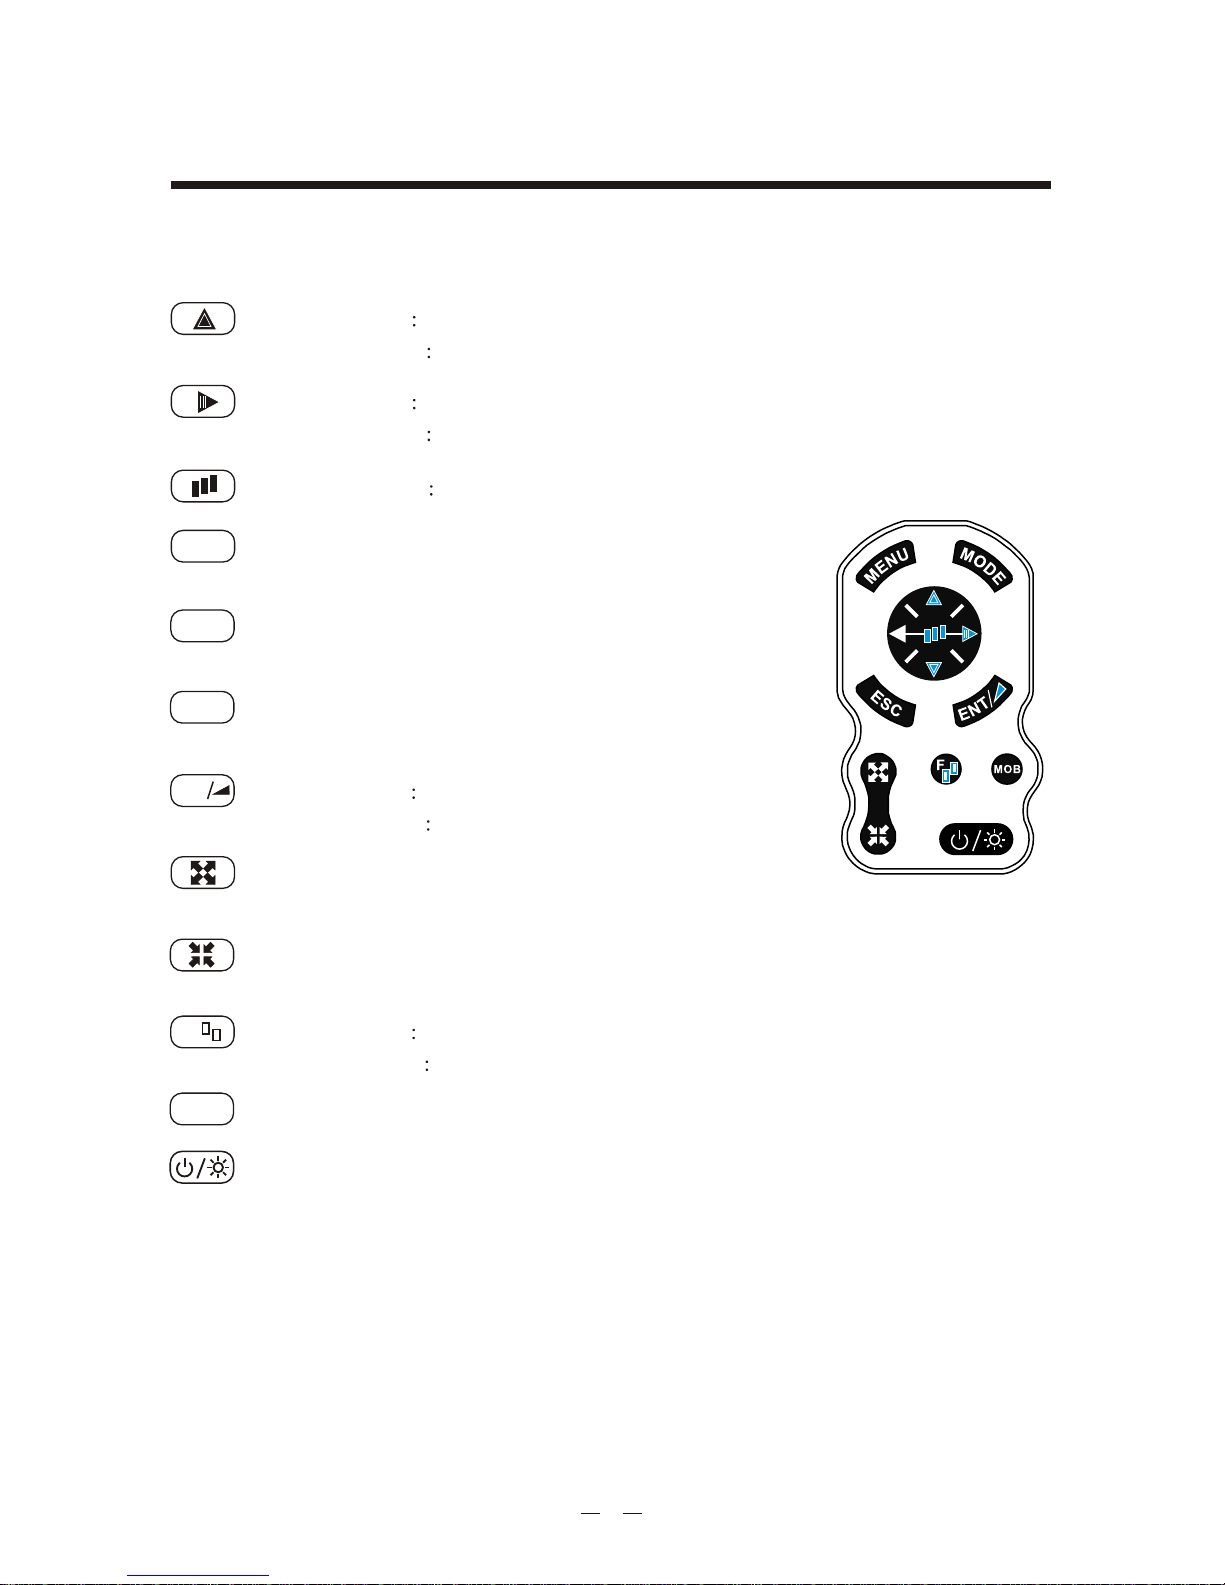
1.1 Keypad instruction (Figure 1-1)
Pressing it displays the menu of the current page,
pressing twice enters the main-menu.
Display the five main screens circularly, turn over the
listed interfaces.
Withdraw from the optional operation, or display the
previous page in reverse-cycle order.
Plotter function Confirms the input or data.
Sounder function To adjust Gain level.
Enlarges the scale of the maps and charts.
Display the listed items of the page by revers e-scrolling.
Reduces the scale of the maps and charts.
Displays the listed items of the page by scrolling.
Plotter function Display other function (GOTO, tide table, search, Etc.) Menu.
Sounder function This key is to select expansion ranges.
The MOB mark denotes man overboard position.
T u rn th e po wer on /off, ad just th e ba ck lig ht br ightness.
MENU
MODE
ESC
ENT
F
MOB
2
1. OPERATION OVERVIEW
Plotter function The key is used to move the cursor or to change the setting.
Sounder function turnning the VRM on
Sounder function Phasing the Basic range selected(setting upper range limit).
Plotter function moving the cursor/chart to the right
Sounder function To select feeding rate of the screen.
Figure1-1
1.2 Turning ON and OFF Power
Turning on the power
Press the [ON/OFF] key. The unit beeps and display ONWA
starts up with the last-used display mode.
" " logo. After a few
seconds
Turning off the power
Press and hold down the [ON/OFF] key unit the screen goes blank
(about four seconds).
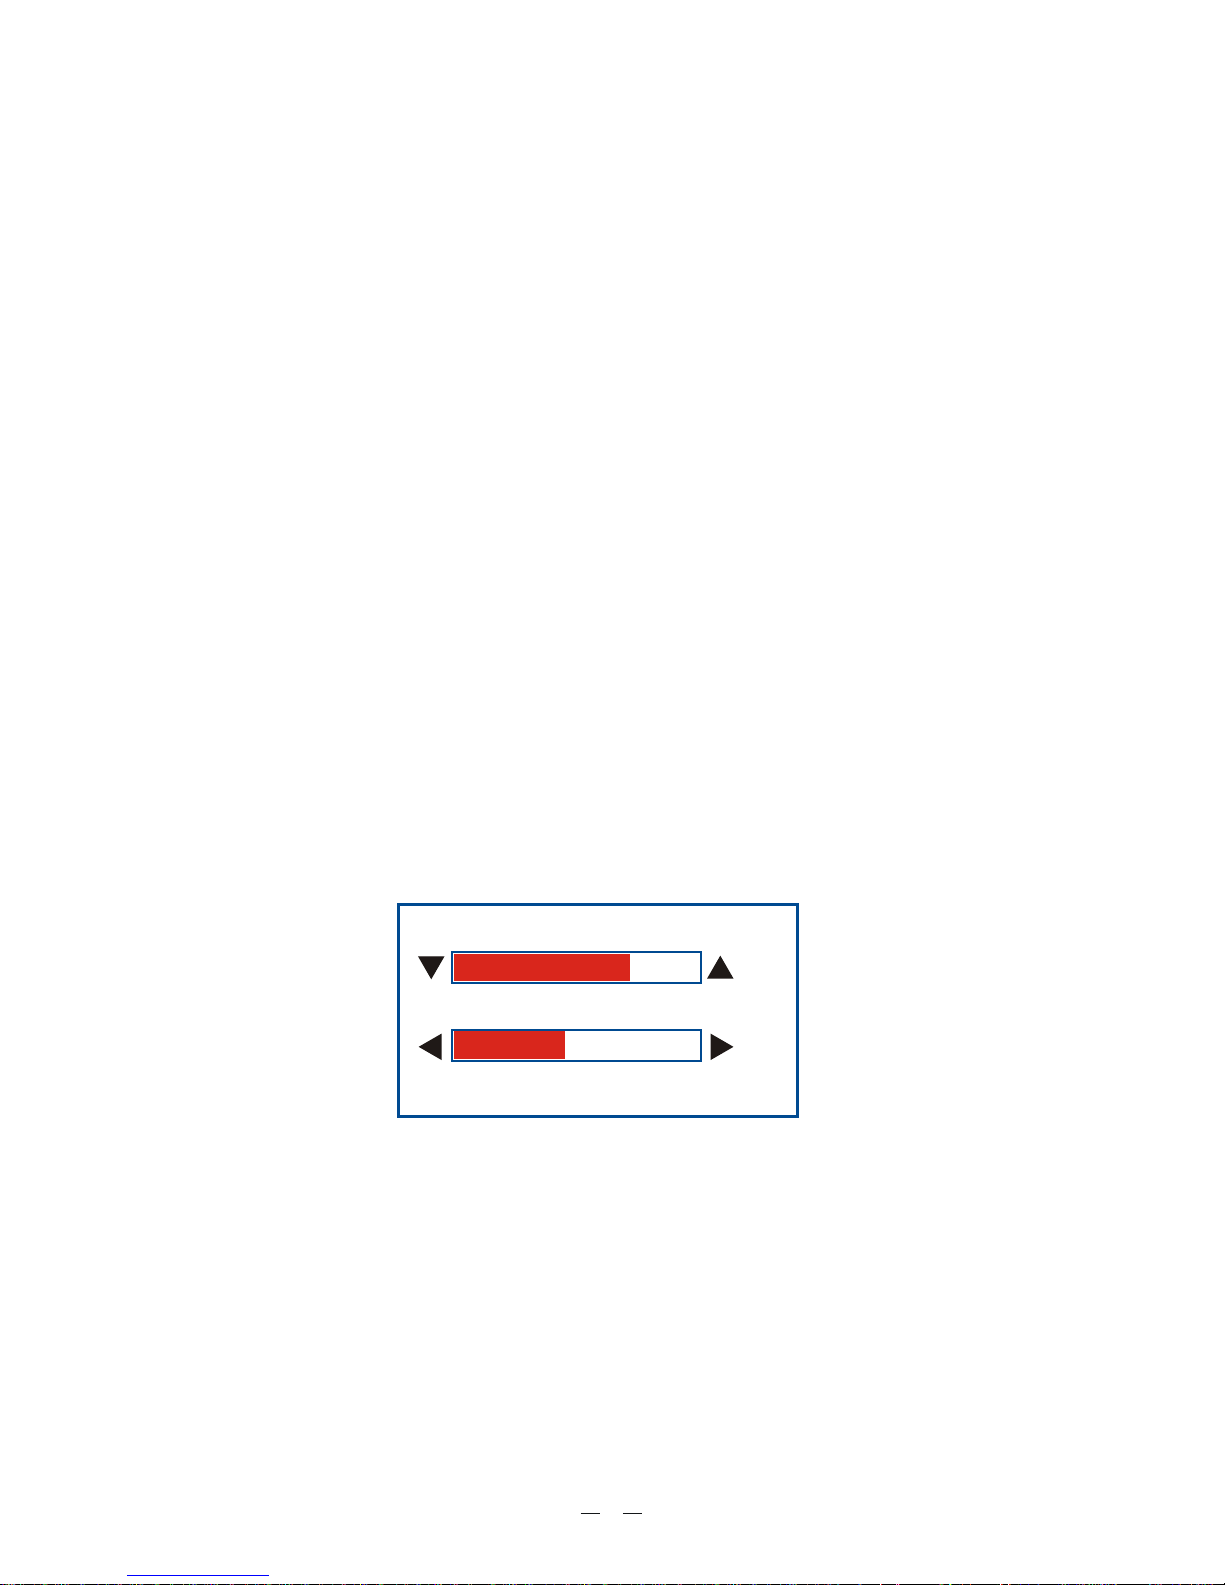
1.3 Adjusting Brilliance and DIM
You can adjust display brilliance as shown below.
1. Press the [POWER] key. The adjusting window appears.
BRILL
DIM
(1~8)
(1~8)
EXIT [ENT]
3
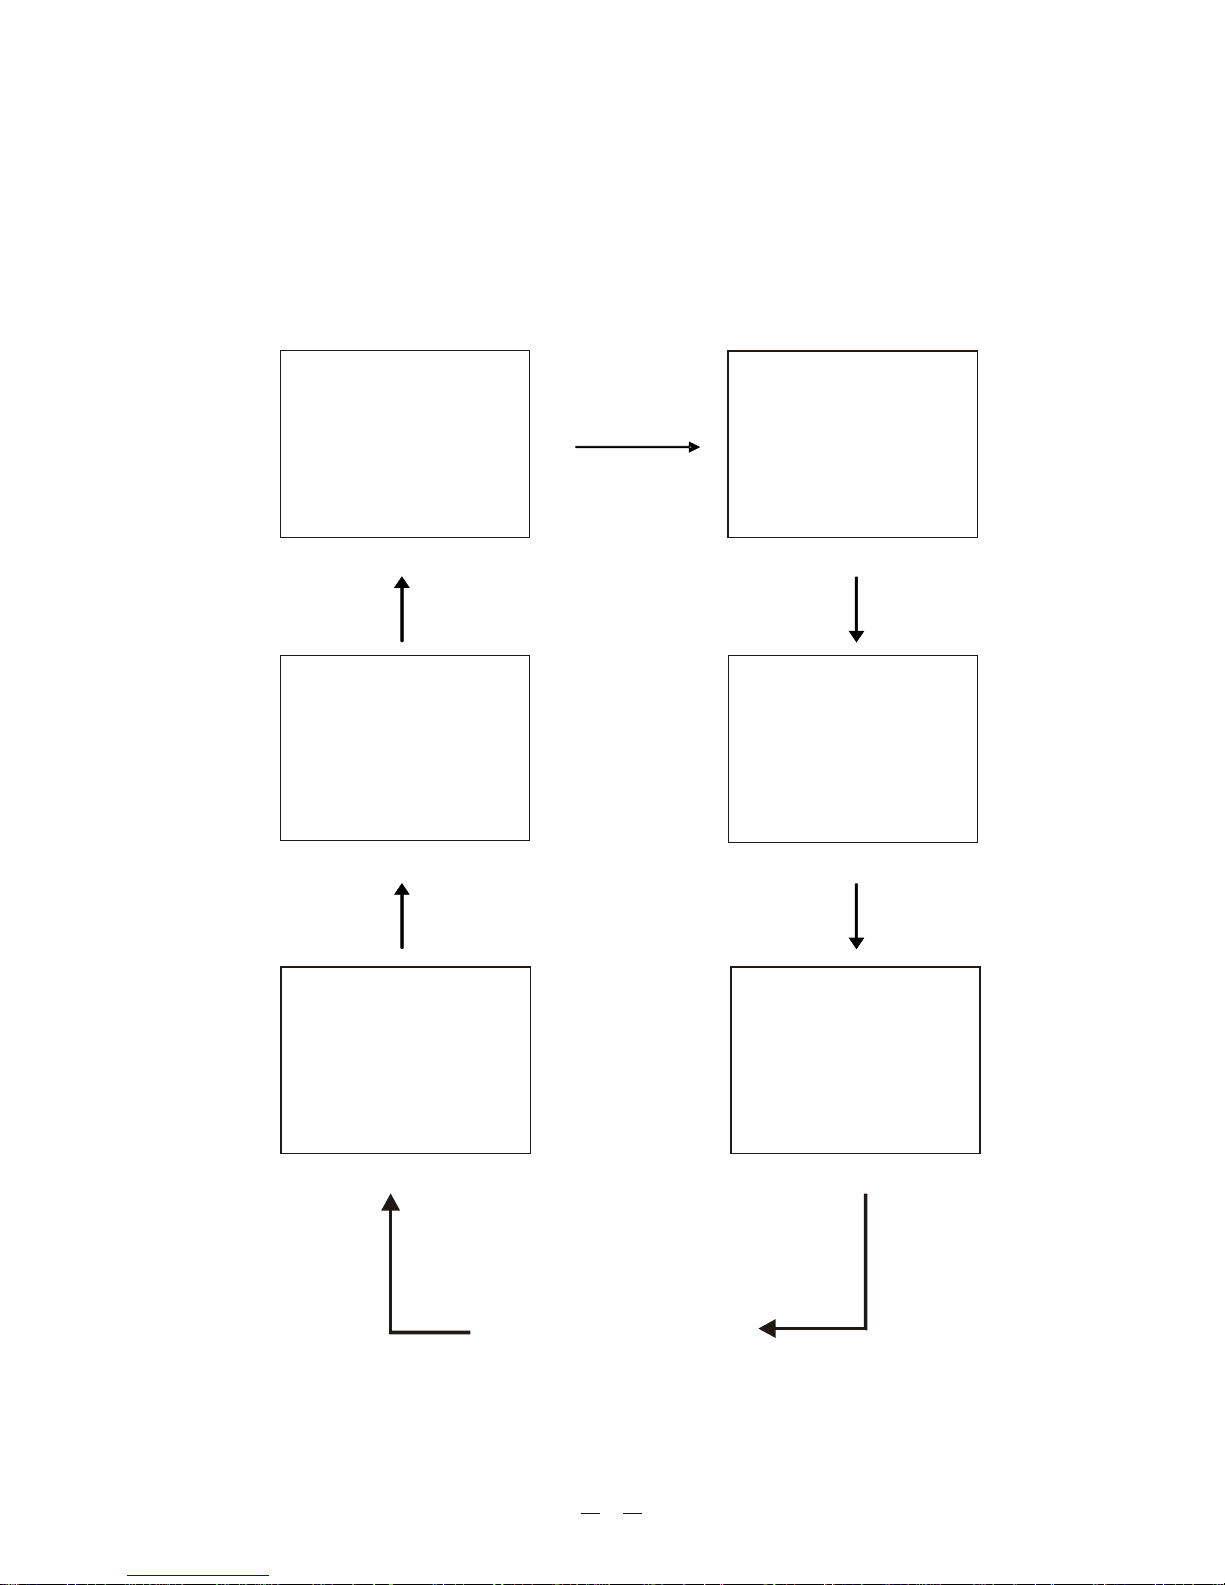
1.4 Display Modes
Your unit has seven display modes: PLOTTER SCREEN, NAVIGATOR SCREEN,
POSITION SCREEN, SATELLITE SCREEN, AIS SCREEN, SOUNDER SCREEN
and PLOTTER + SOUNDER SCREEN.
Press the [MODE] key to choose a display mode. Each time the key is pressed, the
display mode changes in the sequence shown below.
4
PLOTTER
NAVIGATOR
POSITION
SATELLITE
AIS
SOUNDER
PLOTTER SOUNDER
+
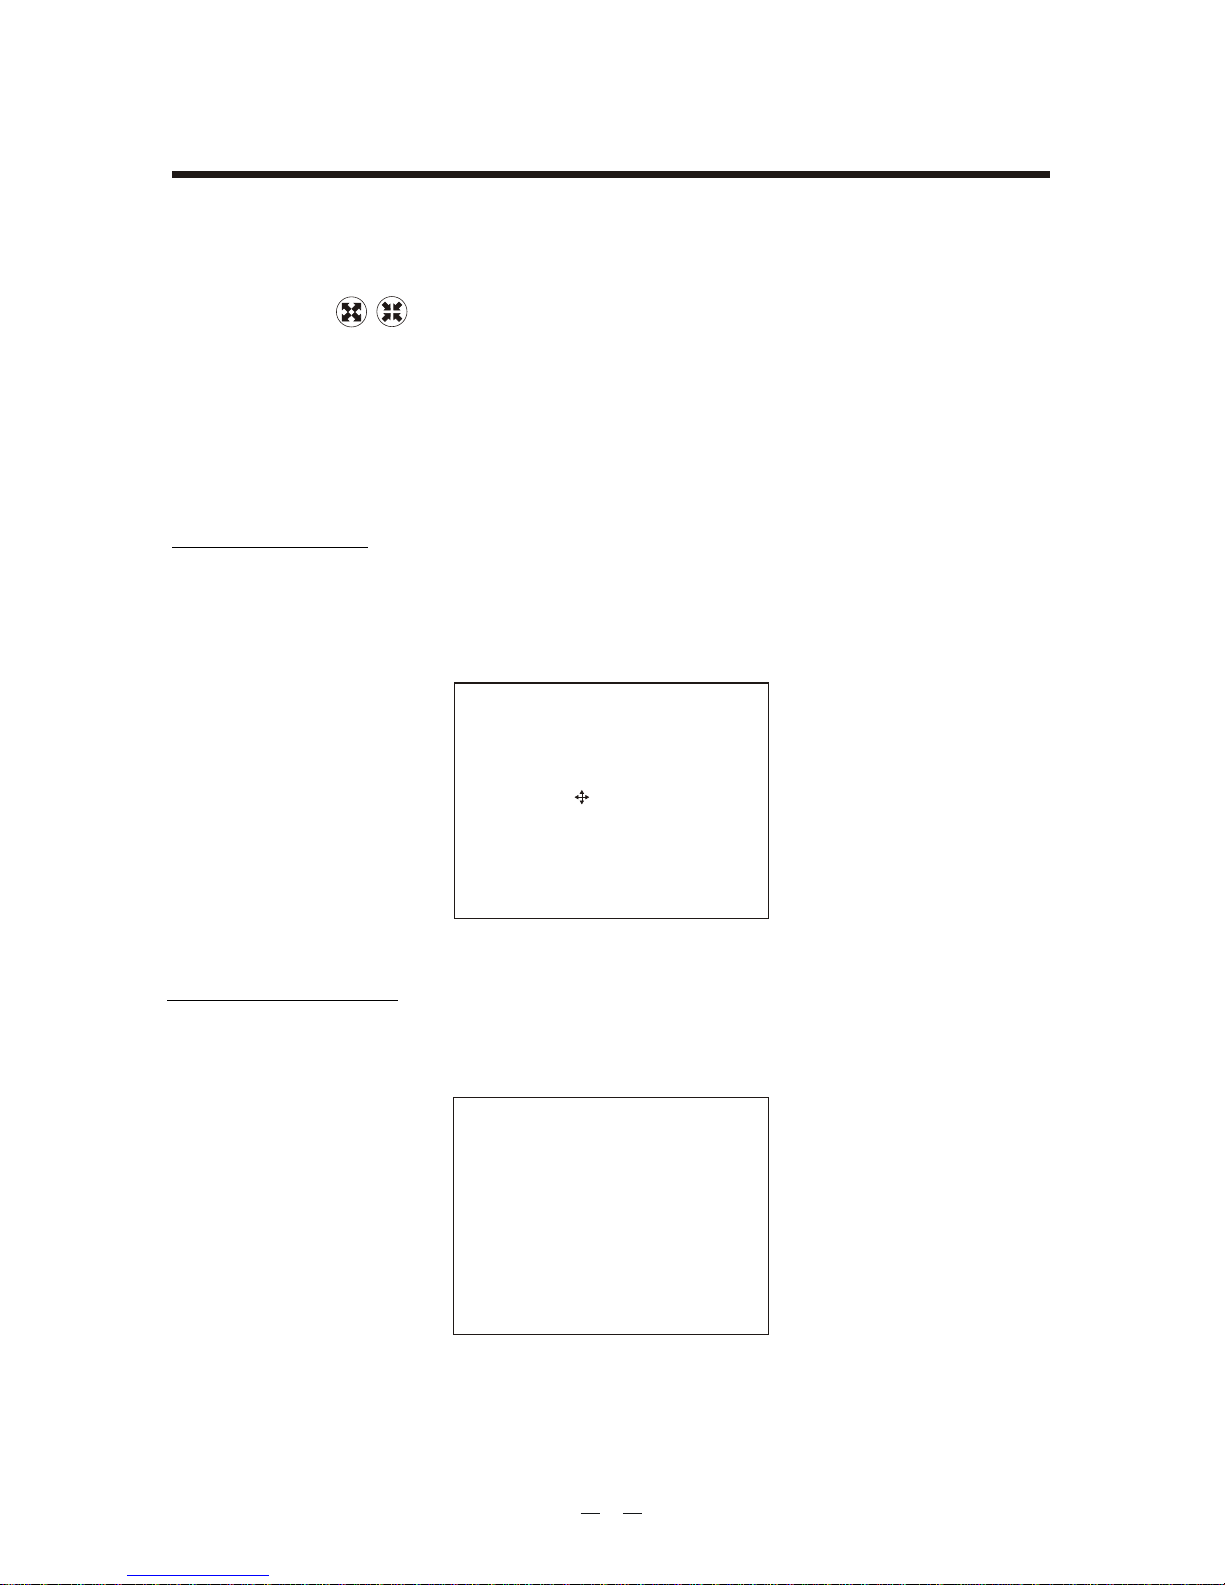
2.2 Shifting the Cursor
Use the cursor pad to shift the cursor. The cursor moves in the direction of the
arrow or diagonal pressed on the cursor pad.
Cursor Turn On
Cursor position is displayed in latitude and longitude at the top left corner of
the plotter display when the cursor is on. The range and bearing from own ship
to the cursor appear at the top left corner of the display too.
2.1 Choosing the Display Range
You may press to choose display range on plotter and highway displays.
Cursor Turned Off
Press [ESC] to clear the cursor. Cursor position data will be disappear when the
cursor is off.
2. PLOTTER DISPLAY OVERVIEW
5

2.3 Shifting the Display
The display can be shifted on the plotter display. Operate the cursor pad to place
the cursor at an edge of the screen. The display shifts in the direction opposite to
cursor pad operation.
2.4 Centering Own Ship's Position
Press the [ESC] key for centering own Ship's position.
2.5 Coordinates
1. Press [MENU] key in PLOTTER screen.
2. Choose COORDINATES and then press [ENT] key.
6

2.6 Map data
1. Press [MENU] key in PLOTTER screen.
2. Choose MAP and then press [ ] key.
3. Choose the layer ON or OFF as appropriate and then press [ENT] key to
finish.
" " " "
2.7 Heading Line
1. Press [MENU] key in PLOTTER screen.
2. Choose HEADING LINE and then press [ENT] key.
3. Choose OFF , VARIABLE or MAX as appropriate and then press [ENT]
key to finish.
" " " " " "
(K-Chart)
(C-MAP)
7

2.8 Range Circle
1. Press [MENU] key in PLOTTER screen.
2. Choose RANGE CIRCLE and then press [ENT] key.
3. Choose ON (if choose ON you need input the circle radius manually) or
OFF as appropriate and then press [ENT] key to finish.
2.9 Palette
1. Press [MENU] key in PLOTTER screen.
2. Choose PALETTE and then press [ENT] key.
"" ""
""
3. Choose the mode as appropriate and then press [ENT] key to finish.
8

2.11
1. Press [MENU] key in PLOTTER screen.
2. Choose and then press [ENT ] key.
Choose the layer ON or OFF as appropriate and then press [ENT] key to finish.
Perspective View
PERSPECTIVE
2.10 Map Orientation
1. Press [MENU] key in PLOTTER screen.
2. Choose MAP DIRECTION and then press [ENT] key.
3. Choose Normal , NORTH Upward , WPT Upward or BOW Upward
as appropriate and then press [ENT] key to finish.
" "" "" " " "
9

3. Choose the layer ON as appropriate and then press [ENT] key to finish.
4. Choose the layer OFF as appropriate and then press [ENT] key to finish.
10

3.1 Changing Track Plotting Interval, Stopping Plotting
When the track memory becomes full, the oldest track is erased to make room for the
latest.
1. Press the [MENU] key twice to main menu.
2. Choose TRACK RECORD and then press [ ] key.
3. Choose MODE and then press [ ] key.
3. TRACK
4. Choose TIME, DISTANCE, AUTO or OFF.
TIME: Track is recorded and plotted at the time interval set.
DISTACNE: Track is recorded and plotted at the distance interval set.
AUTO: Plotting and recording interval changes with display range selected.
OFF: Track is neither recorded nor plotted.
5. For TIME and DISTANCE, enter the recording interval as follows:
a) Press the [ ] key.
b) Use or select value.
6. Press [ENT] key to finish.
11

3.2 Displaying the Track
1. Press [MENU] key in PLOTTER screen.
2. Choose TRACK and then press [ ] key.
3. Choose the color and Choose turn it ON or OFF.
4. Press [MENU] key to finish.
3.3 Creating Track Data
1. Press the [MENU] key twice to main menu.
2. Choose TRACK RECORD and then press [ ] key.
3. Choose SAVE CURRENT TRACK and then press [ENT] key.
The following window will appear.
Track Data can use for navigation.
12

3.4 Erasing Track
1. Press [MENU] twice to main menu.
2. Choose [ERASE] and then press [ ] key.
3. For saved track then press [ ] key to choose Current track or Saved track.
4. Choose the color that you want to erase or choose ALL if you want to erase all.
and then Press [ENT] key.
The following window will appear:
3.5 Erasing All Backup Data
1. Press [MENU] twice to main menu.
2. Choose [ERASE] and then press [ ] key.
3. Choose ALL BACKUP DATA and then press [ENT] key.
The following window will appear.
Menu to main menu
13

4. WAYPOINT/MOB
4.1 Entering Waypoints
Waypoints can be entered on the plotter display three ways: at cursor position,
at own ship's position, and from the waypoint edit.
Entering a waypoint with the cursor
1. Use the cursor pad to place the cursor on the location desired for a waypoint.
2. Press the [ENT] key. The following window appears.
3. This window is where you can rename, edit LON and LAT, choose mark shape
and color and enter a comment.
4. Choose SAVE to finish.
Entering a waypoint at own ship position
1. Momentary Press [ENT] key when no cursor is appear.
The following window appears.
2. If you no need to change anything, choose SAVE to finish.
14

Entering a waypoint from the waypoint list
1. Press the [MENU] key twice to main menu.
2. Choose EDIT and then press [ ] key.
3. Choose WAYPOINT and then press [ENT] key.
The following window will appear
4. Choose NEW then press [ENT] key.
The following window appears.
5. If you no need to change anything, choose SAVE to finish.
15

4.2 Entering the MOB Mark
Only one MOB mark may be entered.
Each time the MOB mark is entered the previous MOB mark and its position data
are written over.
The following display appears.
1. Long Press the [MOB] key on any display unit.
2. To set MOB position as destination, press [ ] to choose YES and then press
[ENT] key. Choose NO saves the position as a waypoint call MOB .""
4.3 Displaying Waypoint Name
You may display waypoint name as Follows:
1. Press the [MENU] key on the PLOTTER SCREEN.
2. Choose WAYPOINT and then press the [ENT] key, the following window will
appear.
3. Choose ALL, GOTO, ROUTE or ALL as appropriate and then press the [ENT] key.
ALL: Displays all waypoint names.
GOTO: Displays only the GOTO waypoint name.
ROUTE: Displays all waypoint names when a route is set as destination.
ALL: Do not display any waypoint name.
16

4.4 Operation on the Waypoint Editing
Waypoint position, waypoint name, mark shape, mark color and comment can be
edited from the Waypoint Edit.
1. Press the [MENU] key twice to main menu.
2. Choose EDIT and then press [ ] key.
3. Choose WAYPOINT and then press the [ENT] key.
The following window will appear.
4. Choose waypoint to edit and then press the [ENT] key.
The following window will appear.
5. Choose objective desired and then press the [ENT] key.
6. Change name, position, mark shape, mark color, comment as desired.
7. Choose SAVE and then press [ENT] to finish.
17

4.5 Erasing Waypoints
1. Press the [MENU] key twice to main menu.
2. Choose EDIT and then press [ ] key.
3. Choose WAYPOINT and then press the [ENT] key.
4. Select a WPT and press [ENT] key.
5. The confirm window will appear, choose ERASE and then press [ENT] .key
6. choose YES and then press [ENT] to finish.
01
Erase All Waypoints
1. Press the [MENU] key twice to main menu.
2. Choose ERASE and then press [ ] key.
3. Choose ALL WAYPOINT/MOB and then press [ENT] key.
The confirming window will appear.
4. Choose YES and then press [ENT] to erase all wayp-oints.
18

5. ROUTES
5.1 Creating Routes
1. Press [MENU] key twice to main menu.
2. Choose EDIT and then press [ ] key.
3. Choose ROUTE and then press [ENT] key.
The following window will appear.
4. Choose NEW and then press [ENT] key.
The following window will appear.
""
19
 Loading...