

Onwa KP-622, KP-823, KP-623 Owner's Manual

˵Ã÷Êé
˵Ã÷Êé
R
KP-622/623/823
KP-622/623/823
OPERATOR`S MANUAL
3 Series GPS Chart Plotter

1
P roduct Introduction

Foreword 4
1. Keypad instruction 5
2. Basic Operation 6
2.1 Display 6
Plotter screen 7
Navigation screen 8
Route screen 8
Positioning screen 8
2.2 Operation 9
Turning the power on/off, adjusting the brightness and contrast 9
Waypoint establishment and ship's position storage 9
Delete waypoints 10
Single point navigation and cancel navigation 11
Route setting and route navigation 11
Track record 13
Emergency (MOB) navigation 17
3 Main Menu 18
GPS 18
Route 18
Point 18
Barrier 19
P 1roduct introduce
2
CONTENTS

Alarm 20
Tide 20
Unit 20
Setup 21
In/Out 21
4. AIS function of 3 Series 22
Start AIS function 22
5. Main performance and specification 27
Performance and characteristics 28
Equipment parameters 28
Equipment configuration 29
Installation 30
3
Vessels list 22
The collision alarm 22
Own ships information 23'
Chart Screen 23
View AIS vessels' information on chart screen 24
Check all AIS ships within the scope of Radar 24
Entry/Departure setting 25
Emergency alarm 25
Navigation Terms 26
FOREWORDFOREWORD
The ONWA 3 seriesof ONWA GPS navigation aid are specially designed for the
vessel traffic management, ONWA is a professional brand of the domestic and for-
eign navigation products.
The products are designed to be all-sealed and waterproof, can be rapid position-
fixing and resistant to poor environment. The software is powerful by using the
advanced ARM9 processors can be capable to display faster, and the design for
operation is professional and reasonable, can be easy to use. The built-in Large-
capacity map storage space provides intuitive and accurate indication to navigation.
It s applicable to the navigation and position-fixing of various vessels at sea and
rivers, as well as the information collection, river management, etc.
For the application for different types of the products please refer to the following
'
hydrographic
4
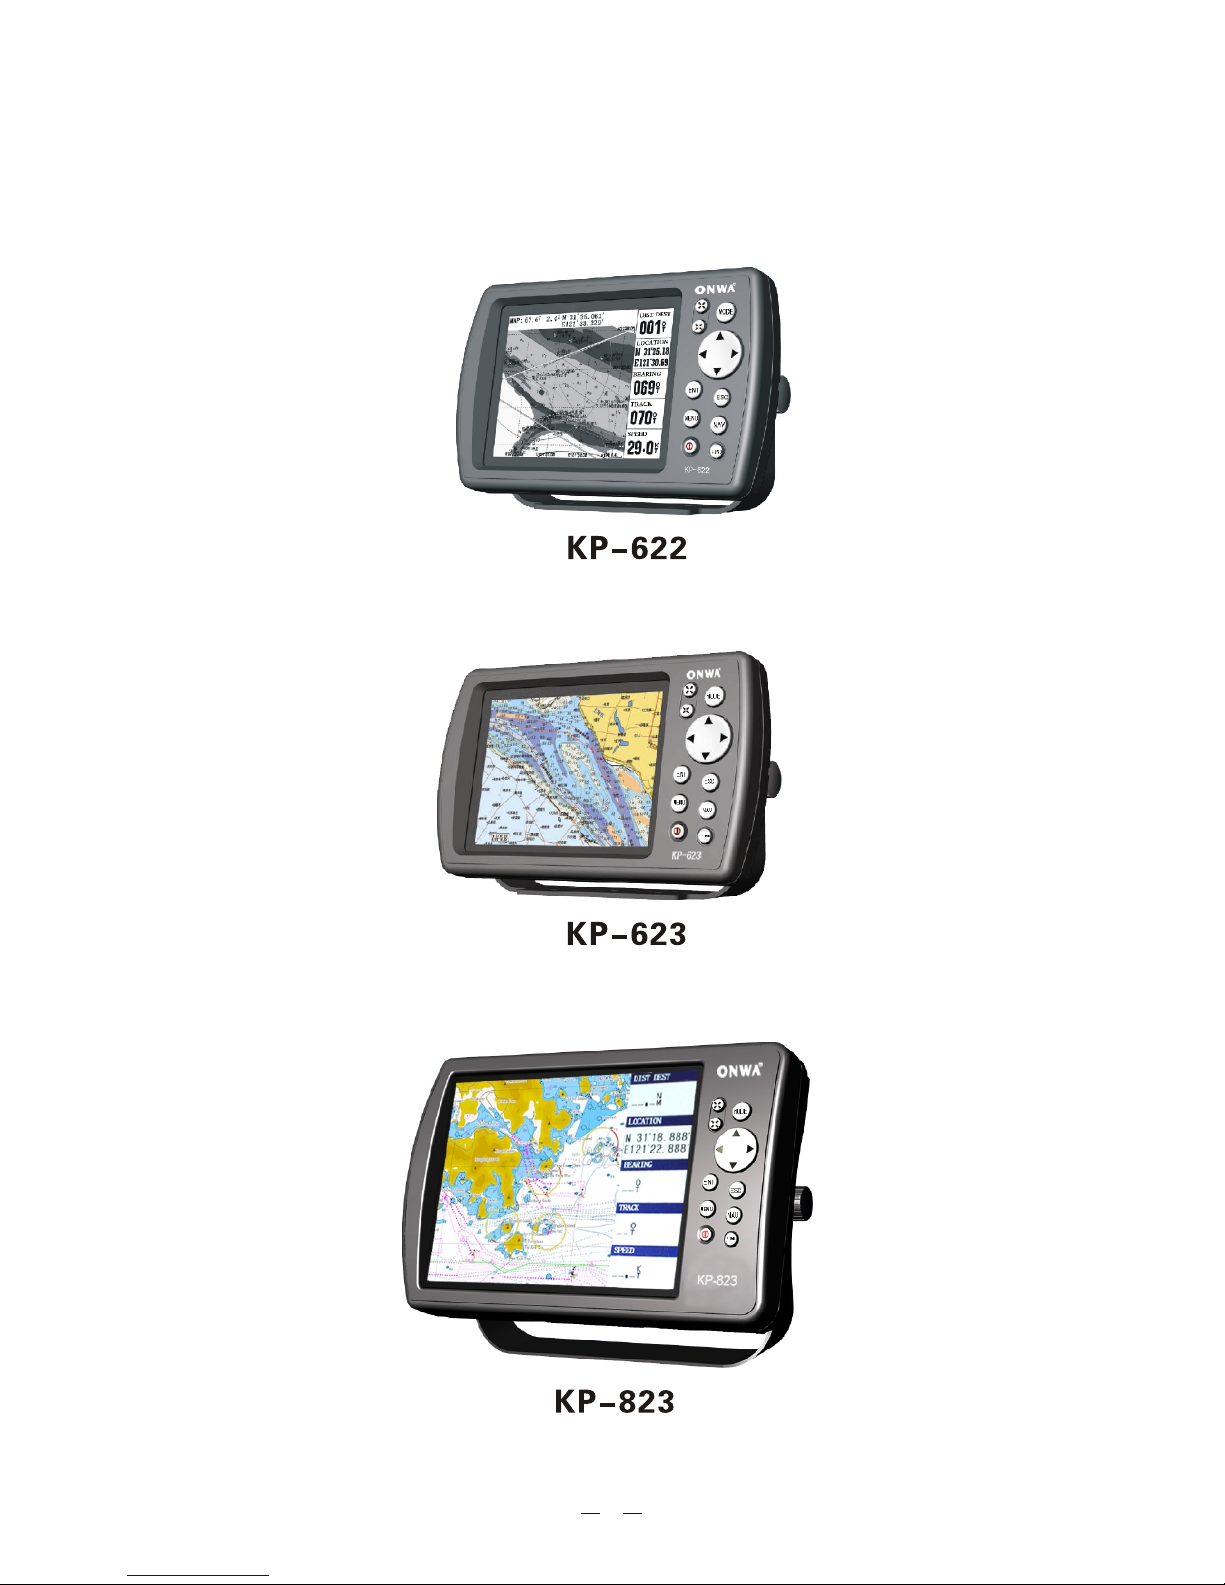
Type Display AIS interface Application Scope
KP-622
5.7 FSTN 8 grades of grey
Available
Harbor shipping, fishing,
Inland river, lake and sea
5.7 TFT bright, color Available
Inland river, sea and
pleasure craft
Available
8.0 TFT bright, color
Harbor shipping, fishing,
Inland river, lake and sea
Figure1-1
1. Keypad instruction 1. Keypad instruction
5
Keypad instruction( Figure 1-1)
MENU: Pressing it displays the menu of the current page,
pressing twice enters the main-menu.
: Enlarges the scale of the maps and charts,16 grades
totally. Display the listed items of the page by revers e-scrolling.
: Reduces the scale of the maps and charts,16 grades totally.
Displays the listed items of the page by scrolling.
NAV: MOB navigation, cursor navigation, achieve way-point
navigation, route navigation, return voyage.
:Turn the power on/off, adjust the back light brightness and
the volume, display the battery capacity.
ESC: Withdraw from the optional operation, or display the
previous page in reverse-cycle order.
ENT: Confirms the input or data.
Arrow: Move the cursor or select the number or letter.
MODE: Display the four main screens circularly, turn over the
listed interfaces.
MOB: The MOB mark denotes man overboard position.
The basic input principles for the equipment : Press MENU key to enter the menu
setting accordingly, then press the Arrow keys to move the cursor to select items,
press ENT to enter.
the required state. Press up/down Arrow keys to select the letter or number.
The number contains from 0 to 9, the letter contains from A to Z. Press left/right
Arrow keys to move the cursor.
During the input, press ESC key at any time to cancel the current operation and
return to the previous menu or operation; Press ENT key to confirm the current
input, and continue to enter the next operation or menu. In relation to the similar
operations, this manual will not repeat again.

2. BASIC OPERATION2. BASIC OPERATION
2.1 Main Screens
The five main screens are as following: Plotter screen, Navigation screen
(see Figure 2), Route screen, AIS Radar View and Position screen(see Figure 3).
Keep pressing arrow key displays accordingly the four main screens by a posit-
ive cycle, keep pressing exit key displays them by a reverse cycle
Power on
Plotter screen
Navigation
screen
AIS Radar View
6
Route screen
Position screen
Figure 2 Figure 3
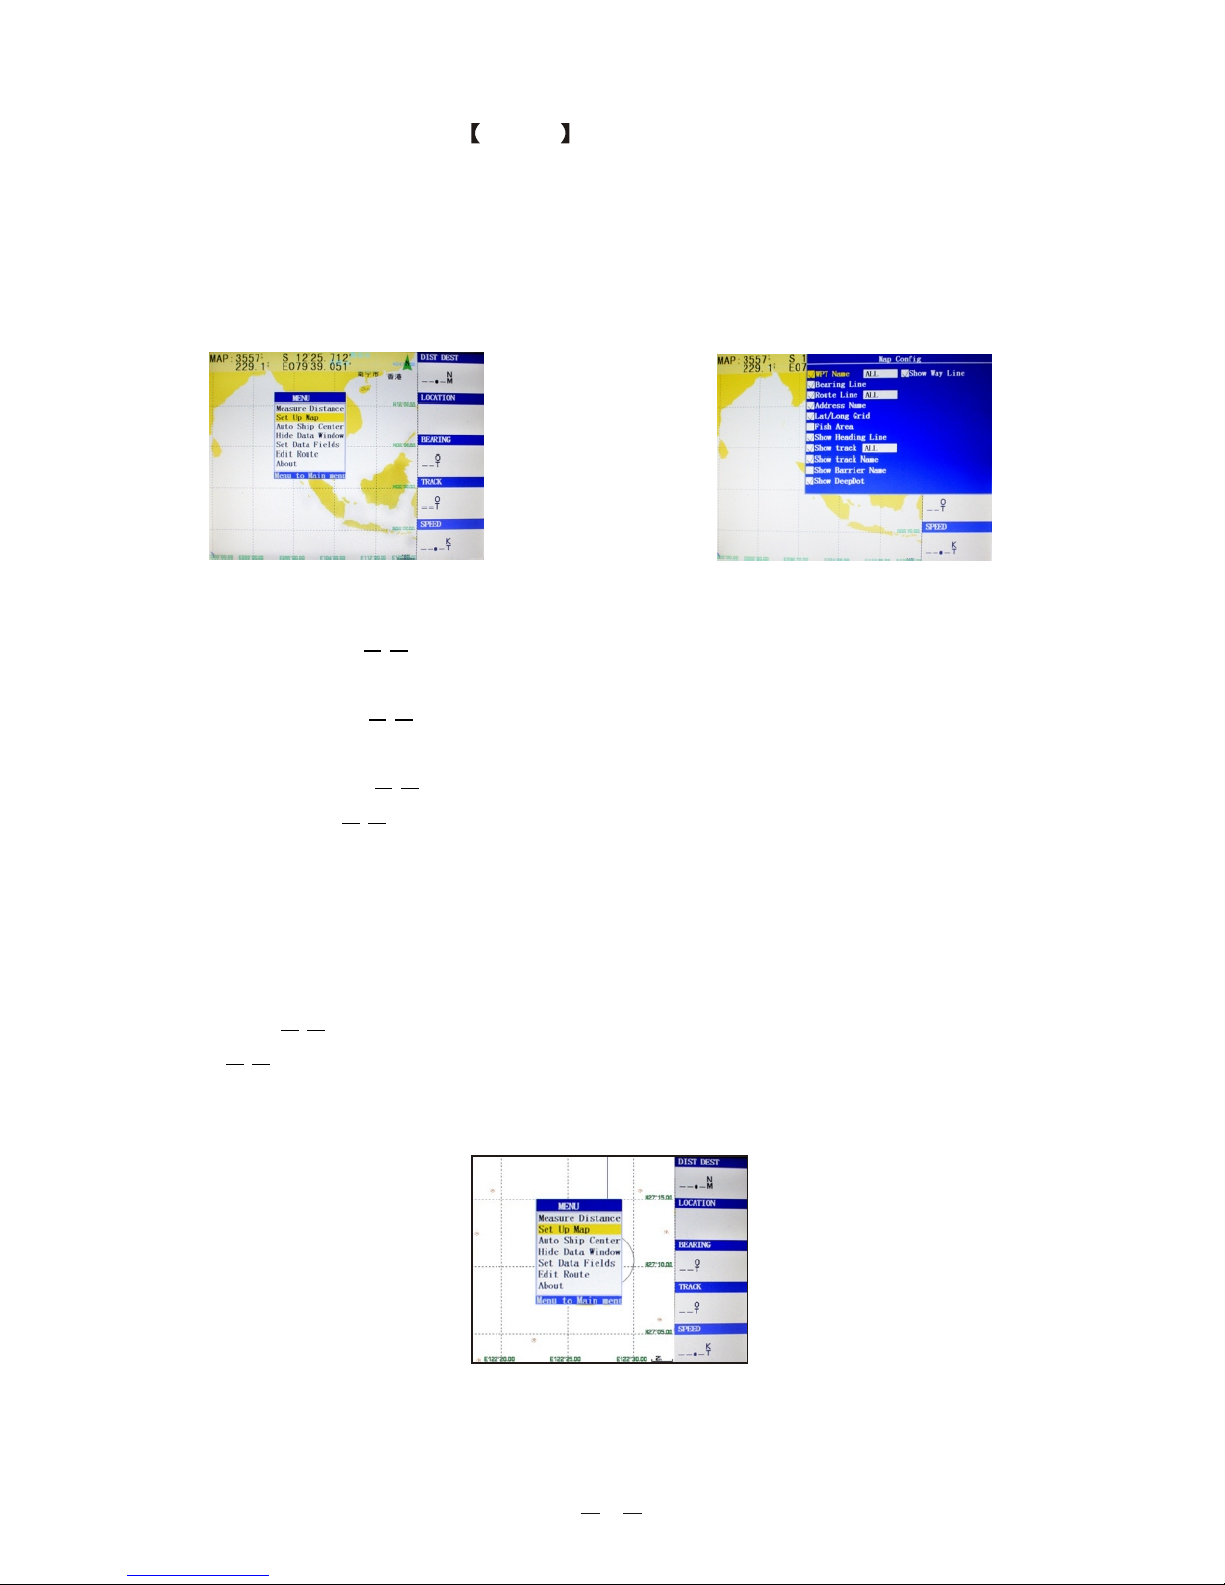
(1) Plotter screen : Pressing MENU key displays the following menu,
see
Figure 4), press [ENT] to enter sub-menu(see Figure 5).
Measure Distance ¯¯Measure the distance from own ship to the target.
Set Up Map ¯¯Hide or display the waypoint name, the direction, the route,
the place name, grid lines, fishing lines, the first flight line, the dynamic track,
history of the track, the name of obstacles, water depth, etc.. Figure 5
Show Ship Center The position of the vessel does not move during the
sailing, keep it centered and move the charts.
Auto Ship Center When the navigation of the vessel is beyond the plotter
screen, the vessel will be automatically centered.
Hide Data Window Hide the data field, enlarge the plotter screen.
Set Data Fields Change the items showed in the data field. May choose to
display the data including:
Edit Route Establish the routes rapidly on the plotter screen.
About the version number, the contact information of the product and service,
and the serial number.
PDOP, Bearing, Start BRG, Steer, Cross Track, Destin-
ation Distance, Next Waypoint Distance, ETA Destination, ETA Next Waypoint, ETE
Destination, ETE Next Waypoint, Elevation, Location, Destination Location, Next
Location, Speed (SOG), Time, COG, Turn, Destination Waypoint, Next Waypoint,
Pointer, Fishing Area
7
Figure 4 Figure 5
Figure 6
8
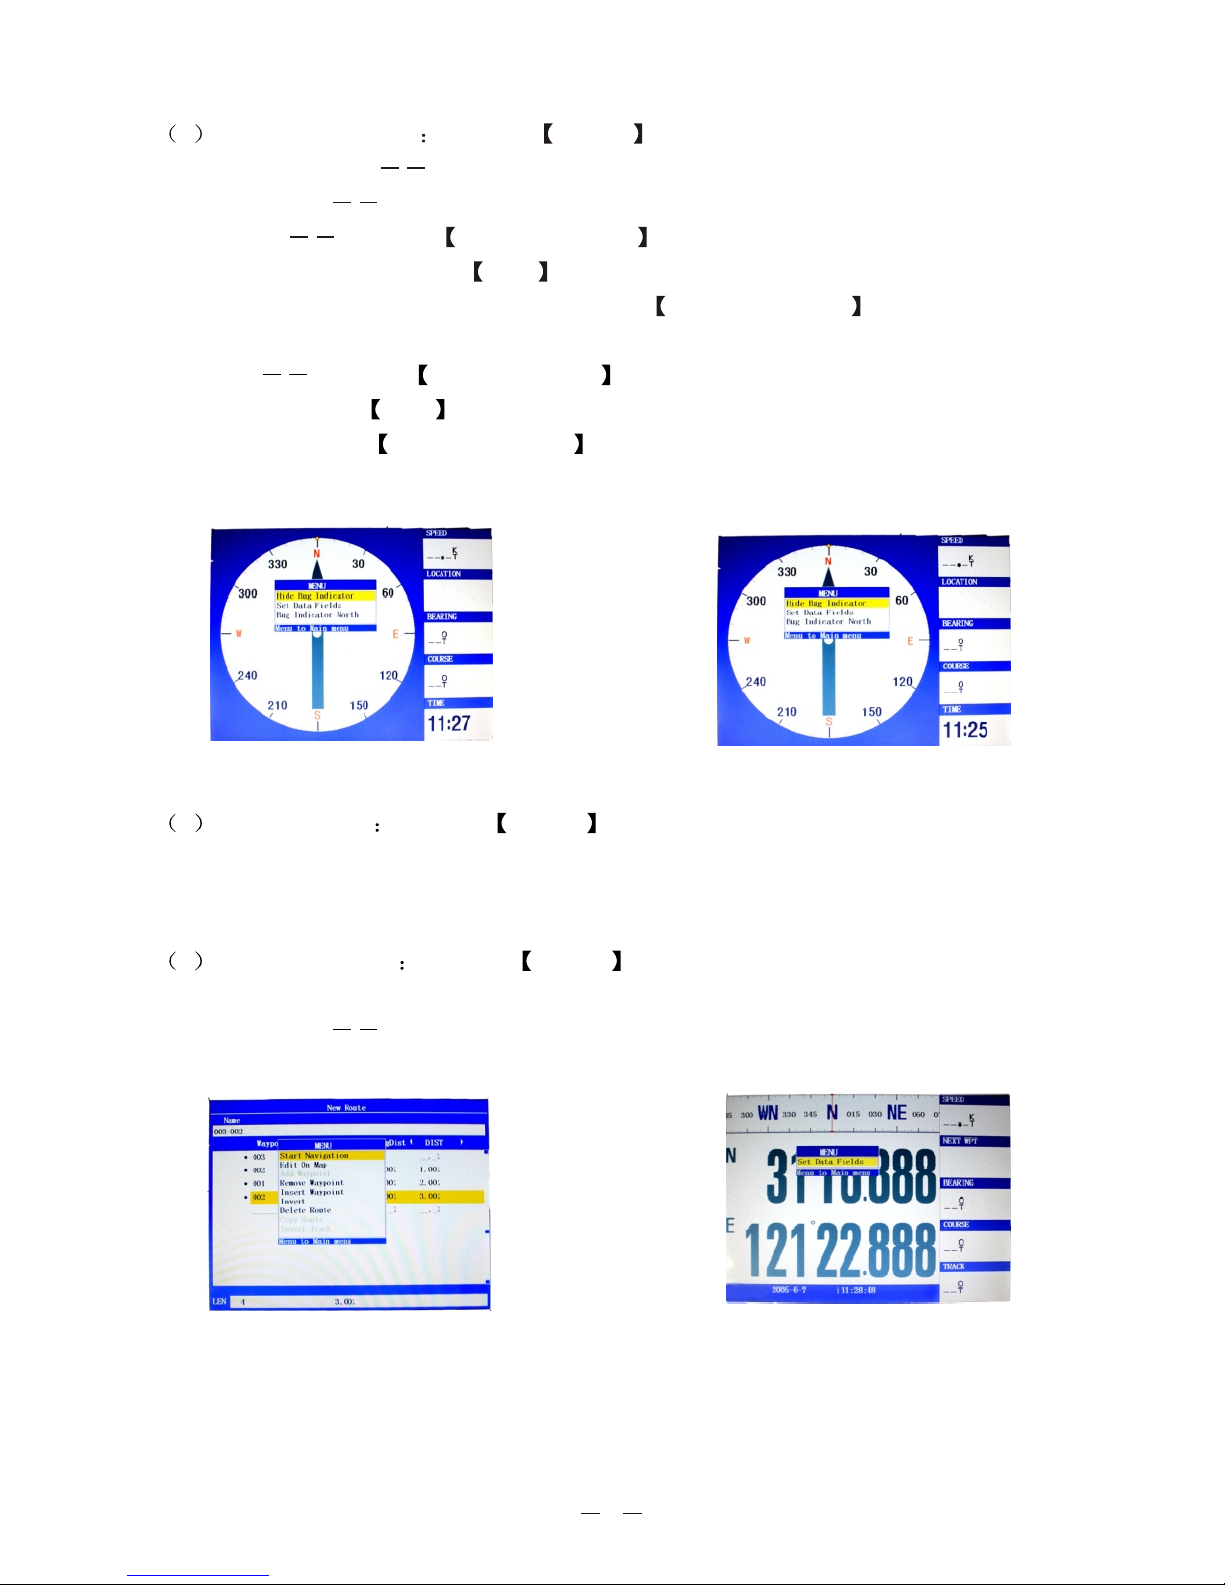
2 Navigation screen Pressing MENU key displays the following menu.
Hides the markings of initial course.
Change the items showed in the data field . Same as above.
Heading up Press the up/ down Arrow keys to move the cursor to the "hea-
ding up" column, then press ENT key, the top of the compass should be the dir-
ection to the navigation of vessels. Press the left/ right Arrow keys to rotate the
direction of the compass. See Figure 7
Hide Bug Indicator
Set Data Fields
North-up Press the up/down Arrow keys to move the cursor to the "north up"
column, then press ENT key, the top of the compass should be the direction of
the north. Press the left/ right Arrow keys to rotate the direction of the compass.
See Figure 8
3 Route screen Pressing MENU key displays the following menu.
Select the corresponding menu item to carry out the following operations: to start
navigation, map editing, add the waypoints, delete waypoints, insert the waypoint,
route reversal, remove the route, copy the route, reverse the track. See Figure 9
4 Position screen Pressing MENU key displays the following menu. See
Figure 10
Set Data Fields Change the items showed in the data field . Same as above.
Figure 7 Figure 8
Figure 10Figure 9
 Loading...