

Omron SEM-2, SEM-1 Instruction Manual
INSTRUCTION MANUAL
Automatic Blood Pressure Monitor
!"
Model
===
SEM-2
S
E
M
-
2

Before Using the Monitor
Introduction . . . . . . . . . . . . . . . . . . . . . . . . . . . . . . . . . . . . . . . .3
Important Safety Notes . . . . . . . . . . . . . . . . . . . . . . . . . . . . . . . .4
Operating Instructions
Know Your Unit . . . . . . . . . . . . . . . . . . . . . . . . . . . . . . . . . . . . .6
Unit Display . . . . . . . . . . . . . . . . . . . . . . . . . . . . . . . . . . . . . . . .7
How to Use Your Blood Pressure Monitor . . . . . . . . . . . . . . . . . .8
How to Install/Replace the Batteries . . . . . . . . . . . . . . . . . . . . . .9
Setting the Date and Time . . . . . . . . . . . . . . . . . . . . . . . . . . . . .11
How to Sit Correctly When Taking a Measurement . . . . . . . . . .13
How to Apply the Arm Cuff . . . . . . . . . . . . . . . . . . . . . . . . . . .15
How to Take a Measurement . . . . . . . . . . . . . . . . . . . . . . . . . . .17
How to Use the Memory Function . . . . . . . . . . . . . . . . . . . . . .21
Care and Maintenance
Maintenance and Storage . . . . . . . . . . . . . . . . . . . . . . . . . . . . .24
Using the Optional AC Adapter . . . . . . . . . . . . . . . . . . . . . . . . .26
Error Indicator . . . . . . . . . . . . . . . . . . . . . . . . . . . . . . . . . . . . .27
Troubleshooting Tips . . . . . . . . . . . . . . . . . . . . . . . . . . . . . . . .29
Specifications . . . . . . . . . . . . . . . . . . . . . . . . . . . . . . . . . . . . . .31
CONTENTS
2

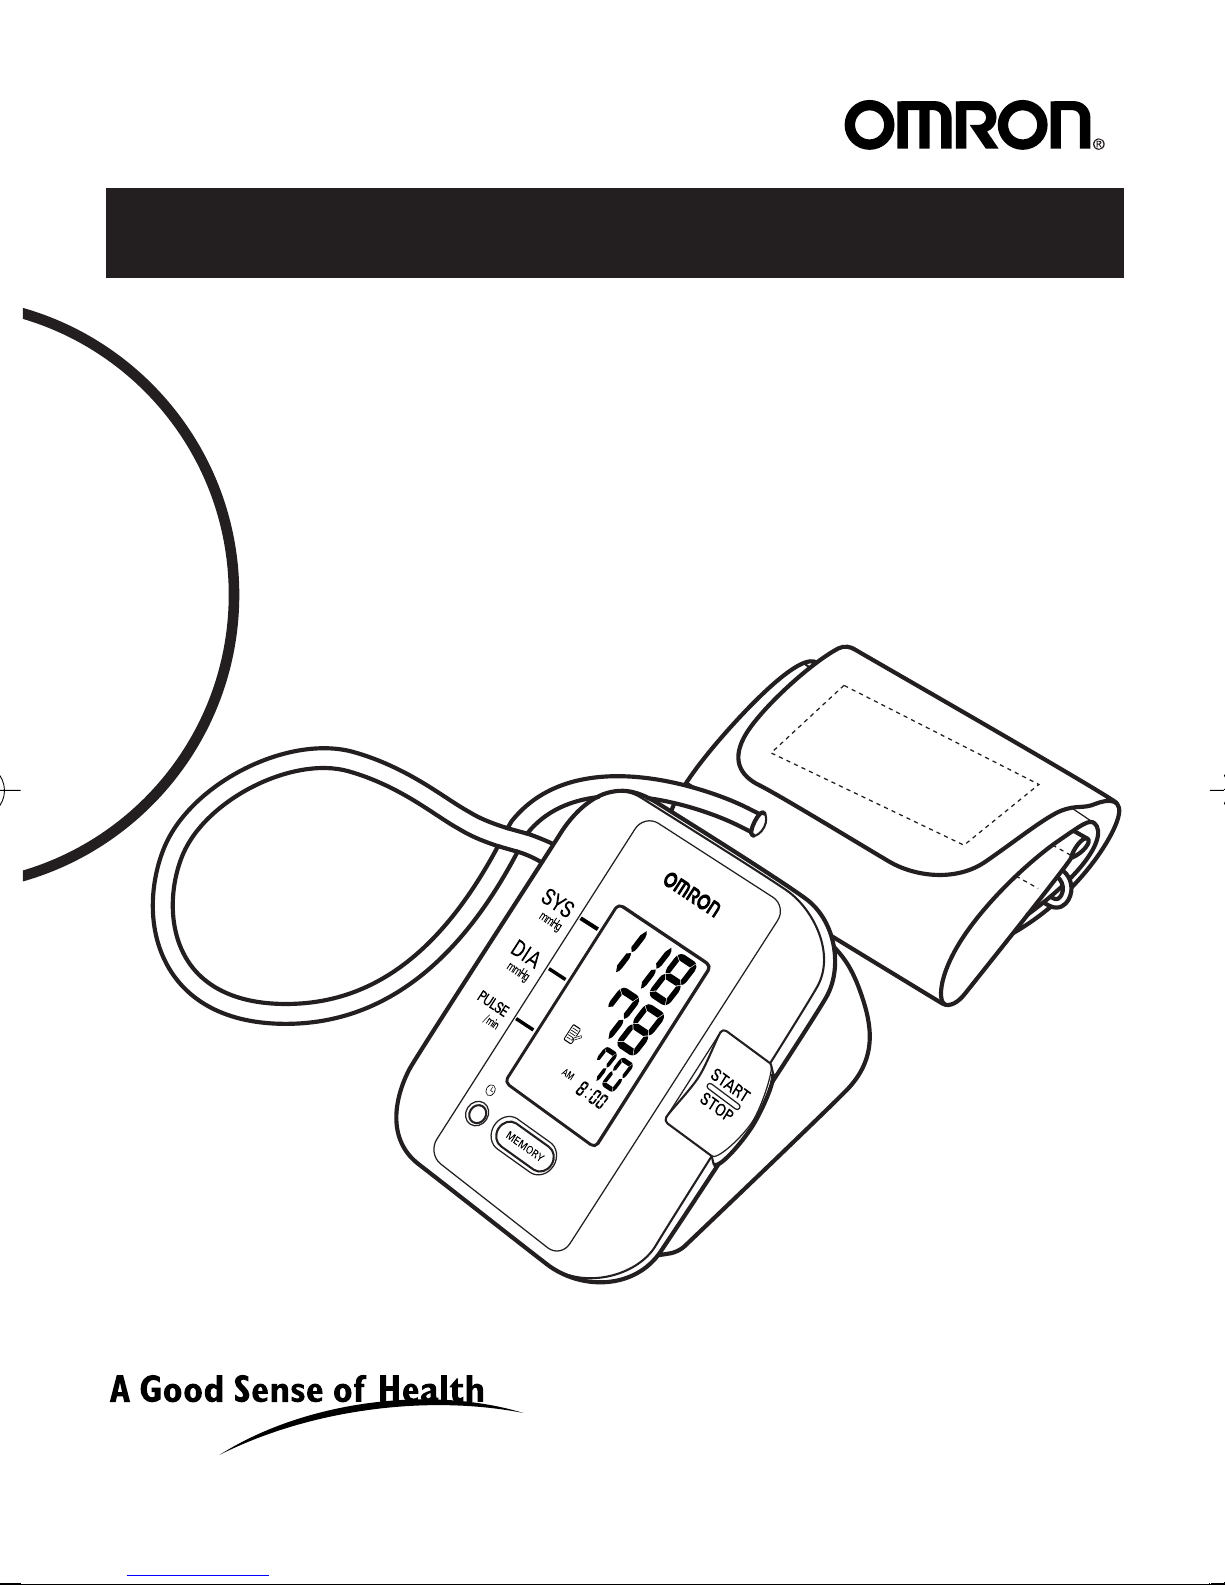
Thank you for purchasing OMRON SEM-2 Automatic Blood Pressure
Monitor.
INTRODUCTION
3
Your new digital blood pressure monitor uses the oscillometric method of
blood pressure measurement. This means the monitor detects your
blood’s movement through your brachial artery and converts the
movements into a digital reading. An oscillometric monitor does not need
a stethoscope so the monitor is simple to use.
The SEM-2 Automatic Blood Pressure Monitor is intended for home use.
SAVE THESE INSTRUCTIONS
Before Using the Monitor

To assure the correct use of the product basic safety measures should
always be followed including the precautions listed below:
Self-diagnosis of measured results and treatment are dangerous.
Please follow the instructions of your doctor.
Do not use the unit on infants or persons who cannot express their
consent.
Do not inflate the arm cuff over 299 mmHg.
Do not use the unit for any purpose other than measuring blood pressure.
Do not use a cellular phone near the unit. This may result in incorrect
operation of the unit.
Keep batteries out of the reach of young children and infants. If a battery swallowed, consult a doctor immediately.
If the battery fluid should get in your eyes, immediately rinse with
plenty of clean water. Consult a doctor immediately.
If the battery fluid should get on your skin or clothing, immediately
rinse with plenty of clean water.
IMPORTANT SAFETY NOTES
4

IMPORTANT SAFETY NOTES
5
When using batteries, the battery liquid may leak and damage the
main unit. Please observe the following points.
• Do not insert the batteries with their polarities incorrectly aligned.
• Replace old batteries with new ones immediately.
• When you are not going to use the unit for a long period of time
(approximately three months or more), take out the batteries.
Do not use new and used batteries together. Do not use batteries of a
different type together.
Do not forcibly bend the arm cuff or bend the air tube excessively.
When removing the air tube, pull on the air plug at the connection
with the main unit not the tube itself.
Do not expose the unit to strong shocks or vibrations. Do not drop the
unit.
Do not inflate the arm cuff when it is not wrapped around your arm.
Operating Instructions
6
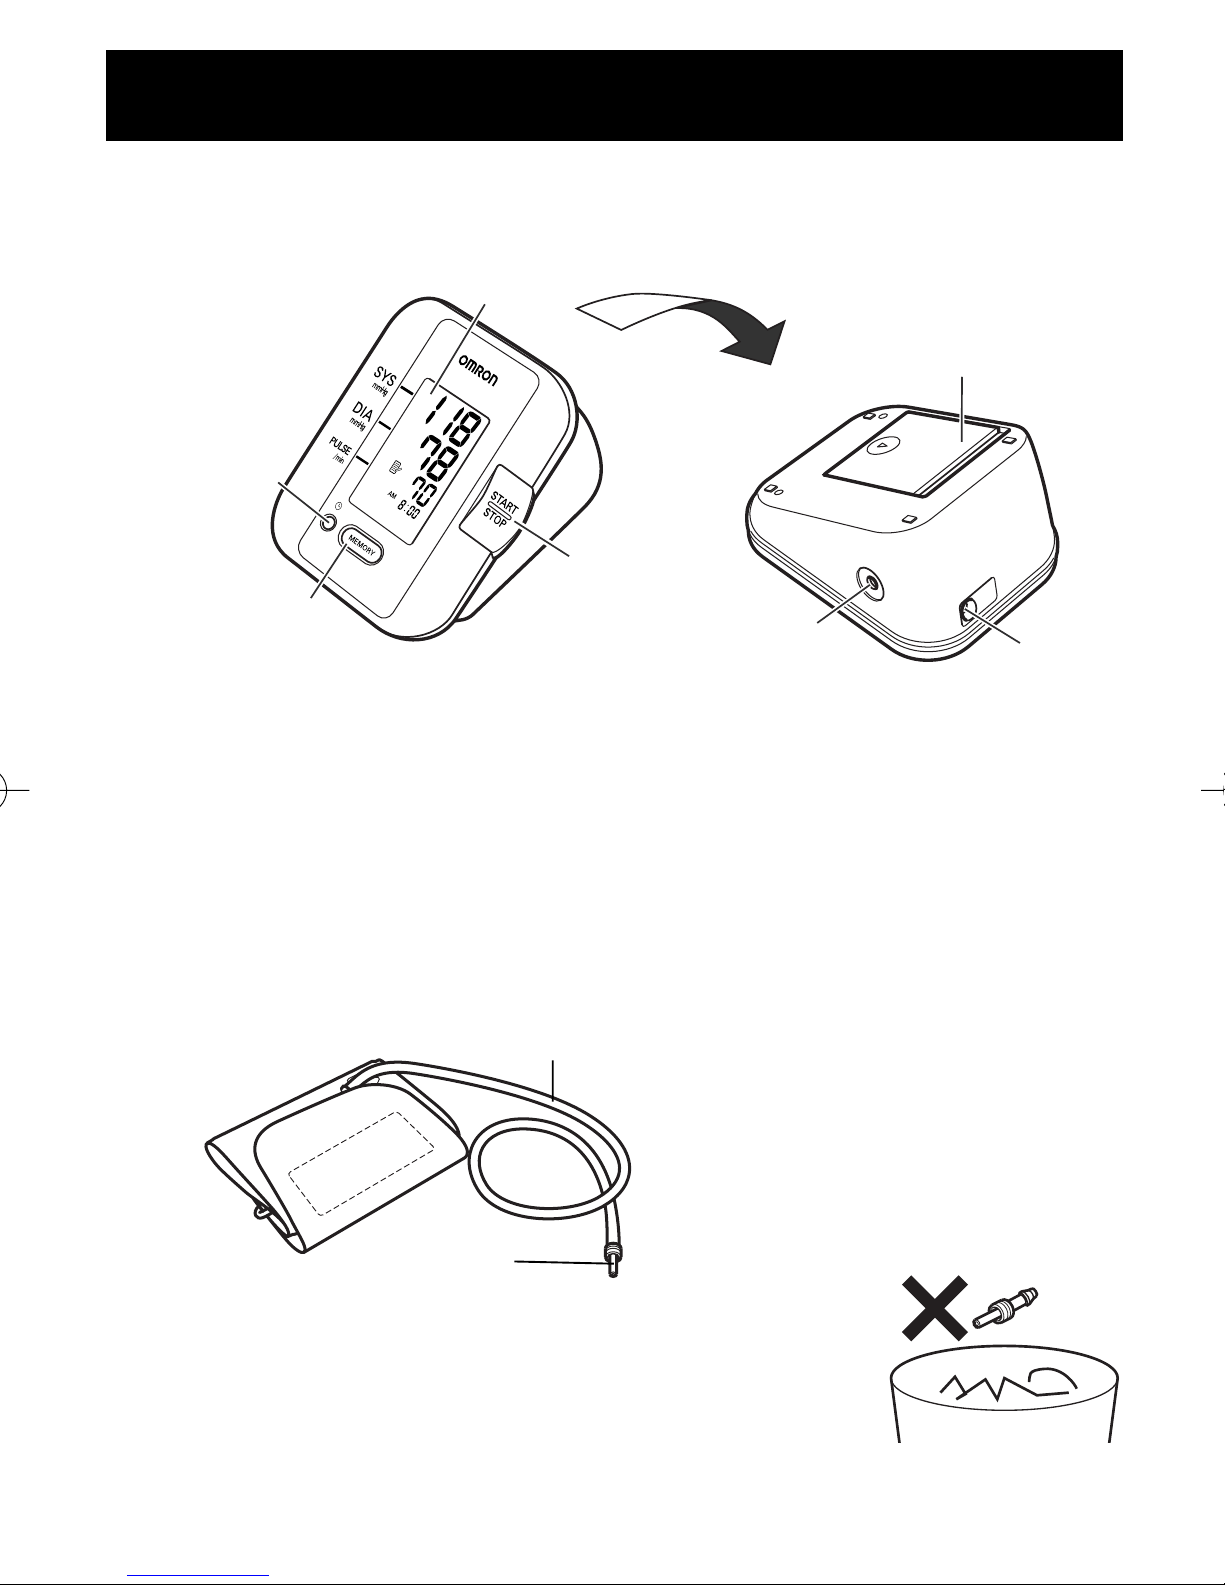
KNOW YOUR UNIT
Air Jack
Main Unit:
Battery Compartment
START/STOP
Button
MEMORY Button
Settings Button
Display
AC Adapter Jack
Arm Cuff:
Air Tube
Air Plug
The arm cuff should last for 18 months, when used four times a day.
To ensure accurate measurement results, you should change to a
new arm cuff after this period.
If air starts to leak from the arm cuff, please purchase a new one.
NOTE: An air plug is not included with the
replacement arm cuff. Do not dispose
of the current air plug when you
purchase a new arm cuff.
HEM-2
7
KNOW YOUR UNIT
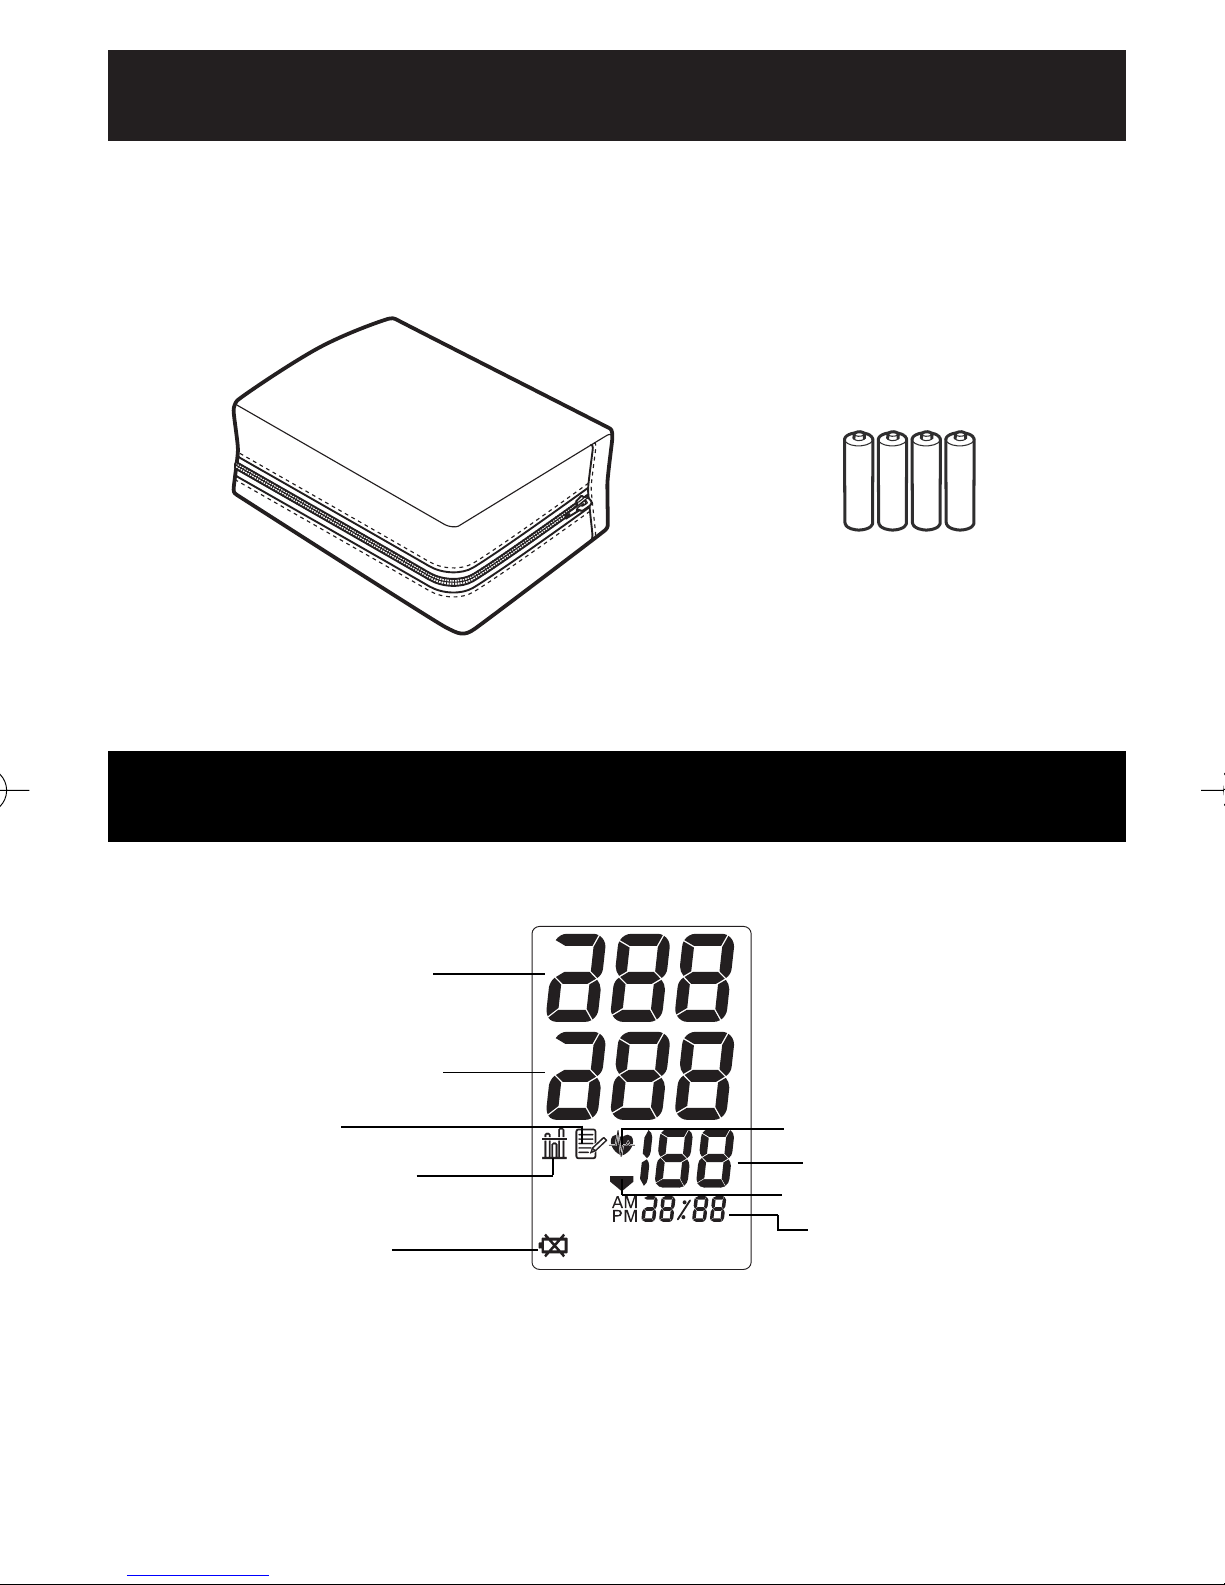
Diastolic Blood Pressure
Systolic Blood Pressure
Memory Symbol
Pulse Display
Date/Time Display
Battery Low Symbol
Average Value Symbol
Heartbeat Symbol
Deflation Symbol
UNIT DISPLAY
Storage Case
Components:
Four “AA” Alkaline (LR6) Batteries
HOW TO USE YOUR BLOOD PRESSURE MONITOR
8
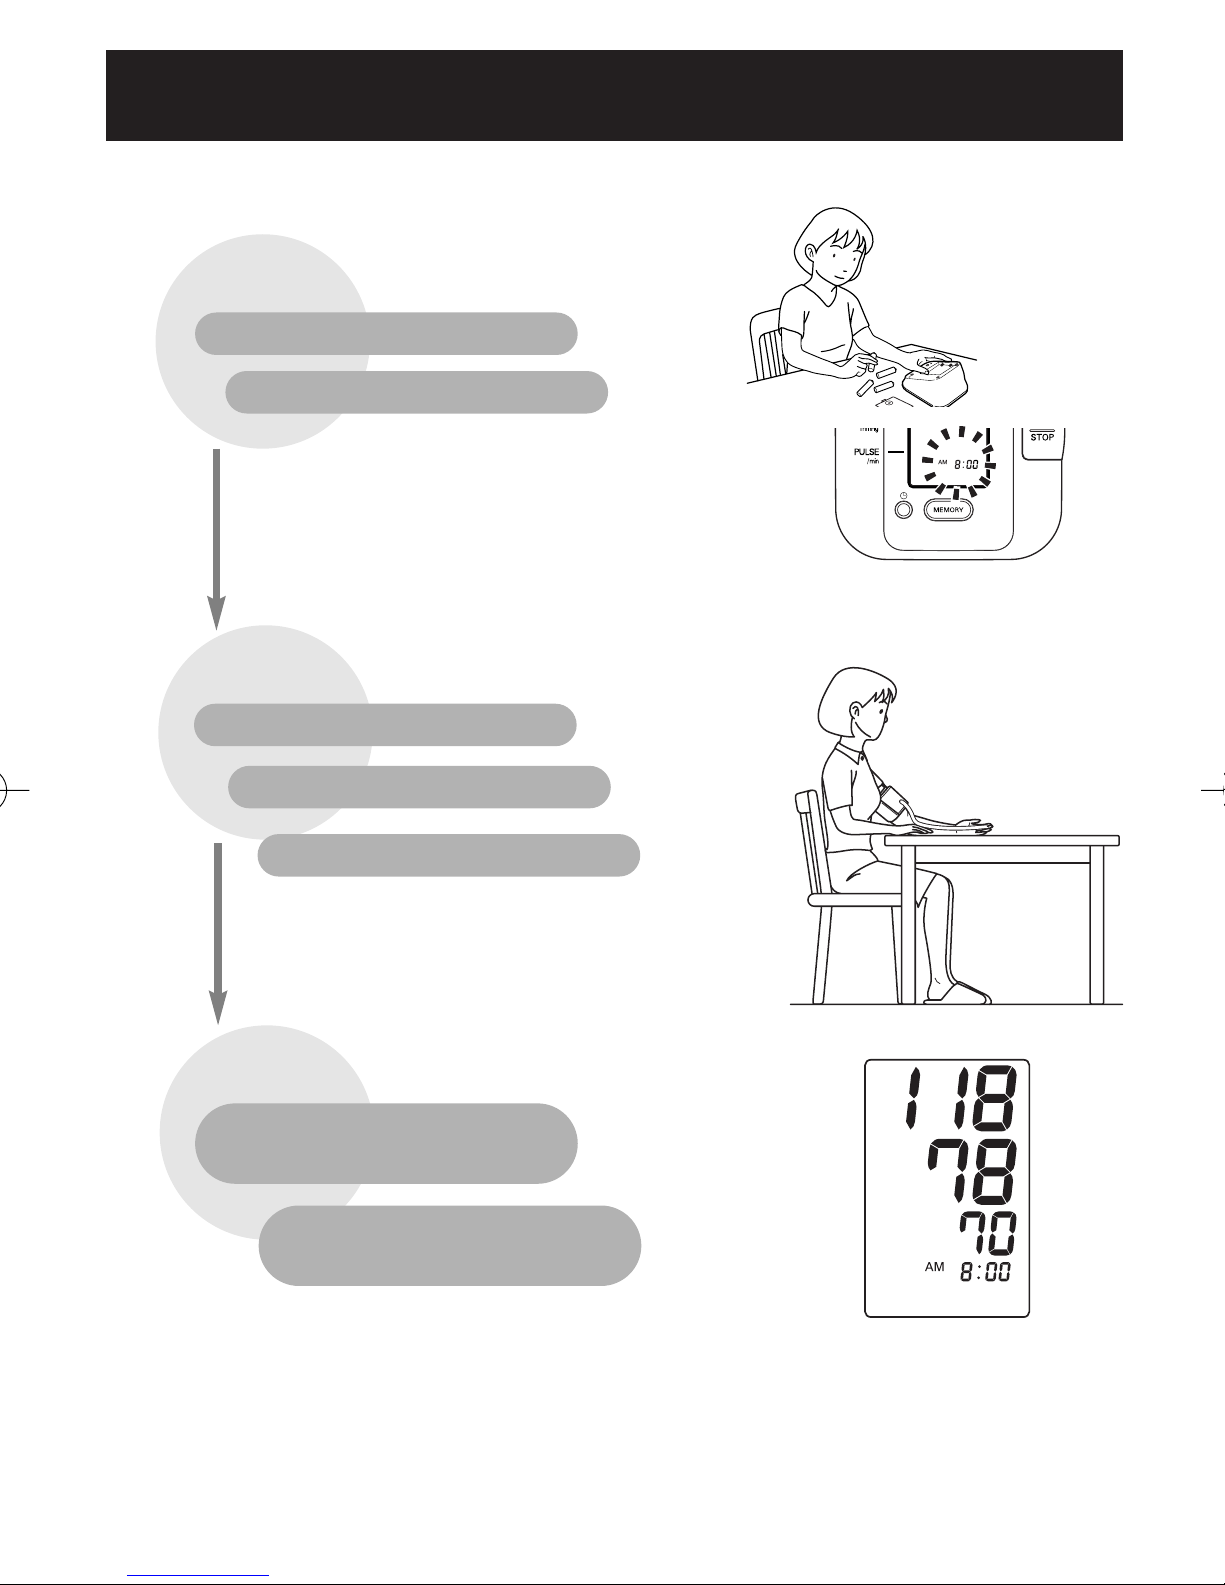
Preparation
Set the date and time
Measurement
Sit correctly
Apply the arm cuff
Start measurement
View Results
Check the
measurement result
View previous
measurement results
page 9
page 11
page 13
page 15
page 17
page 19
page 21
Measurement results automatically stored in memory
(Up to 60 measurements)
Insert the batteries
9
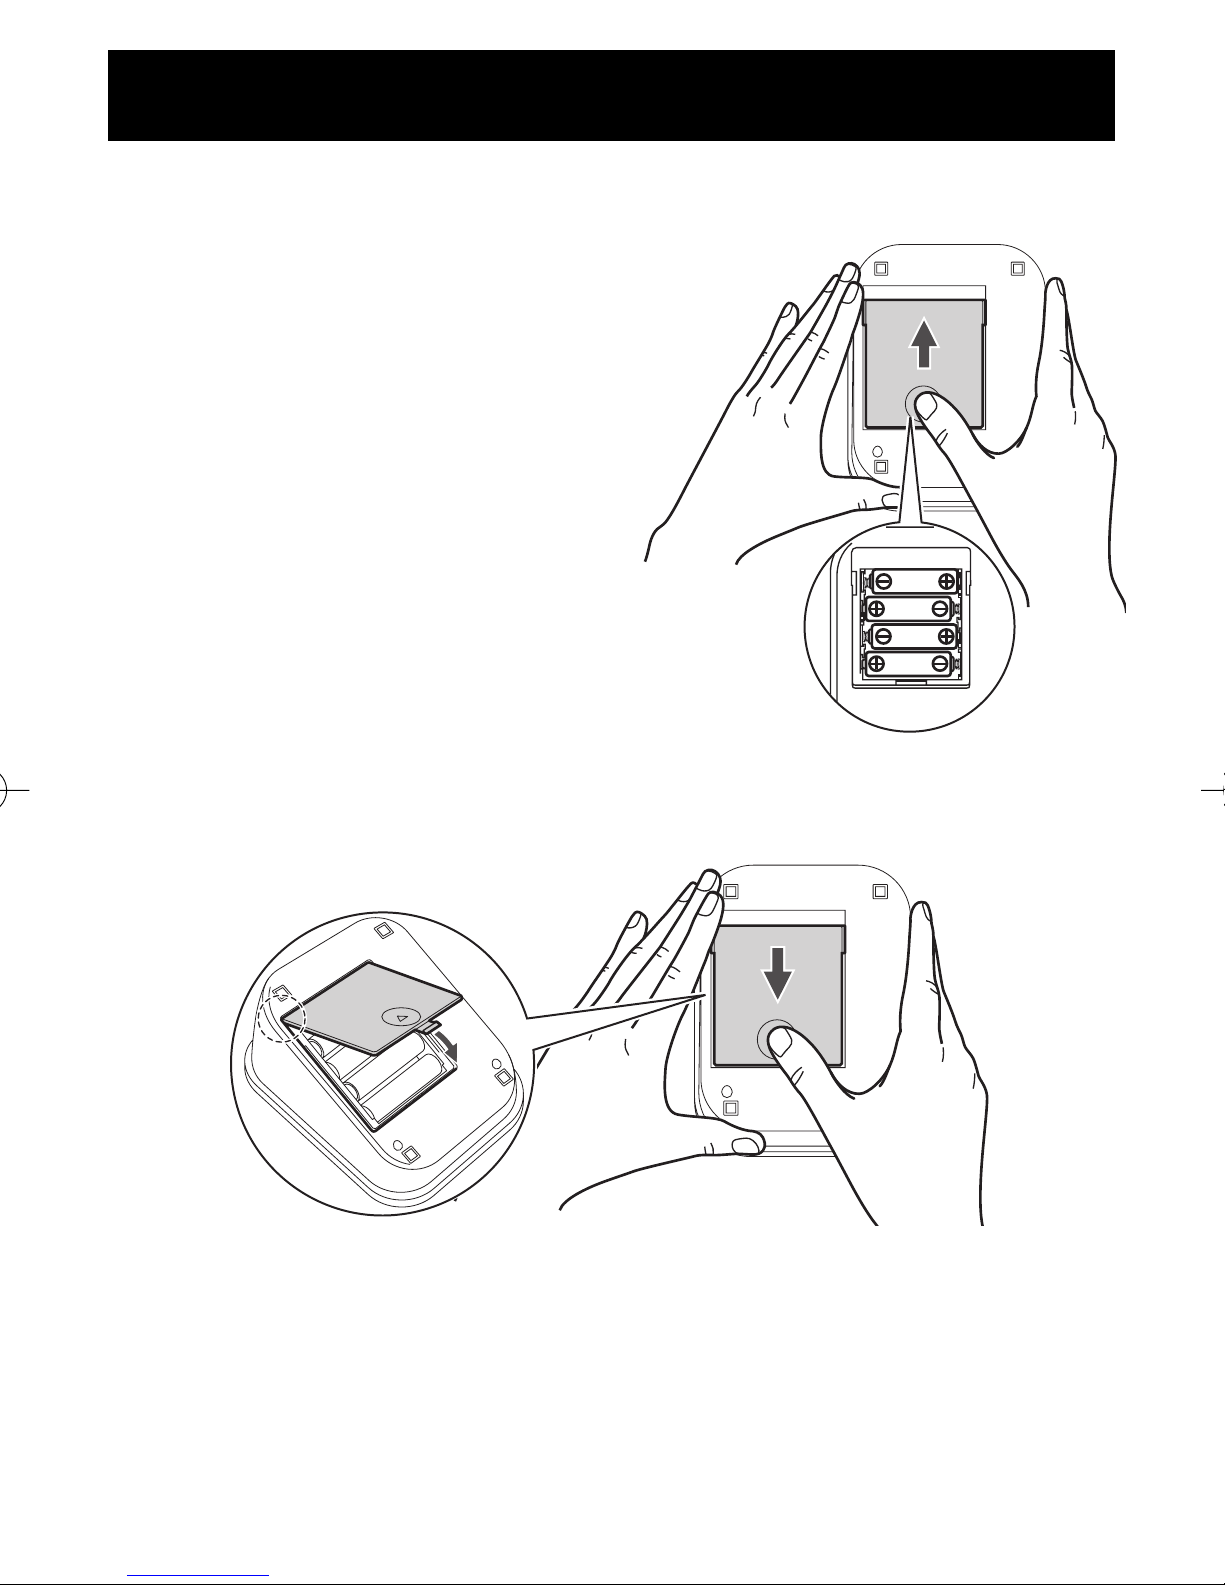
1. Turn the main unit over.
2. Slide the battery cover in the
direction of the arrow while pressing
the ribbed part of the cover.
3. Install or replace four “AA” size
batteries so that the + (positive) and
- (negative) polarities match the
polarities indicated on the battery
compartment.
4. Replace the battery cover.
Slide the battery cover as indicated, until it clicks into place.
NOTE: The monitor memorizes previous measurement results even when
the batteries are replaced.
HOW TO INSTALL/REPLACE THE BATTERIES
10
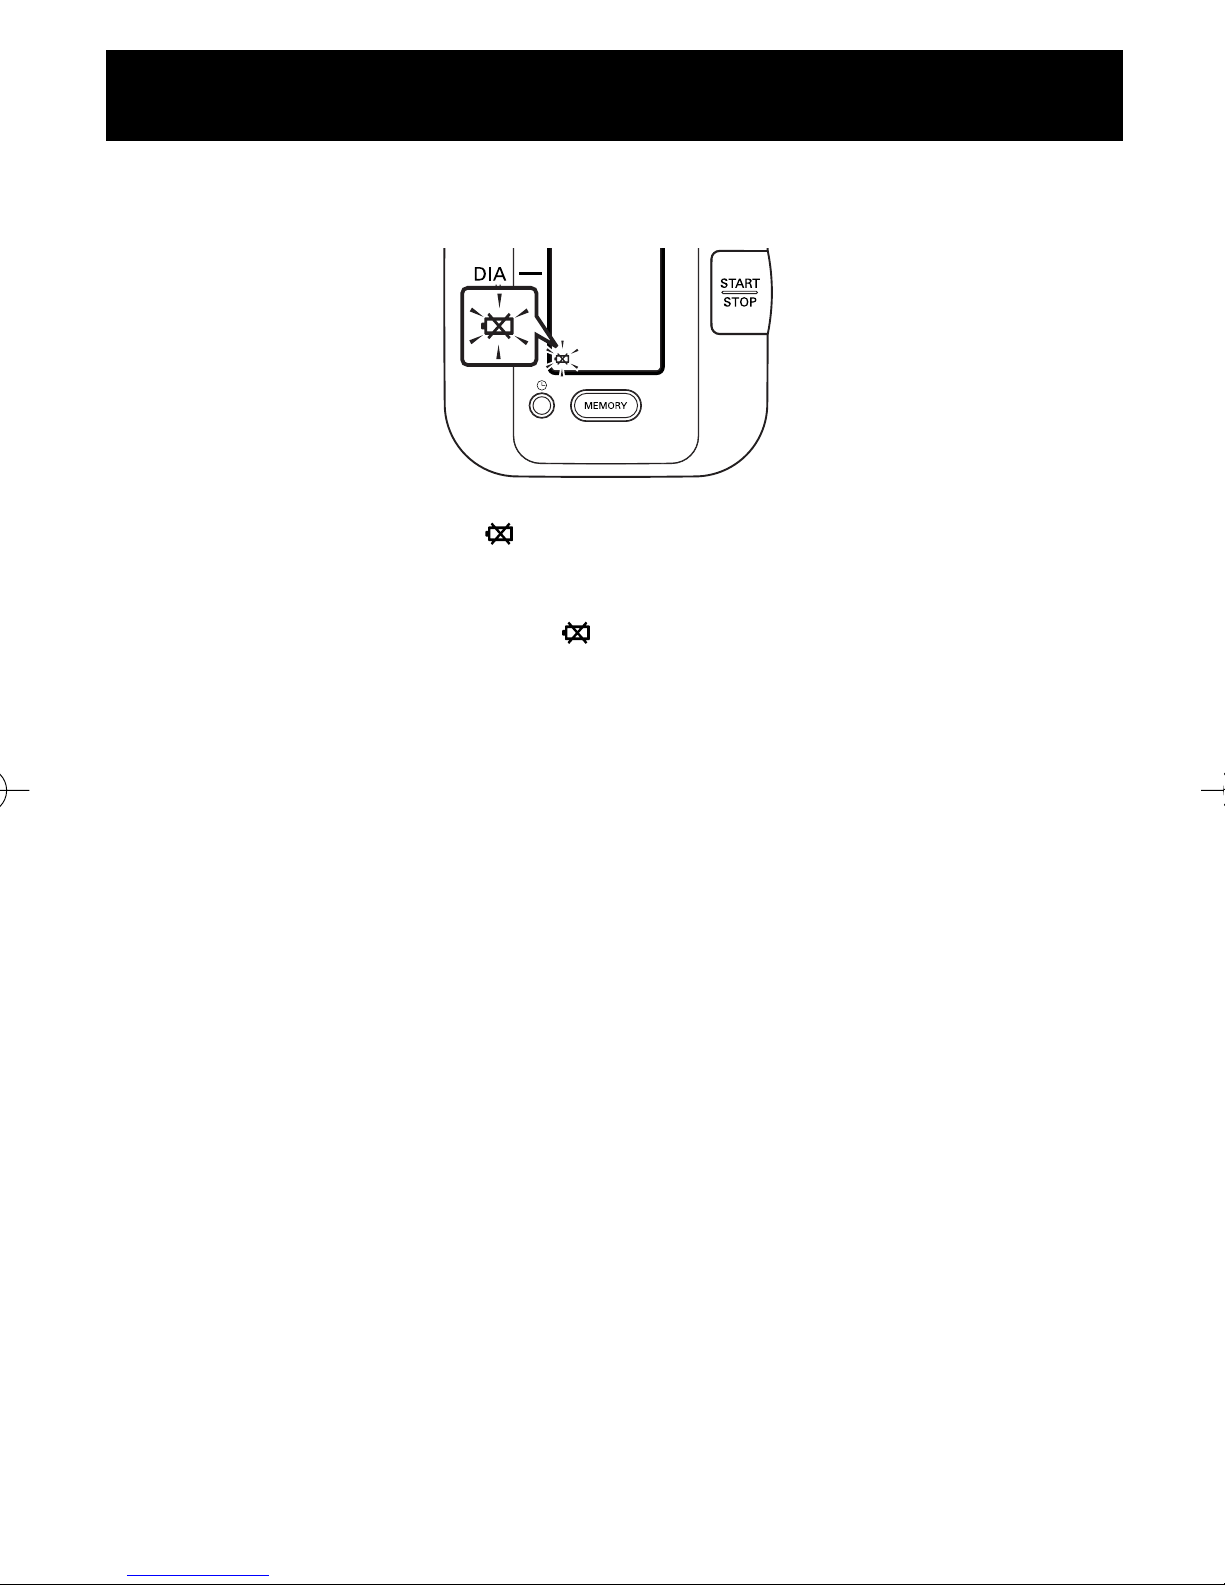
Battery Life & Replacement
If the battery low symbol ( ) appears on the display, replace all four
batteries at the same time.
Even if the battery low symbol ( ) starts to blink, you will still be able
to use the unit for a short while. However, you should replace the
batteries with new ones when the symbol remains lit.
• Turn the monitor off before replacing the batteries.
• Remove the batteries if the monitor will not be used for more than
3 months.
• If the batteries are removed for more than 30 seconds or so, the
Date/Time setting will need to be reset. See “Setting the Date and
Time” for details.
• Dispose of batteries according to applicable local regulations.
Four new “AA” manganese batteries will last for approximately 300
measurements, when used to take two measurements a day.
Since the supplied batteries are for monitoring use only, they may have a
shorter life and not last for 300 measurements.
HOW TO INSTALL/REPLACE THE BATTERIES
 Loading...