

Page 1
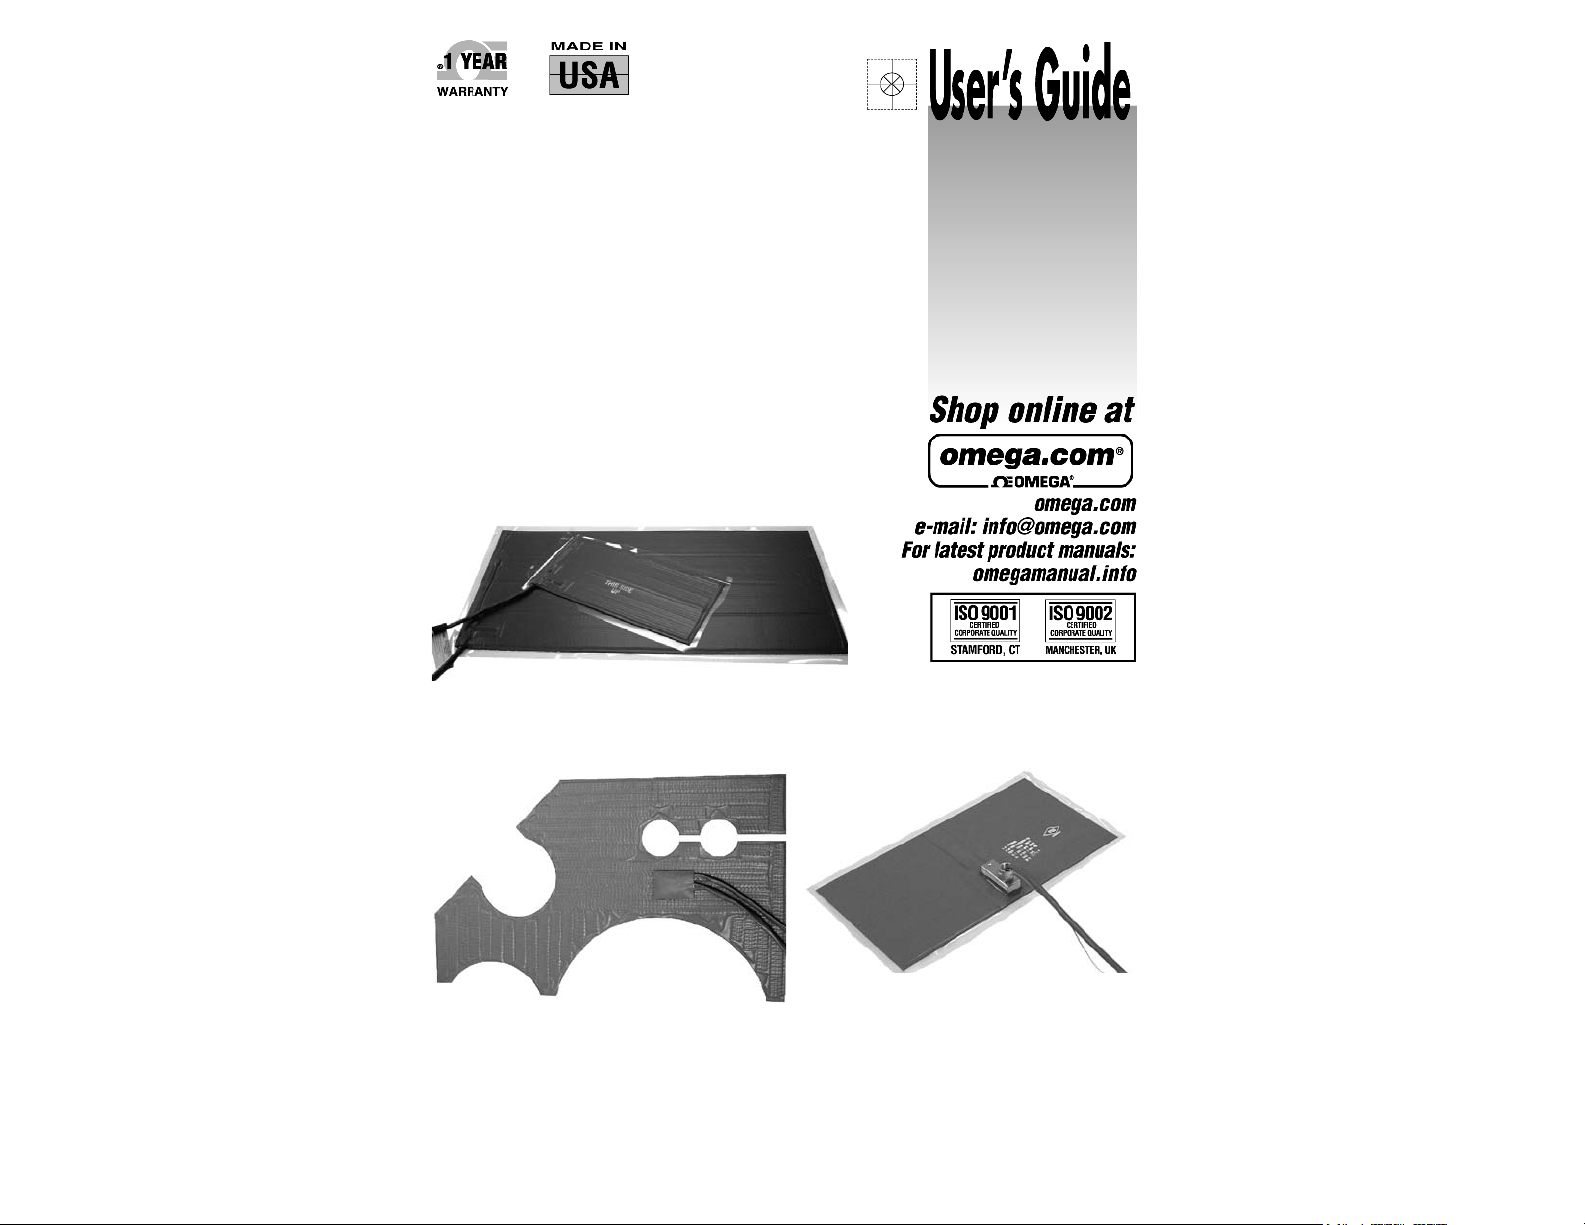
SSHB, SRMU, SEPHB SERIES
Silicone Rubber Heating Blankets
Page 2
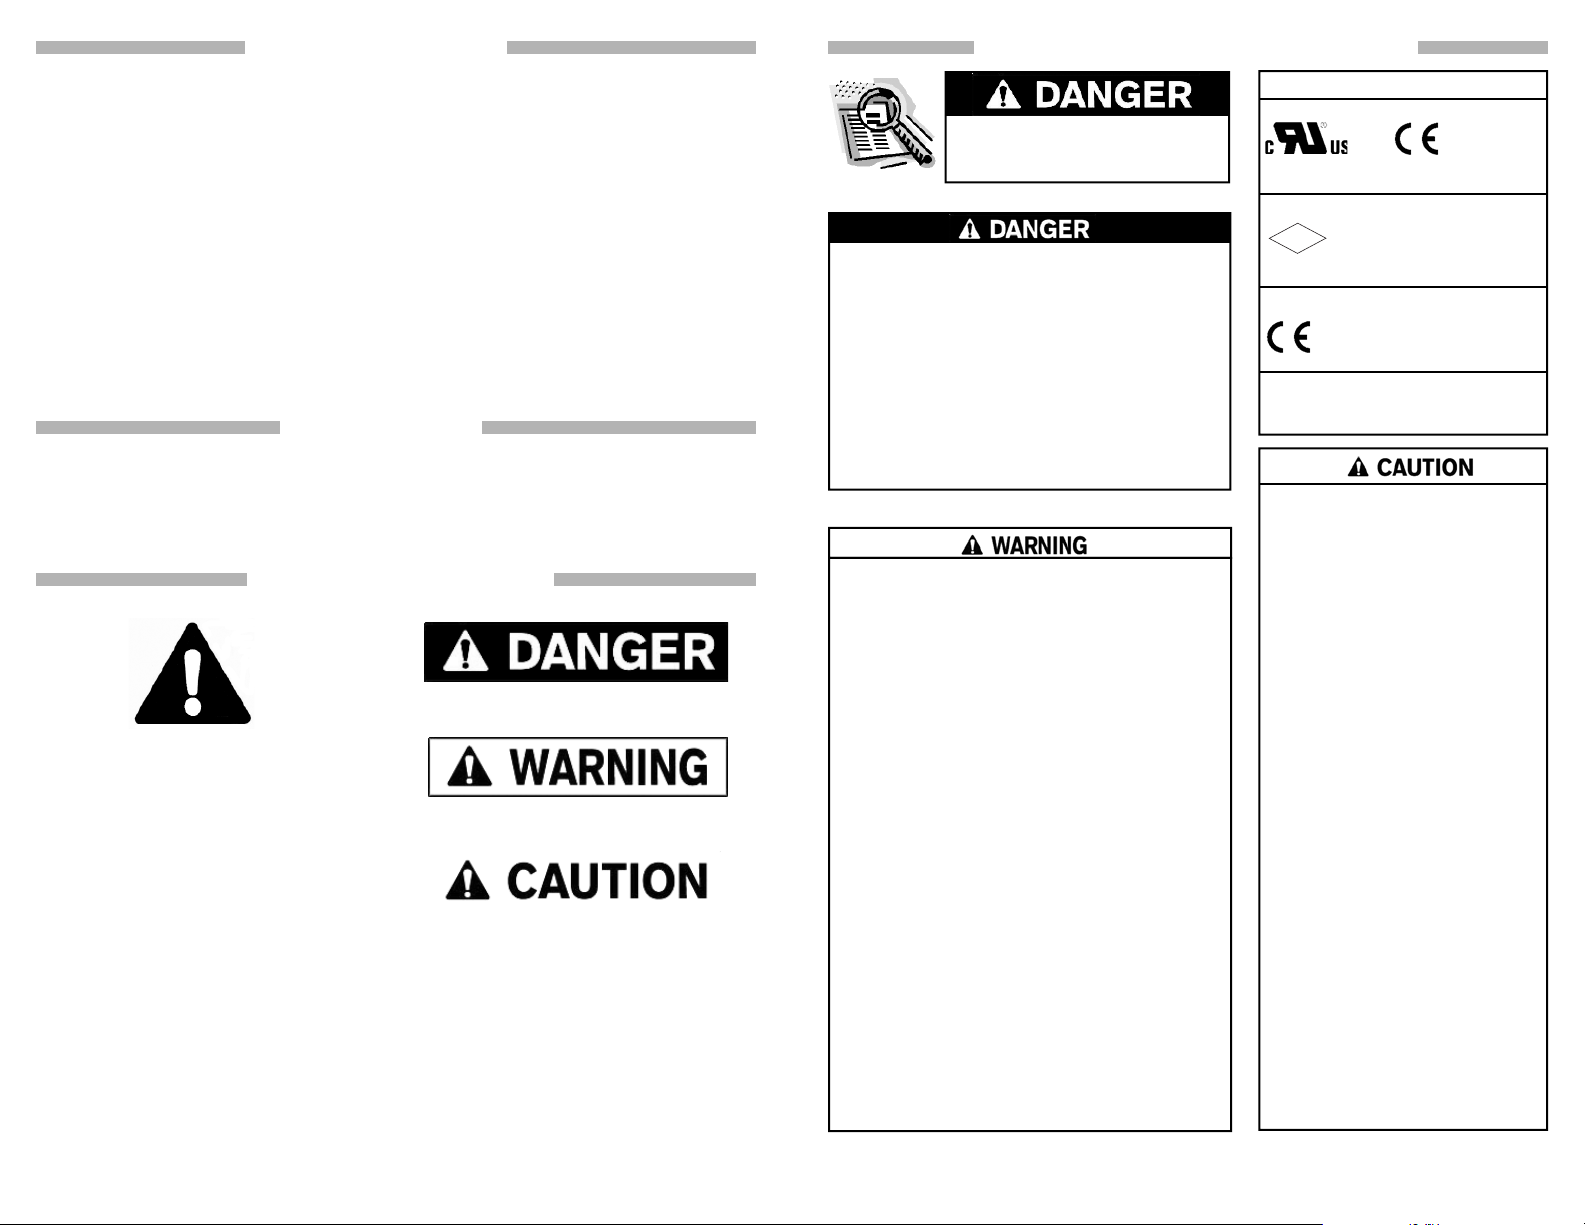
TABLE OF CONTENTS
IMPORTANT SAFETY INSTRUCTIONS
Introduction...................................................................
Safety Alert Symbol.......................................................
Important Safety Instructions……………......................
Prior to Installation........................................................
Mounting Your Heating Blanket.....................................
Connecting Your Heating Blanket to a Power Source...
Troubleshooting Guide..................................................
Warranty........................................................................
Return Requests / Inquires...........................................
2
2
3
4
5
6
7
BACK
BACK
INTRODUCTION
Thank you for purchasing this silicone rubber heating blanket. Your heater is
designed to provide a long and effi cient service life with function, reliability, and
safety in mind. For successful operation of these heaters, read and understand
these instructions prior to use.
SAFETY ALERT SYMBOL
Immediate hazards which WILL result in severe
personal injury or death
The symbol above is used to call your attention
to instructions concerning your personal safety.
It points out important safety precautions. It
means “ATTENTION! Become Alert! Your
Personal Safety is involved!” Read the
message that follows and be alert to the
possibility of personal injury or death.
Hazards or unsafe practices which COULD result in
severe personal injury or death
Hazards or unsafe practices which COULD result in
minor personal injury or property damage.
SAVE THESE INSTRUCTIONS!
Additional copies of this manual are available upon request.
© Copyright 2006 OMEGA ENGINEERING, Inc. All rights reserved. This document may not be copied, photocopied,
2
reproduced, translated, or reduced to any electronic medium or machine-readable form, in whole or in part, without the
prior written consent of OMEGA ENGINEERING, INC
Agency Approvals
A person who has not read and
understood all installation instructions
is not qualifi ed to install this product.
• Do not immerse heater in liquid.
• Keep volatile or combustible material away from
heater when in use.
• Use heater only in approved locations.
• Keep sharp metal objects away from heater.
• All SEPHB blankets have T ratings described
in Article 501 of the NEC code. The blankets
should not be used in an area with a lower T
rating than the blanket. The T rating is stated in
marking on the blanket.
Failure to observe these warnings may result in
electric shock, risk of fi re, and personal injury.
End User Must Comply to the Following:
• Only qualifi ed personnel are allowed to connect
electrical wiring.
• Disconnect all supply power at the source before
making any power connections.
• All electrical wiring must follow local electrical
codes and highly recommend following NEC
Article 427.
• Final installation / wiring is to be inspected by the
authority who has jurisdication in the area that
the heater is installed.
• The end-user is responsible for providing a
suitable disconnecting device.
• The end-user is responsible for providing
suitable electrical protection device. It is highly
recommended that a ground fault circuit breaker
is used.
• SEPHB series: A NRTL (National Recognized
Testing Laboratory) listed temperature controller
with a failure annuciation must be used to control
the surface temperature of the blanket. The
controller must be approved for the area where it
is located.
• SEPHB series: If heater is used to heat volatile
material, an auxiliary temperature control,
sensing the contents of the vessel, should be
used to avoid overheating the material.
Failure to observe these warnings may result in
personal injury or damage to the heater.
© Copyright 2006 OMEGA ENGINEERING, Inc. All rights reserved. This document may not be copied, photocopied,
reproduced, translated, or reduced to any electronic medium or machine-readable form, in whole or in part, without the
prior written consent of OMEGA ENGINEERING, INC
SSHB series
up to 358ºF (181ºC)
SEPHB series
FM
APPROVED
SRMU series
73/23/EC (Low Voltage Directive)
Approvals valid only when installed in
accordance with all applicable
instructions, codes, and regulations.
• Never handle the heater while it
is in operation; always disconnect
the heater from the power source
and allow to cool prior to handling.
• Inspect heater before use.
• Never operate heater without a
temperature control device.
• Do not wrap the heater over itself
• If spillage of foreign matter onto
heater occurs, disconnect from
power source and clean after
heater is allowed to cool.
• Never operate a heater without
an appropriate heat sink (device
being heated is considered a heat
sink).
• Do not operate heater above
rated temperature value.
• Fasten heater to device using
approved methods only.
• Do not repair damaged or faulty
heaters.
• Do not crush or apply severe
physical stress on heater or cord
assembly.
• Disconnect heater when not in
use.
• SEPHB series: the metal
enclosure must not support more
than 10lbs (4.5kg).
Failure to observe these warnings may
result in personal injury or damage to
the heater.
73/23/EC
(Low Voltage Directive)
Hazardous Locations
Class I, Division 2, Groups A, B,
C, & D
Class II, Division 2, Groups F & G
3
Page 3

Read and understand this entire manual before operating this electric heater.
1. Check for suspected damage to the heating blanket like rips, punctures, etc.
2. Verify surface to be heated is free from all sharp edges, weld splatter, rust, oil,
etc. Surface must be clean prior to installing heater.
3. Check that the desired placement of the blanket will not cause damage to the
blanket through impact shock, vibration, ambient temperature, or by neighboring
moving parts.
4. Confi rm voltage / wattage rating of heater is appropriate for power supply
device or temperature controller. The heater is designed to work at a specifi c
voltage to heat properly.
5. Confi rm blanket maximum exposure temperature rating is suitable for
environment. The temperature of the internal heating element may run up to
25% higher than the external surface of the blanket. Use extreme caution for
applications that require a process temperature near the maximum exposure
temperature ratings of the blanket.
- All Silicone rubber heating blanket except SEPHB exposure
temperature range: -60ºF to 450ºF (-51ºC to 232ºC)
- SEPHB exposure temperature range: -60ºF to 400ºF (-51ºC to 204ºC)
T3: 292ºF (145ºC) high limit thermostat
T4A: 158ºF (70ºC) high limit thermostat
6. If the heating blanket is equipped with PSA (pressure sensitive adhesive),
confi rm the heater was manufactured within the last six months. The PSA has a
“shelf life” of six months and must be installed before this time elapses. The date
of manufacture is stamped on the product box.
NOTE: If more than six months has elasped since date of manufacture, the blanket can be sent back
to the factory for re-application of PSA.
7. Confi rm all necessary installation hardware and tools are readily available.
Depending on the application, this may include...
Tools:
wire strippers
cleaning / prep supplies (varies based on what is being cleaned)
medium to hard roller
PRIOR TO INSTALLATIONPRIOR TO INSTALLATION
Hardware:
junction box wire ties mounting hardware
plug if connecting heater to a receptacle rather than hard wiring to a
temperature controller or junction box.
temperature controller and
silicone RTV insulating material
sensor
high-temperature adhesive tape
MOUNTING YOUR HEATING BLANKET
Your silicone rubber heating blanket can be mounted on both fl at and curved
surfaces. However, do not allow your heater to exceed the maximum “bend
radius”. The typical bend radius is approximately 2” (51mm). To determine the
bend radius, slowly bend the heater until it begins to crease or fold. The point
prior to creasing is the bend radius. Your heater may be more fl exible in one
direction than the other, however, the heater should be installed with the wires
exiting the bottom if in an outdoor application.
Your heater can be attached to the surface using:
• Factory applied PSA (pressure sensitive adhesive)
• Factory supplied mechanical fasteners
• Factory supplied or recommended mechanical clamping devices
• High-temperature adhesive tape that will not damage the heater
• Thin layer of RTV
For all installations, regardless of adhesion method:
1. For proper temperature control, place the thermocouple, RTD, or other sensing
device, so that it touches the edge of the heating blanket.
- Sensor must be in close proximity to the heater to prevent overheating.
- If heating blanket is installed on a vertical surface, place sensor directly
on lower edge of heating blanket since heat naturally rises.
- Sensor should be connected in accordance with instructions provided
with temperature controller.
- Secure with one strip of aluminum adhesive tape.
2. Ensure heater is in contact with the surface to be heated. If air gaps are
present, heat transfer will decrease and there is a potential to overheat the
heating blanket. Use a medium to hard roller to eliminate trapped pockets of air.
Do not wrap the heater over itself or allow it to contact a second
heater.
© Copyright 2006 OMEGA ENGINEERING, Inc. All rights reserved. This document may not be copied, photocopied,
4
reproduced, translated, or reduced to any electronic medium or machine-readable form, in whole or in part, without the
prior written consent of OMEGA ENGINEERING, INC
© Copyright 2006 OMEGA ENGINEERING, Inc. All rights reserved. This document may not be copied, photocopied,
reproduced, translated, or reduced to any electronic medium or machine-readable form, in whole or in part, without the
prior written consent of OMEGA ENGINEERING, INC
5
Page 4

MOUNTING YOUR HEATING BLANKET
Installation of heater using factory supplied Pressure Sensitive Adhesive
(PSA):
3. Peel off the release fi lm [Figure A] and then press the heater onto the surface
of the item being heated using a medium to hard rubber roller [Figure B]. Ensure
blanket is making intimate contact with the surface to be heated.
- The pressure sensitive adhesive will cure when the blanket is energized
and heat is generated. PSA generally cures in twenty minutes at 200ºF
(93ºC) in a 68ºF (20ºC) ambient environment. The cure time will vary
with temperature of the blanket and surrounding ambient conditions.
The higher the ambient temperature and set-point of the blanket, the
faster the cure time.
- The blanket may require a temporary method of attachment to secure
the heater until the PSA cures. Use a high-temperature adhesive tape
to secure the heater.
- For larger heaters, press the heater onto the surface as the fi lm is
removed.
®
NOTE: OMEGA
cure at temperatures below 40ºF (4ºC).
does not recommend allowing pressure sensitive adhesive to
CONNECTING YOUR HEATING BLANKET
TO A POWER SOURCE
2. Most heating blankets are available with an optional high-limit safety
thermostat to protect both the heater and the product being heated from
damage if the main controlling device fails. This option is especially
recommended for surfaces that are high risk for heat damage (e.g. plastic).
3. Ensure heater is protected by a properly rated circuit breaker or fuse.
4. Use of a ground fault circuit interrupter (GFCI) is highly recommended and
may be required according to local electric code.
5. Two wires (same color) should be connected to the power source (or
temperature control device) directly, through a junction box, or to a connector that
is mated to a receptacle connected to the power source. These heating blankets
are non-polarized, allowing either wire to be connected to the neutral or hot. The
third wire (if applicable), designated by the color green (or a green stripe), should
be connected to ground.
6. SEBHB series: The conduit connection is 3/4” hub.
TROUBLESHOOTING GUIDE
Please read this guide prior to contacting OMEGA. This guide is designed to
answer the most commonly asked questions. If you are unable to identify the
problem or need additional assistance, please contact us at 1-800-USA-HEAT.
Figure A: Removing Film
Figure B: Rolling the Blanket
CONNECTING YOUR HEATING BLANKET
TO A POWER SOURCE
1. If your heating blanket does not have its own internal temperature control
device, it must be connected to an external control device. The heater must not
be operated without some form of temperature control.
- Your heater is designed to operate at a specifi c voltage ±10%. Refer to the label on the heater
for proper operating voltage and wattage information. Failure to operate the heater at the specifi ed
rating could result in overheating of the heating blanket, the surface being heated, or personal injury.
Also note lower-than-rated voltage will result in under-heating.
- All electrical connections must be made by qualifi ed personnel and in accordance with all applicable
codes and regulations.
- SEBHB series: A NRTL (National Recognized Testing Laboratory) listed temperature controller with
a failure annunciation must be used to control the surface temperature of the blanket. The controller
must be approved for the area where it is located.
© Copyright 2006 OMEGA ENGINEERING, Inc. All rights reserved. This document may not be copied, photocopied,
6
reproduced, translated, or reduced to any electronic medium or machine-readable form, in whole or in part, without the
prior written consent of OMEGA ENGINEERING, INC
PROBLEM SOLUTION(S)
Does not heat Verify heater is connected to proper voltage.
Check to see if there is a resistance reading (not an
open circuit) in heater using an ohm meter.
Pressure sensitive adhesive is not
adhering
Circuit breaker is tripping Validate that the circuit breaker is capable of handling
© Copyright 2006 OMEGA ENGINEERING, Inc. All rights reserved. This document may not be copied, photocopied,
reproduced, translated, or reduced to any electronic medium or machine-readable form, in whole or in part, without the
prior written consent of OMEGA ENGINEERING, INC
Verify date of manufacture. PSA has a shelf life of six
months.
Ensure there are no air gaps and heater is making
intimate contact with surface being heated. Use a
medium to hard rubber roller.
the amp requirement of heater. The identifi cation
label located on the power cord displays the heater’s
amperage requirement.
Examine heater and cord for any damage.
Check to see if there is a resistance reading between
power leads and the ground lead.
7
Page 5

M-4281/06
PN: 11661-01 Rev 0
 Loading...