


PrintView for Oki Installation and Quick Setup
This booklet covers the basics of getting PrintView up and running. It explains how to install the
software, how to add printers to the system, and how to add users and user groups.
See the on-line User Guide on the CD-ROM for details on using PrintView to track, route, and capture
information from incoming jobs.
Installing PrintView
You must have System Administrator privileges to install PrintView.
If you are installing under Windows NT4, please read “Windows NT4 Installation ONLY” below.
Standard Installation
• Insert the PrintView CD-ROM.
• If AutoPlay is not activated, or setup does not start automatically: Click Start, then Run, and
then Browse. Browse to the CD-ROM drive letter, then double-click PrintView_Setup.exe.
• Follow the on-screen instructions.
• Read all installation notes on the installation CD-ROM and in the Readme Information dialog
box.
PrintView does not need to be on the boot drive; however some components are installed in the
system’s registry.
The installation process is now complete. A folder named PrintView is on the target hard drive and
shortcuts are in the Start menu.
Windows NT4 Installation ONLY
Active Directory services
PrintView makes extensive use of Microsoft’s Active Directory technology. Windows NT4 systems do
not provide these services by default. In order for PrintView to run Active Directory services on a
Windows NT4 legacy system the following additional component is required:
• Active Directory Client Support
1
To install Active Directory support for Window NT4 legacy systems, locate and run the installer named
DSClient.exe on the PrintView CD-ROM. Follow the on-screen instructions.
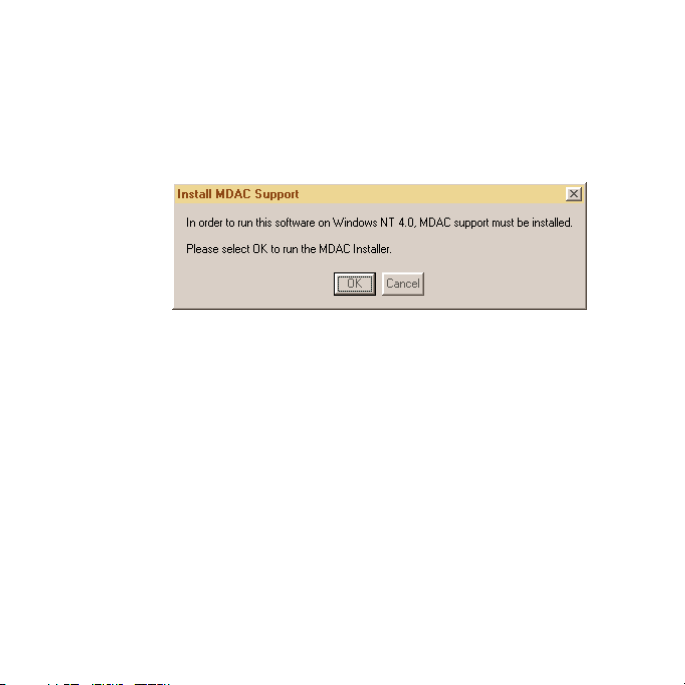
Access Database Support
In order for PrintView to utilize the Access database feature set on a Windows NT4 legacy system an
additional component is required:
• MDAC 2.5
The following dialog box appears during the installation.
Figure 1 Install MDAC Support dialog window
• Click OK and follow the installation process. You need to restart the server when the installation
is complete.
To install this component later, you can run the MDAC installer manually from the installation CDROM.
• Run mdac_typ.exe on the CD-ROM.
Running PrintView
To run the application, select the IPClient icon from the PrintView folder or go to the Start menu
and launch the shortcut.
2

Uninstalling PrintView
The installation process places a folder named “PrintView” on the target hard drive. As part of the
installation, an Uninstall program is provided as a short cut in the Start menu to remove all
components from the server, including changes to the system’s registry. We recommend that you use
this unintstall program is you want to remove PrintView.
Quick Set-up
Basic configuration for a new PrintView installation
The following section explains how to get PrintView up and running quickly at the basic level. To tap
into the most powerful features, you’ll need to do some additional configuration. PrintView was
designed for maximum flexibility and scalability for company systems administrators. We suggest that
you work through this section to set up PrintView and test configurations for the most effective use.
After getting a feel for the core functionality, expand its usefulness by using the more advanced
features explained in the online User Guide.
Note For Windows NT 4 Users
Currently PrintView only supports color detection and logging with Windows 95/98/ME clients.
Limited support is available for Windows NT clients (i.e., MS Windows NT workstation v4.x) if one of
the following conditions is met:
1. The workstation is configured to “Always Spool Raw Data Type” (use the following instructions to
change the NT default configuration):
• In the Printers folder, select the printer whose properties you want to change.
• On the File menu, click Properties.
• Click PrintProcessor.
• Click Always Spool RAW Datatype.
2. The workstation prints to the server using LPR. We recommend usnig method #1, because using
LPR bypasses PrintView.
3

Adding Windows Printers
Do not set up your printer to use LPR. Printing using LPR bypasses the control and monitoring
features of PrintView.
Printer Setup
• Install two (2) printer drivers for each printer that PrintView will monitor.
• For the first (Output) printer driver installation (or any existing, active printers already installed),
make sure that the driver is configured to print correctly to the intended printer (right-click the
printer icon, select Properties, then click Print Test Page to verify this). The Output printer
should not be shared to prevent end users from bypassing PrintView; however, having an Output
printer shared does not affect PrintView’s operation.
• For the second printer driver, start the Add Printer wizard, then select Local Printer, then Add or
Create a new port, select Local Port for the Type, and the port name should be NUL. Click OK
when this is complete (Figure 3).
Figure 2 Add/Create New Local Port in Add Printer Wizard
4

Figure 3 Enter new port name, NUL
• Select the same printer and manufacturer as the Output printer.
• Select Keep existing driver.
• Change the Printer name. (We suggest using “ – Input” at the end of the actual printer name.)
Make sure to select Share as: for the Input printer
Follow the directions on the opening screen (to the right of the “Print Clusters” window) to add Print
Clusters followed by adding Printers. See Also: Print Clusters & Printers in the User Guide.
Adding Users
PrintView users must belong to a group. PrintView has two predefined groups by default: General
Users and Unassigned. The parent group node is General Users, to which any additional groups must
be assigned. Users can be assigned to any level of group in the tree. The unassigned group is the
repository for unknown users that print to a shared print cluster. It is possible to add groups to the
unassigned group node but it is not recommended.
To Add Users
• Click the Tools menu item, then select Manage Users and Groups.
The Users & Group Manager window appears.
5

Figure 4 PrintView User & Group Manager permits the
correlation between network users and Administrator defined
departments or sub-departments.
If an Active Directory server is found with valid user information, the Network Users box area at the
left fills with known network user names. In an Active Directory environment, the Auto Fill button
quickly transfers the Active Directory network users to the General Users Department at the right.
• Alternatively, Active Directory users can be added at once by selecting the General Users
department in the Departments/Sub-Departments window to the right, then clicking Add.
• Right-click on an existing department node in the Departments/Sub-Departments window and
select Add Group from the drop-down menu items.
In non-Active Directory environments you can add users manually.
6

Adding Users Manually
• Right-click in the Departments/Sub-Departments area in the User & Group Manager window.
• The User Information window appears.
Figure 5 User Information window
• Add or edit the user’s name in the Full Name field.
• Add or edit the user’s network name in the Network Name field.
• Add or edit any additional descriptive information in the Comment field.
• Repeat for each user.
Adding a Group
To get started using PrintView, adding groups is not necessary. To review in detail how to manage
groups, see Managing Users & Groups in the User Guide.
• Right-click on an existing department node in the Departments/Sub-Departments window and
select Add Group from the pop-up menu.
The Group Information window appears.
7

Figure 6 Group Information window
• Add or edit the name of the group in the Name field.
• Add or edit the contents of the Comment field; this can be left blank.
• Set or change the priority of the group; the default is Normal.
• Close the Group Information window.
PrintView is now ready to track, route and capture information
from incoming jobs
For more details on how to work with PrintView, see the online User Guide on your PrintView CD-ROM.
8
 Loading...