

Page 1

User's Manual
Custom Media Setup Guide
for
C911 DICOM PRINTER SERIES:
C911/C931 DICOM
ES9411/ES9431 DICOM
Pro9431 DICOM
Page 2
zReading the Manual
Symbols
Note
zThese are cautions and restrictions indicating how to operate the device correctly. Please read carefully to avoid misoperation
of the device.
Memo
zInformation that is useful to know before using this device, or information to be used for reference. We recommend that you
read all of these.
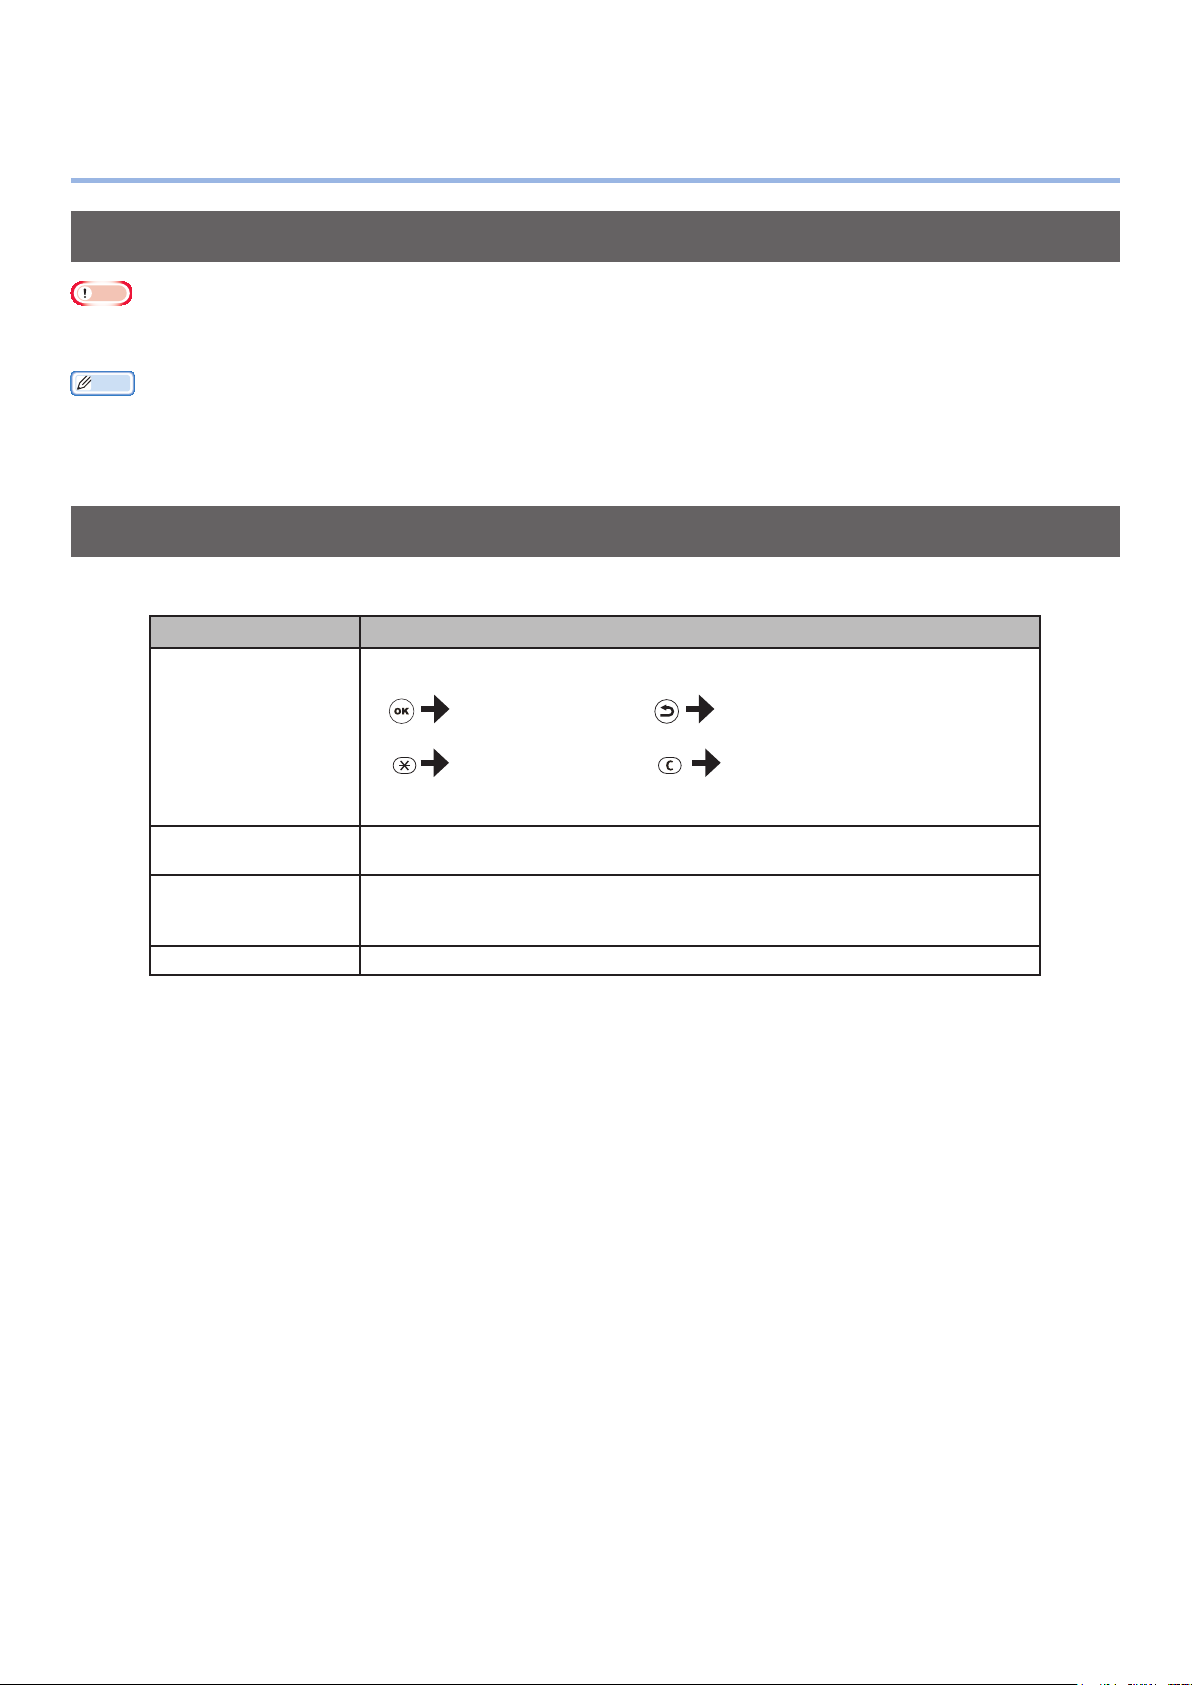
Keys, Buttons and Symbols
Keys, buttons and symbols are indicated in the following ways in this manual.
Notation Explanation
Control panel buttons and 10-key pad buttons are indicated as follows.
E.g.)
[OK] button [BACK] button
[ ] Button/key
[Fn] key [Clear] key
Indicates your PC keyboard.
[ ]
" "
> Indicates the menu level of the device or the PC.
Indicates the menu names on the LCD panel.
Indicates PC menus, windows and dialog box names.
Indicates messages and input text on the LCD panel.
Indicates le names and window names on the PC.
Indicates the title of a reference destination.
- 2 -
Page 3
Illustrations
Screens
The device illustrations used in this manual show
the C931 model unless otherwise specied.
Illustrations may differ from the actual product.
Images of the control panel and PC used in this
manual are examples. Images may differ from
the actual product and screen.
- 3 -
Page 4

Contents
Contents
Reading the Manual ............................................................................. 2
Symbols .................................................................................................................. 2
Keys, Buttons and Symbols ........................................................................................ 2
Illustrations ............................................................................................................. 3
Screens ................................................................................................................... 3
Custom Media Setup Tool ..................................................................... 5
Registering custom media .................................................................. 6
Registering custom media to the device ....................................................................... 6
Applying custom media when printing ................................................ 8
Specifying custom media for printing ........................................................................... 8
- 4 -
Page 5

Custom Media Setup Tool
zCustom Media Setup Tool
Printer control can be optimized by registering the custom media le which contains your using media
information into the printer.
The Custom Media Setup Tool is used to register the custom media le to the printer.
Memo
zThe custom media le is a custom media information le that controls factors such as the xing temperature and printing
speed for custom media in order to ensure excellent printing results are obtained for the specic print media.
- 5 -
Page 6

Registering custom media
zRegistering custom media
Registering custom media
to the device
Execute the Custom Media Setup Tool
1
(Custom Media Setup Tool.exe).
Select the language that you want to
2
use and click [OK].
Read through the [Software License
3
Agreement], select [I Agree] and click
[Next].
Select the device that you want to set
4
and click [OK].
Enter the device password and click
5
[OK].
zThe factory default password is [aaaaaa].
Select the Index number, and click
7
[Enter media information...].
Select a custom media le by clicking
8
[Browse...], and click [OK].
Select [Register new media to the
6
device] and click [Next].
Following screen is shown.
9
- 6 -
Note
zWhen there are multiple custom media les that
need to be registered, repeat above 7, 8 and 9
multiple times.
Page 7

Click [Register].
10
A dialog box prompting you to [Restart]
11
is displayed.
Click [Yes] to restart immediately.
Registering custom media
Note
zWhen restarting, check to make sure the device is
not being used by another user.
Note
zIf you select “No” in the dialog box above and
immediately exit the tool, you may need to restart
the device yourself in order to apply the settings.
Click [Cancel] to exit the Custom Media
12
Setup Tool.
- 7 -
Page 8

Applying custom media when printing
zApplying custom media when printing
Enter the number according to the
Specifying custom media
for printing
Set the media to be used.
1
Setting in the Multi-Purpose Tray
Setting the paper
orientation
ABC
(2)
paper tray to be used.
zFor the Multi-Purpose Tray
Press [9], [0] and press the [OK]
button.
zFor tray 1
Press [1], [0] and press the [OK]
button.
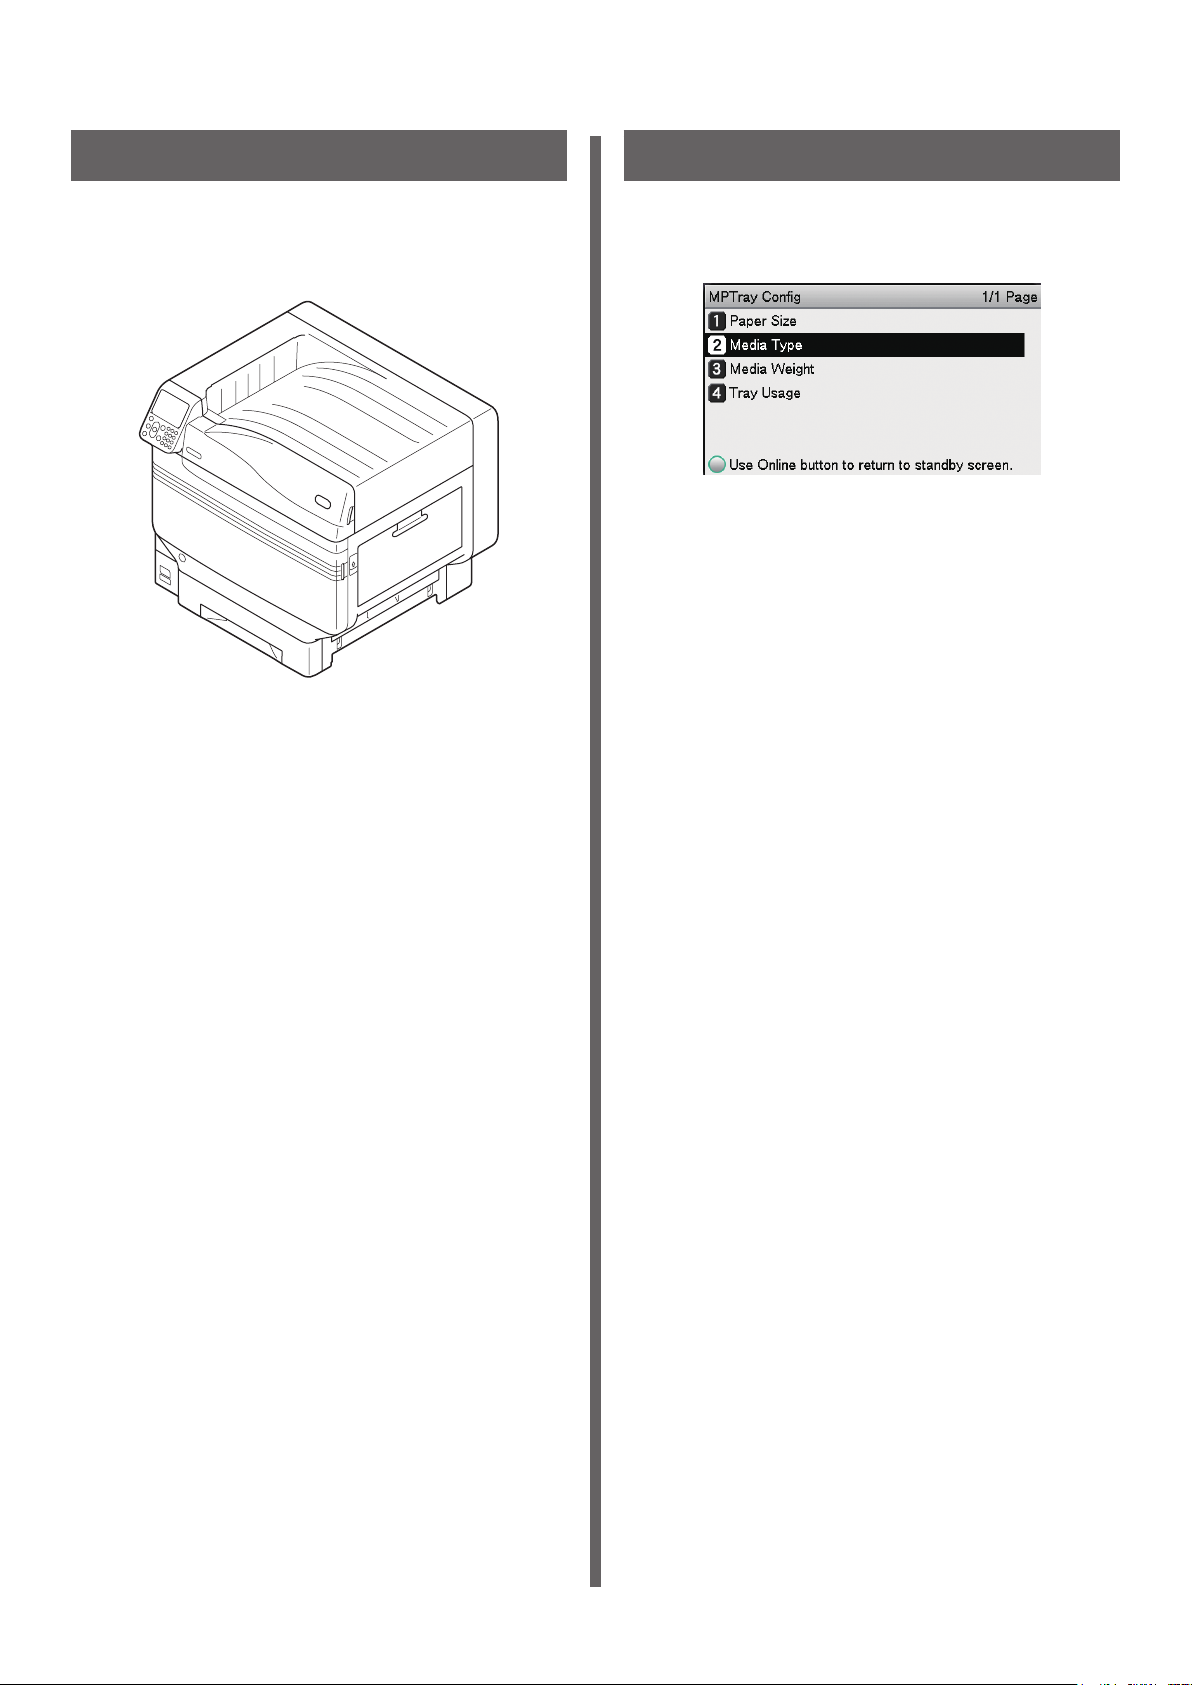
Setting in the paper tray
Set the Paper Size and Media Type
2
using the control panel.
Press the [Fn] key.
(1)
The numerical value input screen is
displayed.
Setting the paper
orientation
Select the paper size and press the
(3)
[OK] button.
Check that is displayed to the
(4)
left of the selected paper size, and
press the [Back] button.
Select [Media Type] and press the
(5)
[OK] button.
- 8 -
Page 9

Applying custom media when printing
Select the custom media that you
(6)
want to use and press the [OK]
button. Check that
is displayed
to the left of the selected custom
media.
Press the [ON LINE] button to
(7)
return to the standby screen.
Memo
zTo make setting for glossy paper;
(1) Print a medical image on glossy paper with
MEDGLOSS4 rst.
(2) Try the rest of options from MEDGLOSS3 to
MEDGLOSS1 in turn.
(3) Select a preferred one of MEDGLOSS Group for glossy
paper.
Note
zThe media with a narrow width of 216 mm or less can
NOT be used with ”Media Type” options of “MEDGLOSS1”
and “MEDGLOSS2”.
zIf printing on paper not recommended by OKI, thoroughly
test the print quality and paper traveling performance,
etc., and check that there are no impediments before use.
- 9 -
Page 10

Oki Data Corporation
4-11-22 Shibaura, Minato-ku,Tokyo
108-8551, Japan
http://www.oki.com/printing/
46832101EE Rev1
 Loading...