

Oce North America 6000 MICR+ line User Manual
Operation guide
Océ VarioPrint® 6000 MICR+ line

Copyright
© 2011-2013, Océ
All rights reserved. No part of this work may be reproduced, copied, adapted, or transmitted in
any form or by any means without written permission from Océ.
Océ makes no representation or warranties with respect to the contents hereof and specifically
disclaims any implied warranties of merchantability or fitness for any particular purpose.
Furthermore, Océ reserves the right to revise this publication and to make changes from time to
time in the content hereof without obligation to notify any person of such revision or changes.
Edition 2013-06
US

Trademarks
List of trademarks
Océ, VarioPrint, PRISMAaccess, PRISMAprepare, PRISMAproduction and DPlink are registered
trademarks of Océ-Technologies B.V.
Xerox, DocuTech, DigiPath and FreeFlow are registered trademarks of Xerox Corporation.
Adobe and PostScript are registered trademarks of Adobe Systems Incorporated.
Products in this publication are referred to by their general trade names. In most, if not all cases,
these designations are claimed as trademarks or registered trademarks of their respective
companies.


Contents
Contents
Chapter 1
Introduction.........................................................................................................................7
Notes for the reader.........................................................................................................................................8
Introduction to the Océ VarioPrint® 6000 MICR+ line...................................................................................9
Introduction to the main system components.............................................................................................10
Available documentation...............................................................................................................................12
Chapter 2
Transaction printing.........................................................................................................13
Introduction to the Transaction section .......................................................................................................14
Output recovery in case of an error..............................................................................................................17
Activate transaction printing.........................................................................................................................20
Deactivate transaction printing.....................................................................................................................21
Activate the MICR mode................................................................................................................................22
Shift the image in the transaction printing mode........................................................................................24
Handle the media messages - How to handle the Media message in the tray-to-tray mode..................25
Handle the media messages - How to handle the Media message in the tray-to-media mode.......26
Create a transaction setup - How to create a new transaction setup.........................................................27
Create a transaction setup - How to change the IPDS parameters......................................................27
Create a transaction setup - How to change the PCL parameters.......................................................29
Create a transaction setup - How to modify a transaction setup.........................................................30
Chapter 3
MICR fonts.........................................................................................................................31
MICR fonts.......................................................................................................................................................32
Chapter 4
MICR Toner........................................................................................................................33
Check the status of the toner reservoirs.......................................................................................................34
Add toner........................................................................................................................................................35
Appendix A
Miscellaneous....................................................................................................................37
Product specifications....................................................................................................................................38
Index...................................................................................................................................41
5

Contents
6

Chapter 1 Introduction
Notes for the reader
Notes for the reader
Introduction
This manual helps you to use the Océ VarioPrint® 6000 MICR+ line. The manual contains a
description of the product and guidelines to use and operate the Océ VarioPrint® 6000 MICR
line.
Definition
Attention-Getters
Parts of this manual require your special attention. These parts can provide the following:
• Additional general information, for example, information that is useful when you perform a
task.
• Information to prevent personal injuries or property damage.
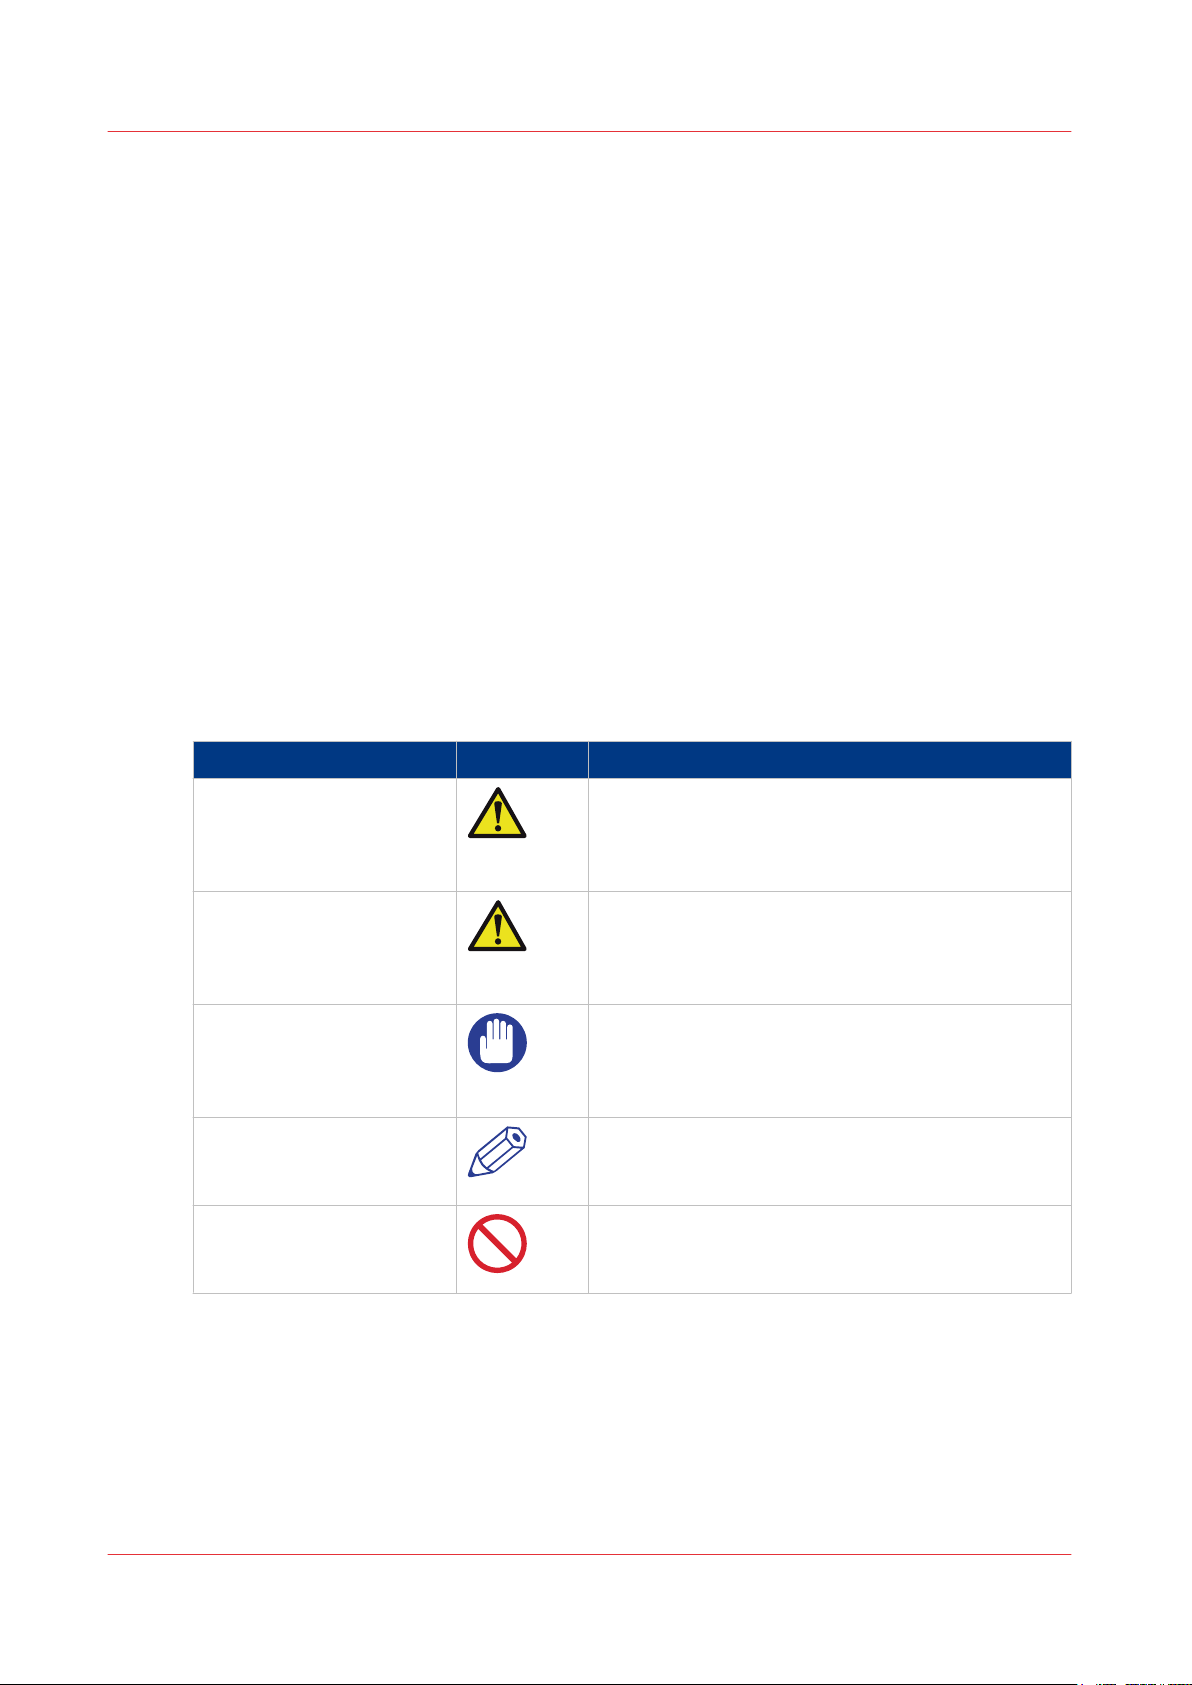
Symbols used in this manual
The following symbols are used in this manual to explain procedures, restrictions, handling
precautions, and instructions that should be observed for safety.
+
Overview of the attention-getters
Word Icon Indicates
WARNING
CAUTION
IMPORTANT
NOTE
Indicates a warning concerning operations that may
lead to death or injury to persons if not performed
correctly. To use the machine safely, always pay attention to these warnings.
Indicates a caution concerning operations that may
lead to injury to persons if not performed correctly.
To use the machine safely, always pay attention to
these cautions.
Indicates operational requirements and restrictions.
Be sure to read these items carefully to operate the
machine correctly and to avoid damaging the machine or property.
Indicates a clarification of an operation or contains
additional explanations for a procedure. Reading
these notes is highly recommended.
Indicates an operation that must not be performed.
Read these items carefully and make sure not to
perform the described operations.
Chapter 1 - Introduction
8

Introduction to the Océ VarioPrint® 6000 MICR+ line
Introduction to the Océ VarioPrint® 6000 MICR+ line
Introduction
The Océ VarioPrint® 6000 MICR+ line is a series of high-volume, cut-sheet printers. These printers
support magnetic ink character recognition (MICR). MICR printing is intended primarily for
transaction printing of valuable documents like cheques. A magnetic reader can read documents
printed with MICR toner.
The Océ VarioPrint® 6000 MICR+ line uses the Océ Gemini Instant Duplex Technology. This
technology enables the machine to print MICR toner on both the front side and the back side of a
sheet at the same time. Depending on your version, the sustained print speed ranges from 170,
200 to 250 images per minute (A4 / Letter) when you print a 2-sided document. The print speed
for 1-sided documents (A4/Letter) is 125 images per minute.
The Océ VarioPrint® 6000 MICR+ line prints only with MICR toner. A combination of MICR toner
and regular toner is not possible. However, you can also print regular documents with MICR
toner.
This section gives a short description of the main features of the printer.
Overview of the main features
• Support of magnetic ink character recognition (MICR) printing
• Océ Gemini Instant Duplex Technology that enables the printing of both sides of a sheet at the
same time.
• Advanced scheduling concept on the operator panel to keep the machine running.
• Load and assign the media while the printer prints.
• Unload the media while the printer prints
• Assign the media while the printer warms up, after the printer is initialized.
• Support of up to 12 paper trays (total input capacity up to 13,800 sheets) and a roll feeder.
• Support of up to 3 stackers, a finisher and other external finishers.
• Support of a large range of media, media sizes and media weights.
• Support of secure printing.
• Support of IPDS/PS/PCL/PDF and streaming PS.
•
Support of a large range of software products, for example the Océ PRISMA series, Xerox
FreeFlow®.
• Support of RDO files via Océ DP Link.
®
Chapter 1 - Introduction
9
1
2
3
4
3
1
2
5
6 6 7
4
Introduction to the main system components
Introduction to the main system components
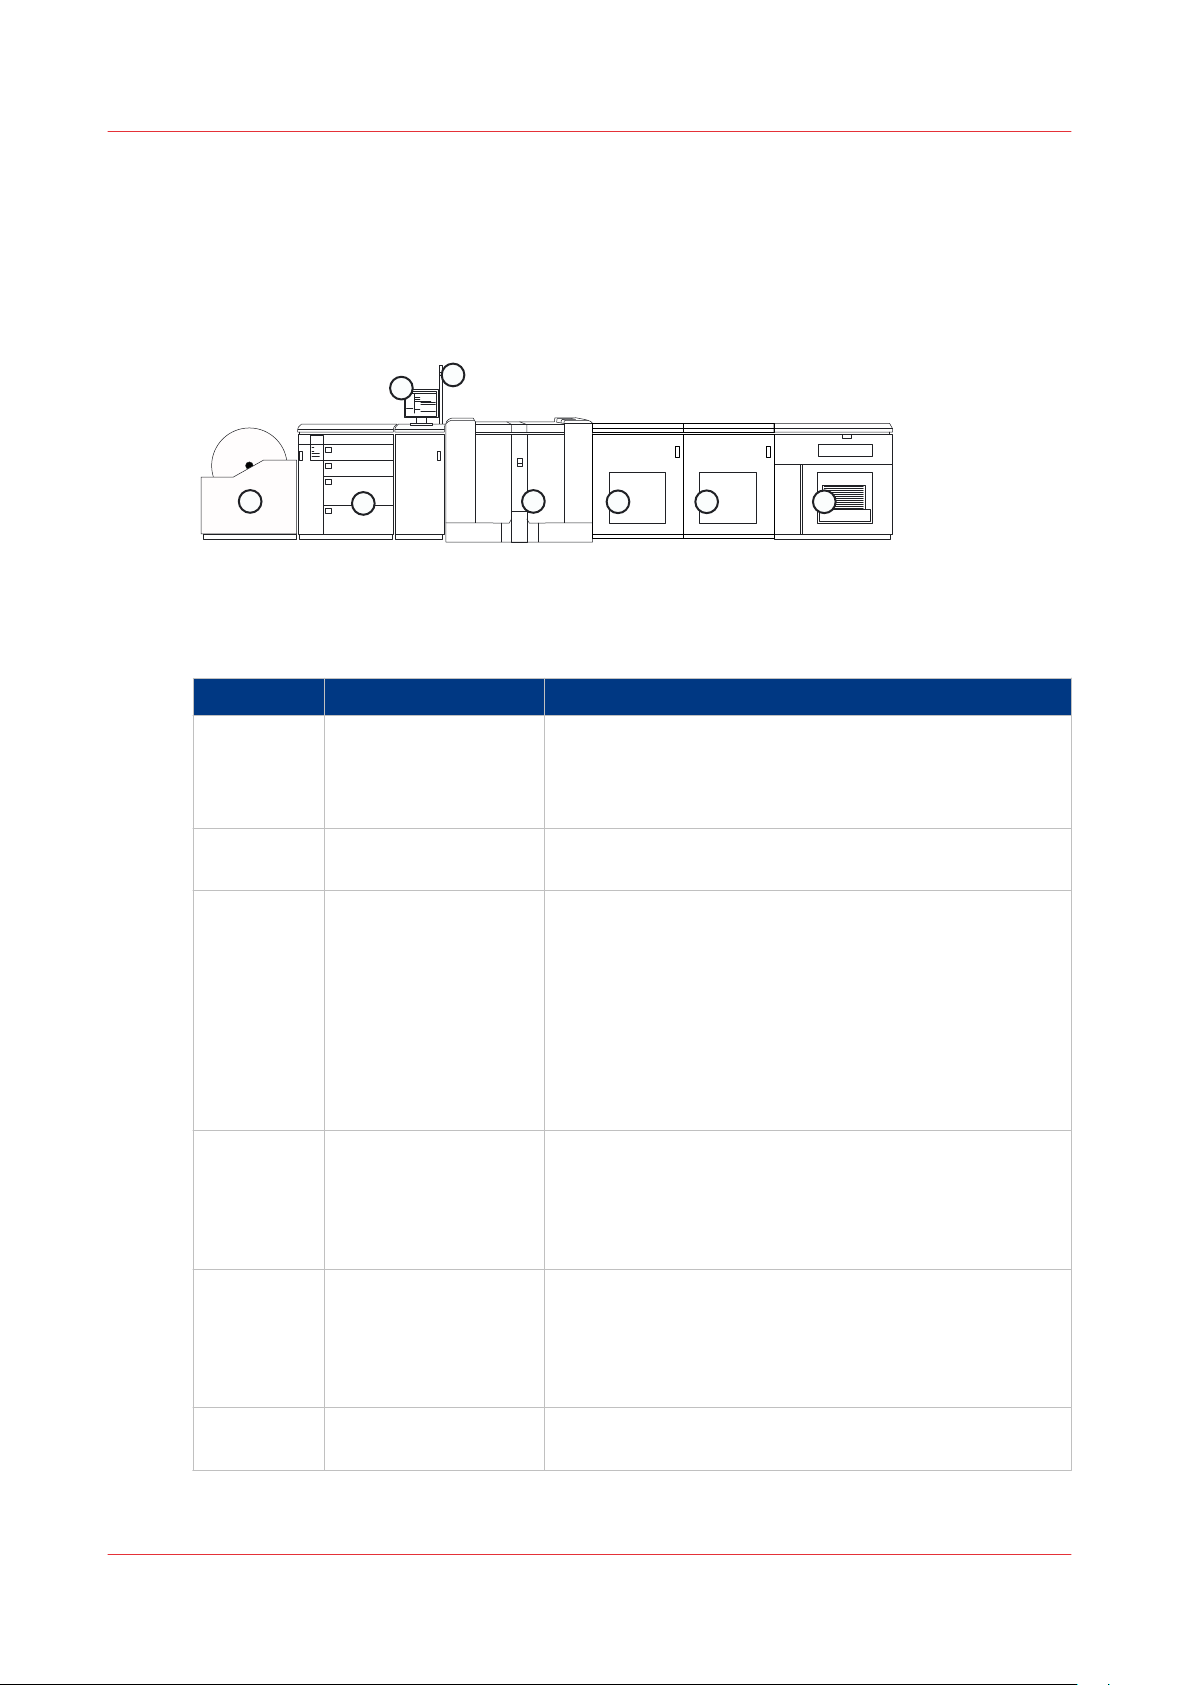
Introduction
The following illustration shows the main system components. The table describes the main
components.
[1] The main system components
The main system components
Component Function
1 Operator panel The operator panel helps you with your daily work, for
example the scheduling of the jobs. Furthermore, the
operator panel helps you solve errors or perform maintenance tasks.
2 Operator attention
light
The operator attention light enables you to check the
status of the system from a distance.
3 Roll feeder (optional) A roll feeder is an optional device that adds paper input
capacity to your printer. When you use a roll feeder, you
can only use 1 or 2 paper modules. A combination of 3
paper modules and a roll feeder is not possible. The operator panel displays the roll feeder and gives feedback
about the status of the roll feeder. For example whether
the roll is full or empty. Please refer to the documentation of the roll feeder manufacturer for more information, for example about replacing an empty roll.
4 Paper module The paper module contains 4 paper trays. The paper
trays contain the media that will be printed. The default
configuration of the system contains 1 paper module.
You can add 1 or 2 additional paper modules to the default configuration to increase the media input capacity.
5 Engine module The engine module contains the components that print
the media. Access to the engine module is only required
when a paper jam occurs or when maintenance is required. The doors at the left-hand side and right-hand
side of the engine module give access to the toner units.
6 PrintGuard modules The PrintGuard modules are required for MICR printing.
The PrintGuard modules postfuse the prints.
Chapter 1 - Introduction
10
4

Introduction to the main system components
Component Function
7 Stacker The stacker is the output location of a default configura-
tion. The system supports up to 3 stackers.
Chapter 1 - Introduction
11

Available documentation
Available documentation
Introduction
This machine is delivered with a documentation set that consists of the following items.
• A 'Safety Information Sheet'.
• A 'Documentation Notice'.
You can find and download the user manuals on global.oce.com.
User manuals Availability
User manual - Operating information
(MICR printing)
User manual - Operating information
(Document printing)
User manual - Maintenance tasks Available as a PDF file in multiple languages.
User manual - Safety information Available as a PDF file in multiple languages.
NOTE
Please check global.oce.com for the latest version of the documentation.
Main Content of the User Manuals
The following table provides an overview of the main content of the user manuals.
Main Content of the User Manuals
User Manual Main content
Operating information
(MICR printing)
Operating information
(Document printing)
• Introduction to MICR Printing
• Printing with MICR
• Add toner
• Overview of the main system components
• Working with the operator panel
• Handling and managing jobs on the operator panel
• Optional finishers and other devices
• Add media, toner and staples
Available as a PDF file (English only).
Available as a PDF file in multiple languages.
Maintenance tasks • Replacing parts
Safety information • Instructions for safe use
Chapter 1 - Introduction
12
• Cleaning parts
• Solve a paper jam in the engine module

Chapter 2 Transaction printing
1
4
32
Introduction to the [Transaction] section
Introduction to the [Transaction] section
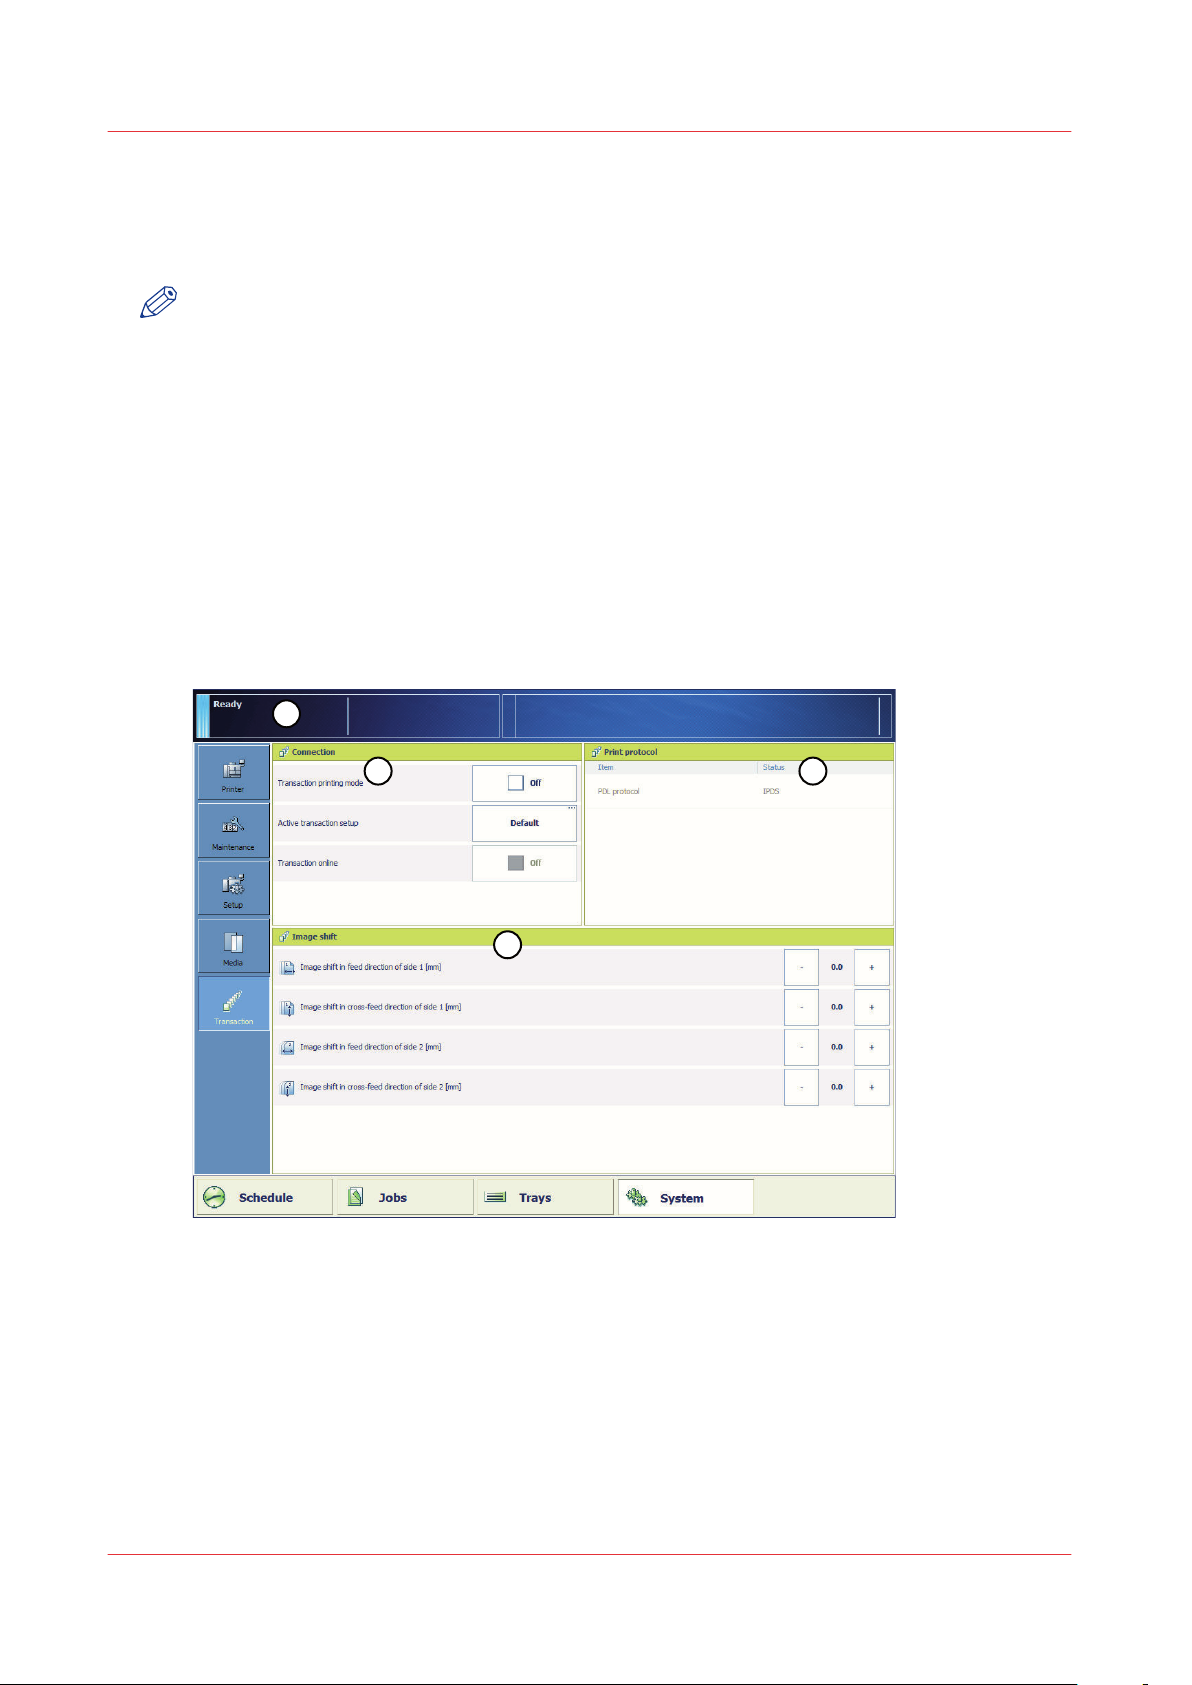
Introduction
NOTE
Transaction printing requires a license. The [System] view on the operator panel displays the
[Transaction] section only when transaction printing is licensed.
Transaction printing enables you to print typical transactional documents like invoices, salary
slips or other variable data streams. Before you can start transaction jobs, you must first activate
the transaction mode via the operator panel. The [Transaction] section contains the settings that
you need to use transaction printing. There you can also shift the image in case of a
misalignment.
The following information is described below.
• An overview of the items in the [Transaction] section on the operator panel.
• The sequence of steps you must perform to print your transaction jobs.
Overview of the [Transaction] section
[2] Overview of the [Transaction] section
Chapter 2 - Transaction printing
14
 Loading...