

Page 1

Part No. 204518-B
April 2000
4401 Great America Parkway
Santa Clara, CA 95054
Installing the Passport 8010
Chassis
Page 2

Copyright © 2000 Nortel Networks
All rights reserved. April 2000.
The information in this do cument is subject to change with out notice. The statements, con figurations, technical data, and
recommendations in thi s document are believed to be acc urate and reliable, but are present e d without express or implied
warranty. Users must take full responsibility for their applications of any products specified in this document. The
information in this document is proprietary to Nortel Networks NA Inc.
Trademarks
NORTEL NETWORKS is a trademark of Nortel Networks.
Passport is a trademark of Nortel Networks.
All other trademarks and register ed t r ademarks are the property of their respective owners.
Statement of Conditions
In the interest of improving internal design, operational function, a nd/or reliability, Nortel Networks NA Inc. reserves the
right to make changes to the products described in this document without notice.
Nortel Networks NA Inc. does not assume any liability that may occur due to the use or application of the product(s) or
circuit layout(s) described herein.
USA Requirements Only
Federal Communications Commission (FCC) Compliance Notice: Radio Frequency Notice
Note: This equipment has been tested and found to comply with the limits for a Class A digital device, pursuant to Part 15
of the FCC rules. These limits are designed to provide reasonable protection against harmful interference when the
equipment is operated in a commercial environment. This equipment generates, uses, and can radiate radio frequency
energy. If it is not installed and used in accordance with the instruction manual, it may cause harmful interference to radio
communications. Operation of thi s equ ipm ent in a resi dential area is likely to cause harmful interference, in whic h case
users will be required to take whatever measures may be necessary to correct the interference at their own expense.
European Requirements Only
EN 55 022 Statement
This is to certify that the Nortel Networks Passport 8010 Chassis is shielded against the gen eratio n of radio inte rfe rence in
accordance with the applica tio n o f Co un cil Dire c tive 89 /3 36 /EE C, Artic le 4 a. Co nfo rm ity is d e clare d by the application of
EN 55 022 Class A (CISPR 22) .
Warning: This is a Class A product. In a domestic environment, this product may cause radio interference, in which case,
the user may be requi red to take appropriate measures.
Achtung: Dieses ist ein Gerät der Funkstörgrenzwertklasse A. In Wohnbereichen können bei Betrieb dieses Gerätes
Rundfunkstöru ngen auftreten, in wel c hen Fällen der Benutzer für entsprech ende Gegenmaßnahmen verantwortlich is t.
Attention: Ceci est un produit de Classe A. Dans un environnement do mestique, ce produit ri sque de créer des
interférences radioélectriques, il appartiendra alors à l’utilisateur de pre ndre les mesures spécifiques appropriée s.
EC Declaration of Conformity
This product conforms to the provisions of Council Directive 89/336/EEC and 73/23/EEC.
Go to http://libra2.corpwest.baynetworks.com/cgi-bin/ndCGI.exe/DocView/ on the Nortel Networks World Wide Web site
for a copy of the Declaratio n of Con f orm ity.
ii
Page 3

Japan/Nippon Requirements Only
Voluntary Control Council for Interference (VCCI) Statement
Taiwan Requirements
Bureau of Standards, Metrology and Inspection (BSMI) Statement
Canada Requirements Only
Canadian Department of Communications Radio Interference Regulations
This digital apparatus (Passport 8010 Chassis) does not exceed the Class A limits for radio-noise emissions from digital
apparatus as set out in the Radio Interference Regulations of the Canadian Department of Communications.
Règlement sur le brouillage radioélectrique du ministère des Communications
Cet appareil numérique (Passport 8010 Chassis) respecte les limites de bruits radioélectriques visant les appareils
numériques de classe A prescrites dans le Règlement sur le brouillage radioélectrique d u mi nis tère des Communications du
Canada.
iii
Page 4

iv
Page 5

About this Guide
This guide provides infor m at ion about installing and using th e Passport™ 8010 Chassis. It include s the
followin g informatio n:
• Requirements for the operating environment of the chassis
• Instructions for attaching rack-mounting brackets
• Instructions for installing the chassis
• Instructions for installing one or more power supplies in the chassis
• Instructions for installing cable guides
• Instructions for installing a module in the chassis
• Specifications for the chassis
For information about available switch modules for this chassis, consult your Nortel Networks
™
Reseller. For detailed information about setting up your network and using Nortel Networks switches,
refer to the documentation for the switch modules you install in the chassis.
1
Page 6

Before You Begin
The physical requirements for installing the Passport 8010 Chassis in an equipment rack are:
• Adequate room (13.1 spaces) is provided in an EIA or IEC standard 19-inch (48.2-centimeter)
equipment rack that is:
— Bolted to th e floor
— Braced if necessary
— Grounded
• Side rail dimensions are similar to this illustration. Typical
3 in =
7.6 cm
racks with these dimensions are the Chatsworth Products,
Inc. (CPI) rack and the B-Line rack.
9114FA
• At least 6 inches (15.2 cm) exists between adjacent equipment racks to allow airflow and
cooling.
• Adequate front and side cl earance ex ists for c ables. One module may have up to 48 ports. Al low
enough space at the left of the chassis for cables and cable management hardware.
For table or shelf installation, make sure the surface will support at least 225 pounds (101 kilograms).
Make sure the area where you will install and use the Passport 8010 Chassis meets these
environmental requirements:
• Ambient temperature between 5
° and 40° C (41° and 104° F)
• Relative humidity between 5% and 85% noncondensing
• No nearby heat sources such as hot air vents or direct sunlight
• No nearby sources of severe electromagnetic noise
• No excessive dust
• Adequate power source within six feet; one 15-Amp circuit required for each power supply
2
Page 7

Unpacking
4
1
3
2
5
7
8
1 = Passport 8010 Chassis
2 = Power Supply (one or more—ordered separately)
3 = Documentation
4 = Power cord (optional)
5 = DB-25 to DB-9 adapter for use with comm port cable
6 = Comm port cable for Passport 8132TX module, purchased separately
7 = Rack mounting brackets
8 = Screws for brackets and equipment rack
9 = Cable guides
6
9
9073FA
For detailed information about the comm port cable for the Passport 8132TX Switch Module, refer to
the documentation that was shipped with that module.
To purchase a replacement shipping carton assembly for the Passport 8010 Chassis, contact the
manufacturer (Tharco) at 1-800-772-2332.
3
Page 8

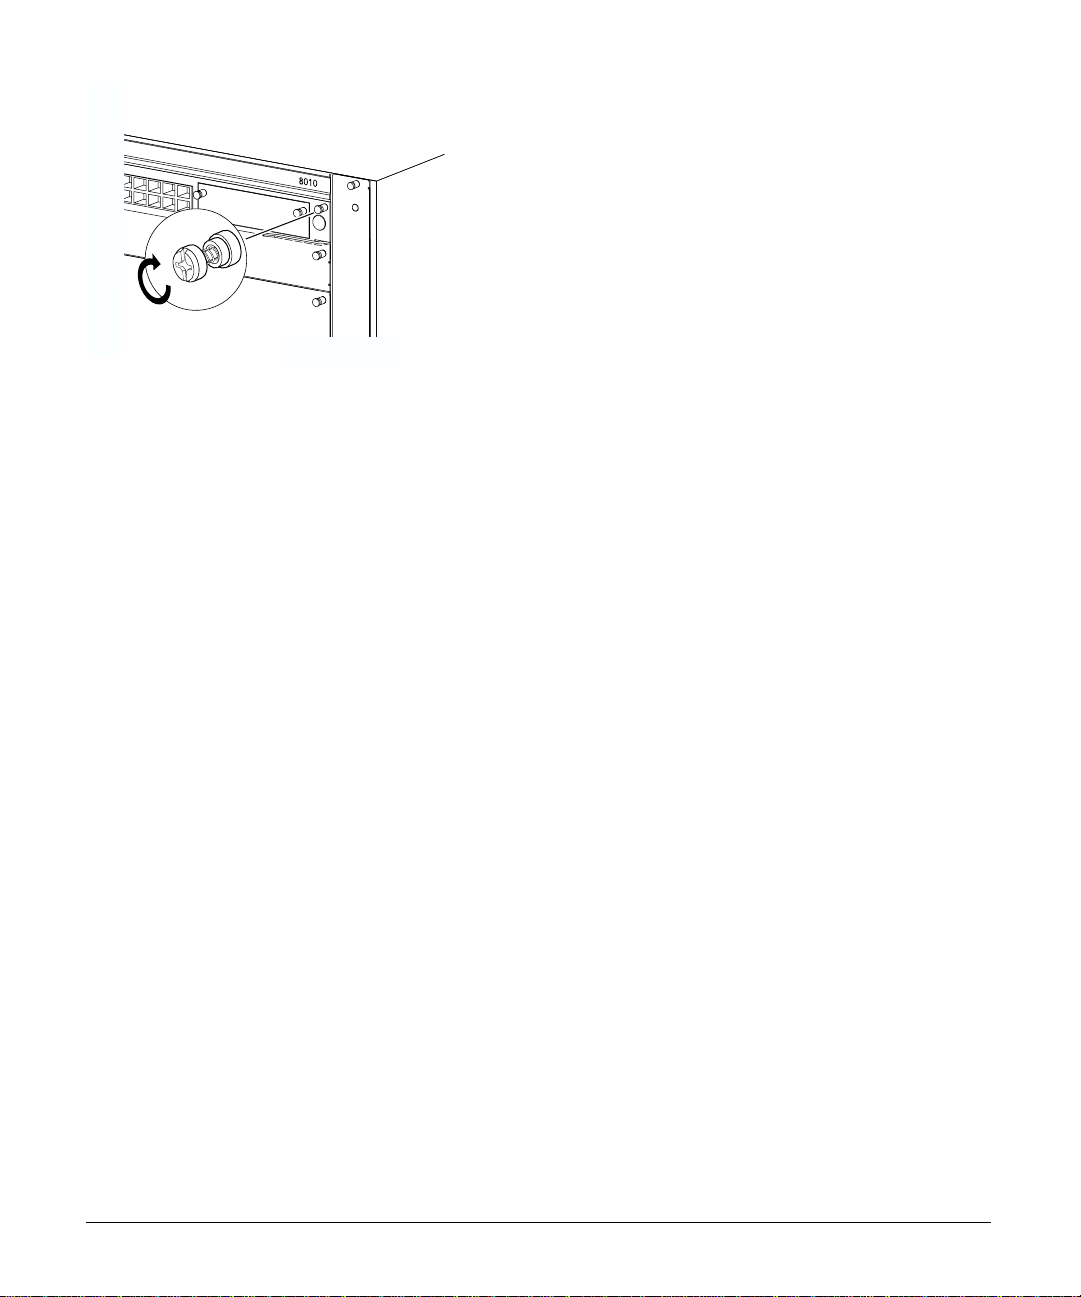
Attaching the Rack-Mounting Brackets
Required tool: Phillips screwdriver
Note: Each bracket fits only one side of the chassis. If the mounting holes do not line up
between a bracket and the chassis, try that bracket against the other side of the chassis.
9103FA
1. Hold each rack-mounting bracket against
one side of the chassis. Make sure the
attachment holes in the bracket match the
holes in the chassis.
9104FA
2. Insert the supplied fla t- hea d screws to fasten
each bracket to the chassis.
4
Page 9

Installing t he Chassis in a Rack
Required tool: Phillips screwdriver
9074FA
1. Slide the chassis into the rack. 2. Insert and tighten the rack-mounting screws.
9075FA
To complete the installation process, refer to
“Installing the Power Supply.”
5
Page 10

Installing the Power Supply
Required tool: Phillips screwdriver
8957FA
1. If necessary, remove the filler panel from a
power supply bay.
Note: If you are installing a power supply in a new chassis, be sure to remove the bag of
dessicant from the middle power supply bay.
8959FA
3. Align and tighten the retaining screws.
8958FA
2. Push the supply firmly into the bay.
8960FA
4. Connect the power cord to the power supply
and to an AC power outlet that is on a c ircui t
with no other equipment connected to it.
Connect each power supply in the chassis to
a separate AC circuit.
6
Page 11

8964FA
5. Turn on the power switch.
Note: In a newly installed chassis that requires two power supplies (nonredundant
configuration), you must turn on both units within 2 seconds of each other. If you wait
longer to turn on the second powe r sup ply, both power supplies will tur n off. To correct this
condition, turn off both power supplies, wait at least 30 seconds, and turn both power
supplies on again within 2 seconds.
Operational No tes for the Power Supply
A Passport 8010 Chassis with up to five installed modules can operate with one installed power
supply. For a redundant power configuration, install two power supplies.
A Passport 8010 Chassis with more than five installed modules requires a minimum of two power
supplies for a nonre dundant config ura tion. A redund ant config urati on for su ch a chas si s requi res thr ee
power supplies.
In a chassis with a nonredundant power supply configuration, if one power supply fails, the system
loses power and network connectivity.
In a chassis with two installed power supplies, you can add a third power supply without powering
down the chassis.
When you first install a Passport 8000 Series chassis that requires two power supplies (nonredundant
configuration), you must turn on both power supply units within 2 seconds of each other. If you wait
longer to turn on the s econd power supply, both power supplies will turn of f . To correct this condition,
turn off both power supplies, wait at least 30 seconds, and turn both power supplies on again within
2 seconds.
7
Page 12

Attaching a Cable Guide
Attach the cable guides to the left side of the chassis so the bundled cables will not obstruct airflow to
the right side of the chassis.
9105FA
1. Loosen, but do not remove, the
rack-mounting screws needed to inst al l
one cable guide.
9107FA
3. Tighten the screws to sec ur e the gui de to the
chassis.
9106FA
2. Slide the guide onto the loosened screws.
8
Page 13

Installing a Module
For details about the operation of modules, refer to the documentation that was shipped with each
module.
Required tool: Phillips screwdriver
9058FA
9059FA
1. Remove a filler panel from a module slot. 2. Make sure the inserter/extractor levers are
rotated away from the front of the module.
9060FA
3. Align th e module circuit board with the card
guides in the chas sis. Sl ide t he mo dule i nto a
4. Rotate the inserter/ext ractor levers to sea t the
backplane connectors.
9070FA
slot in the chassis until the module touches
the backplane connectors.
9
Page 14
9071FA
5. Align and tighten the retaining screws.
Chassis Specifications
Environmental Specifications
Operating temperature: 0° to 40° C (32° to 104° F)
Storage temperature: –25° to 70° C (–13° to 158° F)
Operating humidity: 85% maximum relative humidity, noncondensing
Storage humidity: 95% maximum relative humidity, noncondensing
Operating altitude: 3,024 m (10,000 ft)
Physical Specifications
Height: 22.9 in. (58.2 cm)
Width: 17.5 in. (44.5 cm)
Depth: 19.9 in. (50.5 cm)
Weight (Empty): 85 lb (39 kg)
Weight (Fully Loaded): 225 lb (101 kg)
Cooling System
Fan Trays: 2 per chassis
Fans: 8 per fan tray
Thermal Sensors: One per fan tray
10
Page 15

Electrical Specifications
System Line Frequency 47 to 63 Hz
System with one power supply or two supplies in redundant configuration:
Input Volt Amperes Rating: 1,236 VA maximum
Input Power: 1,112 W maximum
Input Voltage: 100-240 VAC
Input current: 12 to 6 A per line cord
Thermal rating: 3,792 BTU per hour maximum
System with two power supplies (nonredundant) or three supplies in redundant configuration:
Input Volt Amperes Rating: 2472 VA maximum
Input Power: 2224 W maximum
Input Voltage: 100-240 VAC
Input current: 12 to 6 A per line cord
Thermal rating: 7584 BTU per hour maximum
Electromagnetic Immunity
RF Susceptibility: IEC801-3, Level 2
Electrostatic discharge (ESO): IEC801-2, Level 2/3
Electrical Fast Transitions (EFT/B): IEC801-4, Level 1/2
Electromagnetic Emissions
Meets requirements of: (USA) FCC CFR 47 Part 15, Subpart B, Class A
(Canada) ICES-003, Issue-2, Class A
(Australia/New Zealand) AS/NZS 3548:1995, Class A
(Japan) VCCI V-3/97.04, Class A
(Taiwan) CNS 13438, Class A
EN 55 022 (CISPR 22:1985), Class A
CE Mark
Safety Agency Approvals
UL Listed
CUL Approv ed
CB report and certificate
NOM Approved
11
Page 16

12
 Loading...