

Page 1

Nokia Customer Care
NEM-4 Cellular Phones
3 - Service Software
Issue 2 09/2004 Copyright © 2004 Nokia Corporation Page 3-1
Company Confidential
Page 2

NEM-4 Company Confidential
3 - Service Software Nokia Customer Care
Table of Contents
Page No
Service Software ............................................................................................................ 3
Phoenix........................................................................................................................... 3
Supported operating systems .......................................................................................3
Hardware requirements for using Phoenix ..................................................................3
Introduction ..................................................................................................................3
Installing Phoenix...................................................................................................... 3
Uninstalling Phoenix................................................................................................. 4
Data package for Phoenix (product specific)............................................................ 4
Before installation..................................................................................................... 4
Installation of Phoenix data package (product specific) ........................................... 5
SW update flashing setup ............................................................................................9
Equipment list ........................................................................................................... 9
Flashing instructions ..................................................................................................10
Connecting phone to service accessories................................................................ 10
Opening phone for SW update................................................................................ 10
Connecting phone to FLA-41 adapter..................................................................... 10
Steps through SW update ...........................................................................................11
Service concepts ........................................................................................................16
Setup instructions .......................................................................................................18
NEM-4 SW update using FPS-8 and FLA-41......................................................... 18
NEM-4 SW update in Point of Sales....................................................................... 18
Energy management, Calibrations and RF testing (Assembled phone).................. 19
Component level fault finding................................................................................. 20
Page 3-2 Copyright © 2004 Nokia Corporation Issue 2 09/2004
Company Confidential
Page 3

Company Confidential NEM-4
Nokia Customer Care 3 - Service Software
Service Software
Phoenix
Phoenix is the new generation Service Software. It has been designed to meet the challenges in servicing modern cellular phone technology.
The Phoenix program has been built using component architecture. This means that the
actual program is small and most of the program’s functionality is divided into dynamically loaded modules (DLLs).
Supported operating systems
Windows 98, 2000, ME and NT 4.0 (SP4).
Hardware requirements for using Phoenix
Minimum:
Processor 233 MHz, RAM memory 64 MB, Disk space 50-100 MB.
Recommended for Windows 2000:
Processor 700 MHz, RAM memory 512 MB, Disk space 50-100 MB.
Introduction
This section briefly describes how to install the Phoenix software and includes some
basic information on how to use the program. For more detailed information, please refer
to Phoenix’s Help -files. Each feature in Phoenix has its own Help function, which can
be activated while running the program.
Press the F1 key or the feature’s Help-button to activate a Help -file.
Installing Phoenix
1 Download the latest release. Please contact your regional After Market Services
point for information on where to download the latest release.
Download and read the release notes, which have useful information on the software version you are using.
2 Download the latest data packages for the products you will be using.
3 Before you start installing the program, check that
- the dongle is attached to parallel port. Contact your supervisor in order to
obtain a suitable dongle.
- you have administrator rights (Windows 2000 or NT only). This is required in
order to be able to install Phoenix.
4 Install Phoenix by executing the Phoenix installation package and follow the
instructions on the screen.
Issue 2 09/2004 Copyright © 2004 Nokia Corporation Page 3-3
Company Confidential
Page 4
NEM-4 Company Confidential
3 - Service Software Nokia Customer Care
Initially the setup files are extracted into the file system.
Note: If the setup files are already extracted (left in the file system from previous
installation) “Overwrite Protection” dialog appears. Always click "Yes to All" to
overwrite the existing setup files.
5 The installation checks that the latest supported dongle driver version is
installed. The dongle driver is installed if there is no previous installation of the
dongle driver or if the installed dongle driver is older than the latest supported
version.
Note: If the dongle driver is installed during installation, you need to reboot your
PC and restart the installation after reboot.
Program files are stored under ” C:\Program Files\Nokia\Phoenix” (default).
6 Install the data package by executing the installation package and follow the
instructions on the screen.
The data packages will create product specific directories under the installation
directory.
Data files are stored under ” C:\Program Files\Nokia\Phoenix” (default).
Uninstalling Phoenix
If you need to remove Phoenix Service Software from your computer:
1 Make sure that the dongle is attached (unregistration).
2 Go to the Control Panel and select Add/Remove Programs.
3 Select NEM-4 RELEASE for uninstallation and click Add/Remove.
4 Click OK to remove the application.
You may have to reboot your PC after uninstallation.
Note: If you have different product packages installed, the components are uninstalled only if they
are not included in other product packages.
Data package for Phoenix (product specific)
Before installation
• Product Data Package contains all product specific data to make the
Phoenix Service Software ant tools usable with certain phone model.
• It also includes the latest version of flash update package for FLS-4* and
FPS-8*.
Page 3-4 Copyright © 2004 Nokia Corporation Issue 2 09/2004
Company Confidential
Page 5
Company Confidential NEM-4
Nokia Customer Care 3 - Service Software
• Check that the Dongle is attached to the parallel port of your computer.
• Install Phoenix Service SW.
• Download the installation package (e.g. NEM-
4_dp_ea_ams_v_1_0_MCUSW3_30_16MB.exe) to your computer (e.g.
C:\TEMP).
• Close all other programs.
• Run the application file (e.g. NEM-
4_dp_ea_ams_v_1_0_MCUSW3_30_16MB.exe) and follow instructions
on the screen.
If you already have the Phoenix Service SW installed on your computer, sooner or later
there will be need to update it when new versions are released.
Installation of Phoenix data package (product specific)
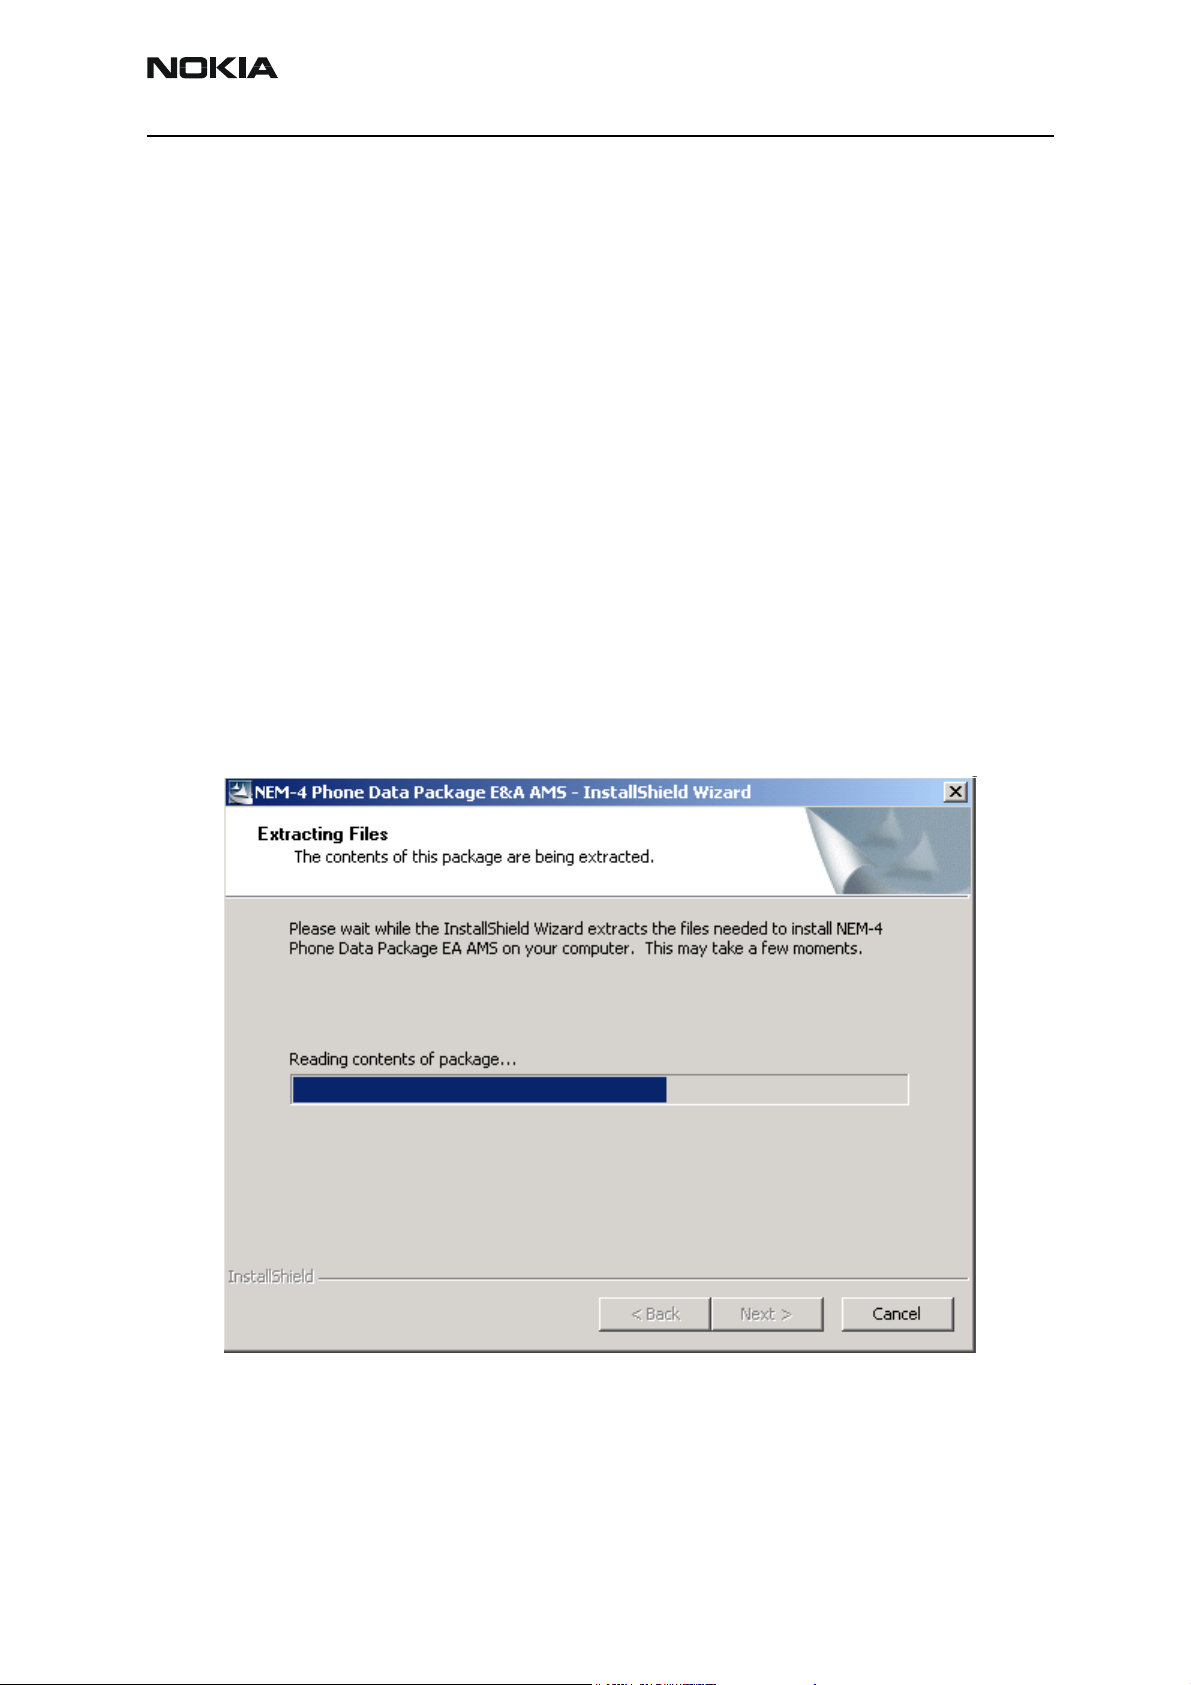
Run the NEM-4_dp_ea_ams_v_1_0_MCUSW3_30_16MB.exe to start installation.
When you choose “Next” the files needed for installation will be extracted. Please wait…
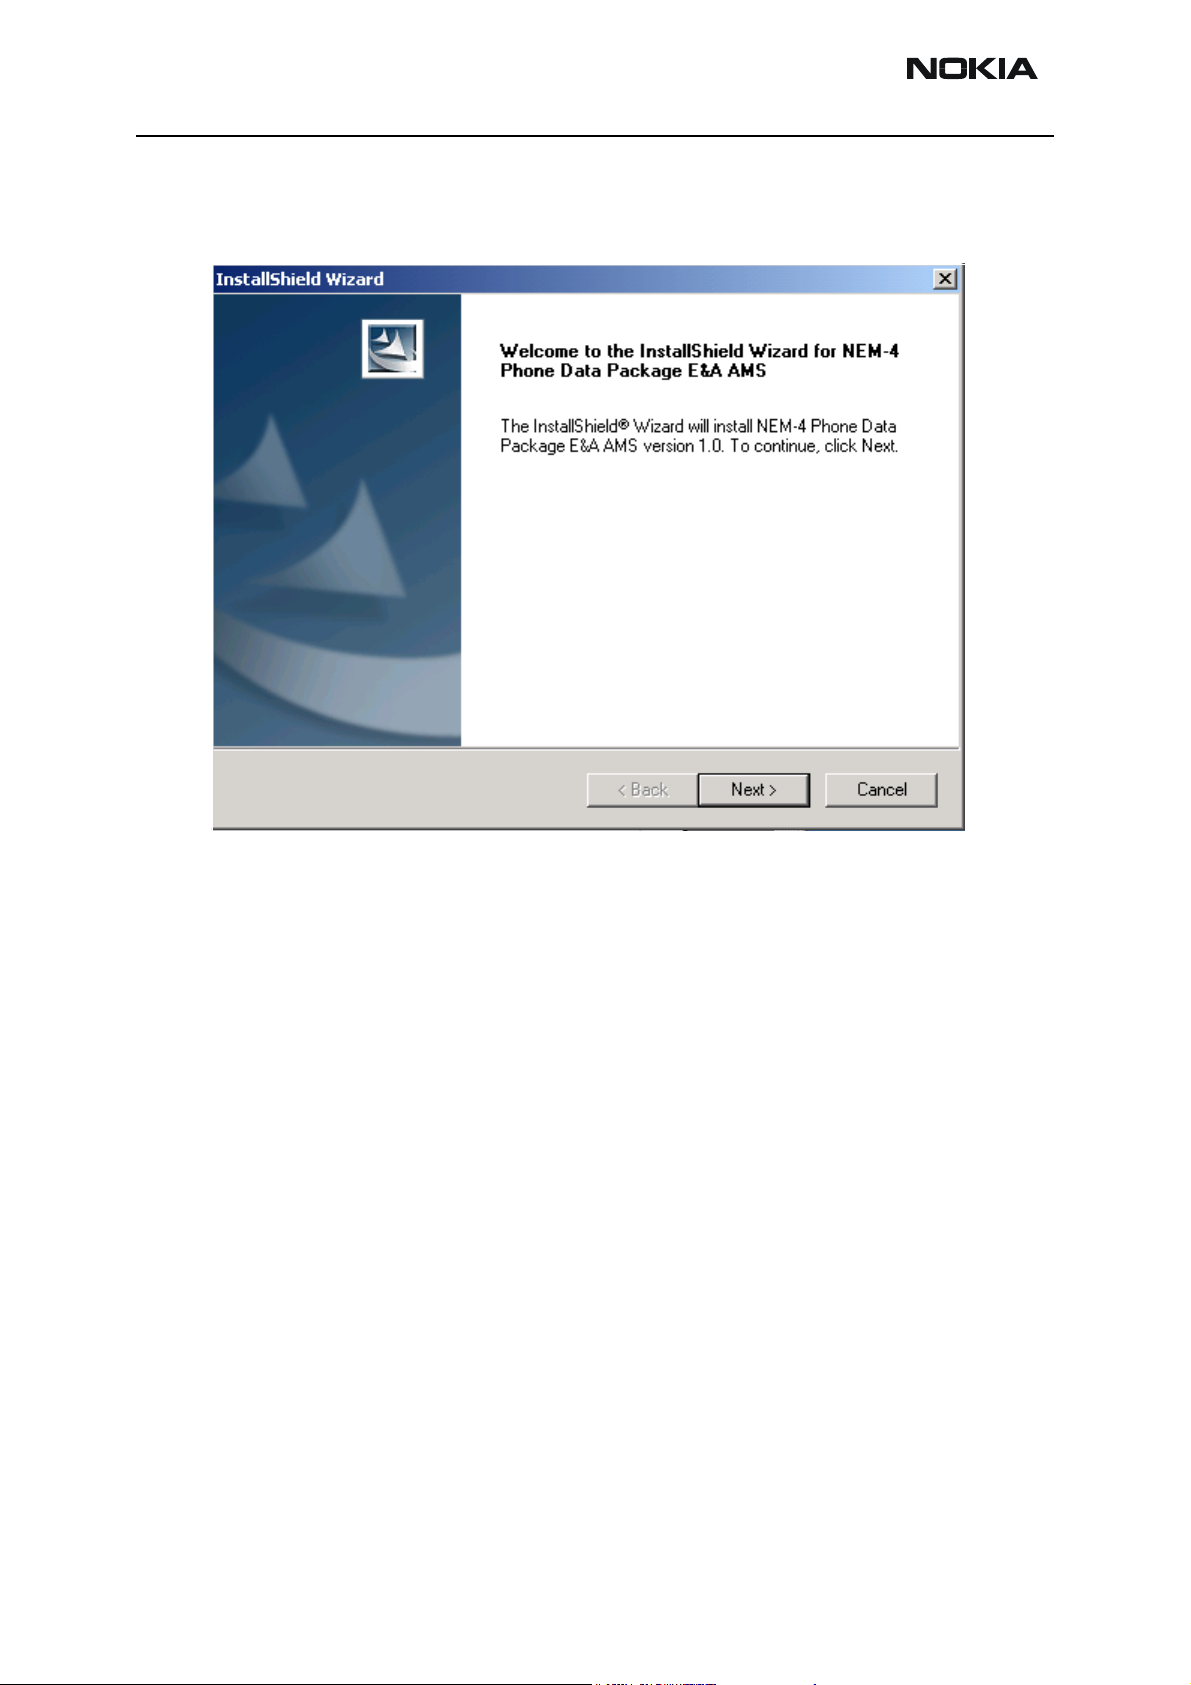
Choose “Next” to continue.
Issue 2 09/2004 Copyright © 2004 Nokia Corporation Page 3-5
Company Confidential
Page 6
NEM-4 Company Confidential
3 - Service Software Nokia Customer Care
From this view you can see the contents of the Data Package. Read the text carefully.
There should be information about the Phoenix version needed with this data package.
Page 3-6 Copyright © 2004 Nokia Corporation Issue 2 09/2004
Company Confidential
Page 7

Company Confidential NEM-4
Nokia Customer Care 3 - Service Software
Choose “Next”.
Confirm location and choose “Next” to continue. Install shield checks where the Phoenix
application is installed ant the directory is shown. Choose “Next” to continue.
Issue 2 09/2004 Copyright © 2004 Nokia Corporation Page 3-7
Company Confidential
Page 8

NEM-4 Company Confidential
3 - Service Software Nokia Customer Care
Phone model specific files will be installed. Please wait.
Choose “Finish” to complete installation.
You have now all phone model specific files installed in your Phoenix Service SW.
Page 3-8 Copyright © 2004 Nokia Corporation Issue 2 09/2004
Company Confidential
Page 9

Company Confidential NEM-4
Nokia Customer Care 3 - Service Software
SW update flashing setup
Equipment list
The following equipment is needed for NEM-4 AMS SW update:
Connecting NEM-4 to PC with FPS-8, list of equipment which is needed:
Item Description Type Code
1 Point of Sales flash loading adapter FLA-41 0770567
2 Power cable FLC-2 0730185
3 Modular cable XCS-4 0730178
4 USB cable DKE-2 0630465
5 Flash prommer box sales pack FPS-8 0080321
6 Printer cable AXP-8 incl in FPS-8 sales pack
7 D9 – D9 cable AXS-4 incl in FPS-8 sales pack 0730090
8 Software protection key PKD-1 0750018
9 AC Charger Incl in FPS-8 sales pack 0680032
10 SRAM Module (2 pcs needed inside
FPS-8)
SF-12 0080346 ( Code includes
one SRAM module)
Issue 2 09/2004 Copyright © 2004 Nokia Corporation Page 3-9
Company Confidential
Page 10

NEM-4 Company Confidential
3 - Service Software Nokia Customer Care
Flashing instructions
Connecting phone to service accessories
The purpose of these instructions is to guide you through NEM-4 SW update in case you
have set up the FPS-8 or FLS-4S SW update place according to instructions in service
manual and you have installed Phoenix SW, flash update files and NEM-4 data package.
Opening phone for SW update
Remove B-cover and battery to get access to FBUS and MBUS flash connectors. Remove
also MMC-card and SIM-card.
Connecting phone to FLA-41 adapter
In following pictures is shown the correct way to connect Nokia N-Gage Phone to FLA41 POS flash adapter.
First connect battery connector to FLA-41:
Figure 1: Connect first battery connector to FLA-41.
Then press FLA-41 and Nokia N-Gage together so that FLA-41 is firmly attached to Nokia
N-Gage
Figure 2: FLA-41 is firmly attached to Nokia N-Gage..
Page 3-10 Copyright © 2004 Nokia Corporation Issue 2 09/2004
Company Confidential
Page 11

Company Confidential NEM-4
Nokia Customer Care 3 - Service Software
Also DKE-2 USB cable must be connected before flashing. Mini-USB connector end of
the cable is connected to Nokia N-Gage and USB-A connector end of the cable is connected to USB port of the PC.
Figure 3: Mini-USB connector end of the cable is connected to Nokia N-Gage.
Steps through SW update
Start now Phoenix SW by double clicking Phoenix icon on your desktop.
Note! These instructions assume that you have configured buses from Manage Connections menu as
advised earlier in this service manual. From Manager connections you can select the correct connection for the Flash adapter FLS-4S or FPS-8.
SW starts and shows you ‘no product’ text in the bottom of the screen. Product needs
now to be scanned by choosing File -> Scan product as shown below:
Figure 4: Scanning product with phoenix.
Issue 2 09/2004 Copyright © 2004 Nokia Corporation Page 3-11
Company Confidential
Page 12

NEM-4 Company Confidential
3 - Service Software Nokia Customer Care
If scanning is successful, you will see ‘no product’ in the bottom of the screen to change
into ENOS SW version inside the phone. See below:
Figure 5: Phone replied correctly to Product scan.
As phone is now correctly connected to FLS-4S or FPS-8 and scanning was successful,
SW update can be started from flashing menu.
Choose Flashing -> FLS-4 Flash (If FLS-4S is used)
Choose Flashing -> FPS-8 Flash (If FPS-8 is used)
The following window will open:
Figure 6: Flashing window
Phoenix SW now automatically reads the Product code, which is stored electronically
inside the phone and picks the files, which are associated to this product.
Page 3-12 Copyright © 2004 Nokia Corporation Issue 2 09/2004
Company Confidential
Page 13

Company Confidential NEM-4
Nokia Customer Care 3 - Service Software
Choose now Flash and you will see the following dialogue box.
Figure 7: Choosing the correct product code
Usually the electronic product code inside the device gives you the correct files to update
into the phone. There is one exception to this rule. Exchange units can be updated with
other SW than the one mentioned in the product code field.
Alternatives:
• In normal customer SW update case just press OK and SW update starts.
• In case you are updating the exchange unit to give it to the customer,
choose from the product code list the variant customer has. Basically
product code in the type label of the device should tell exactly the variant
customer has. However, if customer’s transceiver has already been
exchanged once, there may be contradiction between variant and type
label. Then the SW in the exchange device has to be same variant as to be
given to customer.
Now Click on OK as shown in fig 7. You will see the following dialogue:
Issue 2 09/2004 Copyright © 2004 Nokia Corporation Page 3-13
Company Confidential
Page 14

NEM-4 Company Confidential
3 - Service Software Nokia Customer Care
Figure 8: Warning window about user data.
Click Yes to flash and to save user settings. Click No to Flash without saving user settings (Note! All user settings, pictures etc will be deleted)
When SW update starts, you can see as Phoenix erases Core package memory area:
Figure 9: Phoenix erasing phone memory.
And after this you can see as Phoenix programs new SW package into the phone.
Figure 10: Phoenix programming phone memory.
Programming has ended when you see the following dialogue:
Page 3-14 Copyright © 2004 Nokia Corporation Issue 2 09/2004
Company Confidential
Page 15

Company Confidential NEM-4
Nokia Customer Care 3 - Service Software
Figure 11: End of programming dialogue.
Now press phone’s power key and wait until you see NOKIA - text on the phones screen.
Click OK with mouse. You will see some final operations in Phoenix window rolling on
the screen
And finally when everything is ready, the following dialogue box appears:
Figure 12: SW update completed successfully.
Press now ok, wait until scrolling on the screen stops and detach you phone from FLA-41
in reversed order than attaching FLA-41.
Close now the phone into normal use position and insert SIM card and battery. Boot the
phone up and see that all the user data has remained in the device correctly and check
the SW version by typing *#0000# on the telephone application.
Eenergy management, calibrations and tuning are explained in Troubleshooting section.
Issue 2 09/2004 Copyright © 2004 Nokia Corporation Page 3-15
Company Confidential
Page 16

NEM-4 Company Confidential
3 - Service Software Nokia Customer Care
Service concepts
Table 1: New service accessories for NEM-4
PART NO PART NAME
0770542 RJ-10 SOLDERING JIG
0770565 FLASH ADAPTER FLA-41
0770566 MJS-80 MODULE JIG
0770567 DOCKING STATION ADAPTER MJF-26
0770773 SS-17 Domesheet assembly jig
Table 2: Spare parts for service accessories
PART NO PART NAME
0770450 Spare pins for FLA-41(0770565)
0770754 Spare pins for MJF-26 (0770567)
0770557 Spare DE-50-T45 pins for MJS-80 (0770566)
0770551 Spare sim-connector pins for MJS-80 (0770566)
0770442 Spare battery,mmc pins for MJS-80 (0770566)
Table 3: Service tools used with other NMP products, but needed also for NEM-4
PART NO PART NAME
0080321 FPS-8 FLASH PROMMER
0080346 SF12 SRAM MODULE FOR FPS-8
0080396 FPS-8C PARALLEL FLASH PROMMER
0080541 FLS-4S FLS-4S SALES PACK EMEA
0080542 FLS-4S FLS-4S SALES PACK APAC
0080543 FLS-4S FLS-4S SALES PACK AMERICAS
0630465 DKE-2 MINI-B USB CABLE
0680032 ACF-8 UNIV. POWERSUPPLY FPS-8
0730012 PCS-1 POWER SUPPLY CABLE
0730298 CA-10DS PRINTER CABLE
0730090 AXS-4 CABLE ASSEMBLY DMJ00023
0730108 DAU-9S MBUS CABLE DMJ00047
0730178 XCS-4 SERVICE CABLE DMJ00217
0730185 FLC-2 DC CABLE DMJ00215
0730218 XCS-1 SERVICE CABLE DMJ00261
Page 3-16 Copyright © 2004 Nokia Corporation Issue 2 09/2004
Company Confidential
Page 17

Company Confidential NEM-4
Nokia Customer Care 3 - Service Software
0730221 XRS-4 RF-CABLE (Use with JBV-1)
0730265 XRS-11 RF-CABLE (Use with MJS-80)
0750018 PKD-1 SOFTWARE PROTECTION KEY
0770298 JBV-1 DOCKING STATION
0081490 JBT-9, Bluetooth test box
0730283 CA-5S Service Battery Cable. Needed for EM-calibrations
0770380 SPI-1 Soldering Paste Injector
0770417 MJS-76 LGA Rework Jig
0770471 SPS-2 Soldering Paste Spreader
Issue 2 09/2004 Copyright © 2004 Nokia Corporation Page 3-17
Company Confidential
Page 18

NEM-4 Company Confidential
3 - Service Software Nokia Customer Care
Setup instructions
NEM-4 SW update using FPS-8 and FLA-41
See picture and table on page 9, under the title SW Update Flashing Setup.
NEM-4 SW update in Point of Sales
Item Description Type Code
1 Point of Sales flash loading adapter FLA-41 0770565
2 Service cable XCS-1 0730218
3 FLS-4S sates pack for E & A FLS-4S 0080541
4 FLS-4S sates pack for APAC FLS-4S 0080542
5 FLS-4S sates pack for US FLS-4S 0080543
6 USB cable DKE-2 0630465
Page 3-18 Copyright © 2004 Nokia Corporation Issue 2 09/2004
Company Confidential
Page 19

Company Confidential NEM-4
Nokia Customer Care 3 - Service Software
Energy management, Calibrations and RF testing (Assembled phone)
MJF-26 is used with the following equipment:
Item Description Type Code
1 Docking station JBV-1 0770298
2 Docking Station adapter MJF-26 0770567
3 Power cable PCS-1 0730012
4 RF cable XRS-4 0730221
5 Service cable DAU-9S 0730108
6 RF-cable XRF-1 0730085
7 DC cable SCB-3 0730114
8 Software protection key PKD-1 0750018
Issue 2 09/2004 Copyright © 2004 Nokia Corporation Page 3-19
Company Confidential
Page 20

NEM-4 Company Confidential
3 - Service Software Nokia Customer Care
Component level fault finding
MJS-80 is used with the following equipment:
Item Description Type Code
1 Module jig MJS-80 0770566
2 Power cable PCS-1 0730012
3 RF cable XRS-11 0730221
4 Service cable DAU-9S 0730108
5 RF-cable XRF-1 0730085
6 Software protection key PKD-1 0750018
Page 3-20 Copyright © 2004 Nokia Corporation Issue 2 09/2004
Company Confidential
 Loading...