

Page 1
Flexi Multiradio BTS GSM/EDGE
Stack, Wall, and Pole Quick Guide
This guide can be used as quick reference for Flexi Multiradio BTS GSM/EDGE installation.
Flexi Multiradio BTS GSM/EDGE is a modular base station for GSM/EDGE capacity and coverage.
It can be installed stacked on the floor, or mounted on the wall or on the pole.
This quick guide is for basic stack, wall and pole configurations with 48V DC input power. The
basic installation consists of one System Module (ESMB/C) and one RF Module (Fxxx) allowing
1+1+1 up to 6+6+6 configurations depending on the TRX output power.
For all other installation options, see the user manuals.
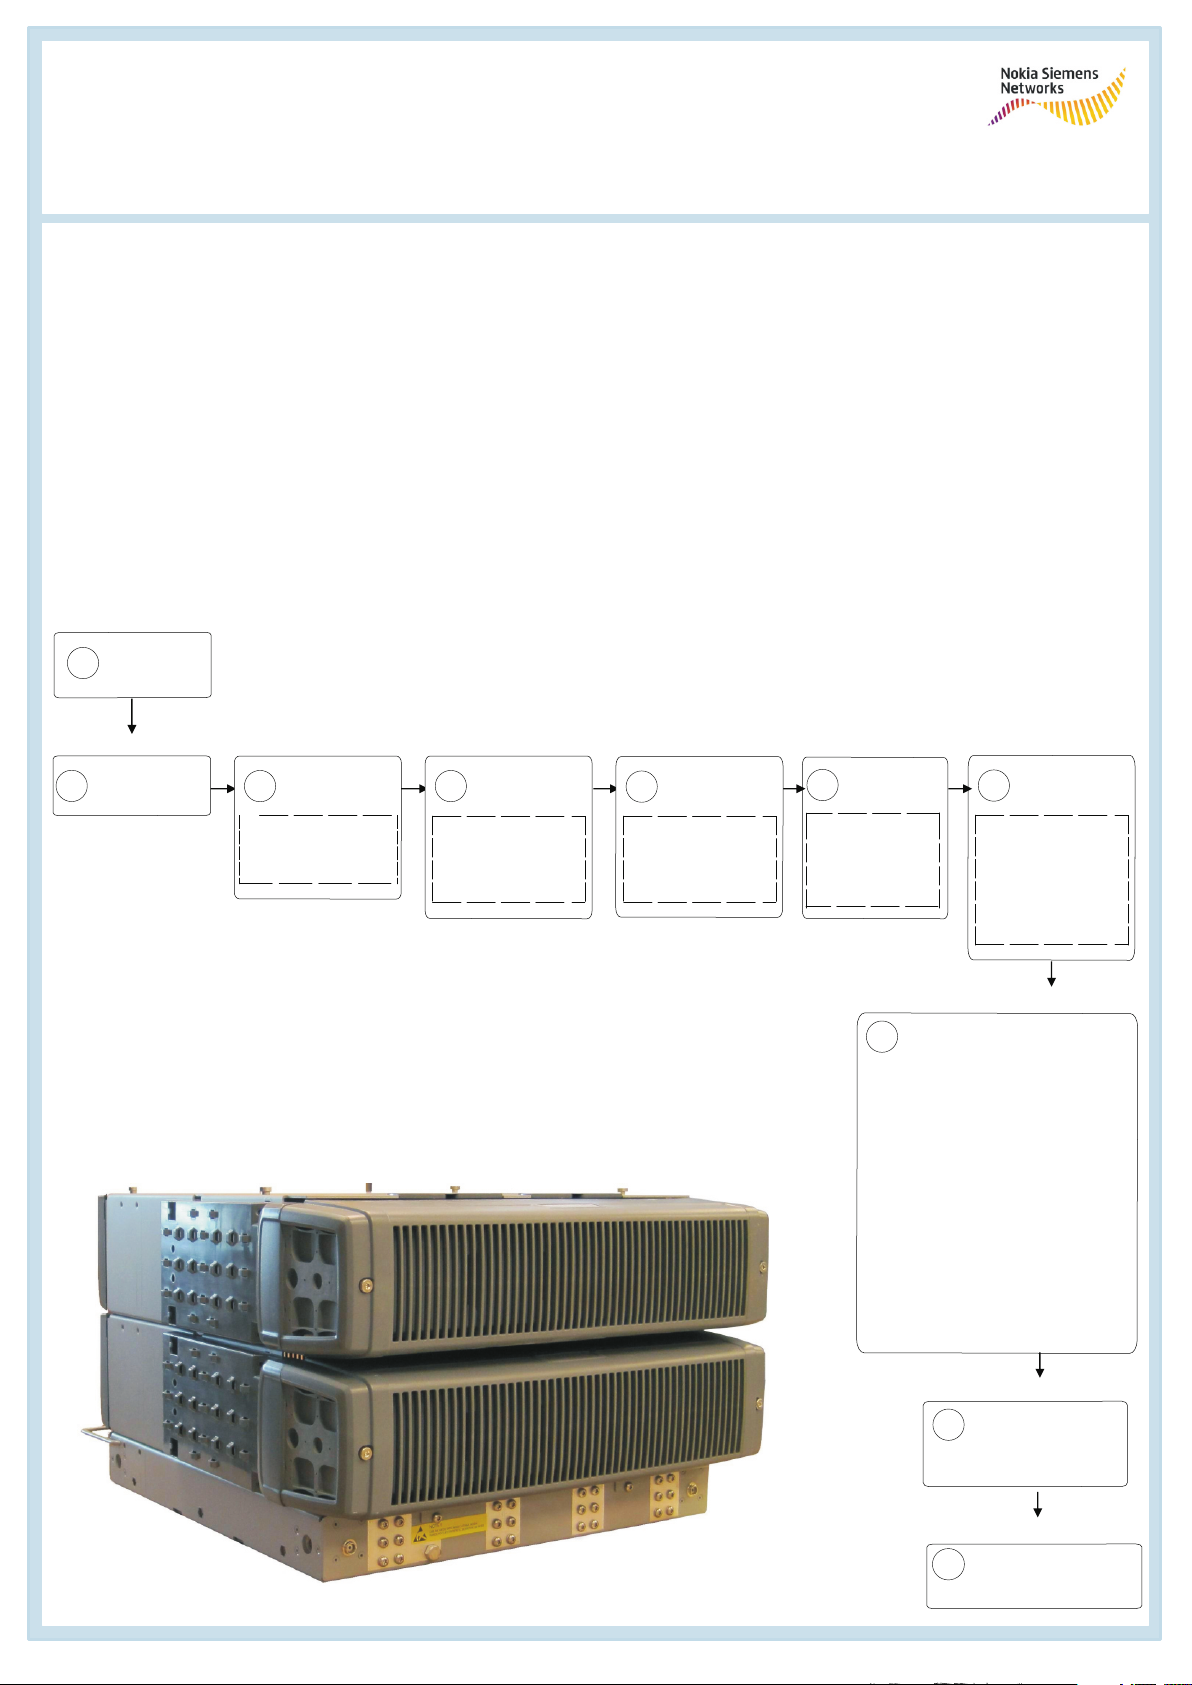
Check the delivery
Contents of
1
delivery
Check the site
Clearances
2
Installation
Installing the
3
plinth
Plinth on the
floor, wall, or pole
Installation
Grounding
4
the plinth
Grounding
principle
Installation
Installing the
5
casings
Casing
installation
principle
Installation
Installing
6
modules
Module
installation
principle
8
Cable routing and cable ties
External power
Internal power cables
Antenna cabling
Optical cables
Transmission and Alarm
cables
Cabling
Installation
Grounding
7
the modules
Grounding
principle
Installation
example
Cabling
Commission BTS
Power up and
9
commissioning
the BTS
Front panel
10
Installing module
front covers
Page 2
The information in this document is subject to change without notice and describes only the
product defined in the introduction of this documentation. This documentation is intended for the
use of Nokia Siemens Networks customers only for the purposes of the agreement under which
the document is submitted, and no part of it may be used, reproduced, modified or transmitted in
any form or means without the prior written permission of Nokia Siemens Networks. The
documentation has been prepared to be used by professional and properly trained personnel,
and the customer assumes full responsibility when using it. Nokia Siemens Networks welcomes
customer comments as part of the process of continuous development and improvement of the
documentation.
The information or statements given in this documentation concerning the suitability, capacity, or
performance of the mentioned hardware or software products are given “as is” and all liability
arising in connection with such hardware or software products shall be defined conclusively and
finally in a separate agreement between Nokia Siemens Networks and the customer. However,
Nokia Siemens Networks has made all reasonable efforts to ensure that the instructions
contained in the document are adequate and free of material errors and omissions. Nokia
Siemens Networks will, if deemed necessary by Nokia Siemens Networks, explain issues which
may not be covered by the document.
Nokia Siemens Networks will correct errors in this documentation as soon as possible. IN NO
EVENT WILL NOKIA SIEMENS NETWORKS BE LIABLE FOR ERRORS IN THIS
DOCUMENTATION OR FOR ANY DAMAGES, INCLUDING BUT NOT LIMITED TO SPECIAL,
DIRECT, INDIRECT, INCIDENTAL OR CONSEQUENTIAL OR ANY LOSSES, SUCH AS BUT
NOT LIMITED TO LOSS OF PROFIT, REVENUE, BUSINESS INTERRUPTION, BUSINESS
OPPORTUNITY OR DATA, THAT MAY ARISE FROM THE USE OF THIS DOCUMENT OR THE
INFORMATION IN IT.
This documentation and the product it describes are considered protected by copyrights and
other intellectual property rights according to the applicable laws.
The wave logo is a trademark of Nokia Siemens Networks Oy. Nokia is a registered trademark of
Nokia Corporation. Siemens is a registered trademark of Siemens AG.
Other product names mentioned in this document may be trademarks of their respective owners,
and they are mentioned for identification purposes only.
Copyright © Nokia Siemens Networks 2010. All rights reserved.
DN70970932, Issue 01 en
Warning
Danger of eye damage from invisible laser radiation produced by the System
Module optical fibre connector!
Always switch off the laser before detaching the optical fibre from the connector.
Caution
Incorrect cables and seals may not provide secured environmental protection. Use
only tested IP65 class cables with seals provided by Nokia Siemens Networks. Store
all unused seals for later use.
Electrostatic discharge (ESD) may damage the modules. Wear an ESD wrist strap or
use a corresponding method when handling the modules.
The rear stopper is fragile. Do not attempt to lift the plinth using the rear stopper.
If water leaks into the outdoor mechanics, the transmission equipment may fail. To help
prevent water leakage, feed the cables through the bottom cable entries in wall and
pole mounting, and through the bottom cable entry holes in stack installation.
Risk of damage to equipment. If modules are exposed to weather conditions, connector
seals or boots must be installed at all times, whether the site is active or not.
Page 3

1
De live ry C ont ents o f de live ry Ve rs ion Pr odu ct c ode Qua ntity
Sy ste m m o du le Fl exi Mul tir adi o B TS GSM/ED GE Sys tem Mo dul e 1
ES MB 4 7 21 09
ES MC 47 20 5 9
Ba g R eclo s abl e (1 5 0 x 225 / 2 00 x 2 6 0) 0 .1 m m 1
M1 0 He x N ut 2
B1 0 W a sh e r 2
AWG Sin gl e ca b le term in a l lug rub ber b oo ts 2
M1 0 Ca blete rm (2 5/35 m m 2) R ing 2
Pu ll- ou t tool 1
Tra ns m iss io n su b-m od u le
Fl exi tr an s m is si o n inte rfac e E 1
a sy m m etr ica l su bm o du le (FIE A) 47 024 7 A 1
Fl exi tr an s m is si o n inte rfac e
Fl exb us s ub -m odu le (F IFA ) 47 100 7 A 1
Fl exi tr an s m is si o n inte rfac e E 1/T1
s ym m etrica l s ub m o d ule (F IPA) 47 024 8 A 1
Fl exi tr an s m is si o n su b-m o du le
(FIQ A)
PW 1 00 Ba s e- T E th ern et (RJ 4 8) +
4 xE 1/T1 sy m m etr ic al 1 2 0/ 10 0 oh m
(R J4 8) + op tio na l o ptic a l G E (S FP) 47 160 7 A 1
Fl exi tr an s m is si o n su b-m o du le
(FIYA)
PW 1 00 Ba s e- T E th ern et (RJ 4 8) +
4 xE 1 a s ym m etri ca l 75 ohm (S MB) +
o pti on a l op tica l G E ( SF P) 47 171 9 A 1
Sc re ws (p re- in sta lle d) 4
R F M od u le
Fl exi Mul tir adi o B TS GSM/ED GE R ad io Fre que n cy
Mo dul e
FXD A Fle xi Mu ltira d io R FM 9 0 0 47 208 3 A
FXE A Fle xi Mu ltir adi o R FM 18 0 0 47 208 4 A
FXC A Fle xi Mu ltira d io R FM 8 5 0 47 214 2 A
FXD J Fl e xi Mu lti rad io RFM 90 0 47 214 3 A
FXFA F lex i Mul tir a dio R FM 1 90 0 472 16 6 A
R F M od u le C ab le Se t
Po we r ca b le 2 m 9 9 52 81 1
Op tical c a b le 2 m 9 9 48 07 1
Op tical tr a nce ivers 47 074 5 7 2
Plin th de liver y Fl exi Mou n ting K it for F loo r, W a ll , an d Pole FM FA
Fi xin g pla te for the ca s ing 2
M5 x 8 scr e w s 1 2
M5 x 1 2 s cr ew s 2
Mo dul e cas in g Fl exi BT S Mo dul e ca sin g (3U ) EMH A 47 031 6 A 1
3 U cab le entri e s 2
3 U fro n t cov er 1
3 U re a r co ver 1
M5 x 1 0 s cr ew s 61 502 4 0 4
M5 x 8 scr e w s 61 502 7 9 2
C a ge n uts
6 ( 2 loo s e,
4 p re-
ins ta lled )
Ma inte n an ce s trap s 2
Gr oun din g c ab le 1
Po le m oun tin g k it
(op tio nal ) Fl exi Po le Mo u n ting Kit FP K A 47 164 9 A
Alum ini u m ca s tin gs 2
As s em b ling b o lts 2
Mo dul e fixin g s cre ws 6
Bo lt res train e r 2
Contents of delivery
Check list
Deliveries are complete.
Equipment is not damaged.
Page 4

Minimum clearances
min 100 mm
(3.9 in.)
min 80 mm
(2.4 in.)
2
Clearances
min 80 mm (3.2 in.)
with no back access
600 mm
(23.6 in)
min 75 mm
(3.0 in.)
min 30 mm
(1.2 in.)
Check list
Site meets the minimum clearances.
Plinth on the floor
Facility wall
back stop
75 mm
(3.0 in.)
Plinth
13.5 mm
(0.5 in.)
(4 pcs)
400 mm
(15.7 in)
75 mm
(3.0 in.)
Fan maintenance
space
500 mm (19.7 in.)
360 mm
(14.1 in.)
recommended
space for hand
tying 150 mm (5.9 in.)
min 600 mm
(23.6 in.)
Note: In a stack, the minimum side clearance
is 75 mm (3 in.). The recommended clearance
for hand tying is 150mm (5.9 in.)
3
Installing the
plinth
1. Check the clearances around
the plinth.
2. Turn the rear stopper.
3. Place the plinth on the floor,
grounding points facing
forward.
300 mm
(11.8 in.)
Plinth on the wall
185 mm
482,5 mm
1. Mark screw locations according to the holes in the plinth and drill holes.
2. Fix the mounting screws on the wall and mount the plinth.
3. Tighten the upper mounting screws.
4. Tighten the lower mounting screws to a torque value of 49 Nm.
Note that the space required between plinths is 100 mm (3.4 inches).
2
4
4. Bolt on the floor with 4 bolts,
12 mm (0.47 in.) in diameter.
Tighten to 49.0 Nm (36.1 ft-lb)
3
5
 Loading...