

Page 1
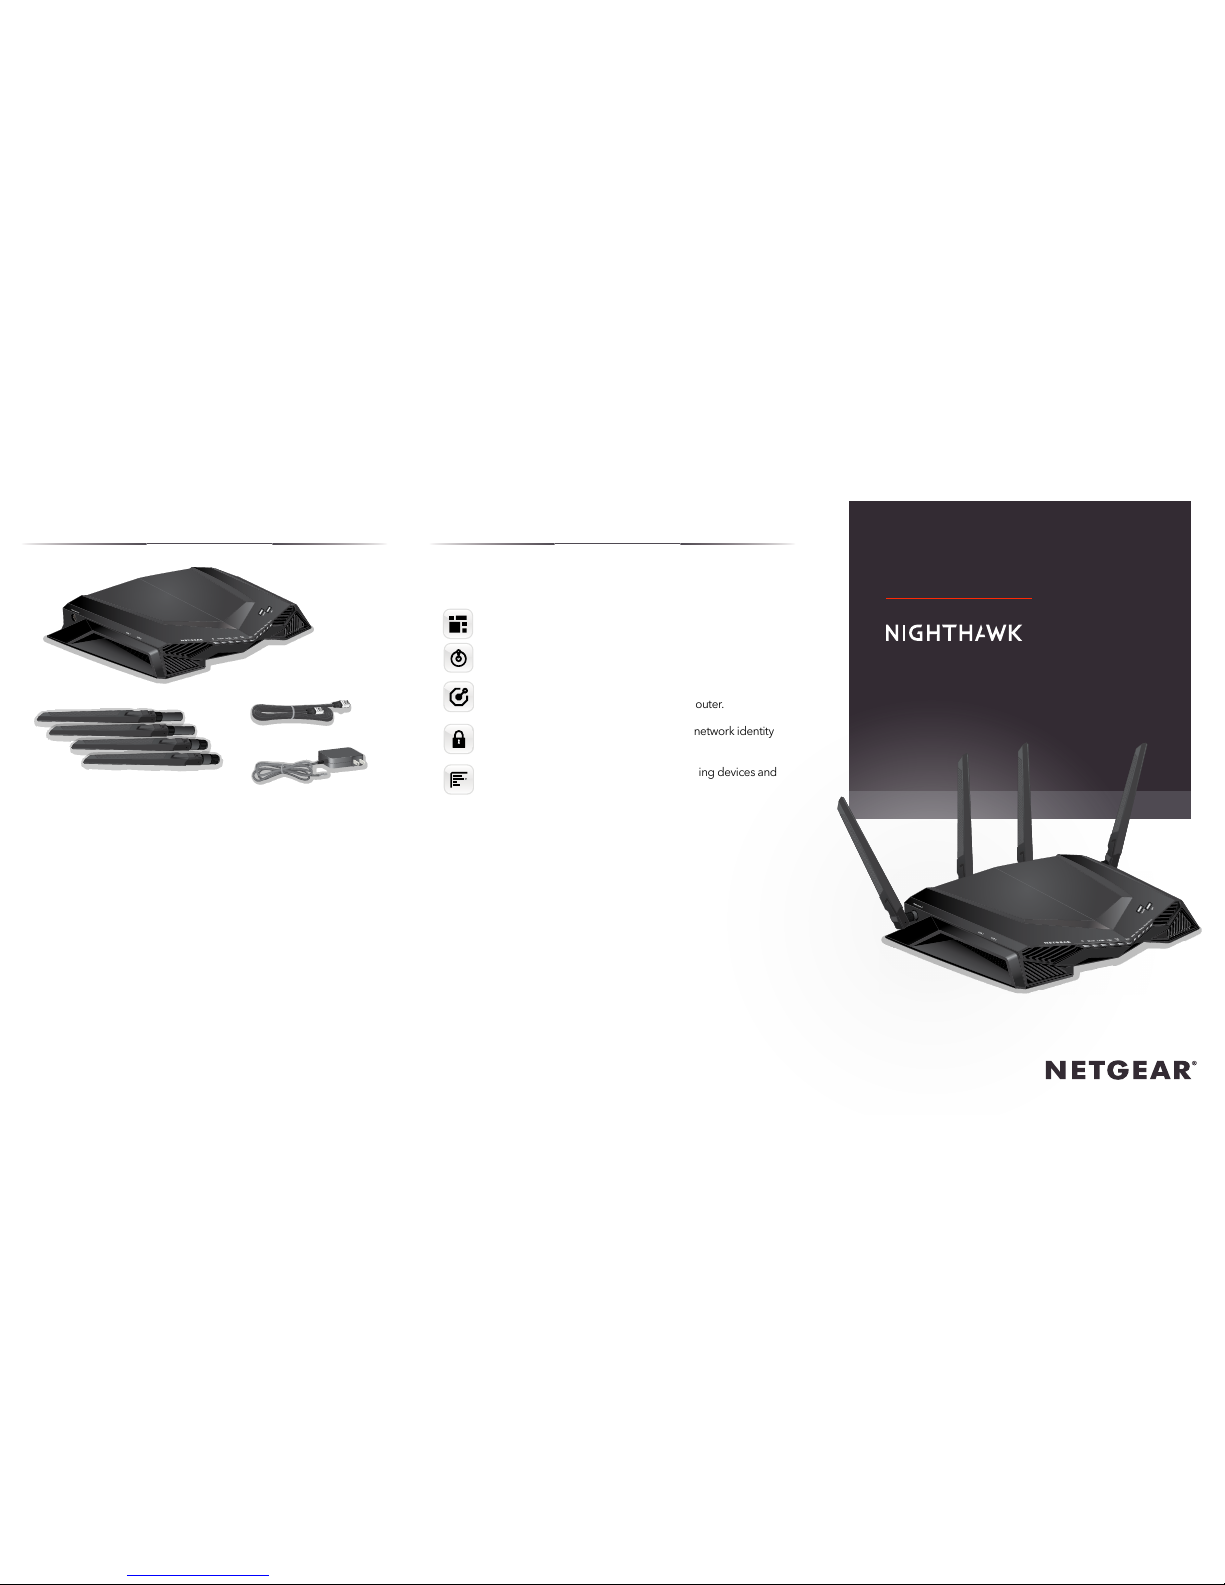
Gaming dashboard. Get an overview or your router settings.
Geo-filter. Reduce lag by setting a distance limit between you
and game servers or other players.
Quality of Service (QoS). Set bandwidth allocation for each
device and application connected to your router.
Gaming VPN client support. Protect your network identity
and prevent DDoS attacks.
Network monitor. Check bandwidth-hogging devices and
identify what causes lag.
Package Contents
Quick Start
Gaming Router
Model XR500
Router
Power adapter
(varies by region)
Ethernet cable
VPN
Your router comes with the following pro gaming features. For more
information, visit
www.netgear.com/support/product/XR500
.
Pro Gaming Features
Antennas (4)
Page 2
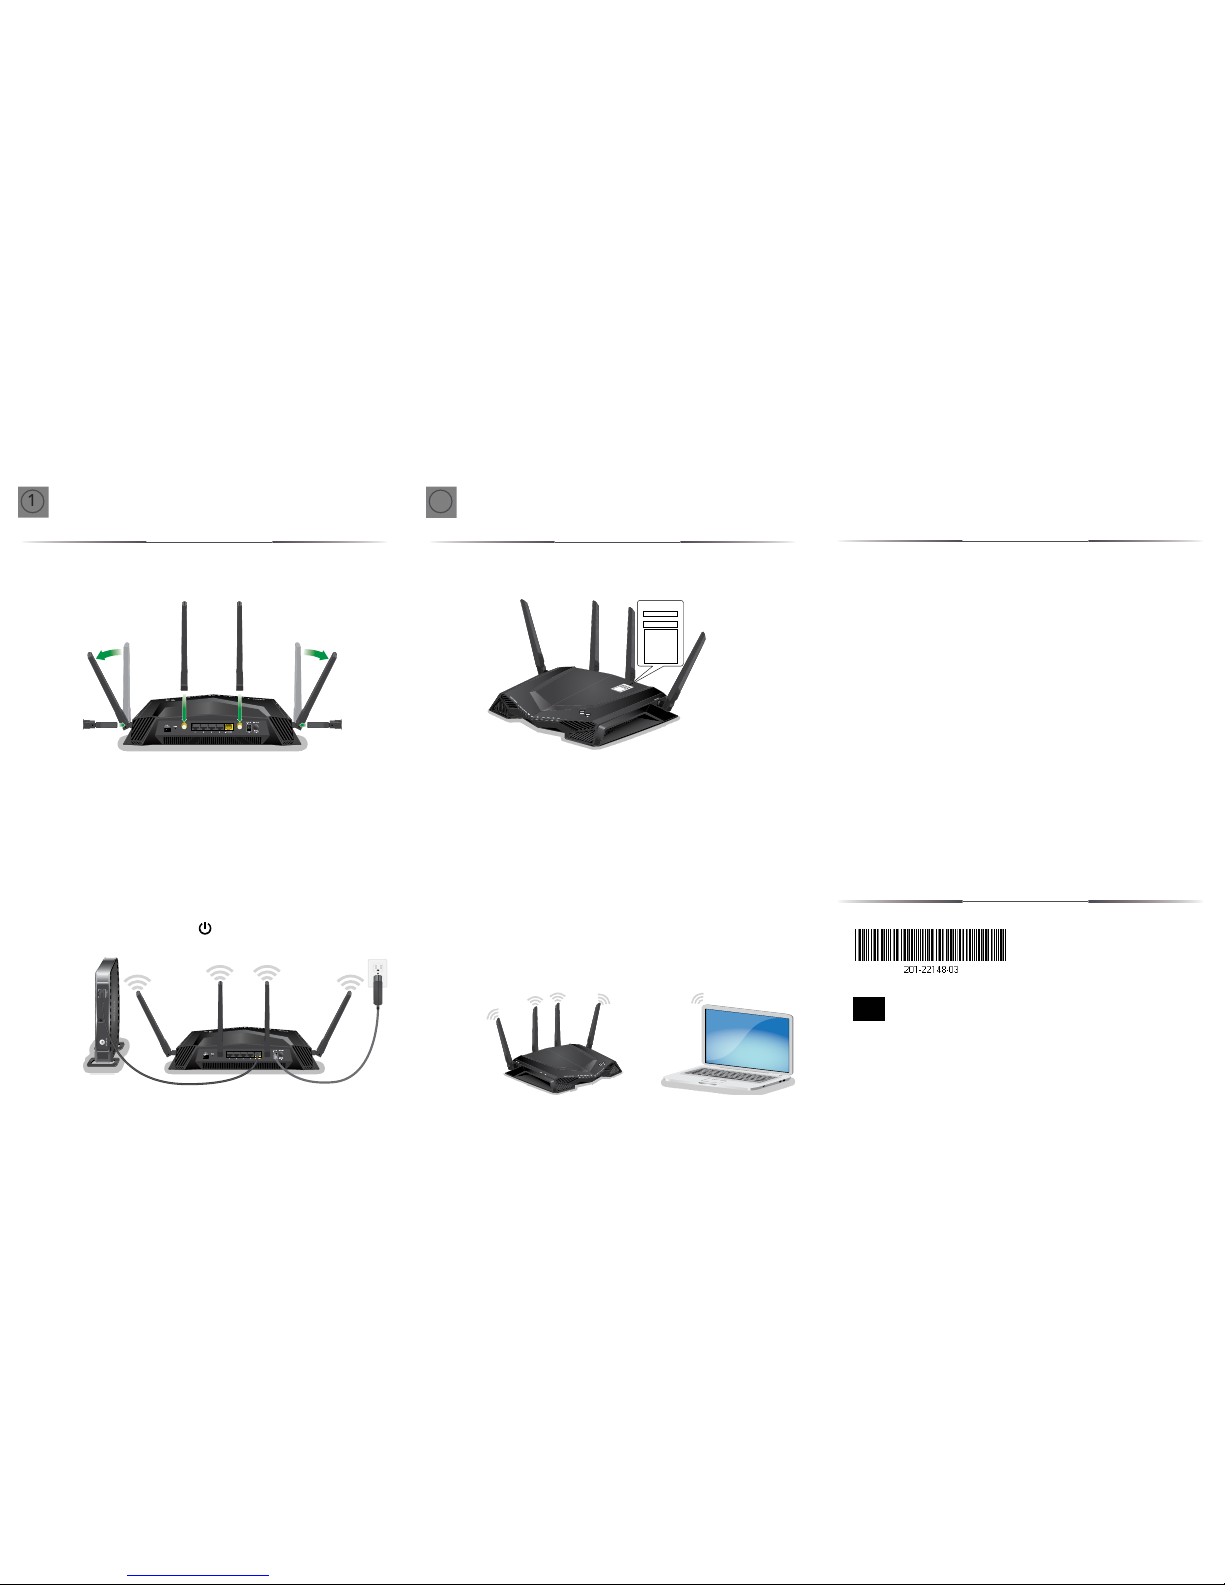
a. Remove the antenna caps from the antenna posts on the back
of the router.
b. Attach and position the antennas.
For the best WiFi performance, position the antennas as
shown.
c. Unplug your modem, remove and reinsert the backup battery
if it uses one, and then plug the modem back in.
d. Use the Ethernet cable to connect the modem to the yellow
Internet port on the router.
Note:
If your Internet connection does not require a modem,
connect your main Ethernet cable to the yellow Internet port
on the router.
e. Connect the router to a power source.
The router’s Power LED lights solid white when the router
is ready.
a. Make sure that the LED on the WiFi On/Off button is lit.
b. Look for the label on your router that displays your router’s
WiFi network name and password.
Note:
The location of the label might vary.
c. Use the WiFi network name and password on the label to
connect your WiFi-enabled computer or mobile device to
your router’s WiFi network.
d. Launch a web browser.
The installation assistant automatically displays.
e. If the installation assistant does not display, visit
www.routerlogin.net
.
If a login window displays, enter admin for the admin user
name and password for the admin password.
f. Follow the prompts that display to install your router and
connect to the Internet.
The router’s Internet LED lights white when the router is
connected to the Internet.
Set Up the NetworkSet Up the Hardware
1
NETGEAR INTL LTD
Building 3, University Technology Centre
Curraheen Road, Cork, Ireland
NETGEAR, Inc.
350 East Plumeria Drive
San Jose, CA 95134, USA
© NETGEAR, Inc., NETGEAR and the NETGEAR Logo are trademarks of NETGEAR, Inc. Any
non-NETGEAR trademarks are used for reference purposes only.
2
Support
Thank you for purchasing this NETGEAR product. You can visit
www.netgear.com/support
to register your product, get help, access
the latest downloads and user manuals, and join our community. We
recommend that you use only official NETGEAR support resources.
To chat with other NETGEAR customers about our products, visit
http://community.netgear.com
.
Si ce produit est vendu au Canada, vous pouvez accéder à ce
document en français canadien à
http://downloadcenter.netgear.com/other/
.
(If this product is sold in Canada, you can access this document in
Canadian French at
http://downloadcenter.netgear.com/other/
.)
For the current EU Declaration of Conformity, visit
http://support.netgear.com/app/answers/detail/a_id/11621/
.
For regulatory compliance information, visit
http://www.netgear.com/about/regulatory/
.
See the regulatory compliance document before connecting the
power supply.
Your Preset Wireless Settings
WiFi Network Name (SSID):
Network Key (Password):
Your Preset Wireless Settings
WiFi Network Name (SSID):
Network Key (Password):
January 2018
 Loading...