

Page 1
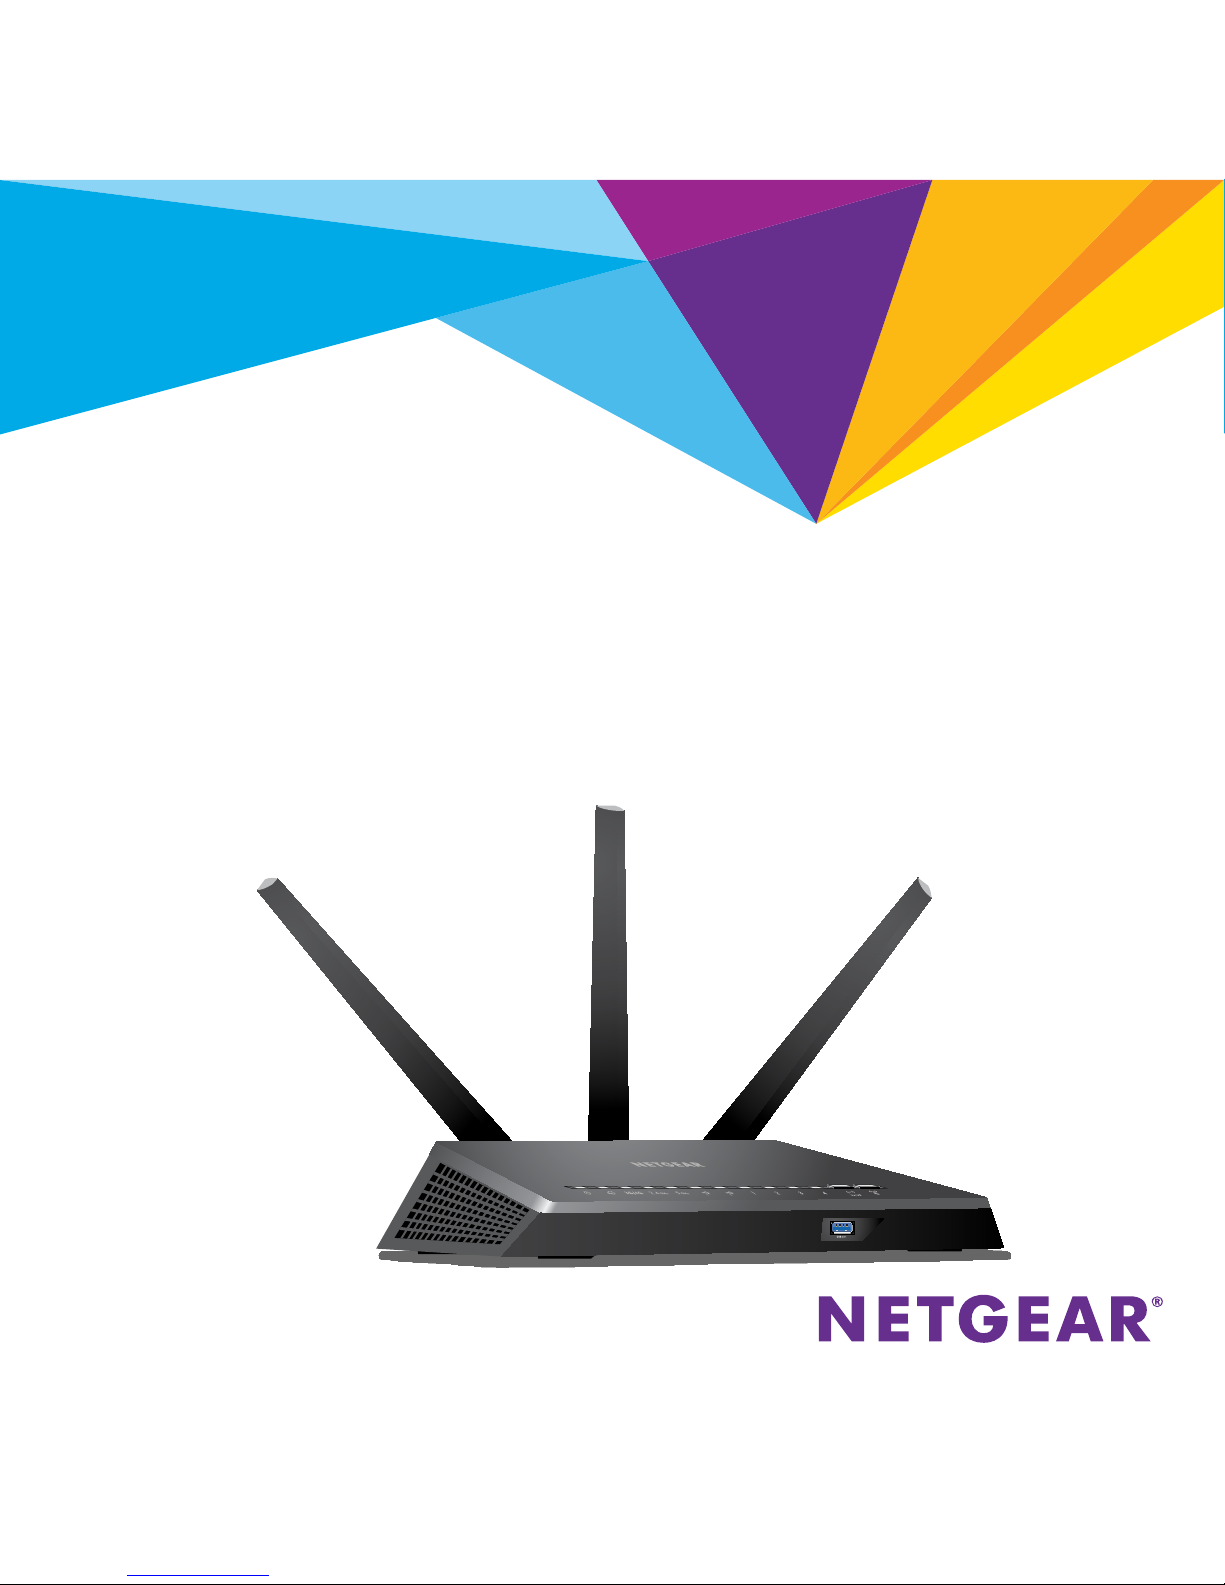
Do More
Nighthawk
AC1900 WiFi
LTE Modem Router
Model R7100LG
Page 2
2
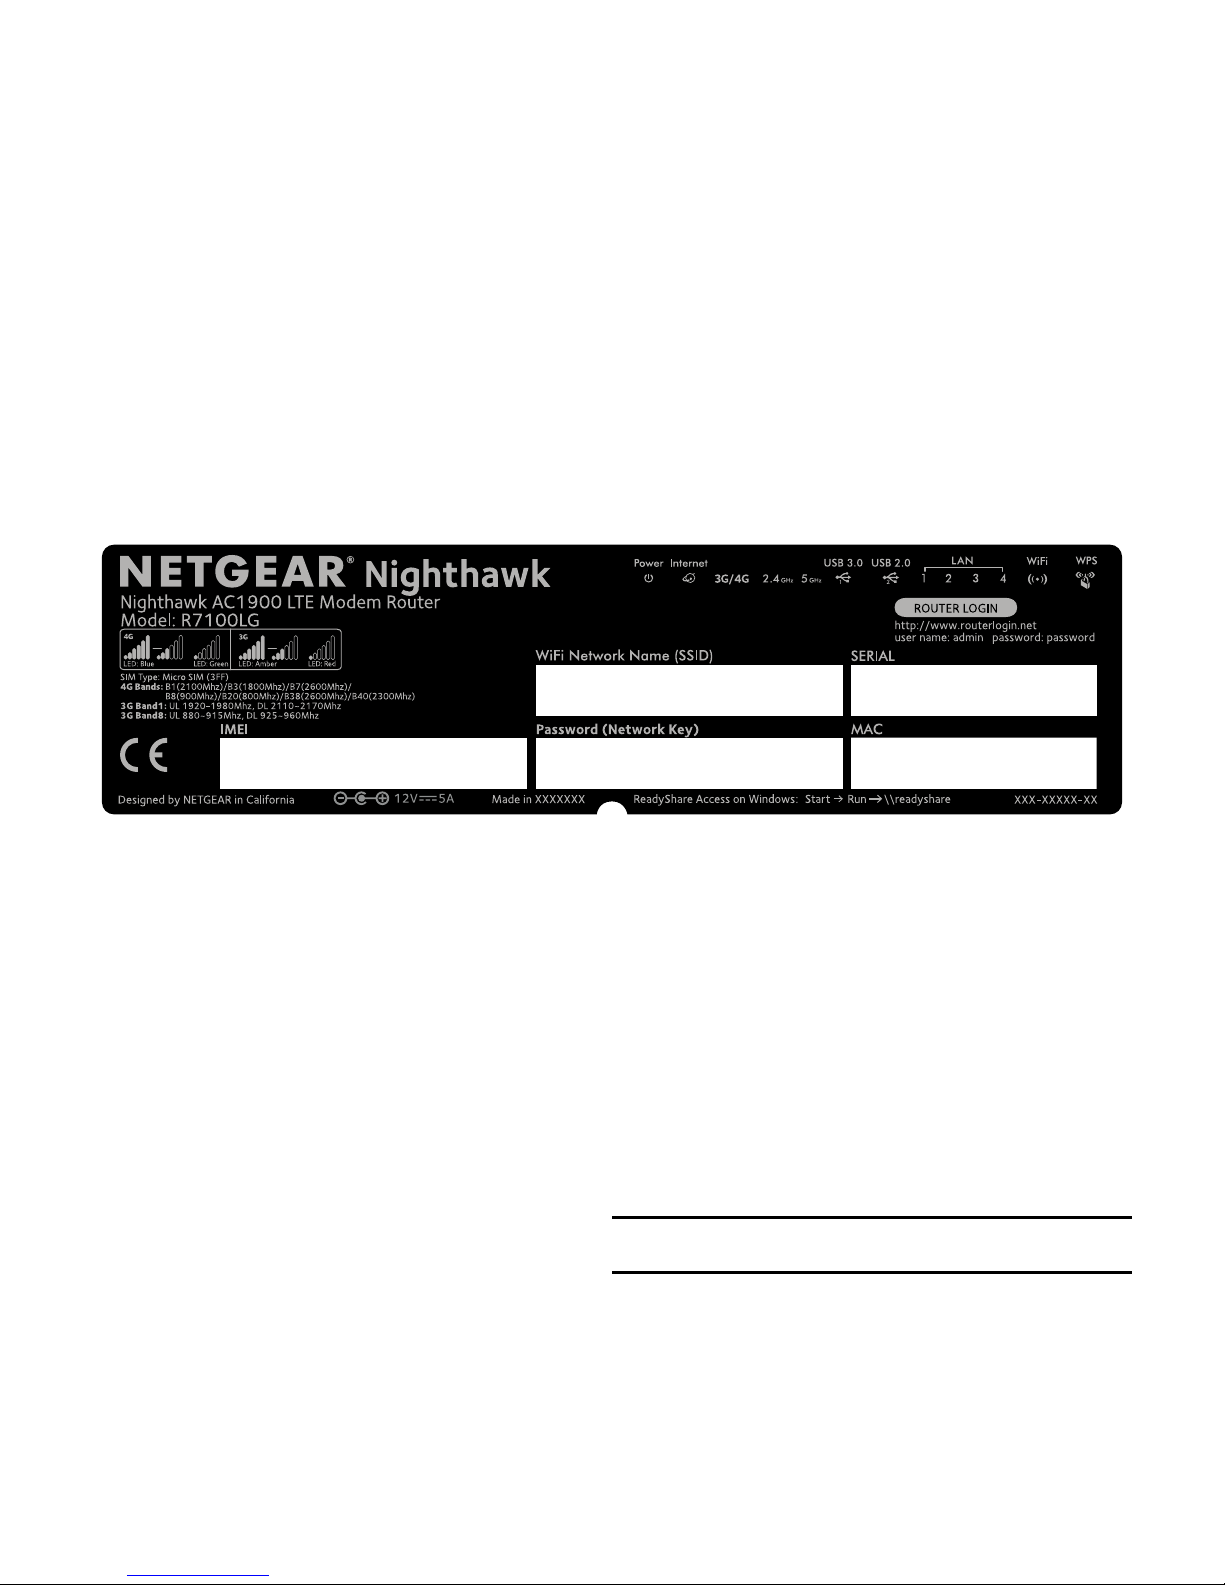
WiFi Network Name and Password
The preassigned WiFi network name (SSID) and password (network
key) are unique to your modem router, like a serial number. Because the
modem router automatically uses WiFi security, you don’t need to set it
up. The WiFi settings are on the label on the modem router.
We recommend that you use the preassigned WiFi settings because
you can check the label if you forget them. You can also log in to the
modem router to change these settings. If you do so, write down the new
WiFi settings and store them in a safe place.
You can write the WiFi settings from the label on your modem router in
this space for easy reference. If you change the WiFi settings, write the
new settings here for easy reference and store this booklet in a safe place.
WiFi network name (SSID):
Network key (password):
Page 3

3
Check the 3G/4G LED Behavior
The 3G/4G LED on your modem router indicates your modem router’s
mobile broadband signal strength.
If your modem router is connected to a 4G network, the 3G/4G LED lights
the following colors:
LED Behavior for 4G Connection Description
Solid blue Good or fair signal strength.
Solid green Weak signal strength.
Blinking blue or green Data activity is occurring.
If your modem router is connected to a 3G network, the 3G/4G LED lights
the following colors:
LED Behavior for 3G Connection Description
Solid amber Good or fair signal strength.
Solid red Weak signal strength.
Blinking amber or red Data activity is occurring.
For information about the other LED behaviors, see the user manual, which
is available online at downloadcenter.netgear.com.
Page 4

4
Connect Your Modem Router to a Modem
You can connect your modem router to a cable or fiber modem. If you
insert a micro SIM card into your modem router and you also connect a
modem to the Internet port on the modem router, you can set up failover
mode on your modem router. For more information, see Set Up Failover
Mode on page 13.
¾ To connect your modem router to a modem and connect
it to the Internet:
1. Attach and position the antennas:
45°
45° 45°
a. Attach and tighten the antennas on the threaded antenna posts.
b. Position the antennas as shown.
Page 5
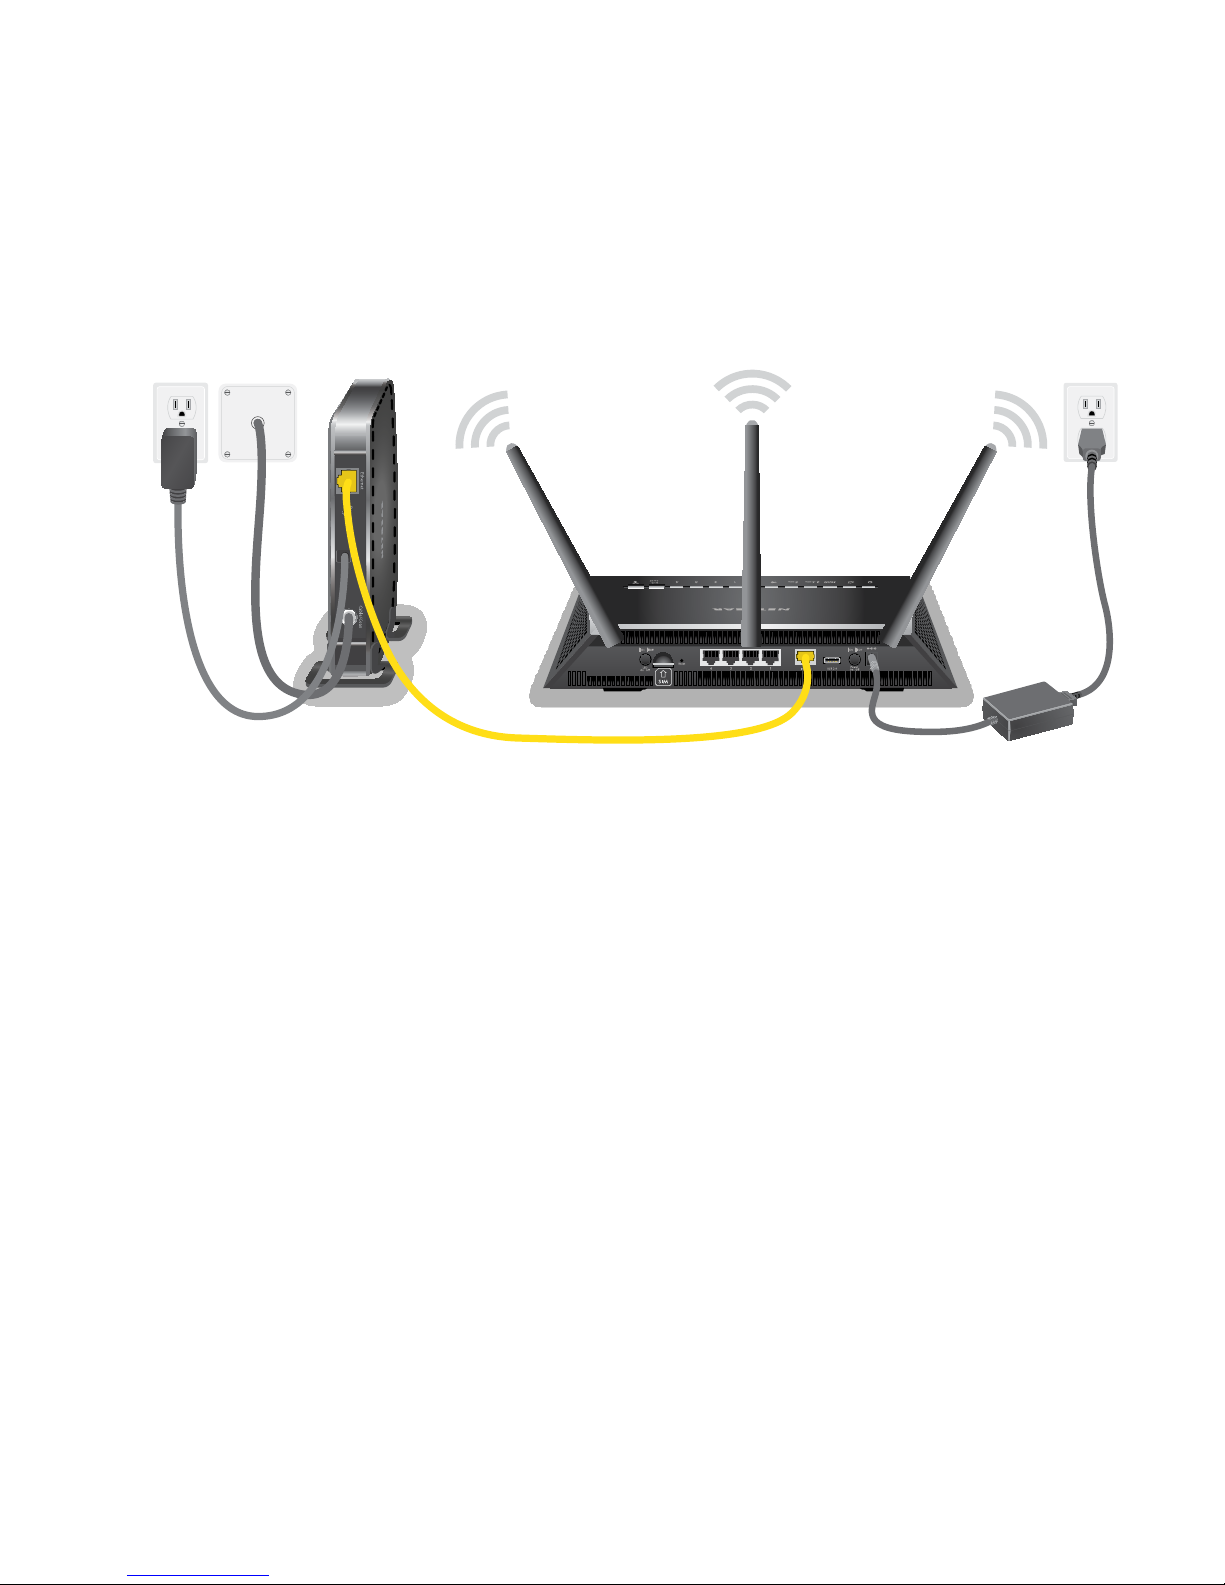
5
2. Connect your modem router to a modem and plug in your
modem router:
a. Unplug your modem, remove and replace the backup battery if it
uses one, and then plug the modem back in.
b. Use the Ethernet cable to connect the modem to the yellow
Internet port on the modem router.
c. Connect the modem router to a power source.
The modem router’s Power LED lights amber and then turns white
when the modem router is ready.
Page 6
6
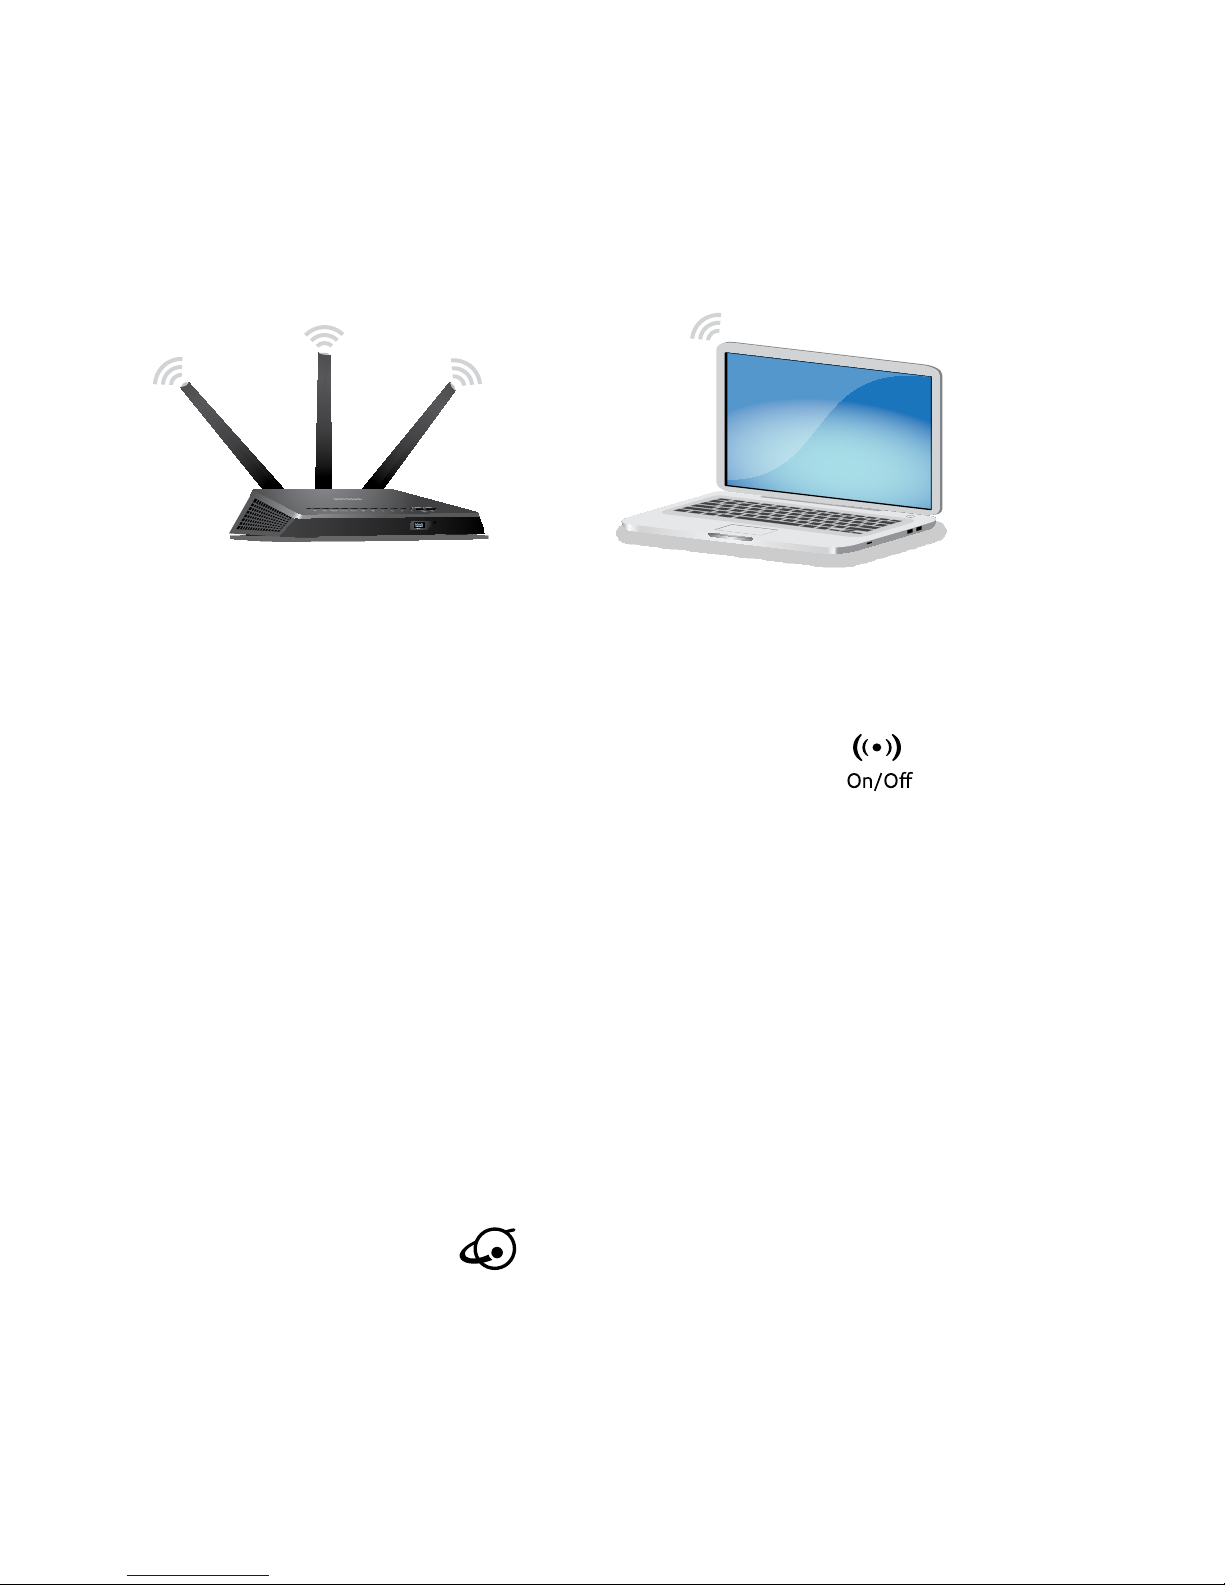
3. Connect to the Internet:
You can either use an Ethernet cable or connect with WiFi to the
modem router.
To connect with WiFi, do the following:
a. Make sure that the modem router’s WiFi LED is lit.
b. Find the modem router’s preassigned WiFi network name and
password on the label on the modem router.
c. Open the WiFi connection manager on a WiFi-enabled computer
or mobile device, find the modem router’s WiFi network name,
and use the modem router’s password to connect.
d. Launch a web browser.
If the NETGEAR installation assistant does not display, visit
www.routerlogin.net. If a login window opens, enter admin for
the user name and password for the password.
e. Follow the NETGEAR installation assistant.
The Internet LED lights when the modem router is connected
to the Internet.
Page 7

7
Join the WiFi Network
You can either use Wi-Fi Protected Setup (WPS) or select your
modem router’s WiFi network and type its password.
Join the WiFi Network Using WPS
For help with the WPS button on your WPS-enabled device, check the
instructions or online help that came with that WPS-enabled device. Some
older equipment cannot use WPS.
¾ To join the network using WPS:
1. Press the WPS button on the modem router for three to five seconds.
The WPS LED on the modem router blinks white.
2. Within two minutes, on your WPS-enabled device, press its WPS
button or click its onscreen WPS button.
The WPS LED on the modem router lights solid white when the
WPS-enabled device connects to your modem router.
3. Repeat this process to add other WPS-enabled devices.
Page 8

8
Join the WiFi Network Using the
Modem Router’s WiFi Settings
Use the modem router’s WiFi network name and password to connect your
WiFi-enabled computer or mobile device to the modem router’s network
through WiFi. If you did not change the modem router’s WiFi network
name and password, use the modem router’s preassigned WiFi network
name and password, which are on the label on the modem router.
¾ To select your network and enter its password:
1. On your WiFi-enabled computer or mobile device, open the WiFi
connection manager that manages your WiFi connections.
The WiFi connection manager scans for WiFi networks in your area.
2. Find and select your modem router’s WiFi network name (SSID).
The SSID is on the label on the modem router.
3. Enter the modem router’s password (or your custom password if you
changed it).
The password is on the label on the modem router.
4. Repeat Step 1 through Step 3 to add other WiFi-enabled computer or
mobile device.
Page 9

9
View or Change the
Modem Router Settings
After you use the NETGEAR installation assistant to set up the
modem router, you can log in to the modem router to view or change its
settings.
Log In to the Modem Router
¾ To log in to the modem router:
1. Connect a computer or mobile device to the modem router.
You can connect using a wired connection or a WiFi connection:
• To connect using a wired connection, use an Ethernet cable (not
included) to connect an Ethernet port on your computer to an
Ethernet port on the modem router.
• To connect using a WiFi connection, find the modem router’s
preassigned WiFi network name and password on the label on
the modem router. Open the WiFi connection manager on your
WiFi-enabled computer or mobile device, find the modem router’s
WiFi network name, and use the modem router’s password to
connect.
2. Launch a web browser and visit www.routerlogin.net.
A login window opens.
Page 10

10
3. Enter admin for the user name and password for the password.
The BASIC Home page displays.
Change the WiFi Network Name and Password
The router’s preset WiFi network name (SSID) and password are on the
label on the router. If you want to change your router’s WiFi network name
and password, log in to the modem router.
¾ To change the router’s WiFi network name and password:
1. Launch a web browser from a computer or mobile device that is
connected to the network and visit www.routerlogin.net.
A login window opens.
2. Enter the modem router user name and password.
The user name is admin and the default password is password. Use
the default credentials if you did not change them.
The BASIC Home page displays.
3. Select Wireless.
The Wireless Setup page displays.
4. To change the WiFi network name (SSID), enter a new name in the
Name (SSID) field.
Page 11

11
5. To change the WiFi password, enter a new password in the Password
(Network Key) field.
6. Click the Apply button.
Your settings are saved.
Change the admin Password
¾ To change the admin password:
1. Launch a web browser from a computer or mobile device that is
connected to the network and visit www.routerlogin.net.
A login window opens.
2. Enter admin for the user name and password for the password.
The BASIC Home page displays.
3. Select ADVANCED > Administration > Set Password.
The Set Password page displays.
4. Type your old password and type the new password twice.
5. To be able to recover the password, select the Enable Password
Recovery check box.
We recommend that you enable password recovery.
6. Select two security questions and provide answers to them.
7. Click the Apply button.
Your settings are saved.
Page 12

12
Recover a Forgotten admin Password
The default password for the admin user name is password. If you
changed the password and enabled the password recovery feature, you
can retrieve this password.
¾ To retrieve a forgotten admin password:
1. Launch a web browser from a computer or mobile device that is
connected to the network and visit www.routerlogin.net.
A login window opens.
2. Click the Cancel button.
If password recovery is enabled, you are prompted to enter the serial
number of the modem router. The serial number is on the label on the
modem router.
3. Enter the serial number of the modem router.
4. Click the Continue button.
A page displays requesting the answers to your security questions.
5. Enter the saved answers to your security questions.
6. Click the Continue button.
A page displays your recovered password.
7. Click the Login again button.
A login window opens.
Page 13

13
8. With your recovered password, log in to the modem router.
Set Up Failover Mode
If you inserted a micro SIM card into your modem router and you also
connected a modem to the Internet port on the modem router, you can
set up failover mode on your modem router. Failover mode allows your
modem router to switch to a mobile broadband connection if its Internet
port connection fails. Note that the modem router’s Internet port is also
referred to as a WAN Ethernet port.
¾ To set up failover mode:
1. Connect a modem to the Internet port on your modem router
and insert a micro SIM card into the SIM slot on the back of the
modem router.
2. Set up your modem router’s WAN Ethernet connection:
a. Launch a web browser from a computer or mobile device that is
connected to the network and visit www.routerlogin.net.
A login window opens.
b. Enter the modem router user name and password.
The user name is admin and the default password is password.
Use the default credentials if you did not change them.
The BASIC Home page displays.
Page 14

14
c. Select ADVANCED > Setup > Broadband Settings.
The Broadband Settings page displays.
d. In the Internet Connection Mode menu, select Always use
Ethernet connection to enable the Internet port’s (also referred
to as a WAN Ethernet port) Internet connection only.
e. Click the Apply button.
Your settings are saved.
f. Select ADVANCED > Setup > Internet Setup.
The Internet Setup page displays.
g. Specify your Internet connection settings.
h. Click the Apply button.
Your settings are saved.
i. Test your modem router’s Internet connection to make sure that
your modem router can connect to the Internet.
3. Set up your modem router’s mobile broadband connection:
a. Log back in to the modem router.
The BASIC Home page displays.
b. Select ADVANCED > Setup > Broadband Settings.
The Broadband Settings page displays.
c. In the Internet Connection Mode menu, select Always use
Mobile Broadband connection to enable the mobile broadband
connection only.
Page 15

15
d. Click the Apply button.
Your settings are saved.
e. Select ADVANCED > Setup > Mobile Broadband Settings.
The Mobile Broadband Settings page displays.
f. Specify your mobile broadband connection settings.
g. Click the Apply button.
Your settings are saved.
h. Test your modem router’s Internet connection to make sure that
your modem router can connect to the Internet.
4. Set the failover mode:
a. Log back in to the modem router.
The BASIC Home page displays.
b. Select ADVANCED > Setup > Broadband Settings.
The Broadband Settings page displays.
c. In the Internet Connection Mode menu, select Use WAN
Ethernet with mobile as back up in case of failure.
The modem router will connect to the Internet using the WAN
Ethernet connection. If the WAN Ethernet connection fails, the
modem router will connect to the Internet using the mobile
broadband connection.
d. Click the Apply button.
Your settings are saved.
Page 16

16
Check the Mobile Broadband Status
If your modem router is connected to a mobile broadband network,
you can log in to the modem router to check the status of the mobile
broadband connection.
¾ To check the mobile broadband status:
1. Launch a web browser from a computer or mobile device that is
connected to the network and visit www.routerlogin.net.
A login window opens.
2. Enter the modem router user name and password.
The user name is admin and the default password is password. Use
the default credentials if you did not change them.
The BASIC Home page displays.
3. Click the ADVANCED tab.
4. In the Internet Port pane, click the Connection Status button.
The Mobile Broadband Status page displays.
Page 17

17
View the Mobile Broadband Settings
If your modem router is connected to a mobile broadband network, you
can log in to the modem router and view the mobile broadband settings,
such as the APN, PDP type, and network mode.
¾ To view the mobile broadband settings:
1. Launch a web browser from a computer or mobile device that is
connected to the network and visit www.routerlogin.net.
A login window opens.
2. Enter the modem router user name and password.
The user name is admin and the default password is password. Use
the default credentials if you did not change them.
The BASIC Home page displays.
3. Select ADVANCED > Setup > Mobile Broadband Settings.
The Mobile Broadband Settings page displays.
Page 18

18
Access a USB Device on the Network
ReadySHARE lets you access and share a USB storage device connected to
the modem router’s USB ports. (If your USB device uses special drivers, it
is not compatible.)
¾ To access the USB storage device from a Windows
computer:
1. Connect your USB storage device to a USB port on the modem router.
We recommend that you use the blue USB 3.0 port on the
modem router to get the best USB device access speed.
When you connect the USB storage device to the modem router’s USB
port, it might take up to two minutes before it is ready for sharing. By
default, the USB storage device is available to all computers on your
local area network (LAN).
2. On a Windows computer that is connected to the network, select
Start > Run, enter \\readyshare in the dialog box, and click the OK
button.
A window displays the files and folders on the device.
Page 19

19
¾ To access the USB storage device from a Mac:
1. Connect your USB storage device to a USB port on the modem router.
We recommend that you use the blue USB 3.0 port on the
modem router to get the best USB device access speed.
When you connect the USB storage device to the modem router’s USB
port, it might take up to two minutes before it is ready for sharing. By
default, the USB storage device is available to all computers on your
local area network (LAN).
2. On a Mac that is connected to the network, launch Finder and select
Go > Connect to Server.
The Connect to server window opens.
3. Enter the smb://readyshare in the Server Address field and click
the Connect button.
4. When prompted, select the Guest radio button.
5. If you set up access control on the modem router and you allowed
your Mac to access the network, select the Registered User
radio button and enter admin for the name and password for the
password.
For more information about access control, see the user manual,
which is available online at downloadcenter.netgear.com or through a
link in the modem router’s user interface.
6. Click the Connect button.
A window displays the files and folders on the device.
Page 20

June 2016
NETGEAR, Inc.
350 East Plumeria Drive
San Jose, CA 95134, USA
NETGEAR INTL LTD
Building 3, University Technology Centre
Curraheen Road, Cork, Ireland
Support
Thank you for purchasing this NETGEAR product. You can visit
www.netgear.com/support to register your product, get help, access the latest
downloads and user manuals, and join our community. We recommend that you use only
official NETGEAR support resources.
Trademarks
© NETGEAR, Inc., NETGEAR and the NETGEAR Logo are trademarks of NETGEAR, Inc.
Any non-NETGEAR trademarks are used for reference purposes only.
Compliance
For the current EU Declaration of Conformity, visit
http://support.netgear.com/app/answers/detail/a_id/11621/.
For regulatory compliance information, visit
http://www.netgear.com/about/regulatory/.
See the regulatory compliance document before connecting the power supply.
 Loading...