

Page 1
Page 2
Page 3
l
Lift handset.
l
Depress idle outside line button.
l
Dial desired telephone number.
NOTE: When placing consecutive calls
the RECALL button may be used to
disconnect existing call and to
provide dial tone.
PLACING AN OUTSIDE tIiAitUSlNG HANDSFREE DlAllNG *
l
Depress ON/OFF button.
l
Depress idle outside line button.
l
Dial desired telephone number,
l
Lift handset when called partys voice is heard through speaker,
[Handset not required when equipped with Speakerphone.]
z<
NOTE: If “bus\/’ or “no answer” is received, depress ON/OFF button to disconnect.
l
Establish connection as outlined above.
l
Depress ON/OFF button to begin monitoring.
l
Replace handset [adjust volume if necessary),
l
Lift handset,
l
Depress slow-flashing outside line button,
(Depress ON/OFF button if equipped with Speakerphone.)
l
Lift handset when ready to resume conversation.
(Handset not required when equipped
with Speakerphone.)
ANSWERINGANATTENDANTTRANSFERREDCALL
When the attendant transfers an outside call to your station, a “C” will momentarily appear in your
display and ring tone will be heard through your speaker.
l
Lift handset,
l
Depress flutter-flashing outside line button.
(Depress ONIOFFbutton if equipped with Speakerphone.)
Page 4
l
Lift handset, (Depress
ON/Off
bution ifequipped
with Speakerphone.)
l
Depress ICM button,
l
Dial desired station number,
l
Voice announce after hearing tone burst;
OR
* Dial digit “1” to transmit tone signal.
NOTE: When calling a Single Line telephone,
PLACING AN INTERCOM CALL USING STATION OSS BUTTONS
l
Lift handset.
l
Depress desired station DSS button.
l
Voice announce after hearing tone burst;
l
Receive tone burst and voice
announcement or tone signal.
(Depress ON/OFF button if equipped with Speakerphone.)
l
Depress ICM button.
l
Lift handset to begin conversation.
ANSWERING INTERCOM CALLS USING HANDS FREE ANSWERBACK
l
l
Receive tone burst and voice
announcement.
l
Check that MC-ON LED is lit.
Answer via microphone without
lifting handset.
no voice announcement is available.
Ring signal will be automatically pro-
vided.
l
Dial digit “1” to transmit
OR
tone signal.
Page 5
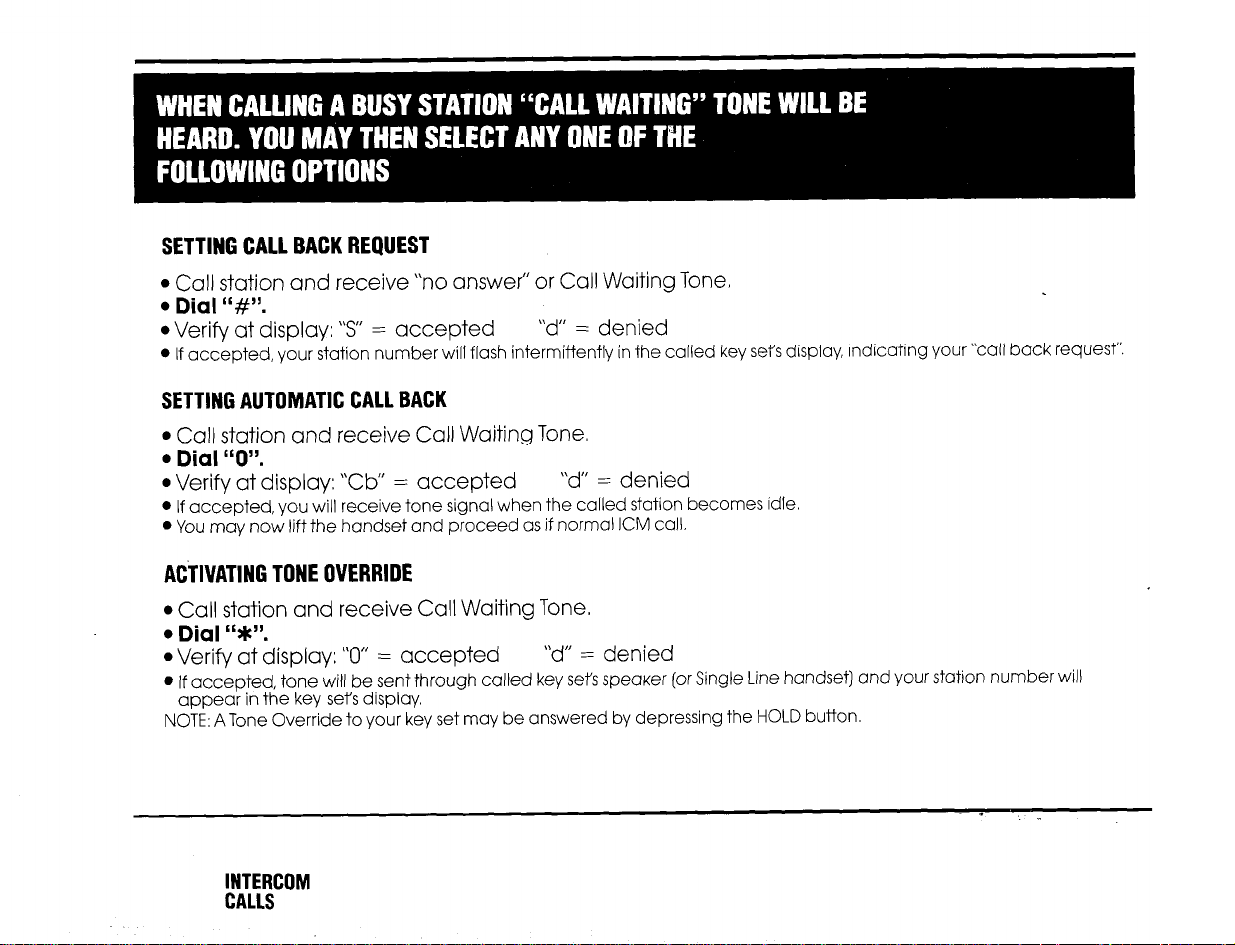
SETTING CALL BACK REQUEST
l
Call station and receive “no answer” or Call Waiting Tone.
l Dial “#“.
l
Verify at display: ‘5” = accepted
l
If accepted, your station number will flash intermittently in the called key set’s display, indicating your “call back request”.
“d” = denied
SETTING AUTOMATIC CALL BACK
l
Call station and receive Call Waiting Tone.
l Dial “0”.
l
Verify at display: “Cb” = accepted “d” = denied
l
If accepted, you will receive tone signal when the called station becomes idle.
l
You may now lift the handset and proceed as if normal ICM call.
ACTIVATING TONE OVERRIDE
l
Call station and receive Call Waiting Tone.
l Dial “W.
l
Verify at display: “0” = accepted
l
If accepted, tone will be sent through called key set’s speaker (or Single Line handset) and your station number will
appear in the key sets display.
NOTE: A Tone Override to your key set may be answered by depressing the HOLD button.
“d” = denied
INTERCOM
CALLS
Page 6

l
Depress HOLD button.
l
Held line button will wink intermittently on your keyset. All other keysets will receive a rapid-flash
on that line button.
NOTE: When you place an intercom call on hold, the HOLD button will rapid-flash.
PLACING CALLS ON EXCLUSIVE HOLD
l
Depress HOLD button twice.
l
Held line button will wink intermittently on your keyset. All other keysets will receive a steadily lit
LED on that line button.
NOTE: If a call remains on exclusive hold longer than a preset interval after handset has been restored, the line button
will flutter flash. If your key set is idle, tone will be received through speaker.
l
Lift handset,
l
Depress intermittently winking or rapid flashing line button.
NOTE: Depress rapid-flashing HOLD button for intercom calls
[Depress ONIOFFbuffon if equipped with Speakerphone.)
Page 7

;i.
l
Depress HOLD button.
l
Depress ICM button.
l
Dial desired station number.
l
Announce transfer, informing station which line to pick up.
NOTE: When transferring a call to a station which does not have that line appearance, the following procedure must be
used;
l
Depress HOLD button.
l
Depress ICM button.
l
Dial desired station number and wait for party to answer over handset.
l
Depress ADD/ON button.
l
Depress intermittently winking line button.
l
Confirm transfer and replace handset.
ONE STEP CALL TRANSFER USING STATION DSS BUTTONS
l
Depress desired station DSS button; call is automatically placed on hold and an intercom connection is established.
l
Announce transfer, informing station which line to pick up.
Page 8

l
l
Depress ADD/ON button.
l
Depress desired station DSS button (I-20)
Dial three digit station number to be programmed.
l
Depress ADD/ON button again.
INTERCOM CALLING USING STATION DSS BUTTONS
l
l
Lift handset.
l
Depress desired station DSS button.
l
Voice announce after hearing tone burst;
(Depress ONIOfFbutton if equipped with Speakerphone.)
OR
Dial digit “1” to transmit
tone signal. .
NOTE: When calling a single line telephone, no voice announcement is available. Ring signal will automatically
be provided,
l
Depress ADD/ON button.
l
Depress desired speed dial button (II-20), or (I-20) when assigned expanded speed dialing.
l
Dial line access code (9,8,7 or 0).
l
Dial telephone number to be programmed
[pauses and hook flashes may be programmed into speed cfid).
l
Depress ADD/ON button again.
NOTE 1: Dialing access codes V”, “8” or “7” will cause a line to be selected automatically when using station speed dialing,
NOTE 2: Depress HOLD button to program PAUSE; depress RECALL button for HOOKFLASH.
unless a line is manually selected. If “0” is dialed, an outside line must be manually selected.
PLACING A CALL USING STATION SPEED DIALING
l
Lift handset or depress ON/OFF button,
l
Depress desired station speed dial button, (Depress line button if a particular line is desired).
l
When party has answered, use handset to begin conversation. (Handsef not required when
with Speakerphone.)
equipped
Page 9

l
Depress speed dial button to be verified (I-20) while keGet is idle.
l
Read number in display (one digit at a time).
l
Lift handset or depress ON/OFF button.
l
Depress idle outside line button.
l
Dial “#” and two-digit access code. (IO-IO>
l
When party has answered, use handset to begin conversation,
(Hcmdsef not required when equipped with Speakerphone.)
Consecutive speed dialing has particular value when accessing Specialized Common Carrier
Networks, where multiple dialing sequences are required.
l
Lift handset or depress ON/OFF button.
l
Depress idle outside line button.
l
Access speed dialing (system/station). (LOCAL ACCESS NUMBER]
l
(If initiating system speed dialing, depress ADD/ON button.)
l
Access speed dialing (system/station] (AUTHORIZATION CODE)
l
(If initiating system speed dialing, depress ADD/ON but-ton.)
l
Access speed dialing (system/station) or dial manually. (LONG DISTANCE NUMBER)
l
When party has answered, use handset to talk.
[Handset not required when equipped with Speakerphone.)
Page 10

ATHREE-PARTYCONFERENCE
l
Establish first call.
l
Depress HOLD button,
l
Establish second call.
l
Depress ADD/ON button.
l
Depress held line button (or HOLD button for intercom call).
NOTE: A three-party conference may consist of the following:
3 internal stations 2 internal stations + 1 outside line
1 internal station + 2 outside lines
AFOUR-PARTYCONFERENCE
l
Establish three-party conference as outlined above.
l
Depress HOLD button.
l
Establish third call,
l
Depress ADD/ON button.
l
Depress rapid-flashing HOLD button.
NOTE: A four-party conference may consist only of 3 internal stations and one outside line
l
Depress ON/OFF button.
l
Depress ICM button.
l
Dial 56”.
l
Depress busy outside line button.
l
Verify at display ” s ” if accepted.
l
Depress ON/OFF button.
NOTE: Your
phone
will be tone signalled when a line is available. Depress the
fluttering LED at outside line and dial telephone number.
Page 11

SETTING
l
Depress ON/OFF button.
l
Depress ICM button.
l
Dial “46”
l
Dial station number calls should be forwarded to.
l
Dial “I” for all calls to be forwarded.
l
Dial “2” for calls to be forwarded only when your station is busy,
l
Receive confirmation tone.
l
Depress ON/OFF button.
NOTE: The HOLD LED will be lit steadily when call forwarding is set.
CANCELllNG
l
Depress ON/OFF button,
l
Depress ICM button,
l
Dial “46”.
l
Depress ON/OFF button again.
VERIFYING
l
Depress ON/OFF button,
l
Depress ICM button.
l
Dial “47”.
l
Read target number in display.
l
Display will indicate “00” if no call forwarding is set.
Page 12

l
Lift handset. (Depress ONIOFFbufton
equipped with Speakerphone.)
l
Lift handset or depress ON/OFF button.
l
Depress idle outside line button.
if
l
Depress ICM button.
l
Dial “2” to establish connection.
l
Dial “W’.
l
When party has answered, use handset to talk.
(Handset not required when equipped
with Speakerphone.)
SETTING
l
Depress DND button; LED lights steady.
CANCELLING
l
Depress DND button; LED goes out.
@A rapid-flashing DND LED indicates that the attendant has a Message Waiting for the station user.
Page 13

SINGLE LINE TELEPHONE
l
Lift handset, listen for dial tone.
l
Dial desired station number.
l
Wait for party to answer.
l
Lift handset, listen for dial tone.
l
Dial outside line access code (9,8, or 7).
l
Dial telephone number.
*Ask party to hold.
l
Depr;ess switchhook momentarily, listen for second dial tone.
l
Place a second call if desired,
NOTE 1: When handset is restored your phone will ringback immediately with your held call.
NOTE 2: If attendant camp-on tone or station tone override signal is received through your handset, you may use this
feature to place call in progress on hold and immediately answer the call waiting.
.
i
Page 14

l
Inform party of transfer,
l
Depress switchhook momentarily, listen for second dial tone.
l
Dial desired station number immediately.
l
Depress switchhook momentarily, when station answers,
l
Confirm transfer and replace handset.
NOTE: If station is busy or does not answer, depress switchhook momentarily to return to held party.
l
Establish first call.
l
Depress switchhook momentarily, listen for second dial tone.
l
Establish second call,
l
Depress switchhook momentarily.
l
Confirm three party conference is established.
UPOn
dialing outside line access code; 9,8, or 7 and
l
Depress switchhook momentarily.
l
Dial c56yy.
l
Replace handset.
receiving a busy.
NOTE: Your phone will ring when a line is available.
Lift handset and dial telephone number.
Page 15

l
Lift handset,
l
Dial “40”.
l
Dial two digit access code, 20 through 29.
0 Dial outside line access code, 9,8, or 7.
l
Dial telephone number.
l
Replace handset.
ACCESSING STATION SPEED DIALING
l
Lift handset.
l
Dial “#“.
l
Dial two digit access code, 20 through 29,
l
Lift handset.
l
Dial ‘*#“.
l
Dial Iwo digit access code, 10 through 19.
l
Lift handset.
Page 16

SETTING
l
Lift handset.
l
Dial “46”.
l
Dial station number you wish your calls to be forwarded to.
l
Dial rrly’ for all calls to be forwarded.
l
Dial “2” for calls to be forwarded only when your phone is busy.
CANCELLING
l
Lift handset.
l
Dial 46 and replace handset,
l
Lift handset.
l
Dial 2.
l
You will be connected to the incoming intercom or attendant transferred call to a station within
your programmed group.
NIGHT CALL PICKUP
l
Lift handset.
l
Dial 3.
l
You will be connected to the incoming call when the system has been placed in the night mode,
Page 17

l
Lift handset.
T Dial internal zone access code (51,52,53 or 50).
l
Voice page.
ANSWERING
l
Lift handset,
l
Dial 55.
l
Lift handset.
l
Dial external zone page access code (61,62,63 or 60).
l
Voice page.
ANSWERING
l
Lift handset.
l
Dial 65.
Account code entry applies only to those systems equipped with station message detail
service (SMDS),
l
Dial telephone number,
l
Immediately dial * and the account code (up to nine digits). [To enter Account Code, dial manually
or access speed dial (system/station),]
Page 18

DIRECTORY NOTES
Name Area Code &Number
 Loading...