

Page 1
Be Strong.
™
Commercial Series Bike U916
P/N: 001-688 3 Rev D (03/28/ 07)
Assembly Manual
Model: U916
Page 2
preface
Thank you for purchasing the Nautilus® Commercial Series U916 bike. For more than 30 years Nautilus,
Inc. has been producing the world’s finest fitness equipment used in health clubs and homes around the
globe. We hope this product exceeds your expectations and is a valuable tool for your facility.
Please carefully read through this manual to familiarize yourself with the operation of your new Nautilus®
bike. Doing so will help to insure that your users get the most out of your bike, enjoying safe and
effective workouts ahead.
Nautilus, Inc.
World Headquarters
16400 SE Nautilus Drive
Vancouver, Washington, USA 98683
1-800-NAUTILUS
nautilus.com
2
Attention!
For detAiled instructions And inFormAtion
on how to use And cAre For your nAutilus
®
commerciAl series bike, model u916, reFer to the
owner’s mAnuAl.
Page 3

Product Features ............................ 4
Product Specifications .................. 5
Before You Assemble ..................... 6
Parts List / Box Contents .............. 7
Hardware and Tool List .................. 8
Assembly Guide ............................ 9
Quick Start Guide .......................... 14
Warranty Information .................... 15
table of contents
Contacting Nautilus ...................... 16
Nautilus® Commercial Series Bike Assembly Manual
3
Page 4
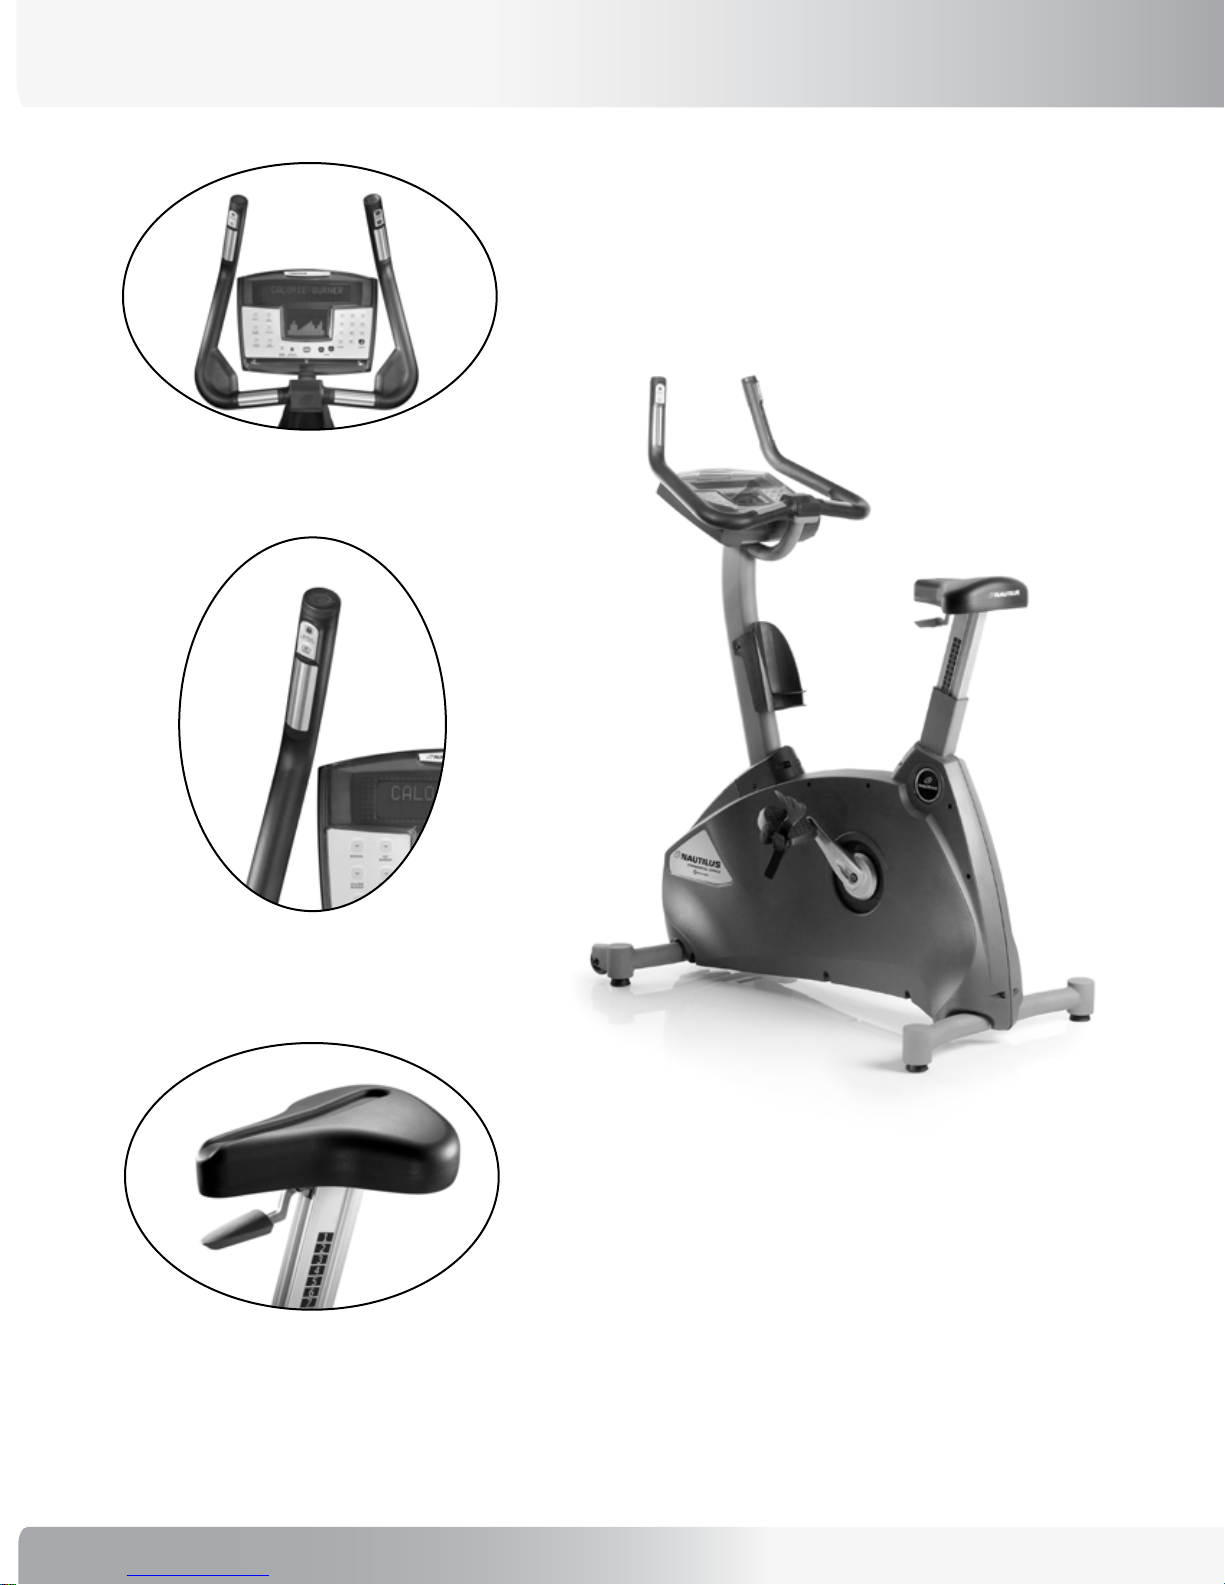
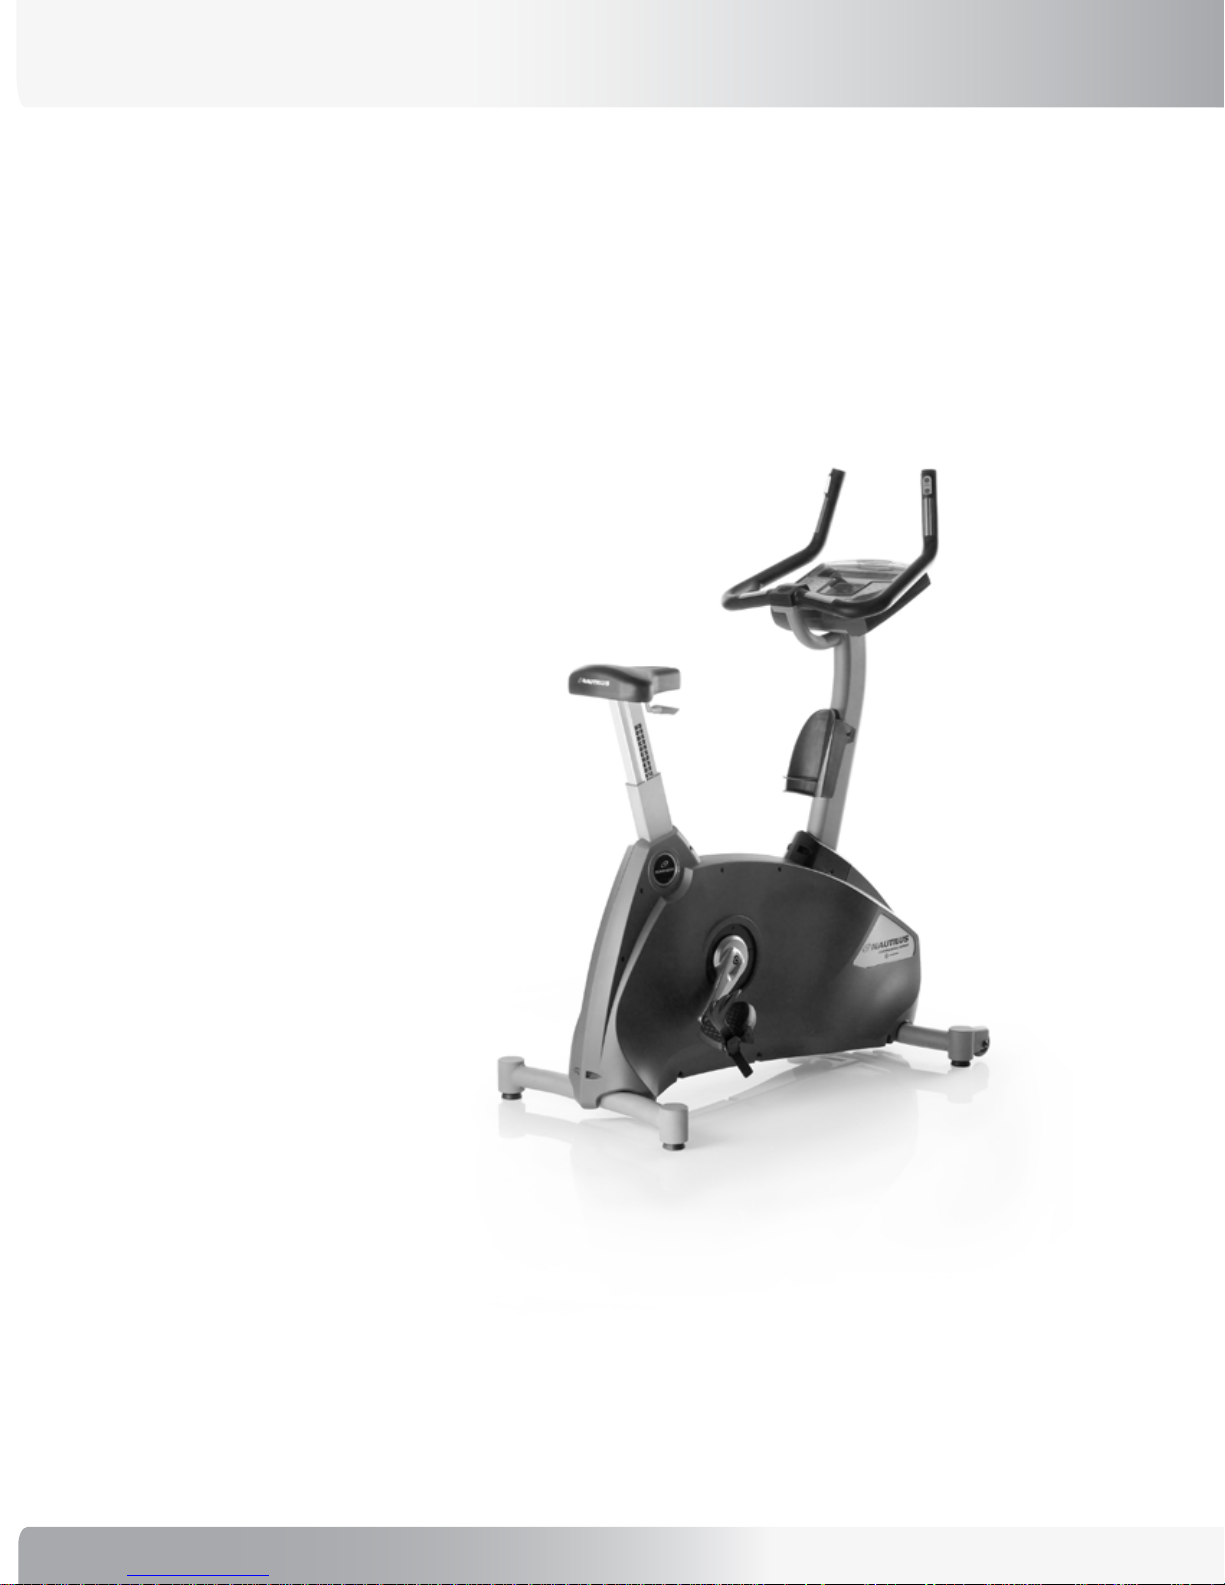
product features
C51 CONSOLE
REMOTE OPERATION CONTROLS
SEAT ADJUSTMENT
™
MODEL: U916
4
Page 5

product specifications
NOTE: All instructions in the manual are given with the orientation
of sitting on the exercise machine facing the console.
User Weight Capacity: 400lbs / 182Kg
Dimensions: 24”w x 45”l x 57”h / 60.96 cm x 114.3 cm x 144.78
Shipping Weight: 178 lbs / 81 kg
Net Weight: 150 lbs / 68 kg
Power Requirements: Self Generating
9V AC/DC Power Supply (Battery Charger)
Nautilus® Commercial Series Bike Assembly Manual
5
Page 6

before you assemble
Note: Throughout this manual, all references to the left or
right side and to the front or back are made as if you were
on the machine, ready to exercise.
Basic Assembly Principals
Here are few basic assembly tips that can make assembly
of your
1. You can make the assembly process go faster by
2. As a general rule, and for all fasteners on your
3. The tools needed to assemble your Nautilus®
Nautilus® Commercial Series Bike quick and easy.
gathering the pieces you need for each step prior to
starting the step.
Nautilus®
Commercial Series Bike, turning toward the right will
tighten, turning towards the left will loosen. An easy way
to remember this is by remembering the expression,
“Lefty loosey, righty tighty.”
Commercial Series Bike are provided.
use of a utility knife or scissors beneficial during the
unpacking and assembly process.
You may find the
Positioning Your Nautilus® Commercial Series Bike
Take great care when moving your Commercial Series Bike
into place prior to assembly.
To move the upright bike, stand in front of the machine and
grasp the handlebars. Pull down until the transport wheels
are in contact with the ground. (Note: Do not push down
on the plastic shroud with your feet when tilting machine up
to contact the transport wheels with the ground. Use the
stabilizer bars instead, to avoid any damage to the plastic
covers.) The machine can now be rolled on the transport
wheels.
Do not grasp or move the the machine by holding onto the
computer console.
Note:
The transport wheels are intended for indoor use only and
should never be rolled on concrete or asphalt surfaces.
4. It is recommended that you use two people to
assemble your Nautilus® Commercial Series Bike.
Select Your Workout Area
Select where you are going to put your Nautilus®
Commercial Series Bike carefully. The best place for
your exercise bike is on a hard, level surface. You will
need at least 18 inches (.45 meters) on each side of the
Commercial Series Bike and 18 inches (.45 meters) behind
your U916 for dismount.
Make sure that the location you choose has a grounded,
3-prong power outlet within reach of the
Commercial Series Bike
NOTE: The Nautilus®
to plug into a grounded, non-GFI outlets only. To determine
if your outlet or circuit breaker is GFI, look for a test and
reset button on them. If they have the test and reset
button it is a GFI outlet or circuit breaker.
Further, if you ever perform any repairs on your
Commercial Series Bike
side, you will need at least five feet to one side of your
workout area.
power cord.
Commercial Series Bike
that require you to lay it on its
Nautilus®
is designed
6
Page 7

PARTS LIST / BOX CONTENTS
REF # DESCRIPTION QTY
A Console 1
B Console Mast 1
C Main Frame 1
D Seat assembly 1
E Handlebar 1
F Right Mast Shroud 1
G Left Mast Shroud 1
H Water Bottle Holder 1
I Hardware Pack (not shown) 1
parts list / box contents
D
A
E
H
B
F
C
G
Nautilus® Commercial Series Bike Assembly Manual
7
Page 8

Hardware and tool list
HARDWARE BAG - NOTE: ILLUSTRATIONS ARE NOT TO SCALE.
The Hardware Bag contains the following individual parts and tools.
Ref #1 Allen Head Bolt M10x25 Qty. 4
Ref #2 Spring Washer M10 Qty. 4
Ref #3 Flat Washer M10 Qty. 4
Ref #4 Phillips Head Screw 1/4”x20 Qty. 4
Ref #5 Spring Washer M6 Qty. 4
Ref #6 Allen Head Bolt M8x20 Qty. 4
Ref #7 Spring Washer M8 Qty. 4
Ref #9 6mm Allen Wrench / Phillips Screwdriver
Ref #10 8mm Allen Wrench
Ref #8 Phillips Head Screw #10-32 x 3/4” Qty. 6
8
Page 9

assembly guide
The following instructions provide direction in assembling the base unit for the Nautilus® Commercial Series Bike model
U916. All instructions in the manual are given with the orientation of sitting on the bike facing the console. The console is
the front, while the seat is the back.
Step 1:
Locate the following for this step:
Figure 1:
Parts:
J
• Console Mast (B)
• Seat Assembly (D)
B
D
Hardware:
• Ref #1 Allen Head Bolt M10x25 Qty. 4
• Ref #2 Spring Washer M10 Qty. 4
• Ref #3 Flat Washer M10 Qty. 4
1
2
Tools:
• 8mm Allen Wrench
3
1-1 Connect the attached long Wire Tie (L) to the
main and TV cables (M) and use it to pull the
N
cables up through the Mast (B). Discard the
Wire Tie after use.
L
1-2 Align the Mast (B) with the four holes in the Main
Frame. (N)
1-3 Install and completely tighten the hardware.
M
1-4 Insert the Seat Assembly into the Main Frame.
Pull up on the Adjustment Lever (J) to allow the
locking pin to to clear the Main Frame and
release the Adjustment Lever when the seat is
at the desired height.
*Note: Make sure that the plastic seat sliders inside
the seat tube are in the correct position to
prevent any damage. If the seat slider plastic
tabs have fallen out of slots at the bottom of
the seat post, carefully push the seat slider
plastic back into holes prior to seat
installation.
Nautilus® Commercial Series Bike Assembly Manual
9
Page 10

assembly guide
Step 2:
Locate the following for this step:
Figure 2:
R
Parts:
• Handlebar (E)
E
Hardware:
• Ref #6 Allen Head Bolt M8x20 Qty. 4
• Ref #7 Spring Washer M8 Qty. 4
Tools:
• 6mm Allen Wrench
L
2-1 Connect the attached long Wire Tie (L) to the
handlebar cables (M) and use it to pull the cables
6
out through the Mast (B) as shown in fig 3.
Discard the Wire Tie after use.
7
2-2 Align the Handlebar with the holes in the Mast.
2-3 Install and completely tighten the hardware.
B
10
Page 11

assembly guide
Figure 3:
R
Figure 5:
Q
S
S
R
O
P
T
Figure 4:
A
Step 3:
Locate the following for this step:
Parts:
• Display Console (A)
Hardware:
• Ref #4 Phillips Head Screw 1/4”x20 Qty. 4
• Ref #5 Spring Washer M6 Qty. 4
Tools:
• Phillips Head Screwdriver
3-1 Open the Ferrite Bead Housing (R) that is connected
to the Main Console Wire (Figure 3) and reconnect
it around all of the Heart Rate Wires and the Main
Console Wire (Figure 4). Confirm that O,P,Q and T
are the same length before closing the bead.
Do not include the TV Wires (S).
3-2 Plug the Main Console Wire (Q) into the large
connector labeled J5 (large connector) on the back
of the Console. (Figure 5&6)
5
4
Figure 6:
P1 P2P3
J5
3-3 The Right Heart Rate Wire (O) is labeled with an “R”.
Plug the Right Heart Rate Wire into the connector
labeled P1 on the back of the console. (Figure 5&6)
3-4 Plug the Left Heart Rate Wire (P) into the P2
connector. (Figure 5&6)
3-5 Plug the Center Heart Rate Wire (T) into the P3
connector. (Figure 5&6)
3-6 Gently push the excess wires back down into the
mast.
NOTE: If installing the optional LCD Monitor refer
to the NV915 installation manual at this
time. If not installing the LCD Monitor, tuck
the TV Cables (S) into the Mast.
3-7 Align the Console with the Mast, install and
completely tighten the hardware.
Nautilus® Commercial Series Bike Assembly Manual
11
Page 12

assembly guide
Step 4:
Locate the following for this step:
Figure 7:
Parts:
• Right Mast Shroud (F)
• Left Mast Shroud (G)
Hardware:
• Ref #8 Phillips Head Screw #10-32x3/4” Qty. 3
Tools:
• Phillps Head Screwdriver
4-1 Align Right (F) and Left (G) Mast Shroud on each
side of Mast as shown.
4-2 Install and completely tighten the hardware.
F
8
G
8
8
12
Page 13

To Start:
QuicK start guide
Press the [QUICK START] key , or select a program key .
To Stop:
Press [STOP] key to pause the workout. Press [STOP] key again to end the workout.
During the workout:
• After selecting a program, follow the Display prompts and use the numeric keypad to enter information.
• Intensity level may be changed at any time during the workout by pressing the [Level: UP] key to increase the resistance, or
the [Level: DOWN] key to decrease the resistance.
* R916 console shown. Same instructions apply to U916 console.
WARNING: For detailed information on use and safety, refer to your Owner’s Manual file located on CD ROM.
3 3
1 2
4 5
6
7
4
2
1
3 7 6
5
Nautilus® Commercial Series Bike Assembly Manual
13
Page 14

limited warranty
Commercial Market Warranty Information
All Nautilus® exercise products are warranted to the
commercial market purchaser to be free from defects in
materials and workmanship. Warranty coverage valid to
the original purchaser only and proof of the purchase will
be required. Any product sold or placed in an application
not recommended by Nautilus will void any warranty
coverage set forth by Nautilus warranty policies and
procedures.
Time Period
15 Years - Frame
3 Years- Mechanical and electrical parts
1 Year- Labor
1 Year - Wear items
What this warranty does not cover
warranty or, at Nautilus’ election, to the replacement
amount of the purchase price of the exercise product
in question. Some states do not permit the exclusion
or limitation of implied warranties or incidental or
consequential damages, so the preceding limitations and
exclusions may not apply to you.
Procedures
Warranty service will in most cases be performed by an
authorized Nautilus® Fitness Dealer or Service Technician.
The original purchaser must provide proof of purchase,
Service calls and/or transportation to and from the
Nautilus Dealer is the responsibility of the purchaser.
1. Nautilus will have the option to repair or replace any
exercise product, which requires service.
2. Nautilus will replace any equipment frame that is
structurally defective with a new frame or replace the
unit with a unit of equal value.
1. Users weighing more than 400 lbs.
2. Any damage, failure or loss caused by accident,
misuse, neglect, abuse, improper assembly, improper
maintenance or failure follow instructions or warnings
in Owner’s Manual.
3. Use of product in a manner or environment for which it
was not designed.
Limitations
The foregoing warranties are in lieu of and exclude all
other warranties not expressly set forth herein, whether
expressed or implied by operation of law or otherwise,
including, but not limited to, warranties of merchantability
or fitness for a particular purpose. Nautilus shall in no
event be liable for incidental or consequential losses,
damages or expenses in connection with its exercise
products. Nautilus’ liability hereunder is expressly limited
to the replacement of goods not complying with this
3. Nautilus is not responsible for dealer labor charges for
the component changeovers completed after the labor
related warranty period stated herein.
4. If you elect to repair an exercise product or part
yourself, using the services of someone other than
an authorized Nautilus® Fitness Dealer or Service
Technician, or use a replacement part not supplied
by Nautilus, Nautilus shall not be liable for any cost,
damage, failure or loss caused by the use of such
unauthorized service or parts.
14
Page 15

important contact numbers
If you need assistance, please have both the serial number of your machine and the date of purchase available when you
contact the appropriate Nautilus office listed below.
WORLDWIDE CUSTOMER SERVICE
• NORTH AMERICA OFFICE
Nautilus, Inc.
World Headquarters
16400 S.E. Nautilus Drive
Vancouver, Washington, USA 98683
Phone: 800-NAUTILUS (628-8458)
Fax: 800-686-6466
e-mail: cstech@ nautilus.com
• NAUTILUS INNOVATION CENTER
Nautilus, Inc.
1886 Prairie Way
Louisville, Colorado, USA 80027
Phone: 800-864-1270
Fax: 800-898-9410
• CORPORATE HEADQUARTERS
Nautilus, Inc.
World Headquarters
16400 S.E. Nautilus Drive
Vancouver, Washington, USA 98683
Phone: 800-NAUTILUS
INTERNATIONAL CUSTOMER SERVICE
• INTERNATIONAL OFFICE
Nautilus International S.A.
Rue Jean Prouvé 6
1762 Givisiez / Switzerland
Tel: +41-26-460-77-77
Fax: +41-26-460-77-70
E-mail: technics@nautilus.com
INTERNATIONAL OFFICES:
• SWITZERLAND OFFICE
Nautilus Switzerland S.A.
Tel: +41-26-460-77-66
Fax: +41-26-460-77-60
• GERMANY and AUSTRIA OFFICE
Nautilus GmbH
Tel: +49 2203/20 20-0
Fax: +49 2203/20 20-45 45
• ITALY OFFICE
Nautilus Italy s.r.l.
Tel: +39-051-664-6201
Fax: +39-051-664-7461
• UNITED KINGDOM OFFICE
Nautilus UK Ltd.
Tel: +44-1908-267-345
Fax: +44-1908-267-346
• CHINA OFFICE
Nautilus Representative Office
Tel: +86-21-523-707-00
Fax: +86-21-523-707-09
Nautilus® Commercial Series Bike Assembly Manual
15
Page 16

For more information about our Commercial Series exercise equipment or other Nautilus®
© 20 07 Nauti lus, Inc. A ll right s reser ved. Naut ilus, th e Nautilu s logo, Remo te Opera tion Con trol, Be S trong
Naut ilus, Inc. W orld Headq uarter s, 164 00 SE Nau tilus Dri ve, Vancou ver, Washing ton, US A 986 83, 1-8 00- 628 -84 58, ww w.Naut ilus.c om.
Be Strong.
equipment for your home, visit www.Nautilus.com.
are eit her regis tered t rademark s or tradem arks of Nau tilus, In c.
™
 Loading...