

mht_series_A3.pdf 2008-10-14 15:14:31
Cautions Before installing this product read all these instructions.
Before making any connections, switch the amplifier of f.Before making any connections, switch the amplifier of f.
When you switch on your system or change sources, set the
volume control at minimum and turn the level up gradually.
DO NOT
DO NOT
use your amplifier at full volume.
Avoid extreme settings of tone controls or graphic equalisers.
Ideally,they should be set ‘flat’ or,if possible, bypassed. Ensure
that all loudspeakers in the system are correctly wired and are
in phase.
DO NOT
DO NOT
subject your loudspeakers to excessive cold, heat,
humidity or sunlight.
DO NOT
install near any heat sources such as radiators, heat
registers, stoves, or other apparatus (including amplifiers) that
produce heat.
DO NOT
DO NOT
place heavy objects on top of loudspeaker cabinets.
DO NOT
DO NOT
attempt to dismantle the loudspeaker.There are no user
serviceable parts inside and you will render the warranty void.
Site hi-fi electronics away from the loudspeakers on a rigid
stand or cabinet.
Loudspeakers should not be placed directly facing other hi-fi
units, or share the same shelf or cabinet.
Site conventional speakers and subwoofers at least 0.5m
away from TV sets, computers etc. Some manufacturers forbid
the placing of objects on top of their TV sets. Check your TV
handbook before installing the centre speaker directly on your
TV set. Consult your TV dealer if you are in any doubt.
Only use attachments/accessories specified by themanufacturer.
Use only with the cart, stand, tripod, bracket, or table specified
by the manufacturer, or sold with the apparatus. When a cart
is used, use caution when moving the cart/apparatus
combination to avoid injury from tip-over.
Warning
When an amplifier is driven beyond its power output capabilities it will
produce distorted results which will quickly damage your speakers by overheating.
Make sure that your amplifier is not left unattended when playing, for example at
parties, and turn the volume control down at the first sign of audible distortion.
DO NOTDO NOT
connect your loudspeakers to the mains supply,
except for subwoofers.
Loudspeaker
Installations
Wall-mounting loudspeakers should be installed by licensed sound contractors or technicians
with the appropriate qualifications and experience. Installers should be in possession of public
liability insurance and householders should ascertain this before the project commences.
Inappropriate modifications to your home can cause damage to the structure and fabric as well
as to electrical or plumbing installations.
When running cables to loudspeakers, ensure that they are kept clear of exposed floor surfaces
and other areas where they could constitute a source of danger. Route them safely,around
room boundaries if necessary.
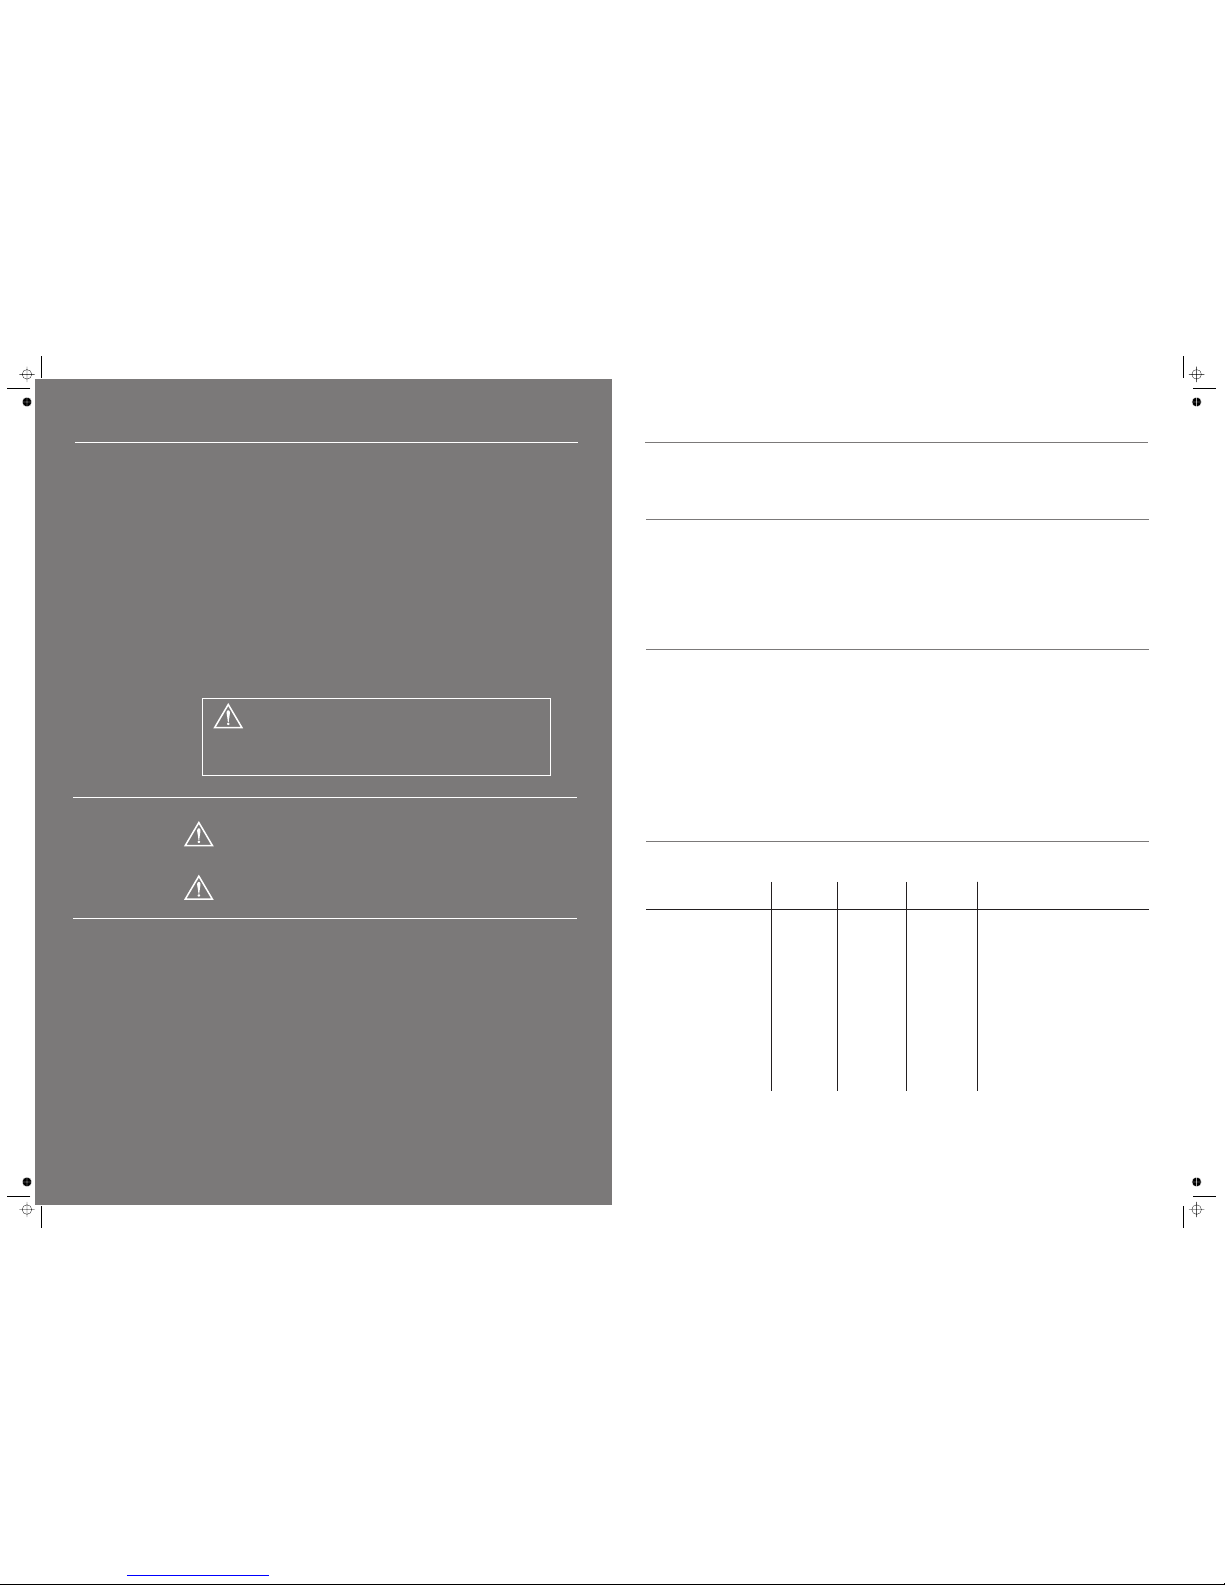
Specifications
Recommended Amplifier: 25- 100 W 25 - 100 W
(per channel)
Enclosure:
2-way reflex sealed bi-pole
Effective Volume: 3.2 litres 2.3 litres
Frequency Response ±3dB:
Sensitivity SPL/M @ 2.83V:
88 dB 87 dB
Impedance: 8 Ohms 8 Ohms
compatible compatible
(minimum 4.0 Ohms) (minimum 4.0 Ohms)
Dimensions (H x W x D): mm
mht-
Mission reserves the right to change all specificationswithout notice. E &OE
centre
mhtsurround
130x300x125120x330x130
80 Hz - 20 kHz
110 Hz - 20 kHz
25 - 100 W
2-way Reflex
4.5 litres
compatible
mhtds
89 dB
8 Ohms
(minimum 5.6 0hms)
230 x 360 x 110
75 Hz - 20 kHz
Should a fault occur with your loudspeakers please return them as a pair, even if only
one unit appears to be faulty. Please pack them correctly, using the original packing.
Product for service should be returned to the appointed dealer from whom you
purchased the product. If you experience difficulties or there is no Mission dealer
in your area, contact the Mission distributor for your country or the Main Service
Centre for your region.
Product Service
Use a slightly dampened cloth to clean your cabinets and occasionally, a light spray
polish to protect their sheen. If necessary clean grilles carefully with a soft brush.
Loudspeaker
Maintenance
Warranty
Conditions
The warranty card enclosed should be completed and
returned to Mission or its Distributor within 8 days of purchase.
No Dealer or Distributor may vary the terms of this warranty
which is personal to the original purchaser and is not
transferable.
Please retain the sales receipt as proof of purchase.
Warranty claims mustwherever possible be made through the
Dealer from whom the equipment was purchased.
This warranty excludes
Damage caused through neglect, accident, misuse, wear and
tear, or through incorrect installation, adjustment or repair by
unauthorised personnel. Any unauthorised servicing will result
in loss of warranty.
Liability for damage or loss occurring in transit to or from the
purchaser.
Consequent damage, loss or injury, arising from or in
conjunction with this equipment.
Equipment for attention under warranty should be considered
return carriage paid. If equipment is found to comply with the
published specification, Mission reser ves the right to raise a
charge.
The above conditions do not affect your statutory rights as a
consumer.
Never use a vacuum cleaner to clean loudspeaker grilles
7
2


Please read these instructions carefully before installing your loudspeakers.
A few minutes studying this manual will ensure superb performance from your
loudspeaker for many years.
Please pay attention to all cautions marked with this symbol
Welcome to Mission
· Carefully unpack each loudspeaker.
· Retain all the packing materials so that your loudspeaker can be repacked and
shipped without damage.
Unpacking Your
Loudspeakers
· Do NOT lift the loudspeakers using the protective packaging.
Connect the red, positive (+) terminal of the Left loudspeaker to the corresponding
red, positive (+) amplifier terminal. Connect the black, negative (-) terminals
similarly. Repeat for the Right Channel.
Conventional Loudspeaker Connections
Loudspeaker cable is polarity coded along one edge. Split the cable to a depth of
about 25mm (1”) and strip 8mm (1/3”) of insulation from each wire. If the cable is
stranded, twist the strands together.
Terminal Panel
Unscrew each terminal. Thread the bare end of the cable through the cross-hole
ensuring there are no loose strands. Tighten securely.
How to Connect your
Loudspeakers
mht-centre
FRONT R SURR-R BACK R FRONT LSURR-LBACK L
SURROUND LEFTSURROUND RIGHT
BACK RIGHT
For 5.1 channel connection, the Back Connections are omitted. For 5.1 and 7.1
surround and Back speaker recommendations please refer to the next page.
BACK LEFT
7.1 Channel Effects
Loudpeaker Connections
3
Setting up Audio
Visual Loudspeakers
To check that your loudspeakers are in phase, check the polarity of your speaker
wire at the terminal post on the loudspeakers and at the loudspeaker connector
on your amplifier.
The marked conductor should always be connected to the positive terminals.
If your loudspeakers are connected in the right way,you will hear a full sound with
clean midrange and deep and powerful bass.
Digital sound processors will usually give you the option of setting your
loudspeaker sizes. Always set loudspeakers to “Small”. This directs the system
bass to the subwoofer and provides a cleaner sound.
Don’t forget to set the Subwoofer option to “On”!
mht
Sound Levels
Phase
Large or Small?
It is important that the centre, front and rear speakers are set to the same sound
level as perceived from the listening position.
Once the loudspeaker settings have been finalised, put the AV amplifier into its
“Test” mode (see instructions supplied with your processor). Adjust the level of each
channel in turn until all channels are reproduced at equal loudness. Follow your
processor instructions carefully, especially the section concerned with setting up
relative levels.
On some programme material the surround channels may seem lower than the
front. Do not readjust this level or you will upset the calibration.
The front loudspeakers are placed on either side of the television screen, 2 to 3
metres apart. The speakers should be angled slightly so they are aimed towards
the listeners.
As the rear surround channels are the ‘effects’ channels the reproduced sound
should be as room filling as possible. We recommend placing the speakers in a
high position, behind the listener’s head and angled towards the listener. If the rear
wall is more than 1metre behind the listening seat, position the units on the side
walls. If the walls are a long way from the listening seat, consider stand mounting
the loudspeakers.
Most of the dialogue comes from the centre loudspeaker. Speech should appear
to originate from the actors’ mouths. Operating height is important. Ideally the front
and centre channel speakers should be at the same height . For this reason the
centre channel speaker is best operated on top of the television monitor. The front
faces of the centre and surround loudspeakers should also be in line as far as
possible.
General Notes
Final Advice
Please read this manual in conjunction with the relevant sections of your AV
amplifier manual and familiarise yourself with the various issues. If you are unsure,
consult your dealer for help.
6
 Loading...