

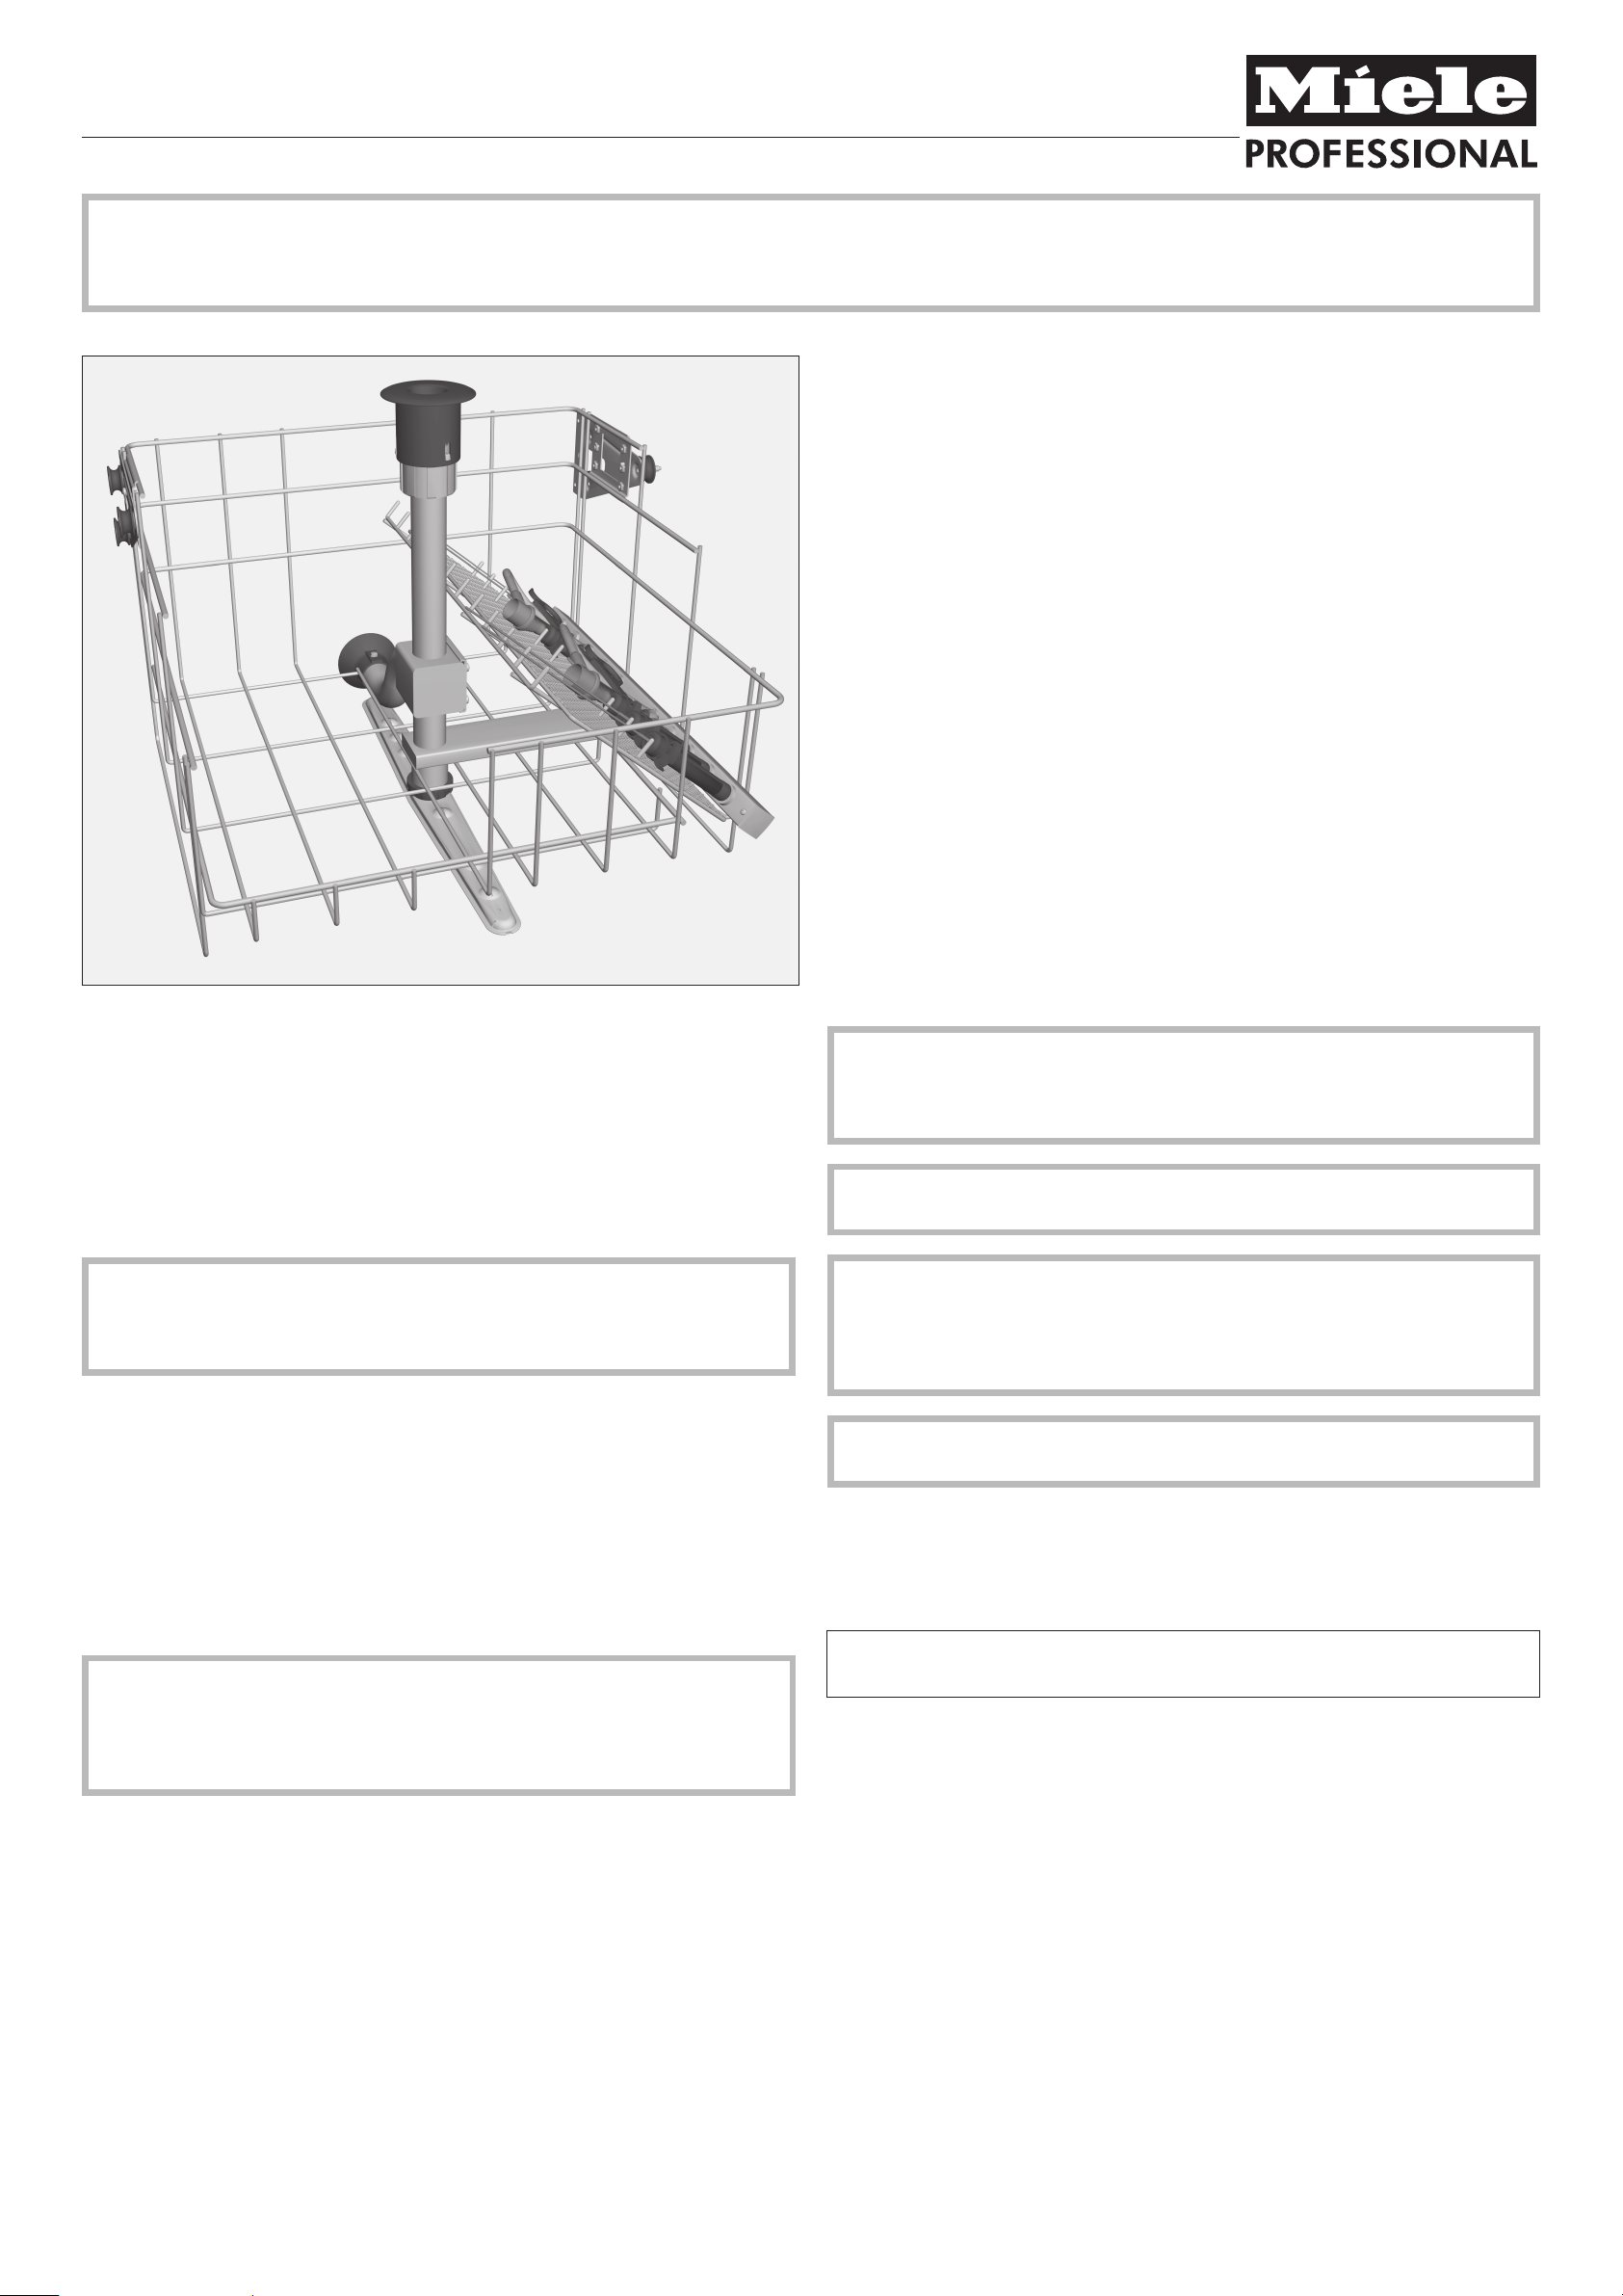
Upper basket O 176/1 with injector jets for surgical instruments
Please observe the Warning and Safety instructions in the Operating Instructions for your washer-disinfector carefully. You should only process instruments/
,
medical devices in this unit if they have been declared as suitable for machine processing by the manufacturer. Please also observe the manufacturer's care
instructions. The programme selected must be suitable for the materials from which the medical devices to be processed are made. Where possible the programme
should include thermal disinfection. The final rinse should, if possible, always be carried out with fully de-mineralised water.
Items supplied:
Upper basket O 176/1
with spray arm magnets for spray arm monitoring (PG 8535 and PG 8536 only).
Other items supplied include:
2 x E 442 injector sleeves for instrumentsØ4-8mm,Ø11mm,
–
121 mm long, cap withØ6mmopening
2 x E 448 silicone tubes, 300 mm, with Luer lock adapters \ for Luer locks ]
–
1 x E 452 injector jet Ø 2.5 mm, 60 mm long
–
1 x E 453 injector jet with holder Ø 4 mm, 100 mm long
–
1x E 454 injector jet for trocar sleeves Ø 10 - 15 mm,
–
with spring for height adjustment, Ø 8 mm, 150 mm long
2 x spray jets Ø 2.5 mm
–
4 x spray jetsØ4mm
–
4 x funnels
–
Intended use:
The O 176/1 upper basket is designed for machine reprocessing surgical MIS,
arthroscopy and urology instruments.
Upper basket O 176/1 can be used in washer-disinfectors G 7835, G 7836,
G 7882, G 7882 CD, G 7884, G 7892, PG 8535 and PG 8536.
Upper basket O 176/1 is divided into two areas:
– The right hand side is fitted with an injector unit with 10 possible positions for
hollow instruments, e.g. for trocars, cannulae and the shafts of MIS instruments.
Internal cleaning and disinfection to the correct standard is only possible by
dismantling the instruments where possible and by using the jets, sleeves and
adapters to the full. All instruments should be properly inspected and tested for
cleanliness. Do not rely on a visual check alone.
–
The left hand side is free and can be equipped with inserts and mesh trays for
instruments without lumen, e.g. the E 379 insert (available as an optional
accessory).
Before loading the machine and before starting a programme, please check
that:
–
the silicone adapters in the injector unit are intact and complete.
–
injector sleeves, jets and funnels are secure in their silicone holders.
Missing or water-damaged silicone holders must be replaced with new ones.
Only then may the basket be used again. If these conditions are present
silicone holders standardise the pressure themselves.
Damaged jets, adapters or sleeves etc. must not be used.
–
the basket is correctly connected with the water intake in the washer-disinfector.
–
the spray arm is able to rotate freely.
For validation purposes always load the basket as specified in the loading
example.
Individual instruments must not come into contact with each other during the
programme.
,
To minimise the risk of injury always load the basket starting at the back
and working forward, and unload it from the front to the back.
To ensure hollow lumen are accessed by the wash solution, instruments must
be dismantled and any taps or valves opened in accordance with manufactu
rer's instructions. Before connecting hollow instruments, please make sure that
all hollow sections are free of blockages. Otherwise the cleaning solution will
not be able to access all areas properly.
,
Long, narrow shafted instruments which cannot be taken apart must be
pre-washed in accordance with the manufacturer's instructions.
Injector sleeves E 442
Injector sleeves E 442 are designed for processing hollow instruments and
instruments with a Ø less than 10 mm.
The diameter of the instruments should match that of the opening to the injector
sleeves/caps.
^
Insert the shaft of the MIS instrument into the injector sleeve with the cap.
^
Place high-frequency forceps and electrodes with the functioning end
downwards in the injector sleeve with the cap.
^
Insert long, narrow instruments which cannot be dismantled into an injector
sleeve. The functioning ends must be open, if necessary using an E 472 spring
clamp to keep the handle open.
Connect at the side of the instrument using an E 448 hose adapter. Connect the
hose adapter to the rinsing system using a silicone adapter .
^
Insert trocar sleeves with a Ø less than 10 mm into the injector sleeve. Connect
at the side with hose adapter E 448. Connect the hose adapter to the rinsing
system using a silicone adapter.
-
Miele Company Ltd., Fairacres, Marcham Road, Abingdon, Oxon, OX14 1TW, Tel 0330 160 6600,
Internet: http://www.miele.co.uk / ! 0297 Alteration rights reserved / Publication date 2015-11-01
M.-Nr. 10 338 640 / 00 en

Upper basket O 176/1 with injector jets for surgical instruments
Secure the self-closing valve to an
Trocar sleeves Ø 10 - 20 mm
Take the trocar sleeves apart.
^
Process small instruments in a mesh
tray with a lid.
Attach trocar sleeves with Ø 10 -
^
15 mm to an E 454 jet.
Position the trocar sleeve with the
^
spring clamp so that the water
reaches critical areas through the
openings in the side of the jet.
Connect the trocar tube at the side
^
with hose adapter E 448.
Screw the hose adapter to the rinsing
^
mechanism.
^
E 454 jet for trocar sleeves or an
E 453 jet with a retaining clip.
Position the self-closing valve with
^
the spring clamp or retaining clip so
that the water reaches critical areas
through the openings in the side of
the jet.
Handles
Place contaminated handles on a jet,
^
e.g. E 452.
Veress cannulae
^ Take the Veress cannula apart.
^
Place the outer part of the Veress
cannula on an E 453 jet with spring
clamp E 472 (optional accessory)
The upper end of the Veress cannula is
supported by the wire frame.
^ Screw the inner part of the Veress
cannula to a Luer-Lock adapter \,
keeping the stopcock open.
The upper end of the Veress cannula is
supported by the wire frame.
Small instruments
^
Small components such as seals,
taps etc. should be processed in
closable mesh containers, such as
an E 451 (optional accessory).
^
The closed mesh trays are then
placed in the free space on the left
hand side of the upper basket.
Place very small items (which could be
washed through the mesh trays or
through the gap between the mesh tray
and the lid) in insert E 473/1 (optional
accessory).
^
Secure insert E 473/1 to one of the
struts in the upper basket.
Trocars without lumen
Trocars (without lumen) and microinstruments can be processed in insert
E 441/1 (optional accessory).
^
Place the trocars in the notches.
^
Place the insert in the free space on
the left hand side of the upper
basket.
Optical instruments
,
In order to protect them from
damage, optical instruments must
only be processed in the optic
manufacturer's inserts, or in Miele's
special insert E 460.
^
Place the insert in the free space on
the left hand side of the upper basket.
 Loading...