

Page 1
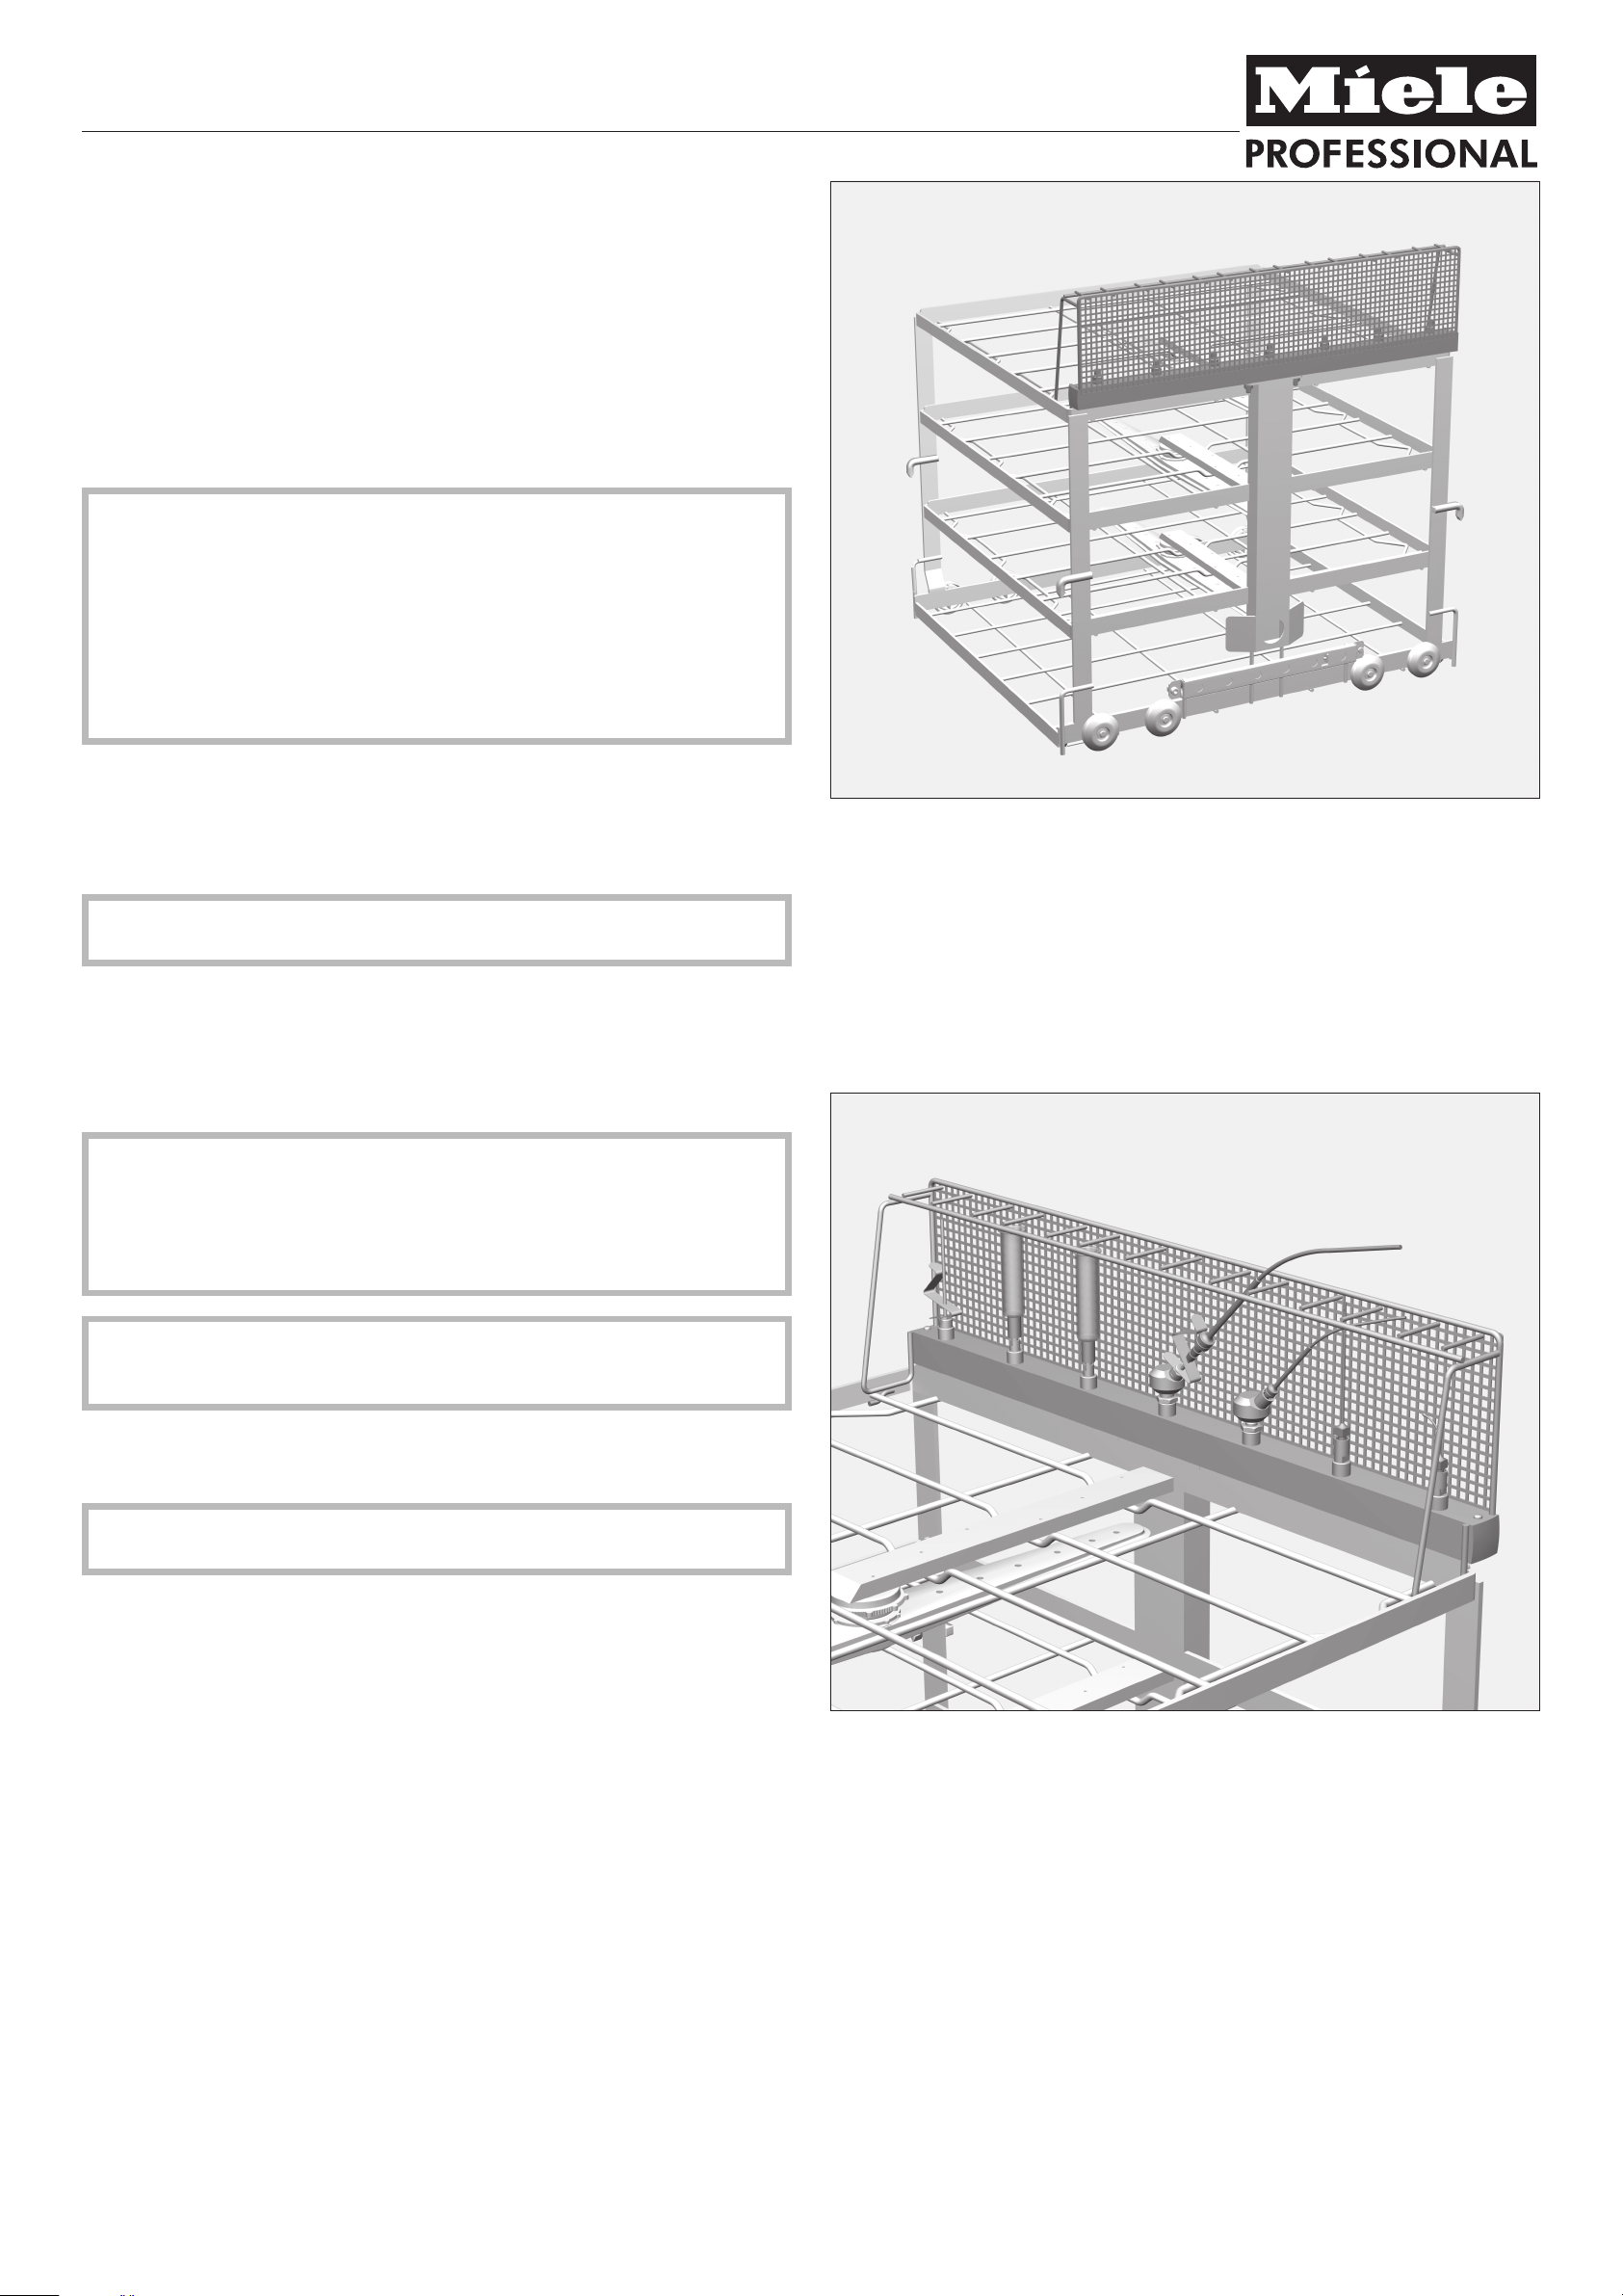
Injector unit E 703/1
Items supplied:
Injector unit E 703/1 for E 701/2 and E 525/2 (H 170, W 80, D 555 mm),
to hold 7 hollow instruments
Supplied separately:
2 x E 447 Luer lock adapters ] for Luer locks \
–
2 x E 449 Luer lock adapters \ for Luer locks ]
–
3 x E 362 blanking screws
–
3 x E 980 angle adapters
–
3 x Ø 4.0 mm injector jets, 110 mm long
–
3 x Ø 4.0 mm injector jets with spring clips, 120 mm long
–
Please read the Warning and Safety instructions in the Operating
,
Instructions for your washer-disinfector carefully. You should only process
instruments/medical devices in this unit if they have been declared as suitable
for machine processing by the manufacturer. Please also observe the
manufacturer's care instructions. The programme selected must be suitable for
the materials from which the items to be processed are made. Where possible
the programme should include thermal disinfection. The final rinse should, if
possible, always be carried out with fully demineralised water.
If using automatic mobile unit recognition, please make sure that the coding is
correctly set.
Areas of application:
In addition to the mesh trays, up to 7 hollow instruments can be processed in
mobile units 701/2 and E 525/2 when the injector unit is fitted.
This requires the injector unit to be connected to the water intake for the mobile
unit.
Please also observe the mobile unit operating instructions for surgical
,
instruments.
Connecting hollow instruments
,
To ensure a suitable standardised spray pressure for all connections, all
screw connectors must be fitted with jets, adapters, sleeves or blanking
screws.
Damaged jets, adapters or sleeves etc. must not be used.
Empty jets, etc. do not have to be replaced with blanking screws.
E 701/2 fitted with E 703/1 extension
The method for assembling the injector unit and the jet connections is explained
overleaf.
,
Before connecting hollow instruments, please make sure that all hollow
sections are free of blockages. Otherwise the cleaning solution will not be able
to access all areas properly.
^
Cannulae with Luer lock connectors should be connected to the appropriate
Luer lock adapters in the injector unit.
^
Surgical suction devices, e.g. Cooleys, should be connected to the jets.
,
Any hollow instruments that have become disconnected from the adapters
during processing must be reprocessed.
Injector unit E 703/1
Miele Company Ltd., Fairacres, Marcham Road, Abingdon, Oxon, OX14 1TW, Tel 0330 160 6600,
Internet: http://www.miele.co.uk / ! 0297 Alteration rights reserved / Publication date 2015-11-01
M.-Nr. 10 331 310 / 00 en
Page 2

Injector unit E 703/1
To fit the injector unit
Unscrew nuts a from the securing screws on the mobile unit with an SW 10
^
spanner, and remove the spring washers.
Remove blanking plate b from the water intake.
^
Keep blanking plate b, nuts a and the spring washers in case the injector unit
is removed at a later date.
^ To connect the injector unit, first unscrew bolts c from the fixing screws on
injector unit d with an SW 10 spanner, and remove the washers.
^ Place injector unit d on top of the mobile unit. See illustration above for
installation details.
After the injector unit has been positioned correctly:
^ Replace the washers on the fixing screws for the injector unit, and then nuts c,
and tighten with an SW 10 spanner.
Connections for hollow instruments
A:
Slot the side hooks on the injector attachment under the outer rail on the mobile
^
unit.
B:
^ Lower the injector attachment into an upright position on the mobile unit, and
secure to the mobile unit through the drill holes using the fixing screws. See B
in illustration above.
To fit the angle adaptors
If required, injector jets or Luer lock adapters can be
fitted to the upper level of the mobile unit using the
angle adapters supplied.
To do this:
^
Unscrew the blanking screws from the connectors
using an SW 9 spanner.
^
Screw the angle adapters for the Luer lock
adapters or the injector jets into the connectors,
and align.
^
Secure using SW 13 counter nuts.
To screw the angle adapters to the jets
In order to connect long suction tubes or hollow
instruments, the injector jets need to be fitted to the
angle adapters using spring clips or Luer lock
adapters.
To do this:
^
Screw the Luer lock adapter or injector jet into the
angle adapter, and tighten with an SW 7 or SW 9
spanner (depending on the jet).
^
If required, a spring clip can be placed on the
injector jet.
To fit injector jets and Luer lock adapters
Up to 7 hollow instruments can be attached to the
injector unit using the injector jets and Luer lock
adapters supplied.
To do this:
^
Unscrew the blanking screws from the connectors
using an SW 9 spanner.
^
Screw the Luer lock adapters or the injector jets
into the connectors and tighten them with a
spanner.
 Loading...