

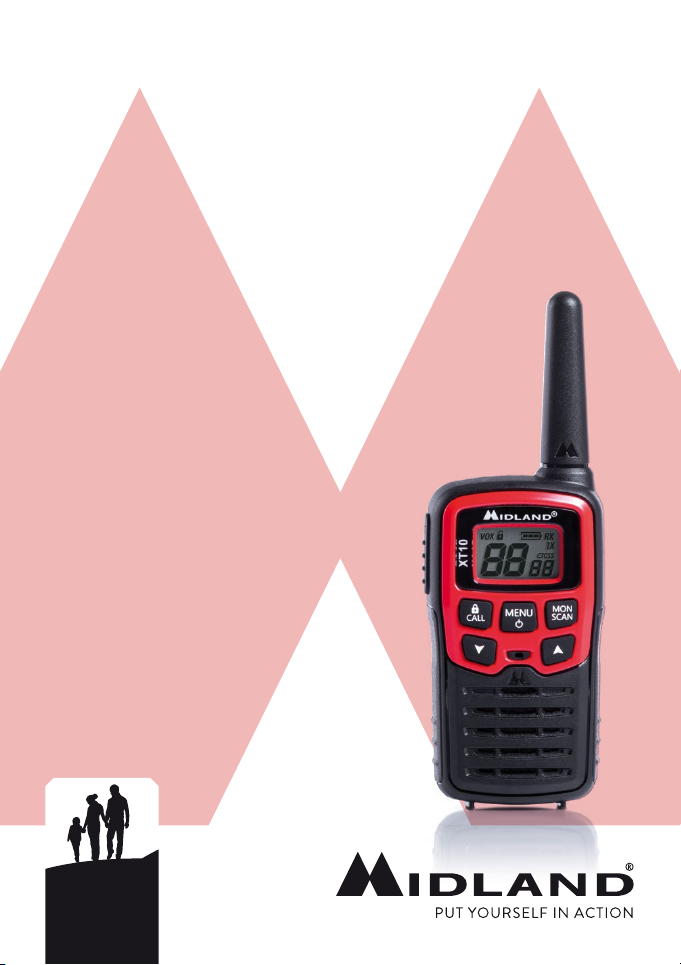
XT·10
WALKIETALKIE PMR446
› Instruction guide
up to
4Km
* Depending on terrain
*

2 | XT10 instruction guide

Main functions
• Frequency: 446.00625 – 446.09375
• Channels: 16 (8+8 pre-programmed)
• 38 CTCSS tones
• Power: 500mW ERP
• Vox function
• Alphanumeric LCD Display
• CALL tone
• Scan function
• Operating temperature -20° to +55°
• Weight: 73 gr
• Dimensions: 85x30x48mm
• Category: B
What’s in the box
• 2 x XT10 transceivers
• 2 belt clips
Coverage
The maximum range depends on terrain condition and is obtained during use
in an open space.
The only limitation to maximum possible range are environmental factors such
as blockage caused by trees, buildings, or other obstructions. Inside a car or
a metallic constructions, the range can be reduced. In open space, without
obstructions and in sight, like for example in mountain, the coverage can reach
4 Km.
XT10 instruction guide | 3

Above all….Safety!
Warnings
! Do not open the radio for any reason! The radio’s precision mechanics and
electronics require experience and specialized equipment; for the same reason, the radio should under no circumstances be realigned as it has already been calibrated for maximum performance. Unauthorized opening of the
transceiver will void the warranty.
! Do not use detergents, alcohol, solvents, or abrasives to clean the equipment.
Just use a soft, clean cloth. If the radio is very dirty, slightly dampen the cloth
with a mixture of water and a neutral soap.
4 | XT10 instruction guide

Description of the controls and functions
PTT
2 3 4
1
7
8
9
11
15
12 12
13
XT10
MON
MENU
CALL
SCAN
14
10
5
6
PTT
16
17
XT10 instruction guide | 5

1. VOX function activated
2. Appears when the keypad lock is activated
3. Battery level
4. It is displayed when the radio is receiving a signal
5. Appears when the radio is transmitting (PTT pressed)
6. Indicates the selected CTCSS tone
7. Indicates the selected channel
8. Antenna
9. LCD Display
10. MON/SCAN. With this button you can enable/disable the Scan and
Monitor functions
11. MENU/ : Press this control to turn on/o the unit and to enter the ra-
dio’s menu.
12. ▲/▼: use these buttons to adjust the volume, select the channels and
functions
13. Microphone
14. Speaker
15. /CALL. Press this button to lock the keypad and to send out a call signal.
16. PTT button
17. Battery and battery compartment. The transceiver accepts 3 x AAA
alkaline/rechargeable batteries. To open the battery compartment, hold
the unit face down and slide the cover.
6 | XT10 instruction guide

Let’s communicate!
To turn on/o the radio
Hold down MENU/ for 3 seconds.
Channel selection
Press once the Menu button and then select the desired channel by the ▲/▼
buttons. Press PTT to confirm the selection. Remember that both radios must
be set on the same channel.
Transmission
Keep pressed the PTT button. “Tx” and “to” will blink on the display. Release the
PTT and the radio beeps to confirm to other users that your transmission has
finished ( ‘Roger Beep’, see paragraph).
Reception
Simply release the PTT button. When you receive a signal “Rx” is displayed.
Volume adjustment
Press the ▲/▼ to adjust the volume at the desired level.
button / CALL function
Keypad lock
This feature is very useful to avoid accidental pressure of the buttons. Press and
hold the “ /CALL” button for more than 3 seconds. The confirms that the
keypad lock is activated. Only PTT and the long pressure of Menu will still be
active. Repeat the same procedure to unlock the keypad.
Sending an audio signal (CALL)
By pressing /CALL, you will send an audio signal to other users on the same
channel.
XT10 instruction guide | 7

Menu button
The following functions can be selected by pressing the Menu button:
• VOX
• Roger Beep on/o
• Channel setting
• CTCSS tone setting
• Keypad Beep on/o
VOX function
The VOX function lets you open the transmission by voice without the use of
the PTT button.
Push the Menu button for three times; “VOX” will be displayed and ‘oF’ will
blink. Select ‘on’ by means of the ▲/▼ buttons and then press the PTT button
to confirm.
To disable the VOX mode
Press the Menu button for three times. “On” blinks on the display. Select ‘OF’
by means of the ▲/▼ buttons and then push PTT to confirm.
Roger Beep: End transmission tone
When the PTT is released the radio will beep to confirm to other users that
your transmission is finished. This feature is enabled by default.
To disable it:
1. Press the Menu button till the display shows “rb on”
2. Select “oF” by means of the ▲/▼ buttons.
3. Confirm your selection by pushing the PTT button.
Channel setting
Press once the Menu button and then select the desired channel by the ▲/▼
buttons. Press PTT to confirm the selection.
8 | XT10 instruction guide

CTCSS sub-audio tone setting
The CTCSS sub-tones, are code numbers (from 1 to 38) that can be added to
the first 8 channels in order to create a new private channel. You can add up
to 38 codes to the channels named from P1 to P8. For example if you add the
CTCSS sub-tone “27” to the channel “P3” you will obtain the new channel
“P327” that will be able to communicate to other transceivers only if they will
be set on the same channel and sub tone.
To activate 38 dierent CTCSS sub-tones follow these steps:
1. Turn on the radio.
2. Press the Menu button and select with the ▲/▼ buttons one of the 8
channels (from P1 to P8).
3. Press twice the Menu button until the display shows the selected channel
with the flashing two CTCSS sub-tone digits (on the right of the channel)
4. Select with the ▲/▼ buttons the desired CTCSS tone (from 1 to 38).
5. To confirm the setting press PTT.
Now the radio transmits and receives using the programmed CTCSS subtone. If you don’t want to use any CTCSS tone, select “oF”.
CTCSS tones displayed on the LCD
When you activate a CTCSS sub-tone, from P1 to P8, you can see the tone
on the right side of the channel. For the other channels (from 9 onwards) the
CTCSS sub-code is pre-programmed and then “hidden”.
Keypad beep o
Everytime you press any button, you will hear a beep sound. To deactivate it
press Menu 4 times. Then select “oF” with the ▲/▼ controls and confirm your
selection by pushing PTT. To enable the beep again, repeat the same procedure
and select “ON”.
MON/SCAN
Monitor function
When this feature is activated, the radio can receive very low and weak signals.
This is very useful when you need to talk but the distance is as far as the maximum range possible; with the monitor feature you can extend the coverage
of the radio.
The disadvantage is the reception of loud background noises.
XT10 instruction guide | 9

Activation: Keep pressed MON/SCAN till the display shows “Rx”.
Deactivation: Do the same procedure or switch o the radio
SCAN function
The SCAN mode monitors the busy channels.
It is used to check the trac radio on all the channels before transmitting and
allows the unit to stop on a channel that someone is talking on. When the radio
stops on a busy channel, the scan will resume after about 5 seconds.
To activate the SCAN function
Push briefly MON/SCAN.
To deactivate it:
Press MON/SCAN or PTT.
Automatic power save
XT10 is supplied with an automatic current economy circuit. If the transceiver
receives no signal for more than 10 seconds, the “power save function” automatically activates. The battery life may increase by up to 50 %.
10 | XT10 instruction guide

Technical specifications
Channels ..................................................16 PMR446 (8 + 8 pre-programmed)
Frequency ...........................................................446.00625 - 446.09375MHz
Channel spacing .........................................................................................12.5 KHz
Power supply.............................................................3x AAA type 4.5V(Alkaline)
........................................................ 3.6V(Rechargeable) batteries +/- 10% VDC
Operating temperature ..................................................................... -20° to +55°
Dimensions (w/out antenna) ......................................................... 85x30x48mm
Weight (w/out batteries) .................................................................................... 73g
Duty cycle .............................................................. TX 5%, RX 5%, stand-by 90%
Category ..................................................................................................................B
Transmitter
Output power ...................................................................................500 mW ERP
Modulation ........................................................................................................... FM
Spuriuous rejection ............................................................within ETSI regulations
Receiver
Sensitiviy @ 12dB Sinad...........................................................................<0,30V
Adjacent channel rejection .............................................................................70dB
Audio output power ......................................................... .~150mW @ 10% THD
Intermediate frequencies ............................................1°:21,4 MHz ; 2°:455 KHz
Specifications are subject to change without notice.
ATTENTION
Direct plug-in ac/dc power supply must be used for disconnecting the transceiver
from the mains; the desktop charger must be positioned close to the unit and
easily accessible.
XT10 instruction guide | 11

Prodotto o importato da:
CTE INTERNATIONAL s.r.l.
Via. R.Sevardi 7- 42124 Reggio Emilia Italia
www.midlandeurope.com
L’uso di questo apparato può essere soggetto a restrizioni nazionali (per l’uso in Italia, è richiesta una dichiarazione di possesso). Prima dell’uso leggere attentamente le istruzioni.
Produced or imported by:
CTE INTERNATIONAL s.r.l.
Via. R.Sevardi 7 42124 Mancasale Reggio Emilia Italy
Imported by:
ALAN - NEVADA UK
Unit 1 Fitzherbert Spur Farlington Portsmouth Hants.
P06 1TT - United Kingdom
www.nevada.co.uk
The use of this transceiver can be subject to national restrictions. Read the instructions carefully before
installation and use.
Importado por:
ALAN COMMUNICATIONS, SA
C/Cobalt, 48 - 08940 Cornellà de Llobregat (Barcelona - España)
www.midland.es
El uso de este equipo puede estar sujeto a la obtención de la correspondiente autorización administrativa. Lea
atentamente las instrucciones antes de usar el equipo.
Vertrieb durch:
ALAN ELECTRONICS GmbH
Daimlerstraße 1K - D-63303 Dreieich Deutschland
www.alan-electronics.de
Die Benutzung dieses Funkgerätes ist von den landesspezifischen Bestimmungen abhängig. Vor Benutzung
Bedienungsanleitung beachten.
 Loading...