

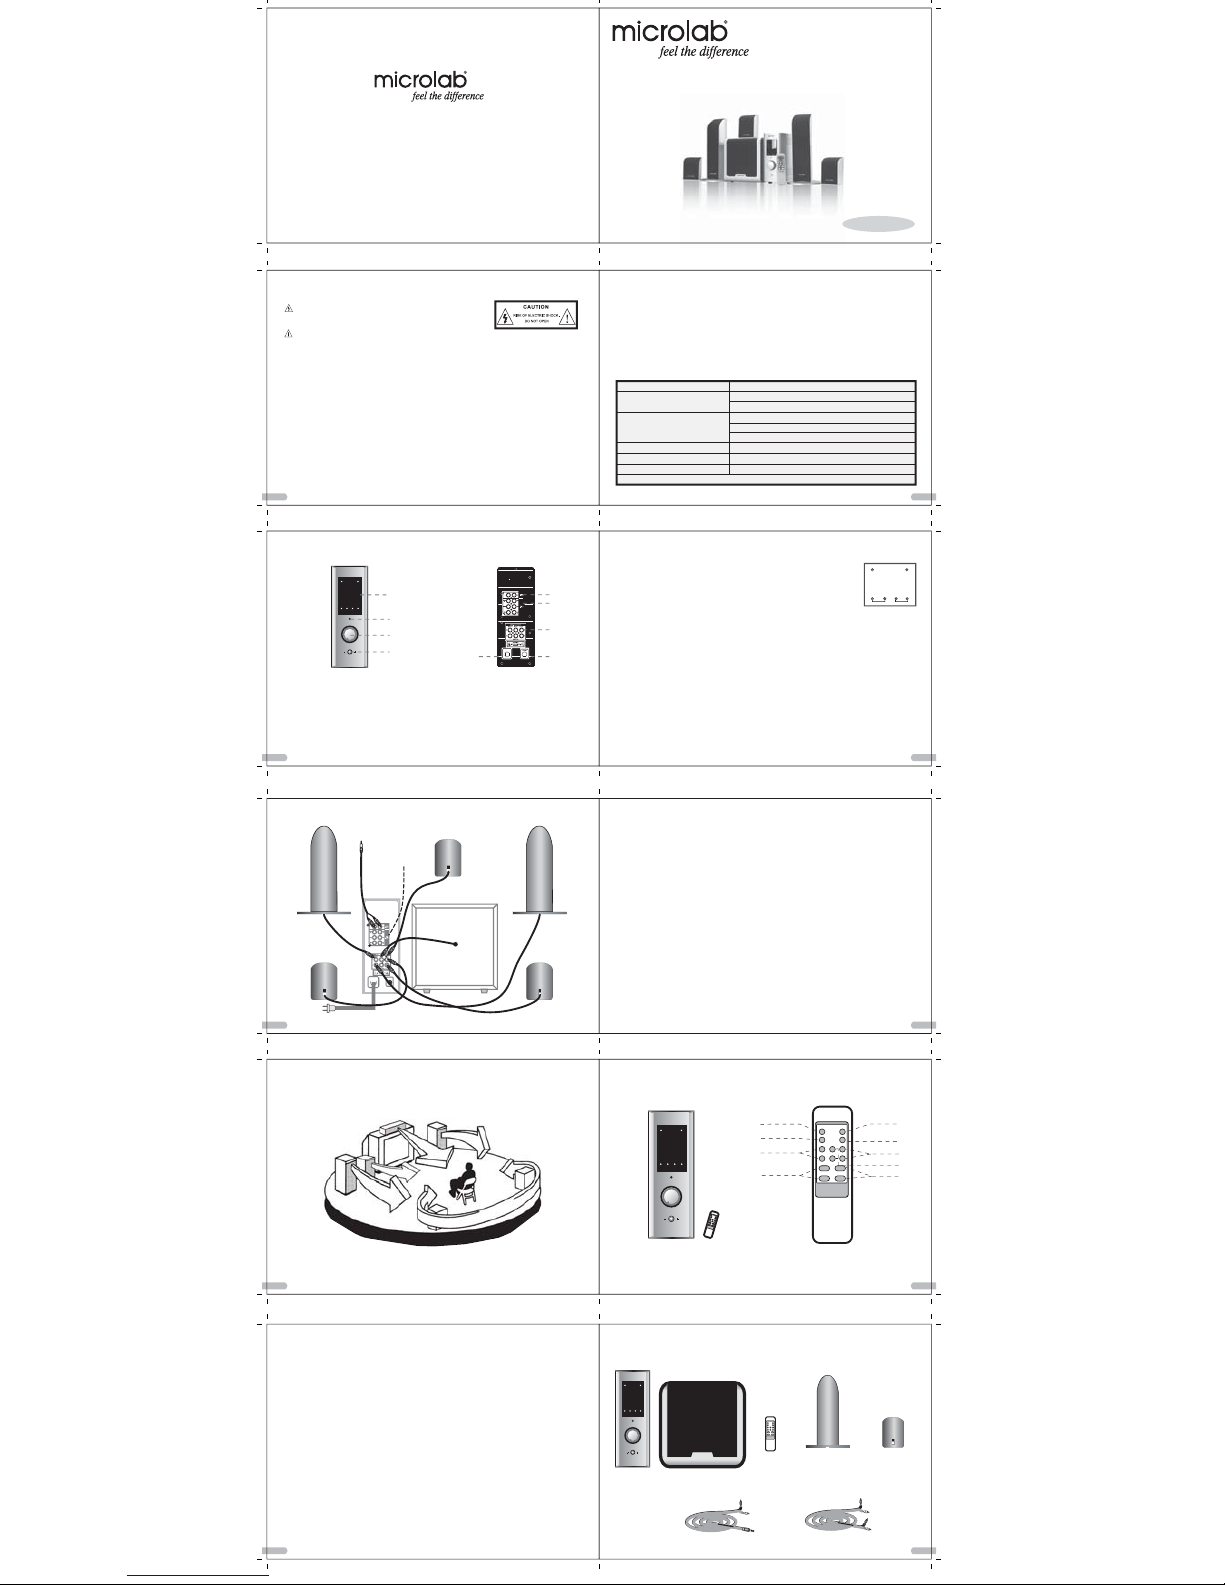
Page 1
10-1
10-3
10-5
10-7
10-9
10-10
10-8
10-6
10-4
10-2
User's Manual
FC861
Safety Instruction
Please read carefully the Safety Mark on the right side
This mark is intended to alert the users to the not presence of not isolated dangerous
voltage within the inside of the product that maybe sufficient magnitude to constitute a risk
of electronic shock to persons
This mark is intended to alert the user to the presence of important operating and servicing instructions in the literature
accompanying the appliance.
Warnings:
*Avoid sustained periods on high-volume use, and do not turn the volume to the maximum level while using high output signal,
such as VCD or DVD, etc., as this will cause distortion and may damage the loudspeaker cones.
*Please unplug the system form the appropriate AC outlet when unused for a long time
*Do not exposed to dripping or splashing
*Do not place any objects filled with water over the apparatus
*Do not block the ventilation holes
*Avoid placing the unit in the area of high temperature or high humidity
*Do not open the cover or back panel to avoid electronic shock or any other accident. No user-serviceable parts are inside.
*Only for indoor using
*Only plug the system to the AC outlet with the right Voltage marked on the back panel of the amplifier.
*For wall mounted satellite, make sure the satellite speakers are firmly fixed to avoid any injury caused by the fallen down of
the satellites
Amplifier
&Woofer
Amplifier
Woofer
ST-RY MUTE
INPUT SEL MODE
SUPP+ CENTER+ SUB-W+
SUPP- CENTER- SUB-W-
VOLUME+ BALANCE R
VOLUME- BALANCE L
INPUT SEL
MASTER VOLUME
POWER
ON OFF
POWER MUTE
5.1CH AUX 5.1CH 2.1CH
INPUT OUTPUT
Kit List:
After opening the package, check if the following parts are well packed:
Amplifier
Remote Control
Woofer
Front
Satellite Speakers
Center & Surround
Satellite Speakers
Signal Cable:2RCA-2RCASignal Cable:2RCA-3.5mm
INPUT SEL
MASTER VOLUME
POWER
ON OFF
POWER MUTE
5.1CH AUX 5.1CH 2.1CH
INPUT OUTPUT
1
1
2
3
45
2
3
4
Function Instruction for the front and back panel of the Amplifier
Front View of the Amplifier Back View of the Amplifier
Controls on the front of Amplifier
1. Remote Control Signal Receiving Window
and digital display
2. Input select button
3. Master Volume Knob
The master volume could be adjusted either
by hand or remote control
4. Power On/Off
The back of the Amplifier consists
1. Stereo Signal Input Socket (AUX)
2. 5.1 Channel (AC-3) Signal Input
Socket
3. Audio Output Socket
4. Fuse Setting
5. Power cord
S
T
R
Y
M
U
T
E
I
N
P
U
T
S
E
L
M
O
D
E
S
U
P
P
+
C
E
N
T
E
R
+
S
U
B
-
W
+
S
U
P
P
C
E
N
T
E
R
S
U
B
W
V
O
LU
M
E
+
B
A
L
A
N
C
E
R
V
O
L
UM
E
-
B
A
L
A
N
CE
L
INPUT SEL
MASTER VOLUME
POWER
ON OFF
POWER MUTE
5.1CH AUX 5.1CH 2.1CH
INPUT OUTPUT
ST-BY MUTE
INPUT SEL MODE
SURR+ CENTER+ SUB-W+
SURR- CENTER- SUB-W-
VOLUME+ BALANCE R
VOLUME- BALANCE L
Stand by
In
put select
Surround micro adjusting
MAIN Volume control
Mute
Output mode
Bass micro adjusting
Center micro adjusting
Balance adjusting
Instruction for the Remote Control:
Instruction for system connection
1. Connect the Woofer, Front Left/Right, Center, Rear Left/Right Speaker Cables to the appropriate Audio Output Sockets on the
back of the Amplifier
2. Connect one end of the 2RCA-2RCA Signal Cable to the appropriate 5.1 Input Socket of the Front Left/Right, Center & Rear
Left/Right Channel on the back of the Amplifier, the other end to the appropriate Audio Output Sockets on the DVD
3. If connect to any 2-channel source, just connect one end of the 2RCA-2RCA signal cable to the R/L AUX Input Socket on the
back of the Amplifier
4. If connect to PC soundcard or any source only with headset output, then please use the 2RCA-3.5mm Signal Cable
5. Make sure all the cables are corrected correctly, connect the power plug to the correct AC outlet
Remarks for the system positioning:
*The satellite speakers of this system are magnetically shielded which could be positioned besides the PC monitor or near the TV
*The woofer is recommended to be put on the floor to get a better acoustic effect and at least 0.6m away from the monitor or TV
to avoid magnetic interference.
*The satellite speakers and the woofer should be positioned firmly to avoid resonance.
POWER
AUX
5.1CH5.1CH 2.1CH
MUTE
5.
5.14040
INPUT SEL MODE
Operating Instruction:
Features:
* Multimedia Home Theatre system with superb acoustic performance, a perfect acoustic effect could be reached if connected to the
audio source with AC-3 or DTS decoder.
* With AUX input which could convert Stereo Audio Source to 5.1 playback mode
* Remote control for easy operation
* Independent Amplifier with Digital LED Display
* Stand-by function makes the System much safer and more reliable.(If not used for long time, please unplug the system from the
AC outlet)
* Enhanced subwoofer with acoustic Air Flow Design to reach a powerful bass performance
* Unique V12 Treble Speaker Unit create crystal clear sound
Trouble Shooting
Troubles Solution
Power LED won't light up Check if the system is powered on
Check the power plug well connected
No Sound Check if the audio source is working well
Check if the audio and speaker cables well connected
Check if the volume in right level
One or more satellite no sound Check if the satellite cable well connected
No Bass Check if the Bass Volume at right level
Remote control not working Check if the battery in the remote control
If the problem still exists, please contact the distributor or ask for professional service
CENTER
FRONT L
FRONT R
REAR R REAR L
CENTER
FRONT L
FRONT R
REAR R
REAR L
CD player, VCD player or computer
2.1 channel sound card
DVD player or computer 5.1
channel sound card
AC IN
A. Manual Operation of front panel controls
1. Press the Power Button to turn on the power and the "POWER" indicator is lightened, the system is under standby
mode
2. Turn the " Master Volume" knob to turn off the "POWER" indicator, the 5.1CH indicator is lightened, the digital LED
displays 5.1 channel volume at 40dB, refer to the Drawing on the right side
3. Press the "INPUT SEL" (input selection) button to turn on the "AUX" indicator, the digital LED displays " "
4. Turn the "Master Volume" knob to adjust the volume
B. Operation of the remote control
1. Press the power button to turn on the power, the "POWER" indicator is lightened, the system is under standby mode
2. Press the "ST-BY" button to turn on the DVD indicator, the digital LED displays " "
3. Press the "INPUT SEL" button to select between the 2.0 and 5.1 input mode
4. Press the Volume +/- button to increase/decrease the volume from 0 to 80dB
5. Channel adjustment: Press the "SURR"/Center/Sub-W button to adjust volume, from -5db to +5dB
6. Press the "Mute" button to set the system into mute mode, "Mute" indicator is lightened, press again the "Mute" again to release the system
from "Mute" mode
7. Press "Balance R" or "Balance L" to adjust the balance of FR and FL channel from -5dB to +5dB
2.0 40
5.1 40
Specification:
*Power Output: (Woofer) 30W RMS
(Satellite) 14W x 5 RMS
*Frequency Response: (Woofer) 30Hz-140Hz
(Satellite) 140Hz-20KHz
*Sensitivity Input: 380mV
*Distortion: 0.3% at 1W 1KHz
*S/N Ratio: more than 70dB
*Separation: more than 40dB
*Driver Unit: (Woofer Driver) 5.25" magnetically shielded
(Satellite Driver) 2.5" magnetically shielded
*Audio Input Socket: RCA socket
*Audio Output Socket: RCA socket
80-FC861-97-0001-02
80-FC861-97-0001-02
20060822出
 Loading...