


INSTALLATION GUIDE EN
PELLET STOVE
DUO HYDRO-AIR
PART 2 - OPERATION AND CLEANING
Instructions in English

TABLE OF CONTENTS
TABLE OF CONTENTS .................................................................................................. II
7PRECAUTIONS BEFORE STARTUP .............................................................................3
8CONTROL PANEL ......................................................................................................4
9FIRST STARTUP ......................................................................................................5
10MENU STRUCTURE .................................................................................................8
11INFORMATION MENU ...........................................................................................12
12SETTINGS MENU ..................................................................................................15
13TECHNICAL MENU ................................................................................................33
14SAFETY DEVICES AND ALARMS ..............................................................................34
15RECOMMENDATIONS FOR A SAFE USE ....................................................................39
16CLEANING AND MAINTENANCE..............................................................................40
17FAULTS/CAUSES/SOLUTIONS .................................................................................47
18CIRCUIT BOARD ...................................................................................................50
II
7-PRECAUTIONS BEFORE START-UP
GENERAL PRECAUTIONS
Remove any objects that may burn from the brazier (manual, various adhesive labels or any polystyrene).
Check that the brazier is positioned correctly and rests properly on the base.
The rst start-up may not be successful as the feed screw is empty and does not always manage to load the required
amount of pellets in time to light the ame.
CANCEL THE FAILED IGNITION ALARM. REMOVE THE PELLETS LEFT IN THE BRAZIER AND REPEAT THE START-UP.
If after repeated attempts, the ame fails to ignite, despite a regular ow of pellets in the brazier, which must rest snugly against the
slots and be clean without any ash incrustations. If no anomaly is found during this inspection, there may be a problem with the
product components or installation may not be correct.
REMOVE THE PELLETS FROM THE BRAZIER AND CONTACT AN AUTHORISED TECHNICIAN.
Do not touch the boiler during the rst lighting, as it is during this phase that the paint sets. If you touch the paint,
you may expose the steel surface.
If necessary, touch up the paint with the spray can of the specic colour. (See "Pellet stove accessories").
It is good practice to ensure eective ventilation in the room during the initial start-up, as the boiler will emit some
smoke and smell of paint.
ATTENTION!
Please ensure the brazier is clear of ALL pellets and ash build up following any failed ignitions. Failure to clear out
the brazier prior to resetting may result in further failed ignitions or in certain conditions an explosive ignition.
Do not stand close to the stove and, as mentioned, air the room. The smoke and smell of paint will disappear after about an hour of
operation, however, they are not harmful in any case.
The boiler will be subject to expansion and contraction during the lighting and cooling down stages, and may therefore make slight
creaking noises.
This is absolutely normal as the structure is made of laminated steel and must not be considered a defect.
It is extremely important to make sure the boiler does not reach high temperatures straight away, but to increase the temperature
gradually using low power at rst.
This will prevent damaging the ceramic or serpentine stone tiles, the welds and the steel structure.
DO NOT EXPECT HEATING EFFICIENCY IMMEDIATELY!!!
ATTENTION!
If during operation or initial ignition you encounter smoke spillage in to the room from the appliance
or the ue then please switch o the appliance, ventilate the room and contact the installation / service
engineer immediately.
Technical Dept. - All rights reserved - Reproduction is prohibited
3
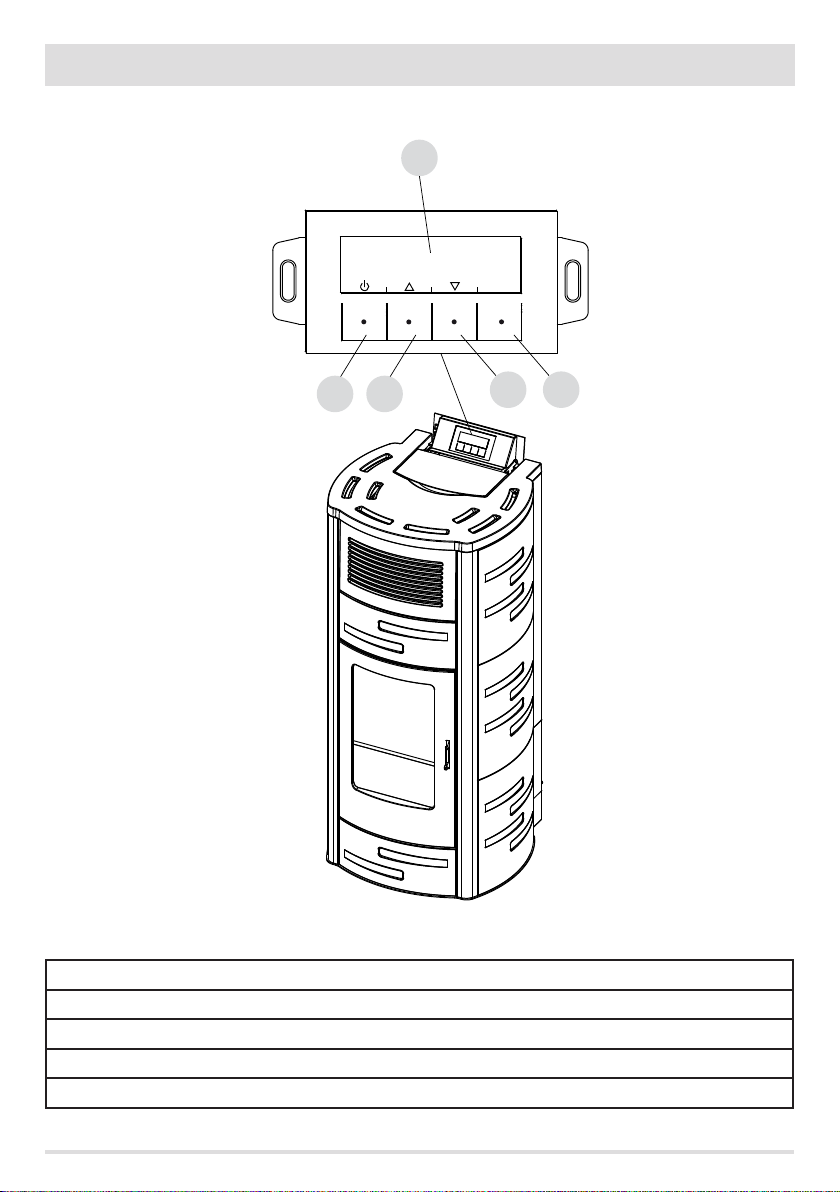
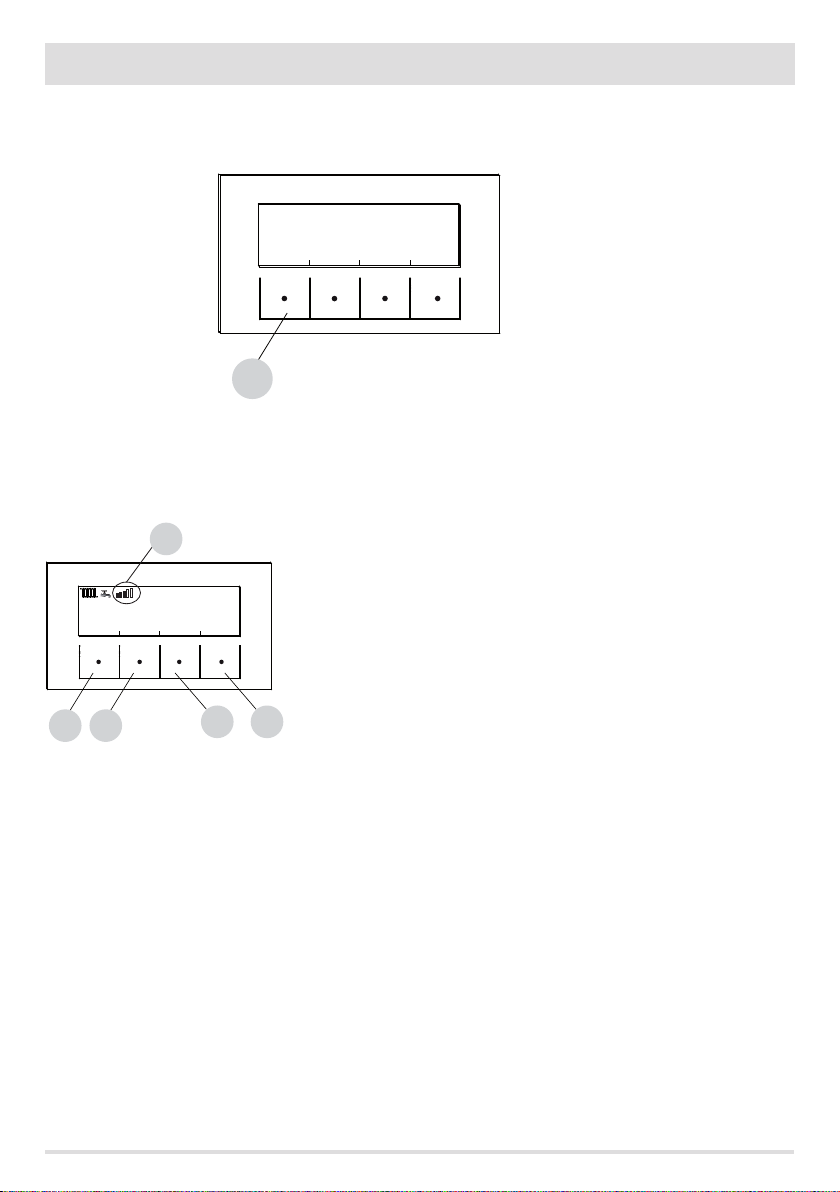
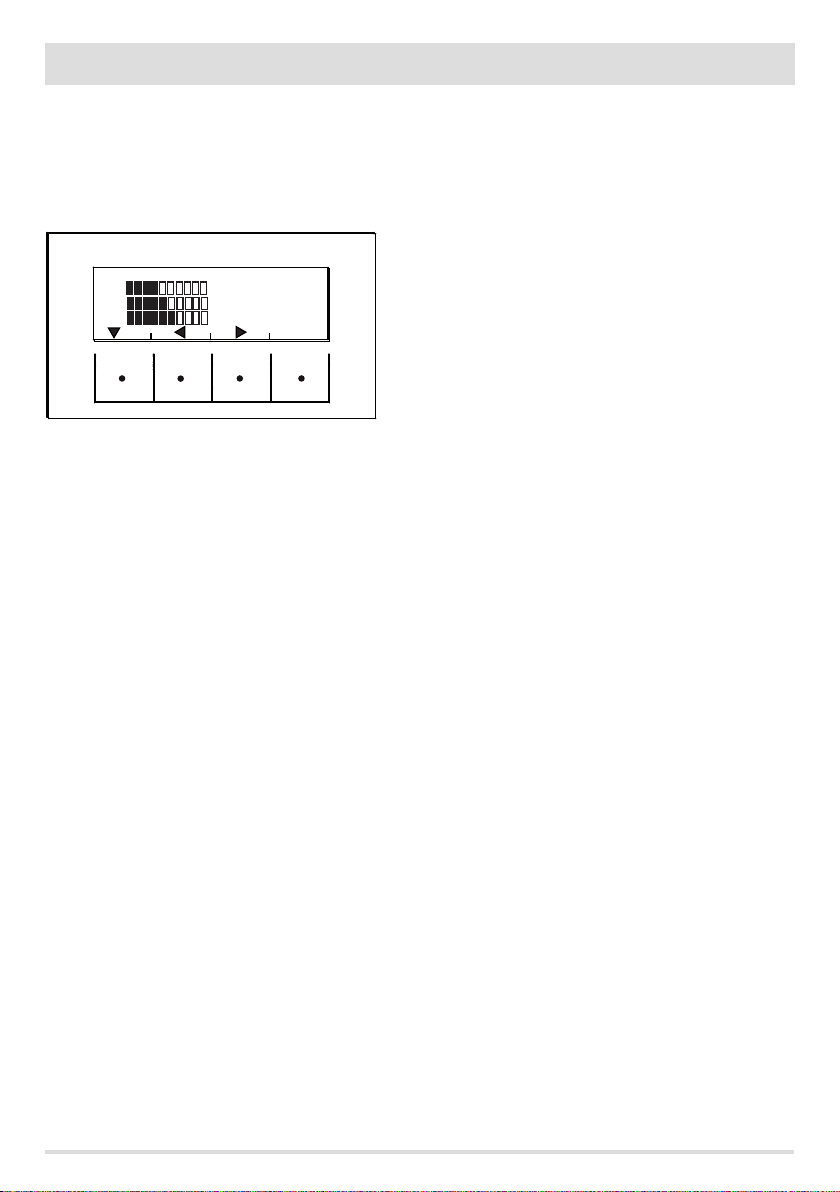
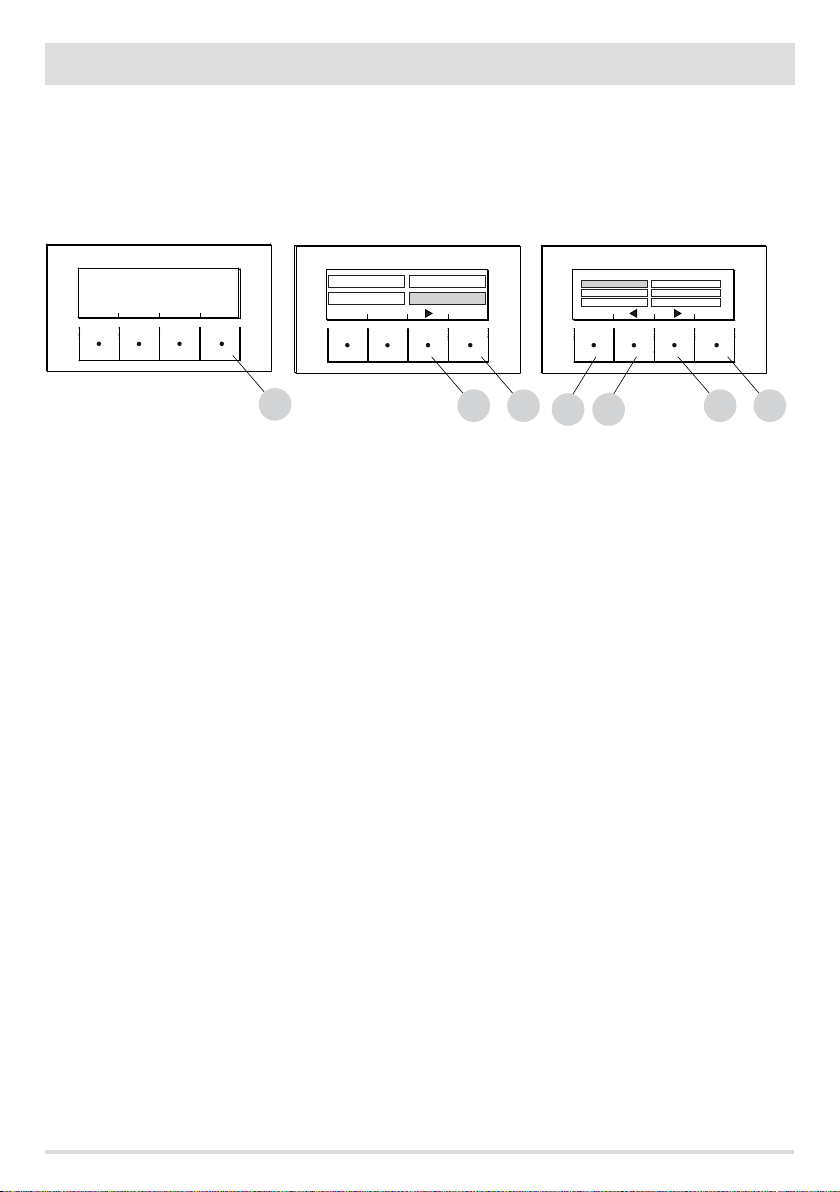
8-CONTROL PANEL
CONTROL PANEL DISPLAY
B C
A
MENU
E
D
KEY
A - DISPLAY; indicates a series of information on the stove, as well as the identication code of any malfunction.
B - Function selection key indicated by the upper display (i.e. start-up/shutdown)
C - Function selection key indicated by the upper display (i.e. increase/scrolling)
D - Function selection key indicated by the upper display (i.e. decrease/scrolling)
E - Function selection key indicated by the upper display (i.e. menu)
4
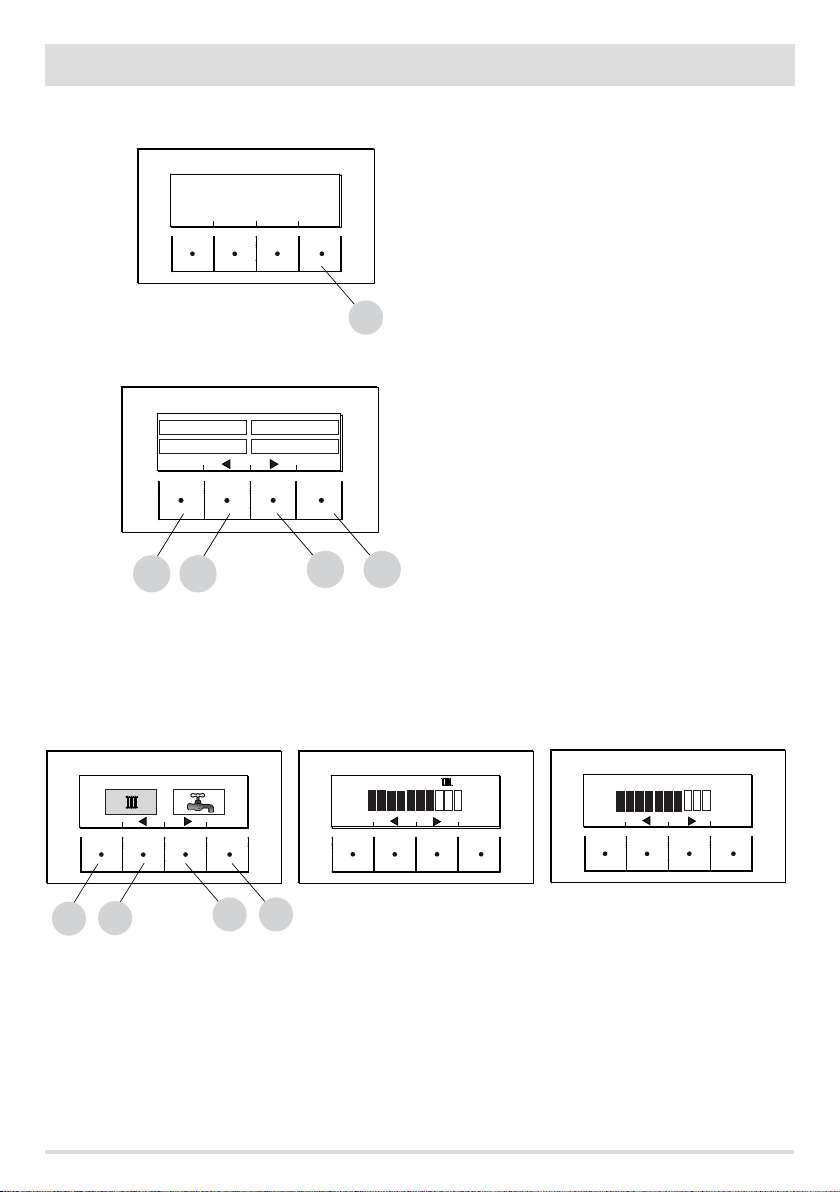
9-FIRST START-UP
INITIAL START-UP
REV.SOFTWARE NUM BANCA DATI
At initial start-up, after connecting the power cable and pressing the I/O button, the stove display will show wording for the software
version and database number (after a few seconds it will move on to the next screen).
If the language has already been set, the next screen will be OFF, otherwise one enters the following parameter.
SELECT LANGUAGE
At initial start-up, if it has never been set, the LANGUAGE choice screen appears.
The system displays all possible languages.
Using the arrow keys (C, D) scroll the languages and conrm the desired language using the “E” (OK) key.
LANGUAGE
ITALIANO
ENGLISH
ESPANOL
C
OK
D
E
SETTING TIME AND DAY
The keys that are active for this function: “C”, “D”, “E”. The C-D keys are used to choose time or day while the E key is used to conrm.
TODAY IS MONDAY AND IT IS
21.25
CHANGE
CHANGE
DAY
C
OK
TIME
E
D
Technical Dept. - All rights reserved - Reproduction is prohibited
TODAY IS MONDAY AND IT IS
21.25
C
TODAY IS MONDAY AND IT IS
OK
E
D
21.25
C
OK
D
E
5
9-FIRST START-UP
SCREEN OFF
If a LANGUAGE has already been set, the display will go to OFF.
Pressing any one of the keys (B, C, D, E) will result in the rst screen showing OFF to be displayed. From this screen, pressing keys "B" and
"E" (respectively corresponding to ON and MENU) it is possible to access the panel or the menu. If no key is pressed, the display will once
again show OFF after 5 seconds.
OFF
ON
B
OFF-DISPLAY OFF OFF-DISPLAY ACTIVE
ECO
MENU
E
PRELIMINARY OPTIONS
Hydro Air stoves are characterised by the presence of a heating hydraulic circuit and a room air fan for distributing hot air.
The possibility of deviating the hydraulic circuit towards a nned copper exchanger based on user request or automatically to double the
amount of heat distributed to the room air (also see HYDRO AIR SETTINGS MENU).
Room fan
The speed can be set manually or automatically.
In manual mode the speed, from 0 to 5, is chosen by the user from the control panel. The fan is only activated if the air output temperature
exceeds 42°C and is deactivated when it goes below 40°C; while at speed 0 the fan is o.
In automatic the stove adjusts fan speed in order to obtain stable output air temperature (approximately 55°C in Hydro Air On mode and
SET VENTILATION
EXIT
OK
D
C
B
E
45°C in Hydro Air O mode), optimising acoustic comfort with an equal power provided. Even in this case the fan is only activated if air
temperature exceeds 42°C.
For greater comfort, maximum fan speed in automatic mode corresponds to 3 and shuts o only if the temperature falls below 40°C.
SET VENTILATION
EXIT
B
AUTO
OK
E
6
9-FIRST START-UP
Lighting the stove
To switch on the stove, keep the "B" (ON) key on the panel pressed. The stove starts an ignition procedure that brings the ame to a
suitable level to Supply Power.
OFF
ECO
ON
MENU
B
Supplying power
The stove's power supply is signalled by "power level bars": one bar corresponds to minimum power, 5 bars to maximum power, this level
is determined by the heating system heat requirements, the stove adjusts pellet loading parameters, fumes extraction and combustion
air ow to comply with this requirement.
1
10:13 TIMER1 ECO
25°
23° AUTO
OFF
TEMP AIR
C
B
MENU
D
TOP BAR: active requirements, active programs, power bar, functions
CENTRAL BAR: room temperature, room set, room fan bar
BOTTOM BAR/KEYS: shut-o "B", temperature set modify "C" and fan set "D", menu "E"
1 = power level bars
E
Technical Dept. - All rights reserved - Reproduction is prohibited
7
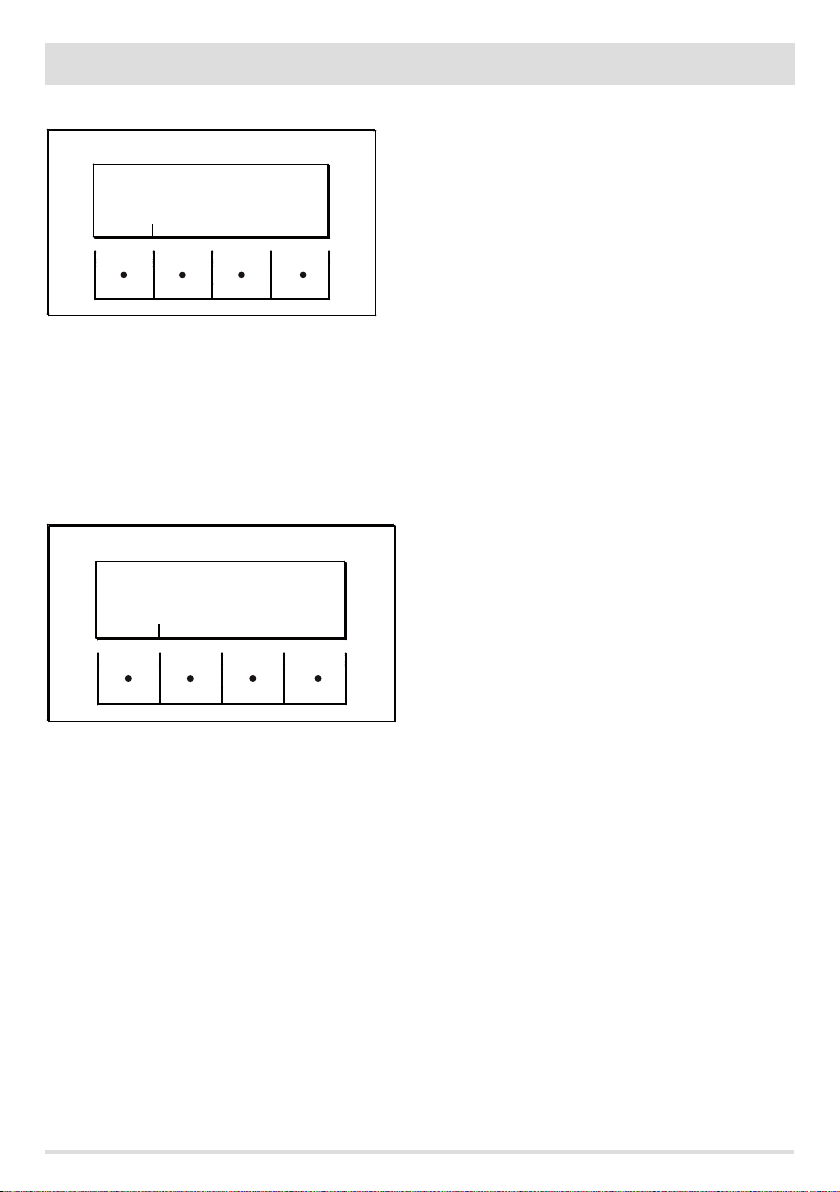
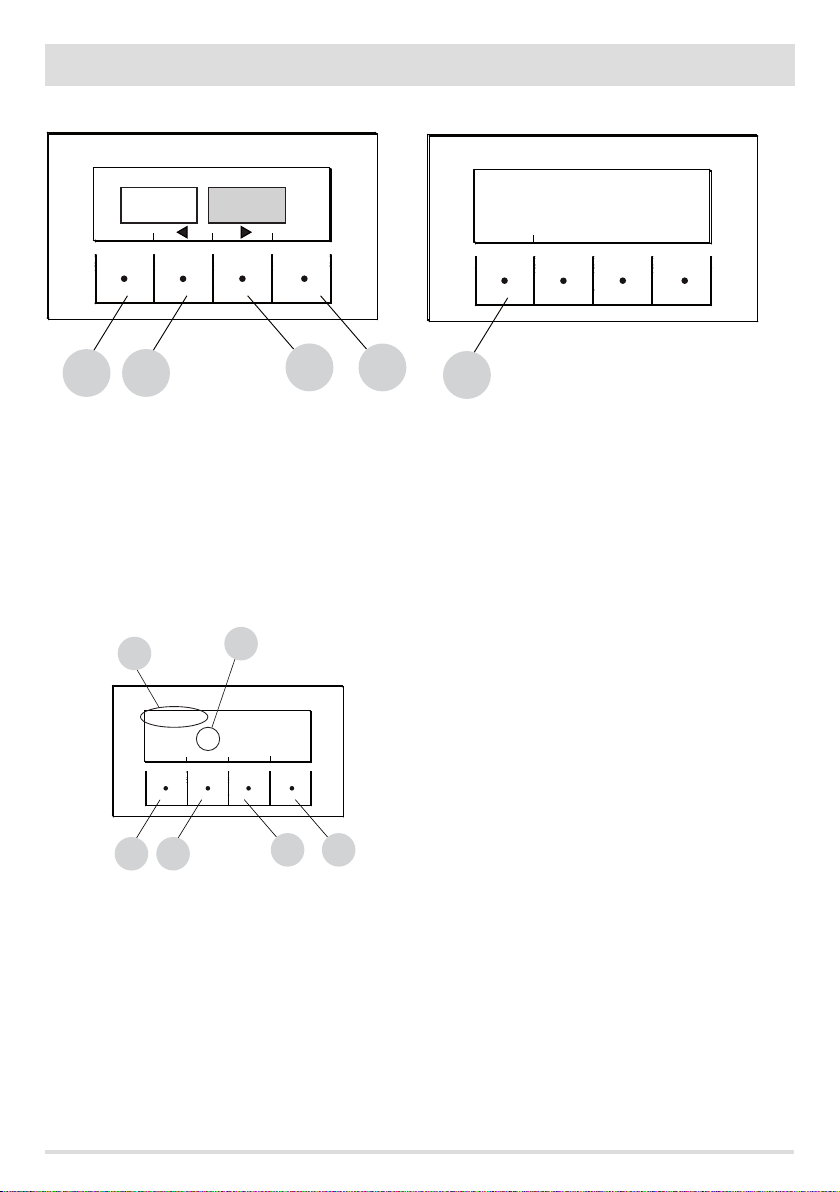
10-MENU STRUCTURE
MENU STRUCTURE
To enter MENU press the "E" key (MENU).
OFF
ON
ECO
MENU
E
Next, this screen with the following functions is displayed:
TEMPERATURES
INFORMATION
EXIT
C
B
TEMPERATURE (hydro air)
When accessing this function, the main screen makes it possible to set heating and sanitary water temperature (if boiler with probe
congured - see menu settings input aux).
Select what is to be set and then using the C and D keys increase/decrease the temperature, use the E key to conrm while the B key is
used to exit and return to the main MENU.
PROGRAMS
SETTINGS
Sub-menu
OK
D
E
TEMPERATURE
PROGRAMMES
INFORMATION
SETTINGS
TEMPERATURE BUFFER
EXIT
EXIT
TEMPERATURES
71°
OK
TEMPERATURES
EXIT
C
B
OK
E
D
PROGRAMMES
In this case it is possible to choose the programme to be set.
Programme selection makes it possible to choose between one of the following options (one choice excludes the other):
TIMER 1
TIMER 2
MANUAL
TEMP. LEVELS
SLEEP FUNCT.
8
50°
OK
10-MENU STRUCTURE
B
C
TEMPERATURES
INFORMATION
EXIT
PROGRAMS
SETTINGS
OK
D
E
PROGRAM SELECTION
TIMER 1 TIMER 2
TEMP.LEVELS FUNCT. SLEEP
ACTIVATE
EXIT ENTER
MANUAL
In the MENU screen, move the cursor with arrows "C"-"D" and select PROGRAMS, press ok "E" to conrm. Next select the programme you
wish to set.
Once completed, always press “ACTIVATE” to conrm the choice of programme.
The TIMER 1 and 2 programmes are freely programmable for each 1/2 hour of the day on three dierent temperature indicators (T1-T2-T3)
and in dierent ways for each day of the week. The OFF level requires that the stove is switched o in that interval.
TIMER 1
0 246 12 18
MONDAY TUESDAY WEDNESDAY
COPY
EXIT
C
B
TIMER 1
0 246 12 18
MONDAY
OK
E
D
10:00 20°C
SAVE
6 12
10:00
T3
T2
T1
Example of temperature programming for Monday.
Select the TIMER 1 item from the PROGRAM menu and press the ENTRA (ENTER) “E” key, using arrow “D” highlight Monday and press OK
(“E”) to enter programming.
Using the centre arrow keys “C” and “D” select the half hour interval to be selected and use the “E” key to set temperature T1-T2-T3
(depending on whether the key is pressed 1-2-3 times the corresponding temperature can be read in the bottom right of the display).
Once temperature programming for Monday is complete press the "B" SALVA (SAVE) key. If the same temperature scale of Monday is
desired for other week days, after saving ("E" key) press the "C" key (COPIA-COPY), select the day where the program is to be copied using
the "D" key and press the "C" key (INCOLLA-PASTE). Repeat the same procedure until the programmes for all the days of the week are
complete. At this point the stove is programmed according to your temperature needs, which can be modied at any time.
CAUTION:
In order to make stove use easier, MCZ supplies Timer 1 with preset weekly temperatures and times (according to the table below), while
Timer 2 is available. In any case, it is possible to change times and temperatures of Timer 1 at any time.
PANEL OFF DISPLAY FROM TIMER
When timer 1 (for example) has no set temperature, the panel highlights that the stove is in OFF position.
If the stove is o by MANUAL command, the timer will
OFF
03:33 TIMER 1
16° OFF
MENU
have no eect.
For the stove to come on with the timer, the panel
must display the image shown on the side; if this
should not be the case, it may be necessary to press
the ON (“B”) key.
Technical Dept. - All rights reserved - Reproduction is prohibited
9
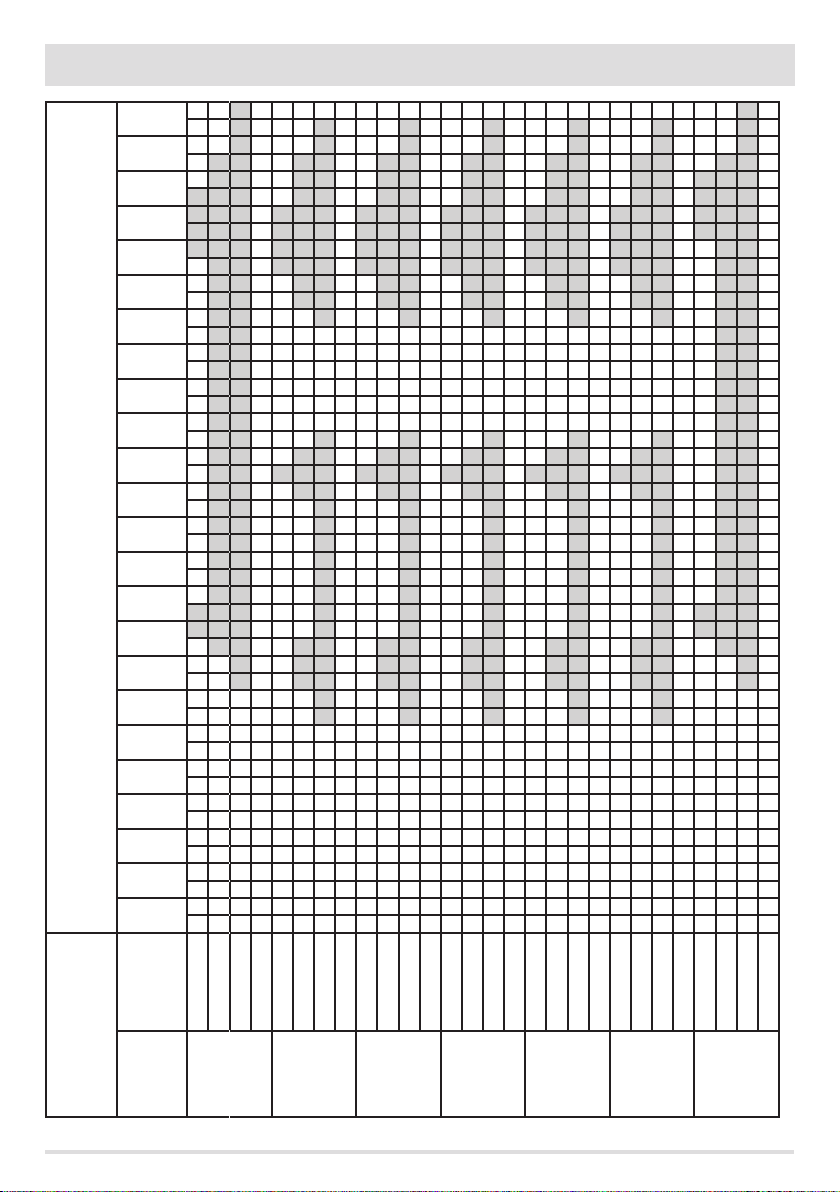
10-MENU STRUCTURE
23:00
22:00
21:00
20:00
19:00
18:00
17:00
16:00
15:00
14:00
13:00
12:00
11:00
Time table
10:00
09:00
08:00
07:00
06:00
05:00
04:00
03:00
02:00
01:00
00:00
T1
T2
T3
OFF
T1
T2
T3
T3
OFF
Temperatures *
Weekly programmes
Days
Sunday
Monday
Tuesday
* T1=16°C T2=20°C T3=22°C OFF=switched o
10
T1
T2
OFF
T1
T2
T3
OFF
Wednesday
T1
T2
T3
OFF
Thursday
T1
T2
T3
OFF
Friday
T1
T2
T3
OFF
Saturday
10-MENU STRUCTURE
MANUAL
This function can be activated from the menu PROGRAMME by pressing the key "C" ACTIVE. When this function is activated the stove no
longer follows time programming of TIMER 1 or 2 programmes, but it keeps the temperature set in the main screen throughout the 24
hour time period. It is possible to switch to programmes at any time.
TEMPERATURE LEVELS
TEMP. LEVELS
T1
T2
T3
It is possible to change the 3 temperature levels referenced by timers in this menu.
From the PROGRAMS menu use arrow key "D" to move and select TEMP LEVELS, press the "E" keys and enter the
temperature settings screen. With the centre arrow keys "C" and "D" increases/decreases the temperature value, while the "B" is used to
move to the next temperature. With the "E" key (OK) the set values are conrmed.
SLEEP FUNCTION
The sleep is only activated when the stove supplies power and makes it possible to programme a stove shut o time. The shut o can be
delayed for a maximum of 8 hours from current time and with a 10 minute resolution.
To activate, enter the PROGRAM menu, scroll using arrow key "D" up to the Function. SLEEP press the ATTIVA (ACTIVATE) "C" key. In the
next screen, using keys "C" and "D", increase or decrease the minutes (10 minutes each time the key is pressed) and press OK ("E" key) to
conrm the stove shut o time.
NOTE: If the stove is not supplying power the display shows the wording "NOT AVAILABLE".
16°
20°
22°
OK
Technical Dept. - All rights reserved - Reproduction is prohibited
11
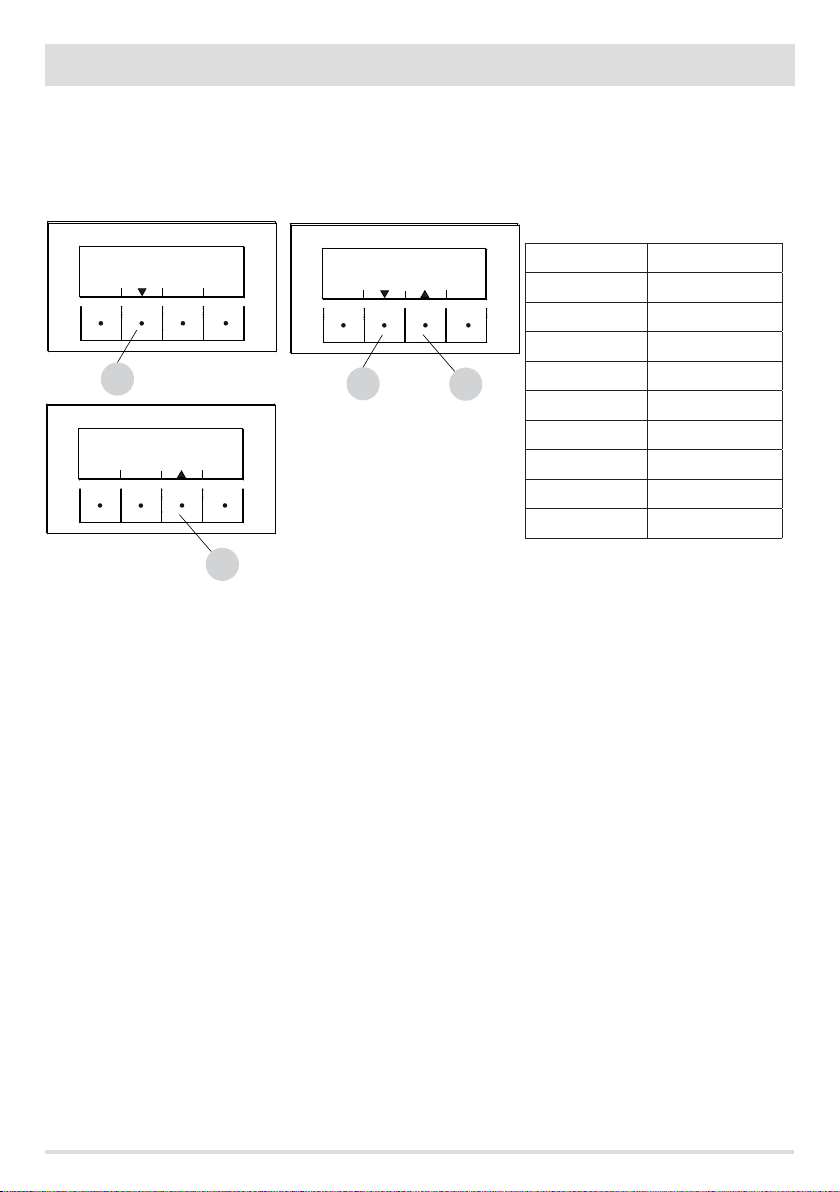
11-INFORMATION MENU
INFORMATION
To enter the menu INFORMATION proceed as follows:
from the main/initial screen, press the "E" Menu button, scroll using the "D" arrow key, up to the Information item, press the "E" ok key,
scroll again using the "D" arrow key up to software/data memory/all.memor y/stove state and select the desired item, press OK using the
"E" key to enter the chosen information menu.
OFF
ON
MENU
TEMPERATURES
INFORMATIONS
EXIT
PROGRAMS
SETTINGS
E
10:13 TIMER1 ECO
25°
23° AUTO
OFF
TEMP AIR
C
B
MAIN SCREEN
The available information is:
• Software
• Data memory
MENU
D
E
SOFTWARE
ALARM HYSTORY
EXIT OK
• All. memory
• Stove state
B
SOFTWARE INFORMATION
The available data in this function are:
CODE
FIRMWARE
DATABASE
INTERFACE
It is information that can be used to identify the electronic part of the stove.
OK
D
INFORMATIONS
C
E
DATA HYSTORY
STOVE STATE
INFORMATIONS
SOFTWARE
ALARM HYSTORY
EXIT OK
D
DATA HYSTORY
STOVE STATE
E
D
E
INFORMATIONS-SOFTWARE
CODICE = MDUO
FIRMWARE = 140.7.08.08 [07]
DATABASE = 000.022
CONTROL PANEL = 14040613A/1000313B
EXIT
EXAMPLE
12
11-INFORMATION MENU
DATA MEMORY-INFORMATION
INFORMATIONS-DATA HYSTORY
WORKING HOURS = 100
TOTAL IGNITIONS = 20
TEST DATE = 15/01/2013
EXIT
The available data in this function are:
WORKING HOURS
TOTAL IGNITIONS
TEST DATE
ALARM MEMORY-INFORMATION
It gives information about the last alarms detected.
INFORMATIONS-ALARM HYSTORY
ALARM 02 - 28/06/13 13:44 1
ALARM 02 - 21/06/13 08:03 2
ALARM 02 - 21/06/13 08.02 3
ALARM 02 - 21/06/13 09.46 4
EXIT
Technical Dept. - All rights reserved - Reproduction is prohibited
13
11-INFORMATION MENU
STOVE STATE-INFORMATION
This menu is particularly useful if one wants to verify the stove work condition (State).
From the OFF screen, press the "E" Menu button, scroll with the "D" arrow key, up to the Information item, press the ok "E" key, scroll again
with the "D" arrow key up to stove state, press OK with the "E" key and one enters the stove State-information menu.
The items available within STOVE-STATE INFORMATION can be viewed using the "C" and "D" arrow keys and are:
INFORMATIONS-STOVE STATE
STATE = 0-OFF
WATER TEMP = -43°C SET = 70°C
ACTIVE+ = 471 SET = 400
SMOKE FAN = 0 SET = 0
EXIT
INFORMATIONS-STOVE STATE
FEED SCREW = 0 SET = 0
SMOKE TEMP = 30°C REQ = BOLL
AIR FAN = 0% POMP. = OFF
3 WAY VALVE = NO HY. CAND. =OFF
EXIT
state
water temp. set
aux sensor set
active+ set
C
C
D
fumes fan set
auger set
INFORMATIONS-STOVE STATE
MODBUS COM. = OFF IND.=4
EXIT
fumes temp. req
air fan pump
relay aux spark plug
modbus com add.
D
• The main stove states that can be read on the display are:
STATE 1-9 various ignition phases
STATE 20-40 work state (power supply)
STATE 60-79 alarm state
STATE 80-84 shut o/cooling/autoeco state
STATE 85-93 auxiliary functions
STATE 94-95 cleaning state
• WATER TEMP.: Water temperature detected by the probe inside the stove and related SET
• AUX SENSOR: detects the value measured by the aux sensor (external/boiler/puer)
• ACTIVE+.: Value read by the Active Plus system and related SET
• FAN FUMES: Number of fumes fan revolutions and related SET
• AUGER: Number of auger revolutions and related SET
• FUMES TEMP: fumes temperature value read by the probe inside the stove
• REQ: (Heating/Sanitary) signals if system requires heat
• AIR FAN: Room fan operation level
• PUMP: signals if the stove's internal pump is turned on (ON) or turned o (OFF)
• RELAY AUX: signals activation (ON) or the OFF state of Auxa relay
• SPARK PLUG: Signals if spark plug is turned on or o
• MODBUS COM: External interface communication state
• ADD.: Address for communicating with modbus
14
12-SETTINGS MENU
SETTINGS
To enter the menu SETTINGS proceed as follows:
from the OFF screen , press the "E" Menu key, scroll with the "D" arrow key, up to the Settings item, press the ok "E" key, scroll again with
the "D" and/or "C" arrow key up to the chosen setting, press OK with the "E" key to enter the chosen menu.
It is possible to set the listed parameters from this screen. Each parameter has an info key to obtain brief information about the chosen
function.
• SETTINGS
OFF
ON
MENU
TEMPERATURES
INFORMATIONS
EXIT
E
PROGRAMS
SETTINGS
OK
D
E
• Auto Eco (default activated)
• Hydro Air
• Auger loading
• Pellet recipe
• Active +
• Cleaning c ycle
• Language
• date - time
• Aux Input
• aux output
• Room Input
• T. on Pump
• Pump Pwm
• Antifreeze function
• Plt sensor (not available)
• Modbus com.
• Display
• Technical menu (accessible by a specialized MCZ technician - password required)
• Active +
• Fume Analysis F
• Calib.Active
• Calib.S.fumes
• Diagnostics
• Parameters
• Boll advance
• Hour reset
B
SETTINGS
AUTOECO
FEED SCR LOAD
ACTIVE PLUS
EXIT
C
HYDRO-AIR
LOAD-RECIPE
CLEANING
OK
D
E
Technical Dept. - All rights reserved - Reproduction is prohibited
15
12-SETTINGS MENU
AUTOECO (Factory activated)
SETTINGS-AUTOECO
DEACTIVATE
AUTOECO
INFO
C
B
The Auto eco mode turns the stove o when the heating system does not require heat depending on the menu-settings-input aux
conguration.
AUTO ECO ACTIVE
The AutoEco active parameter (factory settings) is shown on the top right on the control panel display in the main screen. If heat is not
required, the stove turns o after the set time, switching to Auto Eco (State 84 - it is possible to see Auto eco in the Information Menu,
stove state).
NOTE: With the stove o, if set T is less than T room, or other heat request settings are satised the stove does not turn on.
1
22°
OFF
ACTIVATE
AUTOECO
2
15:28 ECO
18° AUTO
TEMP AIR
MENU
OK
D
E
IF YOU ACTIVATE THE AUTOECO, THE
STOVE GOES OFF WHEN THERE ARE
NO MORE HEAT REQUESTS
EXIT
B
1 = no heat request (T room > T set)
2 = T set
if set temperature is increased > T room (therefore in this
case > 22°C) the stove with start-up after a few seconds due
to the heat request.
D
C
B
With the stove on, if Auto eco is deactivated and there are no heat requests (dierent based on menu-settings-aux input settings) the
stove operates at minimum power.
The required condition for restarting is for there to be a heat request for at least 10" consecutively; it is possible to restart if:
• at least 5' have elapsed from when shutdown began
• the TH2O in the stove is < T set H2O
To modify the function:
from the settings menu - using the arrow keys, select the AUTOECO function, press ok (E key) and press D or C key (arrow key) and select:
Activate = to modify the set time from 0 to 30 minutes (factory default 5 minutes)
Deactivate = to deactivate Auto Eco
E
AUTO ECO DEACTIVATED
16
 Loading...