

Maytag MEWED7, MEW557, MEW55-3B User Manual
.°_.... ......... .°.,°....,.-.°°--.o_""_'°°°'
...... 4-7
Oven Vent...........................................8-171
Oven Operation ............................. v'-.............. 8
Oven Fans .................................... S.""]"..........
Bnkin_,__,_Roasting and Con_cection_oomng ..... o
Oven Racks and Positio ...............................
.... . t0
Broiling .:............ _.................................... 11
Clock Controlled Oven Operations ................. •_
C a_ _are an" "_leanin_ ....................................... L.. 12-15
_CleaningChart .................. ...................... ' -1_.,
ns 9
1
2-3
..... .. 5
,.., ....... 5
Before You Call for Servtc ..........:L............-.- 18
KYou Need Service - ....... ................ _..........
Wart anty .......................................................
- _ _v
•...... 19
• i°
•. MAYI?A
; o
t
Models: MEW557"IEW621, MEWed7, MEW55:3B,
MEW653(, NIEW5 30, Maw5527, iiWS5>39
Welcome....................................................
Congratulations on your choice of a Maytag electric wall IMPORTANT: Keep this guide and the sales receipt ii
oven. Your complete satisfaction is very important to us. a safe place for future reference. Proof of origine
Read this user's guide carefully. It is intended to help you
operate and maintain your new wall oven. If you have questions, write us (include your mode
In addition, you will find a booklet entitled "Cooking Made
Simple." It contains information on selecting bakeware and
provides baking, roasting and broiling tips. P.O. Box 2370
Save time and money. Check the "Before You Call" section Cleveland, TN 37320-2370
ofthis guide. It lists causes of minor operating problems that 1-800-688-9900 (USA)
you can correct yourself. 1-800-688-2002 (CANADA)
However, should you need service, it is helpful to have the impaired or speech impaired)
model and serial numbers available. This information can be
found on the data plate located on the oven front frame.
These numbers arealso on the Product Registration card that For service information, see page 18.
came with your appliance. Before sending in this card, record
these numbers along with the purchase date below.
purchase date is needed for warranty service.
number and phone number) or call:
Maytag Appliances Sales Company
Attn: CAIR®Center
1-800-688-2080 ( U.S. TTY for deaf, hearing
(Mon.- Fri., 8 am-8 pm Eastern Time)
Internet: http://www.maytag.com
Note:
Model Number * In our continuing effort to improve the quality
and performance of our cooking products it may
be necessary to make changes to the appliance
Serial Number without revising this guide.
• For Microwave Oven operation (select models),
Date of Purchase refer to the use and care guide packed in the
microwave oven.
1

IMPORTANT SAFETY INSTRUCTIONS .............
The following instructions are based on safety considerations • Children must be taught that the appliance and utensils
and must be strictly followed to eliminate the potential risks in it can be hot. Let hot utensils cool in a safe place, out
of fire, electric shock, or personal injury, of reach of small children. Children should be taught
that an appliance is not a toy. Children should not be
Installation and Repair allowed to play with controls or other parts of the unit.
• CAUTION: NEVER store items of interest to children
• Have your appliance installed and properly grounded by in cabinets above an appliance. Children climbing on
a qualified installer according to the installation instruc-
tions, could be seriously injured.
• To ensure proper operation and avoid possible injury or
damage to unit do not attempt to adjust repair, service, or About Your Appliance
replace any part of your appliance unless it is specifically
recommended in this book. All of the servicing should be • To prevent potential hazard to the
referred to a qualified installer or servicer, user and damage to the appliance,
To Prevent Fire or Smoke Damage a room.
• Be sure all packing materials are removed from the ap- blocking the oven vent.
pliance before operating it.
• Keep area around appliance clear and free from combus-
tible materials. Flammable materials should not be stored
in an oven. faces of any oven become hot enough to cause burns.
• Many plastics are vulnerable to heat. Keep plastics away During and after use, do not touch, or let clothing or
from parts of the appliance that may become warm or other flammable materials contact heating elements or
hot. interior surfaces of oven until they have had sufficient
• Toprevent grease fires, do not let cooking grease or other time to cool. Other surfaces of the appliance may be-
flammable materials accumulate in or near the appliance, come hot enough to cause burns - among these sur-
• Do not use the oven as a storage area for food or cooking openings, oven doors, windows of oven doors.
the appliance or on the appliance door to reach items
never use appliance to heat or warm
• Do not obstruct the flow of air by ............
• DO NOT TOUCH HEATING ELEMENTS OR INTE-
RIOR SURFACES OF OVEN. Heating elements may
be hot even though they are dark iu color. Interior sur-
faces are: oven vent openings and surfaces near these
utensils. • CAUTION: NEVER use an appliance as a step to reach
• Many aerosol-type spray cans are EXPLOSIVE when cabinets above. Misuse of appliance doors, such as step-
exposed to heat and may be flammable. Avoid their use ping, leaning or sitting on the door, may result in pos-
er storage near the oven. sible tipping of the appliance, breakage of door, and
serious injuries.
In Case of Fire • Do not touch a hot oven light bulb with a damp cloth as
the bulb could break. Should the bulb break, discon-
• Use dry chemical or foam-type extinguisher or baking nect power to the appliance before removing bulb to
soda to smother fire or flame. Never use water on a grease avoid electrical shock.
fire.
• A fan should be heard during some bake, convect bake,
1. Turn off appliance to avoid spreading the flame, and all broil and cleaning operations. If you do not hear
2. NEVER pick up or move a flaming pan. the fan, call an authorized servicer.
3. Smother fire or flame by closing the oven door. • NEVER use aluminum foil to cover an oven rack or
Child Safety directed in this guide. Do not allow aluminum foil to
• NEVER leave children alone or unsupervised near the contact heating element.
appliance when it is in use or is still hot. Children should
never be allowed to sit or stand on any part of the appli-
ance as they could be injured or burned.
oven bottom. Misuse could result in risk of electric
shock, fire, or damage to the appliance. Use foil only as
2
IMPORTANT SAFETY INSTRUCTIONS (continued)...
Cooking Safety Cleaning Safety
• NEVER beat an unopened food container in the oven. Pres- • Turn off all controls and wait for appliance parts to cooZ
sure build-up may cause container to burst resulting in se- before touching or cleaning. Clean with caution. Use
rious personal injury or damage to the appliance, care to avoid steam burns if a wet sponge or cloth i
used to wipe spills on a hot surface. Some cleaners ea_
• Use dry, sturdy potholders. Damp potholders may cause produce noxious fumes if applied to a hot surface.
burns from steam. Dish towels or other substitutes should
never be used as potholders because they can trail across
hot elements and ignite or get caught on appliance parts.
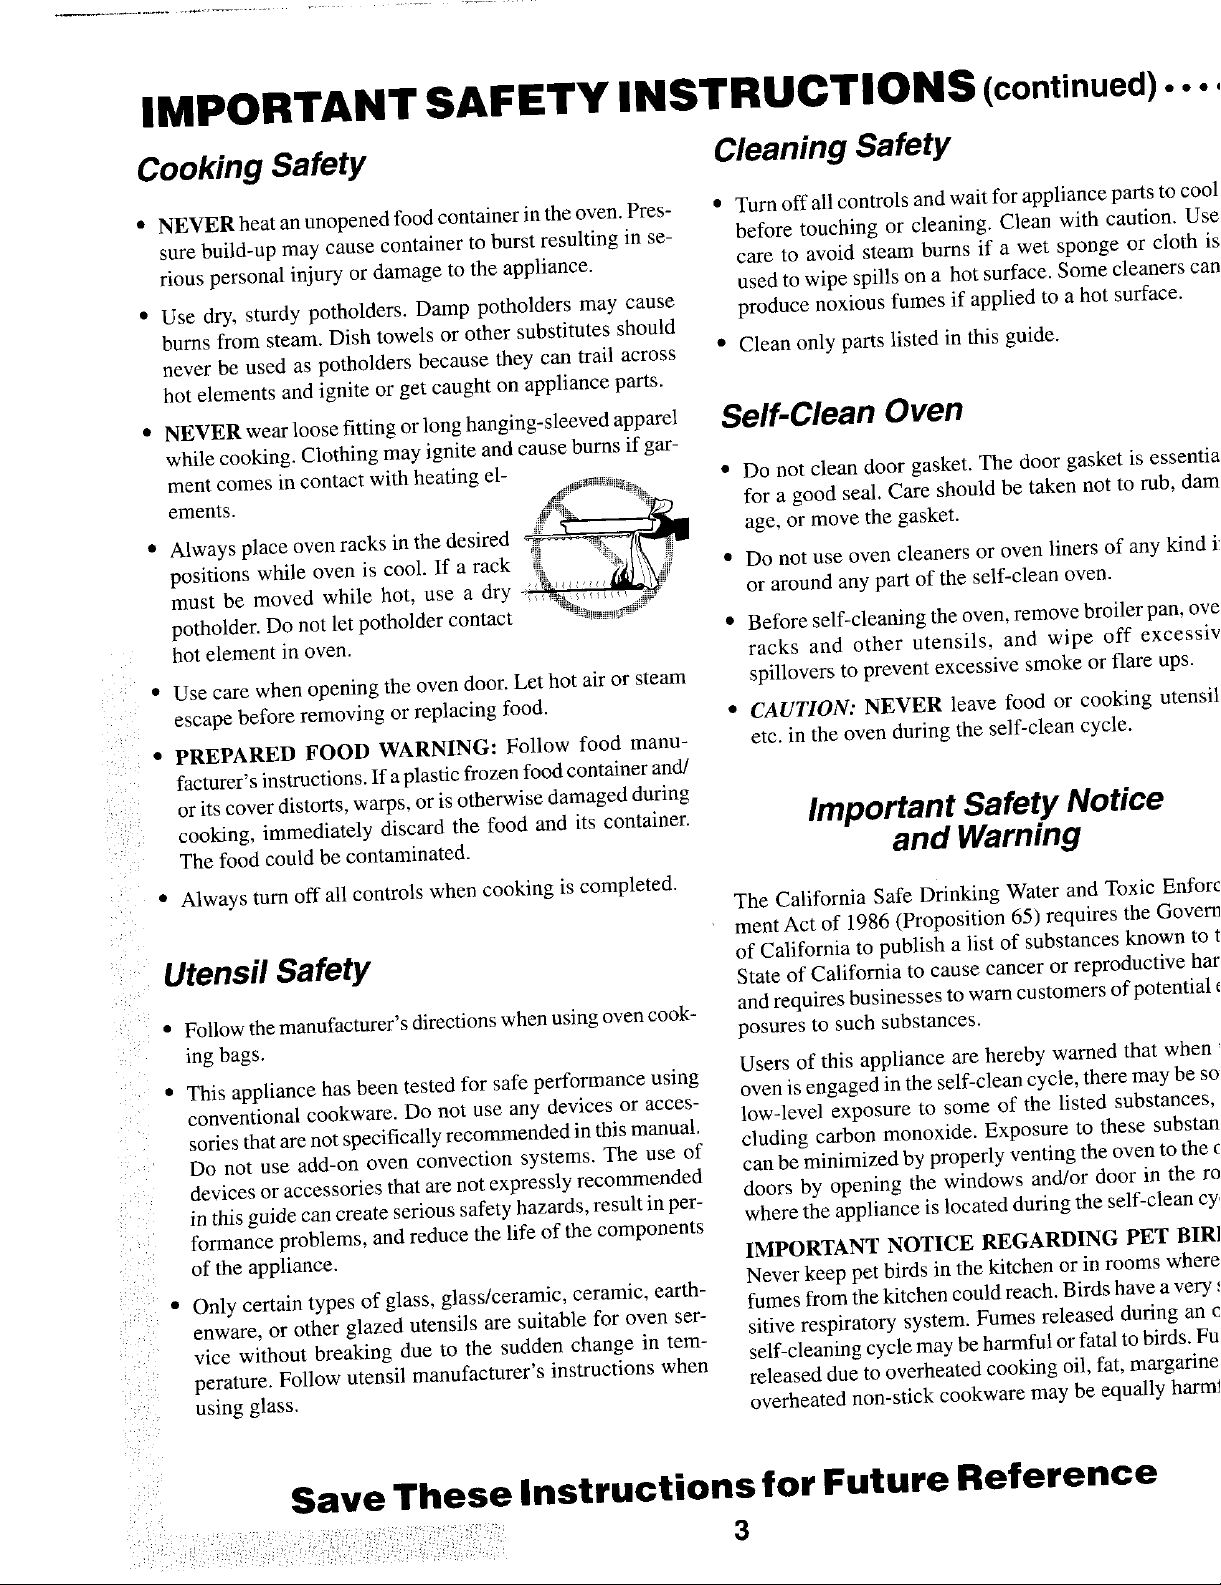
• NEVER wear loose fitting or long hanging-sleeved apparel Self-Clean Oven
while cooking. Clothing may ignite and cause burns if gar-
ment comes in contact with heating el- ,_¢_,_%, • Do not clean door gasket. The door gasket is essenti:
ements. __ .... for a good seal. Care should be taken not to rub, dart
• Always place oven racks in the desired __ age, or move the gasket.
positions while oven is cool. If a rack 'i_ _ ,,_ii • Do not use oven cleaners or oven liners of any kind '
must be moved while hot, use a dry or around any part of the self-clean oven.
potholder. Do not let potholder contact
hot element in oven.
: .: • Use care when opening the oven door. Let hot air or steam spillovers to prevent excessive smoke or flare ups.
: : • CAUTION: NEVER leave food or cooking utensi'
:: facturer's instructions. If a plastic frozen food container and/
_. or its cover distorts, warps, or is otherwise damaged during
i The food could be contaminated, and Warning
: merit Act of 1986 (Proposition 65) requires the Gover
. State of California to cause cancer or reproductive haJ
escape before removing or replacing food.
• PREPARED FOOD WARNING: Follow food manu- etc. in the oven during the self-clean cycle.
• Always turn off all controls when cooking is completed.
'. The California Safe Drinking Water and Toxic Enfor
Utensil Safety of California to publish a list of substances known to
• Follow the manufacturer's directions when using oven cook- and requires businesses to warn customers of potential
: posures to such substances.
ing bags.
• Clean only parts listed in this guide.
• Before self-cleaning the oven, remove broiler pan, ow
racks and other utensils and wipe off excessi'
Imp t Safetycooking, immediately discard the food and its container, ortan Notice
i • This appliance has been tested for safe performance using Users of this appliance are hereby warned that when
. conventional cookware. Do not use any devices or acces-
sories thatare not specifically recommended in this manual, low-level exposure to some of the listed substances,
' Do not use add-on oven convection systems. The use of cluding carbon monoxide. Exposure to these substar
devices or accessories that are not expressly recommended can be minimized by properly venting the oven to the,
i where the appliance is located during the self-clean c,
, formance problems, and reduce the life of the components
: Never keep pet birds in the kitchen or in rooms wher_
:. fumes from the kitchen could reach. Birds have a very
') using glass.
in this guide can create serious safety hazards, result in per-
' of the appliance. IMPORTANT NOTICE REGARDING PET BIR
: " Only certain types of glass, glass/ceramic, ceramic, earth-
enware, or other glazed utensils are suitable for oven ser-
vice without breaking due to the sudden change in tern-
! perature. Follow utensil manufacturer's instructions when self-cleaning cycle may be harmful or fatal to birds. F_
oven is engaged in the self-clean cycle, there may be s(
doors by opening the windows and/or door in the r
sitive respiratory system. Fumes released during an (
released due to overheated cooking oil, fat, margarin(
overheated non-stick cookware may be equally harrr
Save These Instructions for Future Reference
3
.... _ i ! iI
• i • ii !i
Controls a ance. ........................
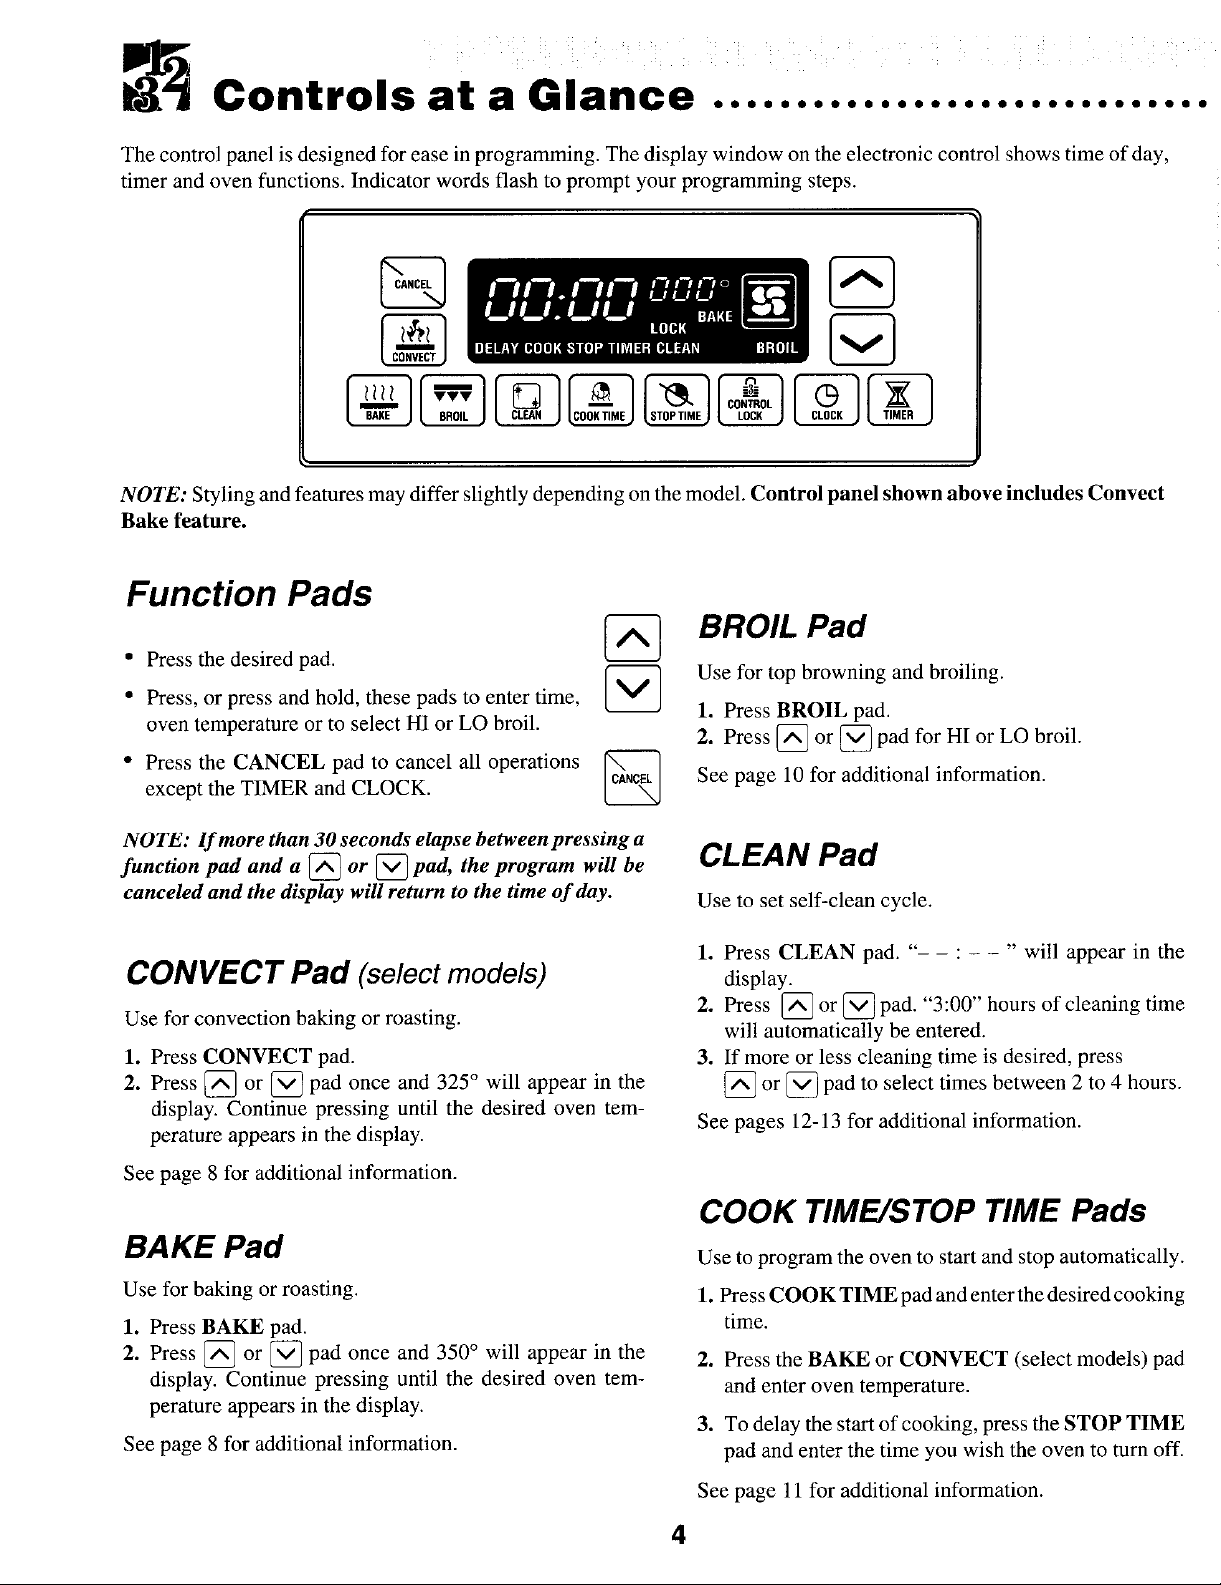
The control panel is designed for ease in programming. The display window on the electronic control shows time of day,
timer and oven functions. Indicator words flash to prompt your programming steps.
NOTE: Styling and features may differ slightly depending on the model. Control panel shown above includes Convect
Bake feature.
at GI .....
Function Pads
• Press the desired pad.
• Press, or press and hold, these pads to enter time, 1. Press BROIL pad.
oven temperature or to select HI or LO broil. 2. Press _ or _ pad for HI or LO broil.
• Press the CANCEL pad to cancel all operations _ See page 10 for additional information.
except the TIMER and CLOCK.
_ Use for top browning and broiling.
BROIL Pad
NOTE: If more than 30 seconds elapse between pressing a
function pad and a _ or _ pad, the program will be CLEAN Pad
canceled and the display will return to the time of day. Use to set self-clean cycle.
1. Press CLEAN pad. " : " will appear in the
CONVECTPad (select models) display.
2. Press [_ or _ pad. "3:00" hours of cleaning time
Use for convection baking or roasting, will automatically be entered.
1. Press CONVECT pad. 3. If more or less cleaning time is desired, press
2. Press _] or _ pad once and 325° will appear in the [_ or _ pad to select times between 2 to 4 hours.
display. Continue pressing until the desired oven tem-
perature appears in the display. See pages 12-13 for additional information.
See page 8for additional information.
COOKTIME TIME Pads
BAKE Pad Use to program the oven to start andstop automatically.
Use for baking or roasting. 1. Press COOK TIME pad and enter the desired cooking
1. Press BAKE pad. time.
2. Press _ or _-_ pad once and 350° will appear in the 2. Press the BAKE or CONVECT (select models) pad
display. Continue pressing until the desired oven tern- and enter oven temperature.
perature appears in the display.
See page 8 for additional information, pad and enter the time you wish the oven to turn off.
3. To delay the start of cooking, press the STOP TIME
See page 11 for additional information.
4
Controls at a Glance (continued)...................
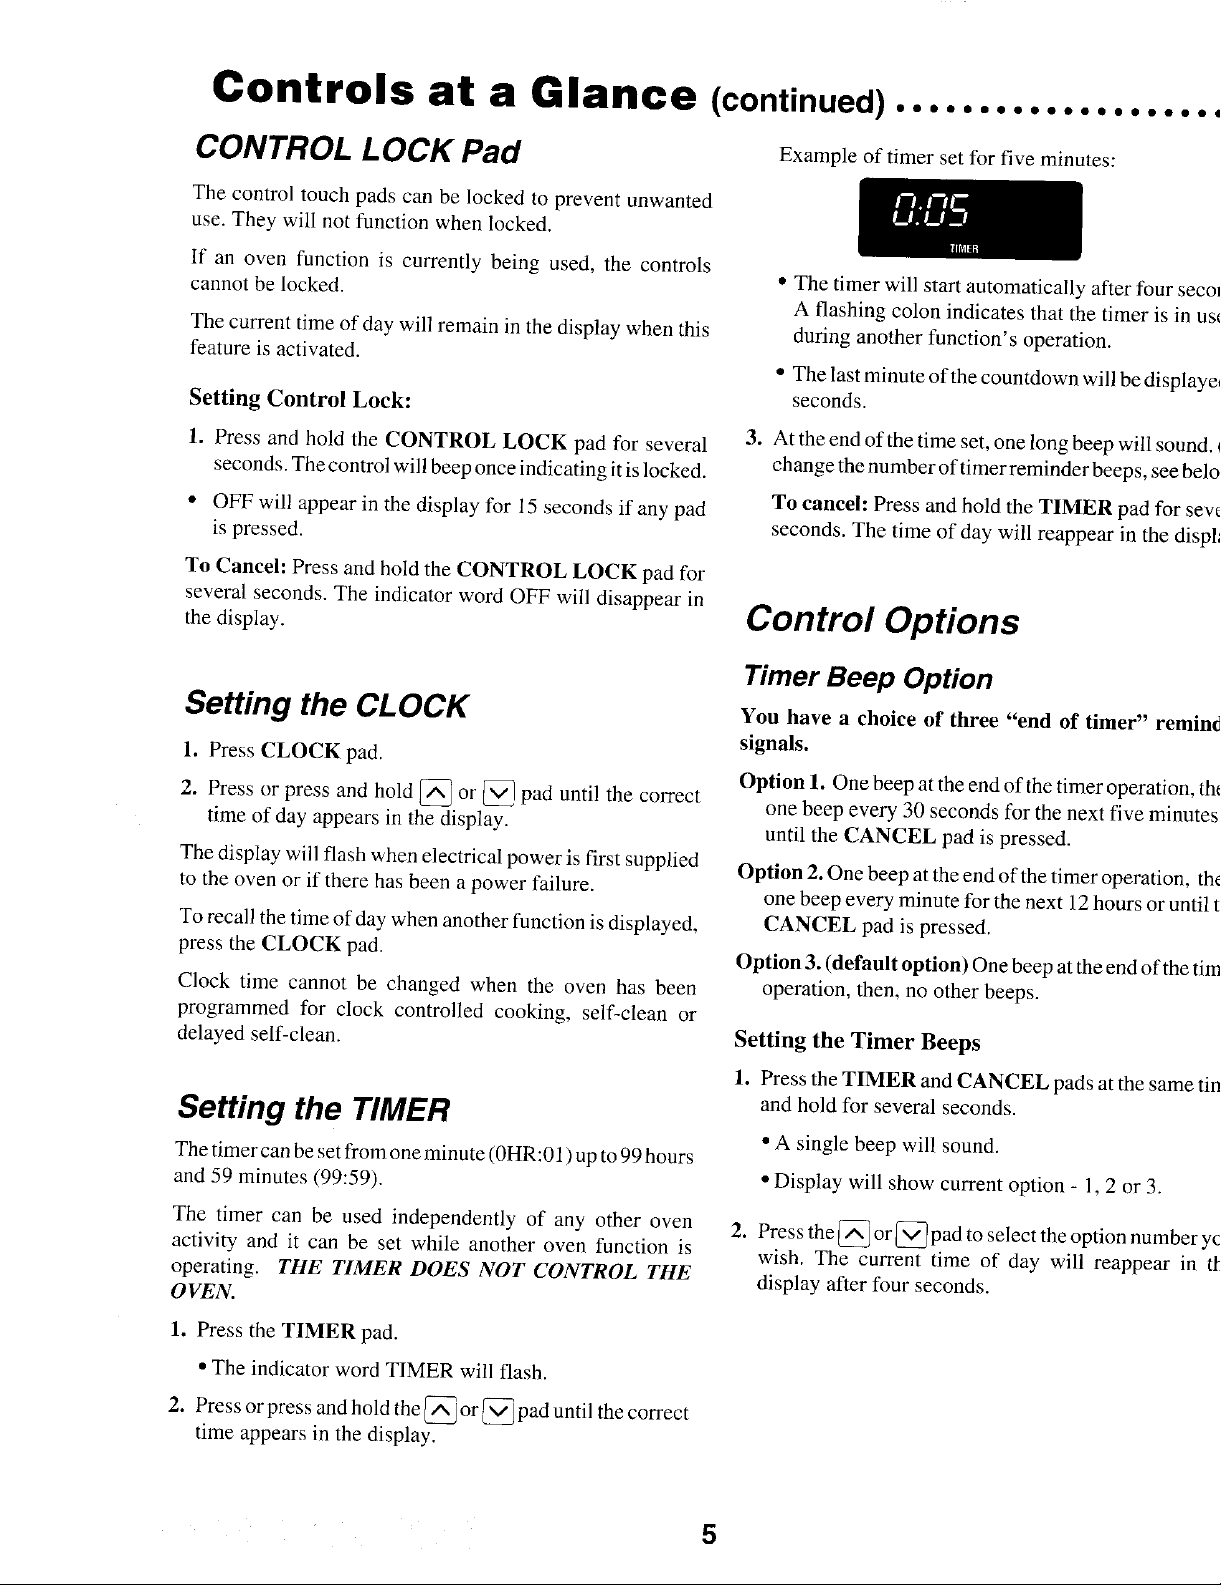
CONTROL LOCK Pad Example of timer set for five minutes:
The control touch pads can be locked to prevent unwanted
use. They will not function when locked.
If an oven function is currently being used, the controls
cannot be locked.
The current time of day will remain in the display when this during another function's operation.
feature is activated,
Setting Control Lock: seconds.
1. Press and hold the CONTROL LOCK pad for several 3. Attheendofthetimeset, one long beep will sound.
seconds. The control will beep once indicating it is locked, change the number of timer reminder beeps, see bek,
• OFF will appear in the display for 15 seconds if any pad To cancel: Press and hold the TIMER pad for sew
is pressed, seconds. The time of day will reappear in the displ:
To Cancel; Press and hold the CONTROL LOCK pad for
several seconds. The indicator word OFF will disappear in
the display. puons
• The timer will start automatically after four seco]
A flashing colon indicates that the timer is in usl
• The last minute of the countdown will be displaye
Control
Timer Beep Option
Setting the CLOCK you have a choice of three "end of timer" remim
1. Press CLOCK pad. signals.
2. Press or press and hold _ or _ pad until the correct Option 1. One beep at the end of the timer operation, th_
time of day appears in the display, until the CANCEL pad is pressed.
The display will flash when electrical power is first supplied Option 2. One beep at the end of the timer operation, th_
to the oven or if there has been a power failure, one beep every minute for the next 12 hours or until t
To recall the time of day when another function is displayed, CANCEL pad is pressed.
press the CLOCK pad. Option 3. (default option) One beep at the end of the tin
Clock time cannot be changed when the oven has been operation, then, no other beeps.
programmed for clock controlled cooking, self-clean or
delayed self-clean. Setting the Timer Beeps
one beep every 30 seconds for the next five minutes
1. Press the TIMER and CANCEL pads at the same tin
Setting the TIMER and hold for several seconds.
The timer can be set from one minute (0HR:01) up to 99 hours
and 59 minutes (99:59). • Display will show current option - 1, 2 or 3.
The timer can be used independently of any other oven 2. Pressthe_-X_or_padtoselecttheoptionnumbery(
activity and it can be set while another oven function is wish. The current time of day will reappear in tl
operating. THE TIMER DOES NOT CONTROL THE display after four seconds.
OVEN.
1. Press the TIMER pad.
The indicator word TIMER will flash.
2. Press or press and hold the _ or iCv-@aduntil the correct
time appears in the display.
• A single beep will sound.
5
 Loading...