

Page 1
G-L]sc
Care
Instructions for your Electric Wall Oven
CONTENTS
SAFETY INSTRUCTIONS ................... 1-3 Howto bakeor roast ........................ 8
Common baking problems chart ............... 8
MECHANICAL CLOCK ....................... 4 Howto broil ............................... 9
Clock and timer ............................ 4
Automatic oven cooking ..................... 4 CONTINUOUS CLEANING OVEN .............. 10
Self clean oven ............................ 4
SELF CLEANING OVEN ..................... 11
ELECTRONIC CLOCK ...................... 5-6
Clock .................................... 5 MAINTENANCE ............................ 12
Timer .................................... 5 Light replacement ......................... 12
Self clean oven ............................ 5 Oven door ............................... 12
Automatic oven cooking ..................... 6 Circuit breaker (Canada only) ................ 12
USING YOUROVEN ...................... 7-10 CARE AND CLEANING CHART ............... 13
Ovencharacteristics ........................ 7
Ovencontrols ............................. 7 SERVICE .................................. 14
Oven indicator light ......................... 7 Troubleshooting chart ...................... 14
Ovenracks ............................... 7 Howto obtain service ...................... 14
Preheating ................................ 7 WARRANTY ............................... 15
Double wall oven ........................... 7
8112P087-60
(7/91)
Page 2
SAFETY INSTRUCTIONS
Informationinthe SafetyInstructionsection covers all STORAGE IN, ON ORNEAR APPLIANCE - Do not
electric cooking appliances.You may find some infer- storeoruse gasoline or otherflammable materials, va-
marion that does not pertain to your particular appli- porsandliquids inthe oven,near surfaceunitsorin the
ance. Please review this section before using your vicinity of this or any other appliance. The fumes can
cooking appliance, create a fire hazard or explosion. Do not usecooktop
oroven as a storage area forfood or cooking utensils.
The followinginstructions are based onsafety consid-
erations and mustbe strictlyfollowed toeliminate the
potential risks offire, electricshock, or personal injury. SmotherONDONOT USE WATER _(_GREASEfireorFIRESflameor-
PROPER INSTALLATION- Besureyour applianceis use dry chemical or
properly installed and grounded by a qualified techni- foam-type extinguisher, q_-----_-_.,_r_
clan. if available or sprinkle
heavily with baking soda.
USE ONLY DRY POTHOLDERS - Moist or damp
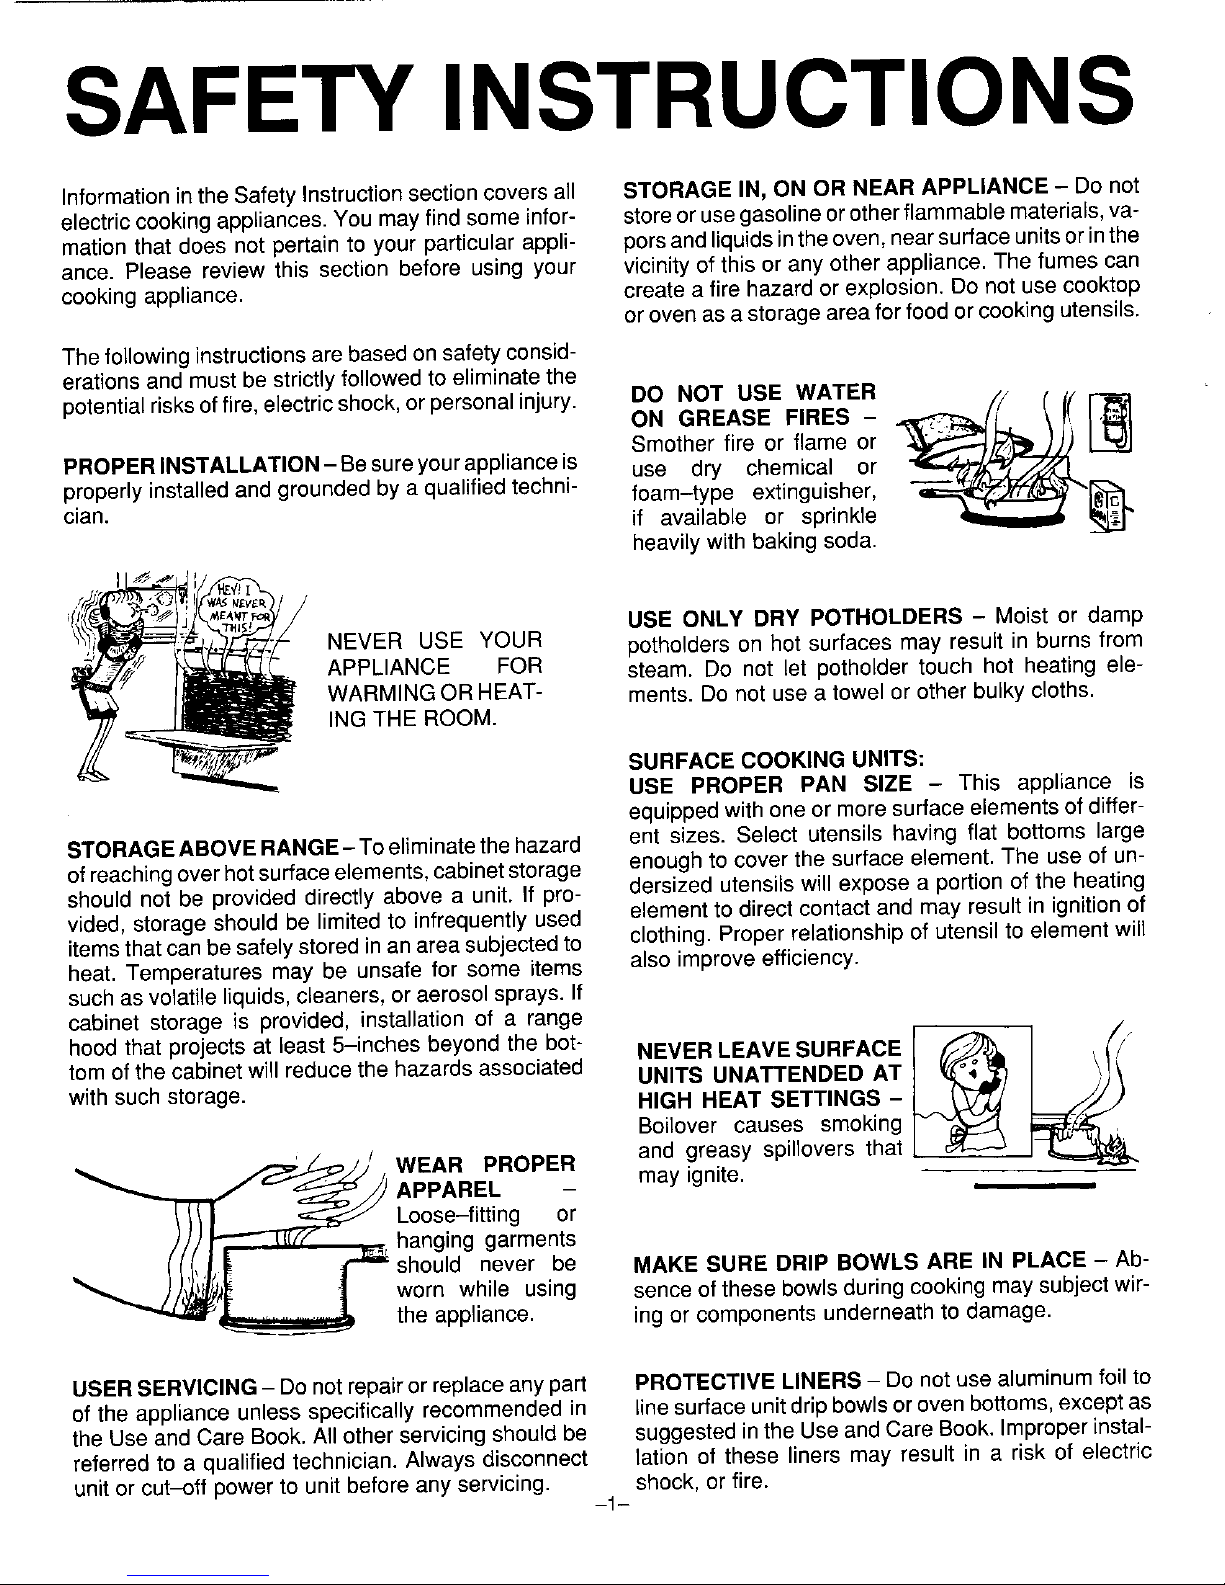
NEVER USE YOUR potholders on hot surfaces may result in burns from
APPLIANCE FOR steam. Do not let potholder touch hot heating ele-
WARMINGOR HEAT- ments. Do not usea towel or other bulky cloths.
INGTHE ROOM.
SURFACE COOKING UNITS:
USE PROPER PAN SIZE - This appliance is
equipped with one or more surfaceelements of differ-
STORAGEABOVE RANGE-Toeliminatethe hazard ent sizes. Select utensils having flat bottoms large
ofreachingoverhotsurface elements, cabinetstorage enoughto cover the surface element.The useof un-
should not be provided directly above a unit. If pro- dersized utensils will exposea portion of the heating
vialed,storage should be limited to infrequently used element to direct contact and may result in ignition of
itemsthat can be safelystored in an area subjectedto clothing. Proper relationship of utensil to element will
heat. Temperatures may be unsafe for some items also improve efficiency.
such as volatile liquids,cleaners, or aerosol sprays. If
cabinet storage is provided, installation of a range
hoodthatprojectsatleast5-inchesbeyondthebot-NEVER LEAVE SURFACE _ _
tom of the cabinet will reducethe hazards associated UNITS UNATTENDED AT
with such storage. HIGH HEAT SETTINGS -
Boilover causes smoking
and greasy spillovers that
WEAR PROPER may ignite.
APPAREL - , ,
Loose-fitting or
hanging garments
should never be MAKE SURE DRIP BOWLS ARE IN PLACE - Ab-
worn while using sence ofthese bowlsduring cooking may subject wir-
the appliance, ingor components underneath to damage.
USER SERVICING- Do notrepairor replaceany part PROTECTIVE LINERS- Do not use aluminum foil to
of the appliance unless specifically recommended in line surfaceunit drip bowlsor oven bottoms,except as
the Use and Care Book.All other servicing should be suggested in the Use and Care Book. Improperinstal-
referred to a qualified technician. Always disconnect lation of these liners may result in a risk of electric
unitor cut-off powerto unit before any servicing, shock, er fire.
--"1--
Page 3
SAFETY INSTRUCTIONS
GLAZED COOKING UTENSILS - Only certaintypes VENTILATING HOODS:
of glass, glass/ceramic,ceramic, earthenware, or CLEAN VENTILATING HOODS FREQUENTLY -
otherglazedutensilsare suitablefor range-topsew- Greaseshouldnotbe allowedtoaccumulateonhood
icewithout breakingdue tothe suddenchange intem- orfilter. When flaming foods under the hood, turn the
perature, fan off. The fan, if operating, may spreadthe flame.
IMPORTANT SAFETY NOTICEAND WARNING
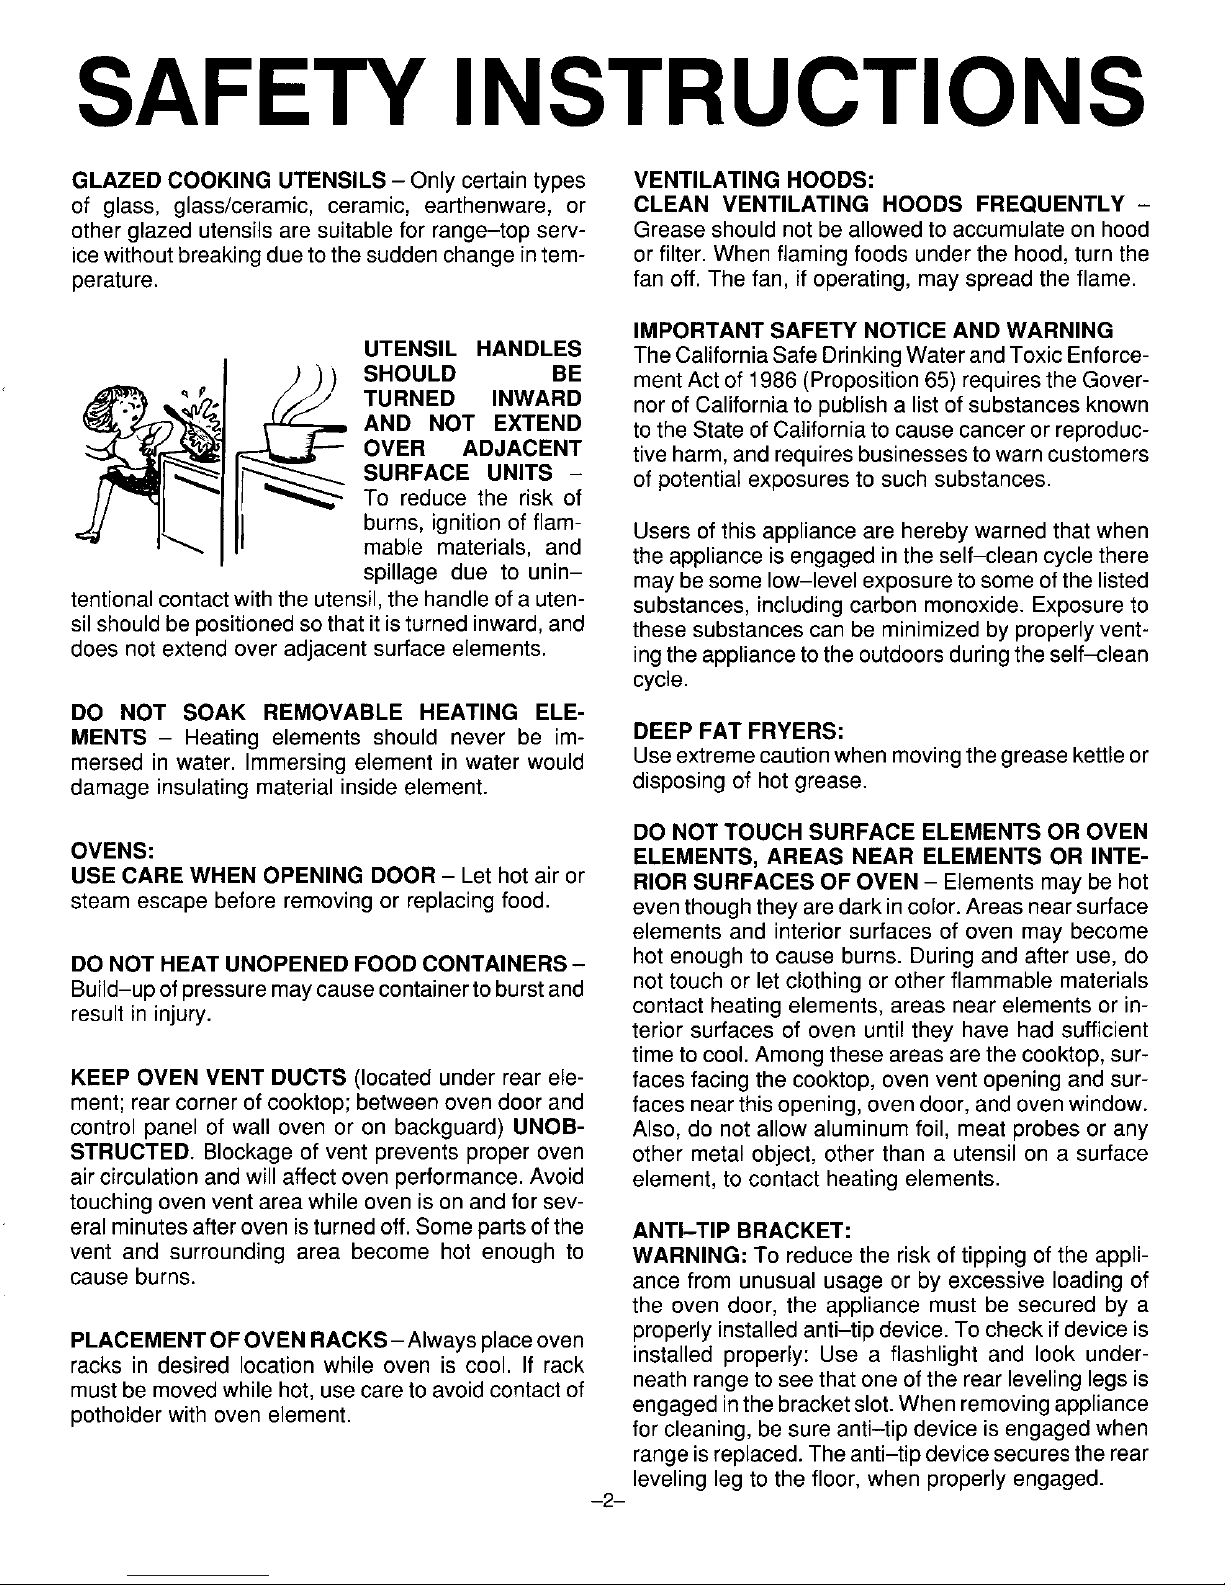
UTENSIL HANDLES TheCaliforniaSafe DrinkingWaterandToxicEnforce-
SHOULD BE mentActof 1986(Proposition65) requirestheGover-
TURNED INWARD norof Californiato publish a listof substances known
AND NOT EXTEND to the State ofCalifornia to cause cancer or reproduc-
OVER ADJACENT tive harm,and requiresbusinessestowarn customers
SURFACE UNITS - of potential exposuresto such substances.
To reduce the risk of
burns, ignition of flam- Users of this appliance are herebywarned that when
mable materials, and the appliance is engaged in the self-clean cycle there
spillage due to unin- may besome low-level exposureto someof the listed
tentional contactwith the utensil,the handleof a uten- substances, includingcarbon monoxide. Exposure to
sil should bepositioned sothat it isturned inward, and these substances can be minimized by properly vent-
does not extend over adjacent surface elements, ingthe appliancetothe outdoorsduring the self-clean
cycle.
DO NOT SOAK REMOVABLE HEATING ELE-
MENTS - Heating elements should never be im- DEEPFAT FRYERS;
mersed in water. Immersing element in water would Useextreme cautionwhen movingthegrease kettleor
damage insulating material inside element, disposing of hot grease.
DO NOT TOUCH SURFACE ELEMENTS OR OVEN
OVENS; ELEMENTS, AREAS NEAR ELEMENTS OR INTE-
USE CAREWHEN OPENING DOOR - Let hot air or RIORSURFACES OFOVEN - Elementsmay be hot
steam escape before removing or replacing food. eventhough they aredark incolor. Areas near surface
elements and interior surfaces of oven may become
DO NOTHEAT UNOPENED FOOD CONTAINERS - hot enough to cause burns. During and after use, do
Build-up of pressure maycausecontainertoburst and not touch or let clothing or other flammable materials
result in injury, contact heating elements, areas near elements or in-
terior surfaces of oven until they have had sufficient
timeto cool. Among theseareas are the cooktop, sur-
KEEP OVEN VENT DUCTS (located under rear ele- facesfacing the cooktop, ovenvent opening and sur-
ment; rear corner of cooktep; betweenoven door and faces nearthis opening,oven door, and oven window.
control panel of wall oven or on backguard) UNOB- Also, do not allow aluminum foil, meat probes or any
STRUCTED. Blockage of vent prevents proper oven other metal object, other than a utensil on a surface
aircirculation and will affect oven performance. Avoid element, to contact heating elements.
touching oven vent area while oven ison andfor sev-
eral minutesafteroven isturned off. Someparts ofthe ANTI-TIP BRACKET:
vent and surrounding area become hot enough to WARNING; To reducethe risk of tipping ef the appli-
cause burns, ance from unusual usage or by excessive loading of
the oven door, the appliance must be secured by a
PLACEMENTOFOVEN RACKS-Always placeoven properly installedanti-tip device. To check if deviceis
racks in desired location while oven is cool. If rack installed properly: Use a flashlight and look under-
mustbe movedwhile hot, usecare to avoid contact of neath range to see that one of the rear leveling legsis
potholder with oven element, engagedinthe bracketslot.When removing appliance
for cleaning, be sure anti-tip device is engaged when
rangeis replaced.The anti-tip device securesthe rear
leveling leg to the floor,when properly engaged.
-2-
Page 4
SAFETY INSTRUCTIONS
ADDITIONAL INFORMATION:
After appliance is installed,be certain all packing mR- ATTENTION: NE LAISSER AUCUN ALIMENT, US-
terials are removed from the appliance before operat- TENSILE DE CUISINE, ETC., DANS LE FOUR
ing the unit. If appliance is installed near a window, DURANT LE CYCLE D'AUTONETTOYAGE.
take steps to preventcurtains from blowing over sur-
face elements creating a fire hazard. On some models,a fanshould beheard during theself
clean cycle. If not, cancel clean cycle and call a serv-
Careshould be givento location of appliance. Besure iceman before self cleaning again. (Refer to CON-
floor coveringunderappliance,walls adjacentto appli- TENTS onfront cover for locationofself clean instruc-
ance,cabinetry adjacenttoappliance, and other mate- tions and fan information.)
rials adjacent to appliance can withstand prolonged
heat.This is a heavy applianceand can settle into soft SMOOTHTOP COOKTOP"
floor coverings such as cushioned vinyl. Use care Do not cook on broken cooktop. If cooktop should
when moving range on this type of floor covering, break, cleaning solutions and spillovers may pene-
trate the broken cooktop and create a risk of electric
shock. Contact a qualified technician immediately.
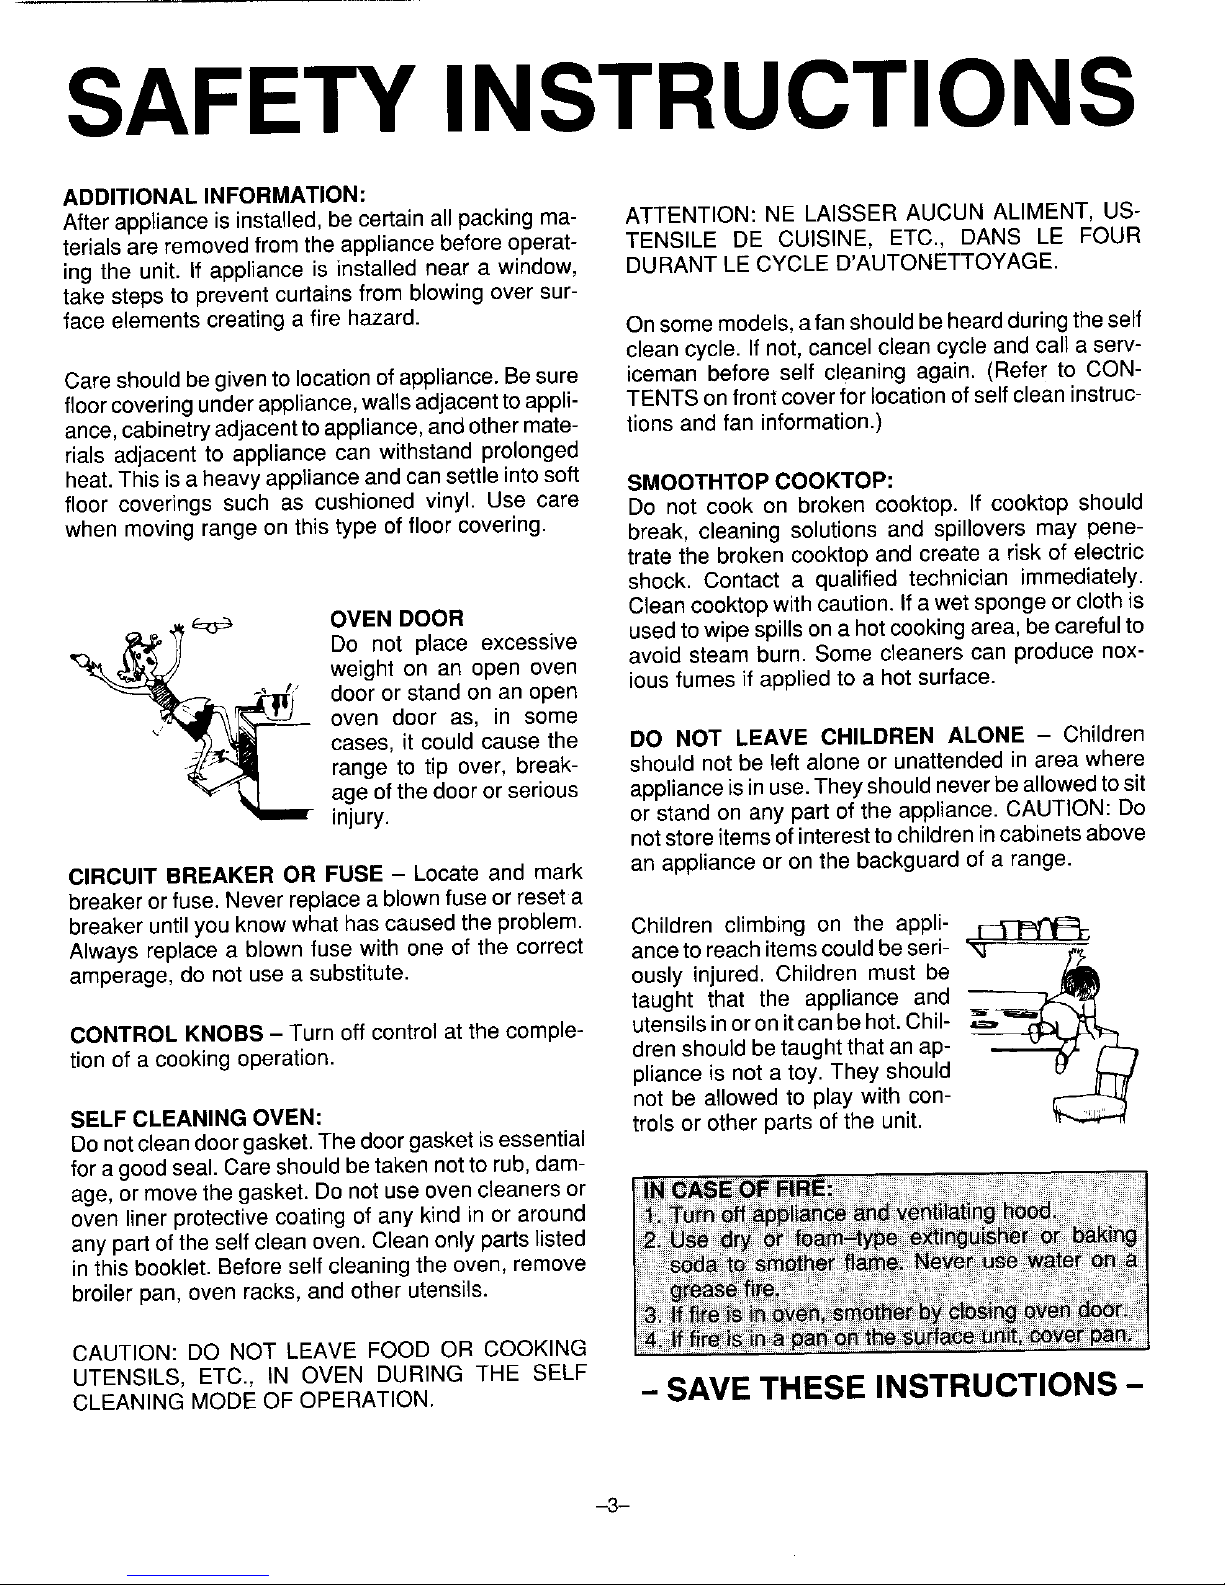
_:._o OVEN DOOR Cleancooktop with caution. Ifa wet sponge or cloth is
Do not place excessive usedto wipespills on a hotcooking area, be careful to
weight on an open oven avoid steam burn. Some cleaners can produce nox-
_" door or stand on an open ious fumes if applied to a hot surface.
oven door as, in some
cases, it could cause the DO NOT LEAVE CHILDREN ALONE - Children
range to tip over, break- should not be left alone or unattended in area where
age of the door or serious applianceis in use.They shouldnever beallowedtosit
injury, or stand on any part of the appliance. CAUTION: Do
not storeitems ofinterestto children incabinetsabove
CIRCUIT BREAKER OR FUSE - Locate and mark an appliance or on the backguard of a range.
breaker or fuse. Never replace ablown fuse or reset a
breaker until you know what hascaused the problem. Children climbing on the appli- r-_i-I_t'_c__.
Always replacea blown fuse with one of the correct ance to reachitemscould beseri-
amperage, do not use a substitute, ously injured. Children must be
taught that the appliance and
CONTROL KNOBS- Turn off control at the comple- utensilsin oron itcanbe hot.Chil-
tion of a cooking operation, dren should betaught that anap-
pliance is not a toy. They should
J
not be allowed to play with con-
SELF CLEANING OVEN: trois or other parts of the unit.
Donotclean doorgasket.The door gasket is essential
fora good seal. Care shouldbe taken notto rub, dam-
age, or movethe gasket. Do not use oven cleaners or
oven liner protective coating of any kind in or around
anypart of the selfclean oven.Clean only parts listed
in this booklet. Before self cleaning the oven, remove
broiler pan, oven racks, and other utensils.
CAUTION: DO NOT LEAVE FOOD OR COOKING
UTENSILS, ETC., IN OVEN DURING THE SELF
CLEANING MODE OF OPERATION. -- SAVE THESE INSTRUCTIONS -
-3-
Page 5
MECHANICAL CLOCK
CLOCK AND TIMER AUTOMATIC OVEN SELF CLEAN OVEN
12 COOKING See page 11 for additional information.
11 1 Automatic cooking feature is used to TO OPERATE SELF CLEAN
10_/////J.,. 2 turn the oven on and off at a preset 1. Closedoor and move door Iocklever
time-of_iay. This feature can be used to the right until it rests inthe lock pc-
9 -_10_ JJ_ir__-- 3 to delay the start of acooking operation sition.
_.,2__ 4o,._: or a self clean cycle, ifequipped. I
8 _., 30 _4
///llllh_ \_" IMPORTANT: Highly perishable foods I _ -_
7 6 5 such as dairy products,pork,poultry,
seafoods, or stuffing are not recom-
mendedfordelayedcooking.If cooking
morethan one food, select foods that
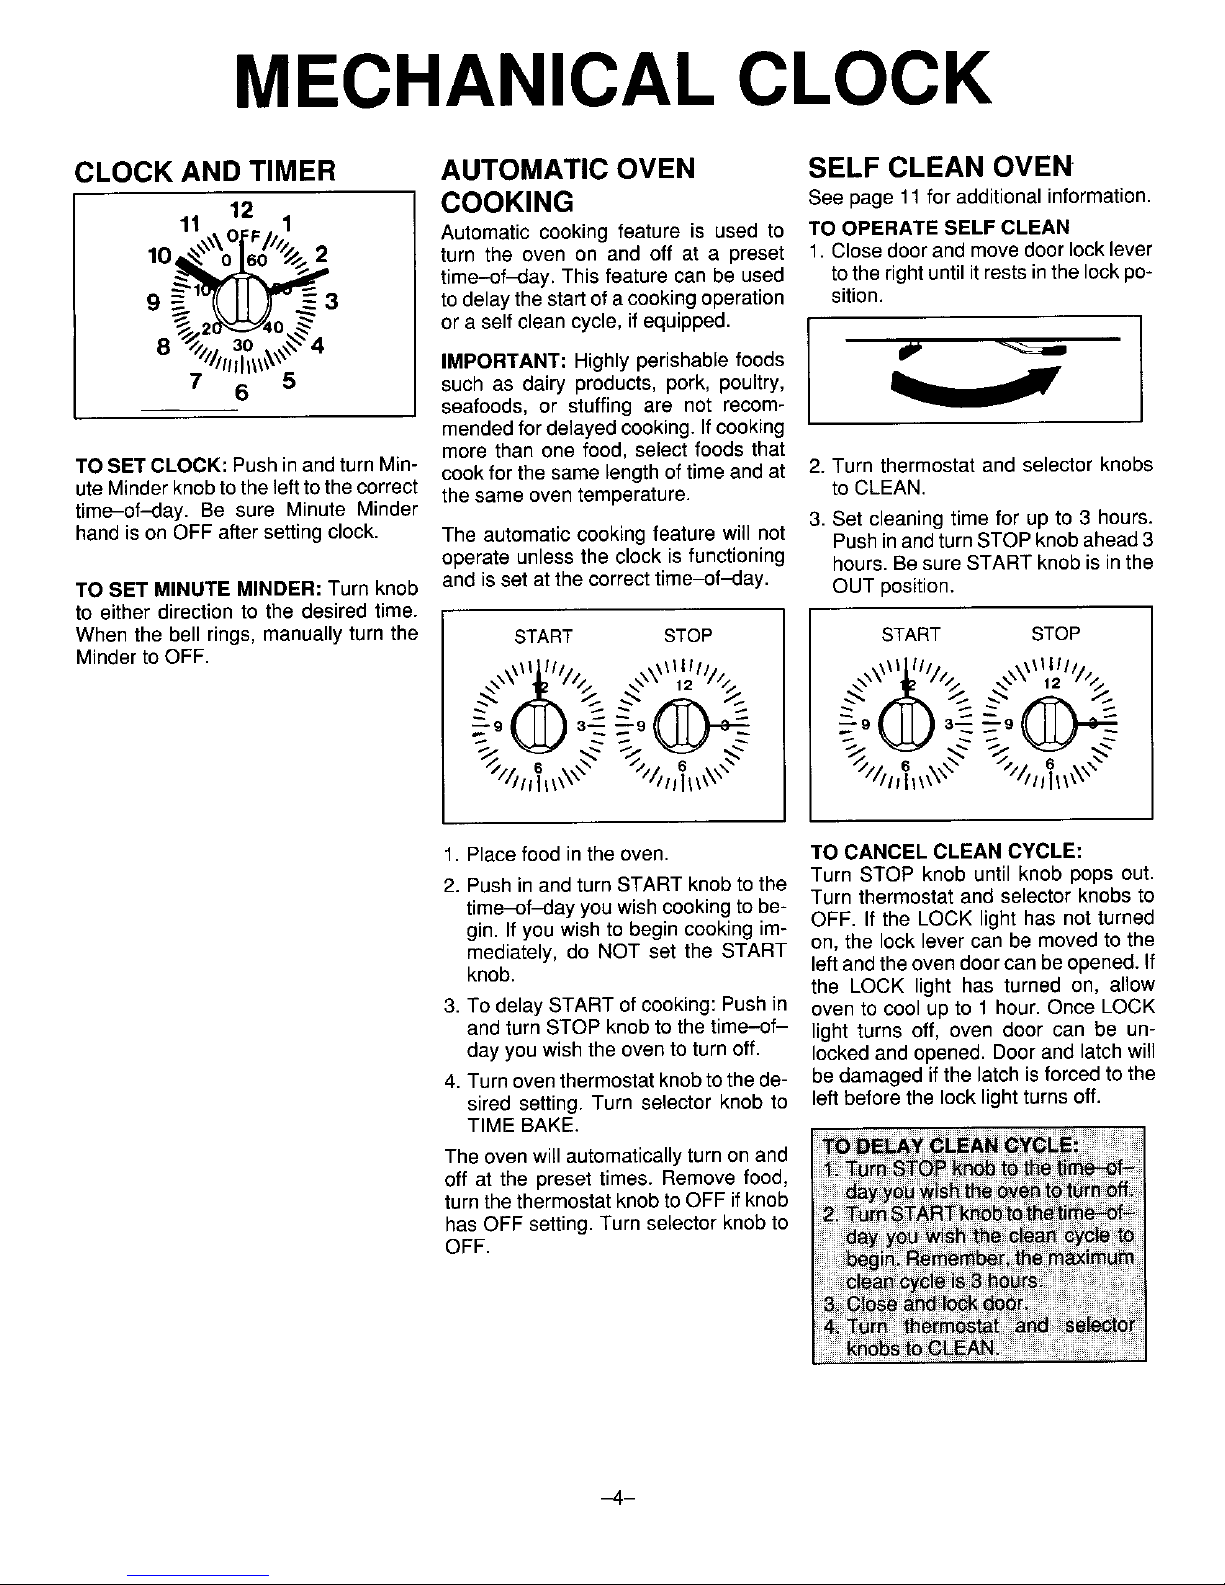
TO SET CLOCK: Push in andturnMin- cookforthe same lengthof timeand at 2. Turn thermostatand selectorknobs
uteMinderknobto the lefttothecorrect the same oventemperature, to CLEAN.
time-of-day. Be sure Minute Minder 3. Set cleaningtimefor upto 3 hours.
handis on OFF after settingclock. The automaticcookingfeature willnot PushinandturnSTOPknobahead3
operate unlessthe clockisfunctioning hours.BesureSTART knobis inthe
TO SET MINUTE MINDER: Turn knob and is set at the correct time-of-day. OUT position.
to either directionto the desiredtime.
When thebell rings,manuallyturnthe START STOP START STOP
Minderto OFF.
\\'.,_ljlll// ,,,\_1111// ,,\_illllp ,\_llll//
\ z/m \
f. Placefood inthe oven. TO CANCEL CLEAN CYCLE:
2. Push inand turnSTART knobtothe Turn STOP knob until knob popsout.
Turn thermostatand selector knobsto
time-of_lay youwish cookingtobe-
gin. If youwishtobegin cookingira- OFF. If the LOCK lighthas notturned
mediately, do NOT set the START on, the locklevercan be movedtothe
knob. leftandthe ovendoorcanbeopened. If
the LOCK light has turned on, allow
3. To delaySTART of cooking:Pushin ovento coolup to 1 hour.Once LOCK
and turnSTOP knobto the time-of- light turns off, oven door can be un-
day youwishtheoven toturnoff. lockedand opened.Doorand latchwill
4. Turnoventhermostatknobtothede- bedamagedifthe latchisforcedto the
sired setting.Turn selector knobto leftbefore the locklightturns off.
TIME BAKE.
The ovenwillautomaticallyturnonand
off at the presettimes. Removefood,
turnthethermostatknobtoOFF ifknob
hasOFF setting.Turn selectorknobto
OFF.
_4 m
Page 6

ELECTRONIC CLOCK
OVEN "ON" LIGHT,,,_
TURN KNOB IN
TRIANGULAR _ _ SET EITHER DIRECTION
_AN, (if equipped)
CLOCK SELF CLEAN OVEN
To set ¢1o¢k:Press and hold TIMER Seepage 11for additional information.
and BAKETIMEbuttons thenturn SET
knob in either direction to set time-of- TO SET CLEAN CYCLE:
day. 1. Closedoorand movedoorlock lever
tothe right until itrestsinthe lockpo-
?t°° r "
rIMER--//
BAKE TIME --;
When power is first supplied to the
oven or if there is a power failure the 2. Turn thermostatand selector knobs
display will blink 88:88. Follow the in- to CLEAN.
structions above to set the'clock.
3. Press SELF CLEAN button. 3:00
will appear in the display.
TIMER
To set timer: Press TIMER button. When the SELF CLEAN button is
Turn SET knob to set desired time. pressed, the oven will automatically
cleanfor 3hours. Ashorter (2 hours)or
long(upto 4 hours)clean cycle can be
Display wilt immediately begin count- selected by turningthe SET knob after
ingdown in seconds. Timer canbe set pressing the SELF CLEAN button.
for upto 99 minutes.
_,_ To prevent accidently changing the
I '2:DDI SKENTBclean cycle,press TIMERbutton to re-
turn display to time-of-day.
OOQ
TIMER -_
Whentimelapses,the alarmwill sound
and the current time-of-day will reap-
pearin the display. Press TIMER but-
ton to stop alarm.
-5-
Page 7

ELECTRONIC CLOCK
SET
KNOB
AUTOMATIC OVEN COOKING
Automatic cookingfeature isusedto turnthe oven on and off ata preset time-of_day. Thisfeature canbe usedto delaythe
start of a cooking operation or a self clean cycle, if equipped.
The automatic cooking feature will not operateunless the clock is functioning and is set at the correct time-of-day.
IMPORTANT: Highly perishable foods such asdairy products, pork, poultry, seafoods,or stuffingare not recommended for
delayed cooking. If cooking morethan one food, selectfoods that cook for the same length oftime and at the same oven
temperature.
TO BAKE BY TIME - TO BAKE BY TIME-
with immediate start, with delayed start.
1. Press BAKETIME button.0:00 ap- 1. Press BAKETIME button.
pears in the display for 3 seconds.
2. Turn SET knob to desired cooking
2. Turn SET knob to desiredcooking time.
time. Display is in hours and min-
utes. Example: 1:30 is 1 hour, 30 3. Press STOPTIME button.
minutes. 4. Turn SET knobto desired time-of-
3. Turnselectorknobto TIMED BAKE day you wish the oven to turn off. PressSTQP_!ME_s_ew_a_rme_h,e
and thethermostat knobto the de-
sired temperature. The oven auto- 5. murnselectorknobtoTIMEDBAKE _V_6_iii _ eft
matically turns on and the display andthe thermostat knob to the de-
begins to count down. sired temperature. The oven auto-
matically turns on and off at the _eg_am _re
preset times. _ir-/l_ _L,_ _i_lcato_ _i( _!aS_
An alarm soundsat the end ofcooking ab_#_BA_E _ I',/IE_ ST_P TIMEIo
and the oven automatically turns off. _Ow_ _V:en
To turn alarm off, press any button. At An alarmsounds atthe end ofcooking an _tOma_ _ _rat_
the endof cooking, turn the oven ther- and the time-of-day reappears in the _ _f_day _ii (eap_i_ati_ _ _i_
mostat and selector knobs to OFF. display. Turn the oven thermostat and ..........
selector knobsto OFF. .......... ..........
i_!_i_i_i_ii_i_i_i_ii_i_iii_iiii_i_iii!i_iiii%%i_i_ii_i1iii!!ii_ii_i_i%_ii_i_ii_i_i_%_iiii_i
-6-
Page 8

USING YOUR OVEN
OVEN and off as the oven elements cycle on
CHARACTERISTICS andoff.
OVEN RACKS
Thetwo oven racks are designedwith a
"lock-stop" position to keep racks from
accidentally coming completely out of
NEVER place pans directly onthe oven
the oven. bottom.
To remove: Be sure rack is cool. Pull Do not cover entire rackwith aluminum
OVEN CONTROLS rack out to the "lock-stop" position.Tilt foil or placefoil directly underutensil. To
up and continue pulling until rack re- catchspillovers, cuta piece offoil a little
_ _ leases, larger than the pan and place it on the
rackbelow the rack containing the uten-
To replace: Place rack on rack sup- sil.
ports, tilt up and push toward rear of
oven. Pull rack out to "lock-stop" posi-
tiontobe sure rackiscorrectlyreplaced.
THERMOSTAT SELECTOR
RACK POSITIONS:
RACK 1 (top of oven) used for broiling
TheTHERMOSTAT knob is usedto se- thin foods.
lect andmaintain the oventemperature. RACK 2 used for one-rack baking or
Always turn this knob just TO the de- broilingthicker cuts of meat.
sired temperature notto a higher tem- RACK3 used for mostone-rack baking
perature and then back. Turn this knob and for roasting some meats.
to OFF if knob has an OFF setting, RACK 4 usedfor roasting large meats,
whenever the oven is not in use. cooking larger foods and for baking an- PREHEATING
gel food cake or pie shells.
Preheating is necessaryfor baking. AI-
The SELECTOR knob determines the lowoven toheatfor 10to 15minutesbe-
typeof ovenoperation. Turnthis knobto foreadding food. Preheat broil element
desired setting. Each setting is identi- for 5 to 10 minutes if darker browning is
fled by an indent (stop) and a "click" desired or if broiling thin (3/4-inch)
sound, meats. It is not necessary to preheat
oven for roasting.
To turn the oven on, both the Thermo-
stat and Selector knobs must be set. Selecting temperature higher than de-
Theoven will notoperate if the Selector sired will NOT preheat the oven any
knob is left in the OFF position. To turn _ faster. Preheating at a higher tempera-
theovenoff, turn bothknobs tothe OFF - _ ture may have a negative effecton bak-
position, if thermostat has an OFF set- -_ ing results.
ting. /
DOUBLE WALL OVEN
OVEN INDICATOR LIGHT HINTS: The loweroven isequipped with only a
TheOVENindicator light,locatedon the Ifcooking on two racks,staggerpans so bake element. For best results, use the
control panel, turns on whenever the one is not directly over the other. Use upperoven for delicatecooking suchas
oven is turned on. When the oven rackpositions l and 3,2 and4, orl and cakes, cookies, biscuits, or pies. Use
reachesthe preset temperature, the in- 4, depending on results, when cooking eitheroven for non-critical typeof cook-
dicatorlightturns off andthen cycles on on two racks, ing such as meats or casseroles.
-7-
Page 9

USING YOUR OVEN
HOW TO BAKE OR knob to BAKE. sary. Remove food from the oven and
3. Place food in center of oven, allowing turn oven thermostat and selector to
ROAST a minimum of 2 inches between uten- OFF.
1. When cool, position rack in oven de- sil and oven walls. If you have carefully followed the basic
pending on what you are baking. 4. Check food for doneness at minimum instructions and still experience poor re-
2.Tosetoven:Turnthermostatknobto time in recipe. Cook longer if neces- sults, these suggestions may be helpful:
desired temperature and the selector
COMMON BAKING PROBLEMS AND WHY THEY HAPPEN
Cakesare uneven. Pans touching eachother or Cakes don't brown on top. Incorrectrack position.
oven walls. Temperature set too low.
Batter uneven in pans. Overmixing.
Temperature set too lowor Too much liquid.
baking time too short. Pan size too large or too little
Oven notlevel, batter in pan.
Undermixing. Oven door opened too often.
Too much liquid.
Excessive
shrinkage.
Too little
leavening.
Cake hig_hin middle. Temperature set too high. Overmixing.
Bakingtime too long. Pan too large.
Overmixing. Temperature set too high.
Too much flour. Baking time too long.
Pans touching each other or Pans too close to each other
oven walls, or oven walls.
Incorrect rack position.
Uneven texture. Too much liquid.
Cake falls. Toomuch shortening or sugar.
Too much or too little liquid. Undermixing.
Temperature set too low. Temperature set too low.
Old or too little baking powder. Bakingtime too short.
Pan too small.
Oven door opened frequently. Cakes have tunnels. Not enough shortening.
Added incorrect type of oil to Too much baking powder.
cake mix. Overmixing or attoo higha
Added additional ingredients speed.
to cake mix or recipe. Temperature set too high.
Cakes, cookies, biscuits Incorrect rack position.
don'tbrown evenly. Oven door not closed properly. Cakescrack on top. Batter overmixed.
Door gasket notsealing Temperature set too high.
properly. Too much leavening.
Incorrect use of aluminum foil. Incorrect rack position.
Oven not preheated.
Pans darkened, dented or
warped. Cake not done in middle. Temperature set too high.
Pan too small.
Bakingtime too short.
Cakes, cookies,biscuits too Oven not preheated,
brown on bottom. Panstouching each other or
oven wails. Pie crust edges toobrown. Temperature set too high.
Incorrect rack position. Panstouching each other or
Incorrect use of aluminum foil oven walls.
Placed 2 cookie sheets on one Edgesof crust too thin.
rack.
Used glass, darkened, stained,
warped or dull finish metal Pies don't brown on hot- Used shiny metal pans.
pans. (Use a shiny cookie tom. Temperature set too low.
sheet.)
Pies have soaked crust, Temperature too low at start of
baking.
Filling toojuicy.
Used shiny metal pans.
-8-
Page 10

USING YOUR OVEN
HOW TO BROIL broiler pans. They do not provide a
Broiling is a method of cooking tender separatetray. _/_o,_._ _
meatsby direct heatundertheelement. Preheat broil element 5to 10minutes if
The cooking time is determined by the darker browning is desired.
distancebetween the meatanc!the ele-
ment, the desired degree of doneness TO BROIL:
and thethickness of the meat. 1. Preparemeat byremovingexcessfat
and slashing remaining fat, being THERMOSTAT SELECTOR
Broilingrequiresthe use of the broiler carefulnottocut intomeat. Thiswill
pan and insert.The correctpositionof help keepmeat from curling.
the insertin the pan is very important. 2. Place broiler pan on the recom-
The broilerinsert should be placed in mendedrackposition.Forbrownex-
terior and rare interior, the meat 5. Followsuggested times on broiling
the pan sogrease willdrainfreely. Im- shouldbeclosetotheelement.Place chart. Meat shouldbe turned once
properusemay cause grease fires, further down if you wish meat well abouthalfway throughcooking.
done. 6. Check alonenessby cuttinga slit in
The broilerinsertCANNOT be covered 3. Tosetoven:Turnboththethermostat meat nearcenterfordesiredcolor.
with aluminum foil as this preventsfat and selectorknobsto BROIL. 7. Turn both the oventhermostat and
from drainingintopanbelow.However, 4. Broilingshould be done with oven selectorto OFF after cooking.Broil
for easier cleaning,the broilerpan can dooropenedtothebroil"STOP'posi- times may need to be increased if
belinedwithfoil.Donotusedisposable tion (openedabout4 inches.), ovenisinstalledon a208-volt circuit.
BROILING CHART
STEAKS 2 rare 12to 14 min.
1-inch medium 16to 18rain.
well 19 to 21 min.
HAMBURGER 2 rare 10to 12 min.
3/4to 1-inch medium 12to 15 min.
well 15 to 18 min.
FISH FILLETS
Fresh 2 flaky 10 to 15 min.
Frozen 2 flaky 15to 20 min.
BACON 1 welldone 6 to 8 min.
-9-
Page 11

CONTINUOUS CLEANING OVEN (if equipped)
WHAT ISTHE CONTINUOUS MANUALLY CLEANING HINTS
CLEANING OVEN? HEAVY SPILLOVERS Brittle crusts or stains can be loosened
The finishof the ContinuousCleaning The specialfinishwill clean mostspat- by GENTLY tapping stain with a
Oven isidentifiedby itsdarkgraycolor, ters during normal oven use unless woodenor plasticutensil. Brushaway
whitestippleandrough,poroustexture, there is a heavy buildupof soil. Heavy any loose soil that flakes off. Varnish
The rough texture prevents grease spillovers such as pie or casserole typestainsusuallyneedto besoftened
spattersfromformingbeads which run boiloverswillnotclean effectivelywith- with a small amount of water or damp
down the walls leaving unsightly out some manual help. The crusty or cloth. Remainingsoil willgraduallyre-
streaks. Rather,the roughtextureab- varnish-like stainsthatformfromthese ducewithcontinuedovenuseat normal
sorbs spatters and allows them to spilloversclog the pores and prevent bakingtemperatures.
spread, thus exposinga larger area to thespecialfinishfrombeingexposedto
the hotovenair. The catalyst,whenex- the hot oven air. This greatlyreduces
posedto heat,speeds the oxidationof thecleaningeffectivenessof the finish.
soil. DO NOT USE ANY TYPE OF OVEN
CLEANER, POWDERED CLEANS-
Cleaning action automatically begins Thesecrustyorvarnish-likestainsmust ERS,SOAP, DETERGENT OR PASTE
wheneverthe oven isturnedon for bak- either be removed or broken up before ON ANY CONTINUOUS CLEANING
ing or roasting. The oven MUST be on cleaning can effectively takeplace. SURFACE,ALSO, DO NOT USE ANY
for cleaning to take place. No cleaning ABRASIVE MATERIALS, STEEL
will occur whenthe oven isoff. The spe- WOOL, SHARP INSTRUMENTS OR
cialcatalytic finish must be exposed to TO MANUALLY CLEAN SCRAPERS FOR THEY WILL DAM-
hot oven air before soil will begin to HEAVY SPILLOVERS AGE THE FINISH.
gradually reduce in size. Brush off heavy soil with a nylon brush
orplastic pad. DONOT USEpaper tow-
FACTORS AFFECTING LENGTH OF els,cloths or sponges forthe ovenwalls
are porous and particlesof these mate- Avoid spillovers by using utensils that
CLEANINGTIME rialswill ruboff on thewalls. Rinse area arelargeenough to hold food. A cookie
The higher the oven temperature, the with clear water only. sheetor piece ofaluminumfoil,just a lit-
fasterthe cleaning action. Thelength of tie largerthan the pan,canbe placed on
cleaningtime will depend on these fac- the rack directly below the rack holding
tors:Type ofsoil, amountor size ofsoil,
oven temperature and length of time the utensil to catch spills.
ovenis in use.Timemayvary fromafew
minutestoseveralhours. Soildeposited
atthe end ofa cycle may still be visible.
This will usually fade with continued Over a period of time, wear marks may
oven use until the soil gradually disap- appear on the embossedrack supports.
pearsor can bewiped upmanually.The This is normal and results from sliding
oven will appear presentably clean, the racks in and out of the oven. Wear
eventhough somespatters may be pre- markswill not affect the cleaning action
sent. of the oven.
-10-
Page 12

SELF CLEAN OVEN (if equipped)
The self clean oven uses tempera-
tures above normal cooking tempera-
tures to automatically clean the entire
oven.
See page 4 for instructions on how to
set the clean cycle on oven equipped
with a mechanical clock, See page 5
for instructions on how to set the
clean cycle onoven equipped with an
electronic clock,
The self clean oven uses temperatures DURING SELF CLEANING AFTER SELF CLEANING
above normal cooking temperatures to The oven automatically begins to heat About one hour after the clean cycle is
automatically clean the entire oven. when the door is locked. As the oven completed, the internal lock will disen-
reaches cleaning temperatures, the gage, LOCK light will turn off and the
BEFORE SELF CLEANING LOCK light will turn on. At this point, the door latch can be returned to its original
oven door can not be manually opened. (unlocked) position. Do not attempt to
Do not force latch to the left once the unlock door until lock light has
lock light turns on. turned off. Door and latch will be
damaged if the latch is forced to the
The first few times the oven is cleaned, left before the lock light turns off.
Clean oven frame, door frame and somesmokeandodormaybedetected.
around the oven vent with a non-abra- This is normal and will reduce or disap-
sire cleaning agent such as Bon Ami. pear with use. If the oven is heavily Some soil may leave a light gray, pow-
These areas are not exposed to clean- soiled, or if the broiler pan is left in the dery ash which can be removed with a
ing temperatures and should be oven, smoke and odor may occur, damp cloth. If soil remains, it indicates
that the clean cycle was not long
cleaned to prevent soil from baking on enough. The soil will be removed during
during the clean cycle. As the oven heats and cools, you may the next clean cycle.
hear sounds of metal parts expanding
Wipe up excess grease or spillovers and contracting. This isnormal and will
from the oven bottom to prevent exoes- not damage your appliance.
If the oven racks do not slide smoothly
sive smoking during the clean cycle, after a clean cycle, wipe racks and em-
bossed rack supports with a small
DO NOT USE OVEN CLEANERS OR amount of vegetable oil to restore ease
OVEN LINER PROTECTIVE COAT- of movement.
INGS OF ANY KIND ON THE SELF
CLEAN OVEN FINISH OR AROUND
ANY PART OF THE OVEN. Fine, hair-like lines may appear in the
oven interior or oven door. This is a nor-
To prevent damage, do not clean or rub mal condition resulting from heating and
the gasket around the front oven frame, cooling of the porcelain finish. These
The gasket is designed to seal in heat lines do not affect the performance of
during the clean cycle, the oven.
-11-
Page 13

MAINTENANCE
LIGHT REPLACEMENT 3. Asyou liftthe door up, very slightly
Before replacinglight bulb, DISCON- opendoorbypullingdoortowardyou.
NECTPOWERTO OVEN. Be surebulb Checktobesure latchesswingdown
is cool. Do not touch a hot bulb with a intothe notches on the hinge arms.
damp cloth as the bulb may break,
NONSELF CLEAN OVEN MODEL I_
To replace oven light: Removeoven
racks. Oven bulb is protectedwith a
metalperforatedscreen.Usea Phillips-
headscrewdriverto removetwoscrews
securing screen to back of oven. Use
care not to damage capillary tube near
screen.
DESIGN 1
To removelift-off door: Open door to
the "stop" position (opened about 4 To replace door:
inches)andgrasp doorwithbothhands 1. Graspsidesof doorand alignslotsin
_;_ ateach side. Do not use door handleto door with hinge arms.
_iftdoor. Lift up evenly until door clears 2. Very slightly pull door to a more
the hinge arms. open position as you slide the door
down onto the hinge arms. The slid-
ing action of the door will disengage
the latches on the hinge arms.
3. Gently pushthe doordownward until
SELF CLEAN OVEN MODELS the door rests evenly on the hinges.
To replace oven light: Remove 4 Close door.
screwsand plates asillustrated below.
Usecare when removing gasket, it may
tear. CIRCUIT BREAKER
CANADIAN APPLIANCE ONLY
Yourappliance isequippedwithacircuit
, breaker box. The box is located either
__ ona wall or ina cabinet nextto or near
" To replace door: Grasp door at each the appliance. If part or all of the appli-
side, align slots in the door with the ance does not operate, check to see if
_" hinge arms and slide door down onto one of the breakers has tripped, Reset
the hinge arms until completely seated the breaker to the ONposition.
on hinges.
Very carefully removebulbwitha dry DESIGN 2 e
potholderto prevent possibleharm to On some models, the oven door is
hands.Replacewitha40 wattappliance equippedwitha specialhingethat looks
bulb. Reconnectpowertooven and re- intoplaceas the dooris removed.
set clock.
To removedoor:
OVEN DOOR Open door to the broilstop position
(open about 4-inches.)
When openingoven door, allow steam 2. Grasp the sides of the door at the
and hotairto escape beforereaching in middle of the door. Slowly lift door e
oven to check, add or removefood. straight up.
-12-
Page 14

CARE AND CLEANING
Broiler pan & in- Soap & water. Plastic Removefrom oven after use. Cool then pour off grease. Place soapy
serf scouring pad. Soap cloth over insert and pan; let soak to loosen soil. Wash in warm soapy
filled scouring pad. water. Use soap filled scouring pad to remove stubborn soil. Clean in
dishwasher if desired.
Control knobs Milddetergent & water. To remove knobs,gently pullforward. Wash inmilddetergent and water.
Donot useabrasive cleaningagents.They will scratchfinishand remove
markings. Rinse, dry and replace. Turn each knob ON to see if knobs
have been replacedcorrectly.
Metal finishes: Soap & water. Paste of Wash with soap andwater. Remove stubborn soil with paste of baking
Trim parts baking soda & water, soda and water. Do not use oven cleaner,abrasive or caustic agents.
They will damage the finish.
Oven racks Soap & water. Cleans- Clean with soapywater. Removestubborn soilwith cleansing powderor
ing powders & plastic soap filled scouring pad. Rinseand dry.
pads.Soap filledscour-
ing pad.
Porcelain enamel: Mild liquidcleaners, Porcelainenamel is glass fused on metal. Itmay crack or chip with mis-
Oven detergent or soap & use. Clean with soapandwater when partsarecool. All spillovers,espe-
See page 10for water. Cleansing pow- cially acidor sugar spillovers, shouldbe wipedup immediatelywith adry
continuousclean ders and nonabrasive cloth. Surface maydiscoloror dull ifsoil isnot removed. When surface is
oven. nylonor plastic pads. cool, clean with warm soapy water. NEVER WIPE OFF A WARM OR
HOTENAMEL SURFACE WITH A DAMP CLOTH. THIS MAY CAUSE
See pages 4, 5 and CRACKING AND CHIPPING. Never use abrasive or caustic cleaning
12 for self clean agentsonexteriorfinishofoven. Usecommercialovencleaneronporce-
oven. lain - lined oven ONLY. Carefully read and follow manufacturer's in-
structions.
-13-
Page 15

SERVIC
PART OR ALL OF YOUR Istheovenplug disconnectedfromtheelectricaloutlet? oAre housefuses blownor
OVEN DOES NOT OPERATE circuit breakerstripped? • Is the oven plug loose or improperly plugged in? Has
powersupplytoyourhomebeeninterrupted? . Was oven properlyset? Seepage
4or5.
ELEMENTSFAIL TO TURN Isovenplugdisconnected fromtheelectricaloutlet? • Checkcircuit breakerorfuse
ON OR HEAT FOOD PROP- boxfor tripped circuit breakers orblown fuses. ° Is element properly plugged into
ERLY receptacle? • Was incorrect utensil used? (NOTE: Expect cookingtimes to in-
crease if range is connected to 208 volts). ° Have serviceman check element.
FOOD NOT BAKING SATIS- Are racks properly in place and in correct positionfor whatyou are baking? ° Is
FACTORILY ovenlevel? • Are you using the proper pan? • Is it bright, notsoiled or dark col-
ored? oHaveyouusedfoil incorrectly? =Are you usingstandard measuring uten-
sils? oDid youpreheat if recommended? . Oventemperature isincorrectly set-
too lowor too high. See common baking complaint chart on page 8.
OVEN DOES NOT OPERATE Waselectronicor mechanicalclock set properly?See page4 or 5. Is the ovendis-
connected from the electrical power? • Wasthe Selector knobturned to bake or
broil? • Was oven properly set?
OVEN LIGHT DOES NOT Is bulb loose or burned out?
WORK
SERVICE coverfor locationof your modeland se- If you did not receive satisfactory serv-
Do not attempt to service the appli- rial numbers.) icethrough yourservicer or Maycoryou
anee yourself unless directed to do may contact the Major Appliance Con-
so in this book. Contact the dealer sumer Action Panel by letter including
who sold you the appliance for serv- Ifyou areunable to obtain service,write your name, address, and telephone
to us.Our address is foundon the rating number,aswell asthe model and serial
ice. plate.See front coverfor locationof rat- numbers of the appliance.
ing plate.
HOW TO OBTAIN
SERVICE ifyou are not satisfied with the local re- MajorApplianceConsumerActionPanel
20NorthWackerDrive
When your appliance requires service sponse to your service requirements, Chicago, IL 60606
or replacement parts, contact your call or write MAYCORAppliance Parts
Dealeror AuthorizedServicer. Use only and Service Company, 240 Edwards
genuine factory or Maycor parts if re- Street, S.E., Cleveland, TN 37311,
placementpartsare necessary.Consult (615) 472-3500. Includeor have avail- MACAP (Major Appliance Consumer
the Yellow Pages in your telephone di- able the complete model and serial Action Panel) is anindependent agency
rectory under appliancefor the service numbersofthe appliance,thenameand sponsored by three trade associations
center nearest you. Be sure to include address of the dealer from whom you asacourt of appeals onconsumer oom-
your name, address, and phone num- purchased the appliance, the date of plaints which have not been resolved
ber, along with the model and serial purchase and details concerning your satisfactorilywithin a reasonable period
numbers of the appliance. (See front problem, of time.
-14-
Page 16

FULL ONE-YEAR WARRANTY
DOMESTIC GAS OR ELECTRIC RANGE
)lianceParts&ServiceCompanywill repairor replace,withoutcharge,any partofyour
defect in materialor workmanshipduring the firstyear after the date ofthe original installation.This warranty extends
to any owner during the one-year warranty period.
LIMITED 5 YEAR WARRANTY
Onelectric rangesequippedwith soliddisc orsmoothtop heatingelements, andongas rangeswith sealed burners,for : :
anadditional4 yearperiodbeyond thefirstyearofthe generalcoverage ofthis warranty, Maycorwillreplaceany ofthe :
soliddisc or smoothtopheating elements, or sealedburners whichfail to heatas a resultofdefective workmanship or
material. Additionally, Maycor will replace any smoothtop cooking surface which cracks or breaks during normal
householdcooking.These partsmustbeinstalled by aqualified person. Anylaborcharge requiredfor replacement is
notcovered bythis warranty.
HOW TO OBTAIN SERVICE ;:
To obtain the repair or replacement of a defective part under these warranties, you should contact the dealer from
• whomyou purchased the appliance or a servicer hedesignates.
WHAT IS NOT COVERED BY THESE WARRANTIES
........ 1. Conditions and damageresulting from improper in- 5. Any product used for other than normalhousehold ::
..... stallation, delivery, unauthorized repair, modifica- use. It does not extend to products purchased for
'_ tion, ordamage not attributableto a defect in mate- commercial or industrial use.
rialor workmanship.
6. Any expense incurredfor servicecalls to correct in-
..... 2. Conditionsresulting from damage, such as: (1) im- stallation errors or to instructyou on howto use the
proper maintenance, (b) misuse, abuse, accident, products.
i or (c) incorrect electrical currentor voltage.
i
7. CONSEQUENTIAL OR INCIDENTAL DAMAGES :
3. Warranties are void ifthe original serial number has SUSTAINED BYANY PERSON AS A RESULTOF
been removed, altered, or cannotbe readily deter- ANY BREACHOF THESEWARRANTIES OR ANY
i !ii!
............ mined. IMPLIED WARRANTY. Some states do not allow
the exclusion or limitation of consequential or inci- ::,
dental damages, so the above exclusion may not
4. Light bulbs, applyto you. ' :
...............ADDITIONAL HELP
............Ifyou are not satisfied with the local response to your service requirements and wish to contact Maycor, please ad-
dressyour lettertothe Customer RelationsDepartment,Maycor Parts& ServiceCompany, 240 EdwardsStreet,S.E., :
Cleveland,TN 37311 or call (615)472-3500. To savetime, your letter should include the complete modeland serial
numbersofthewarrantedappliance,the nameand addressofthe dealerfrom whomyou purchasedthe appliance,the :
date of purchaseand details concerning your problem. ........
........ These warranties are the only written or expressed warranties given by Maycor. No oneis authorized to increase,
alter, or enlarge Maycor's responsibilitiesor obligationsunder these warranties. These warranties give you specific
legalrights, and you mayalso have other rightswhich vary from state to state.
8109P059-60
(6/91)
-15-
 Loading...