

Page 1
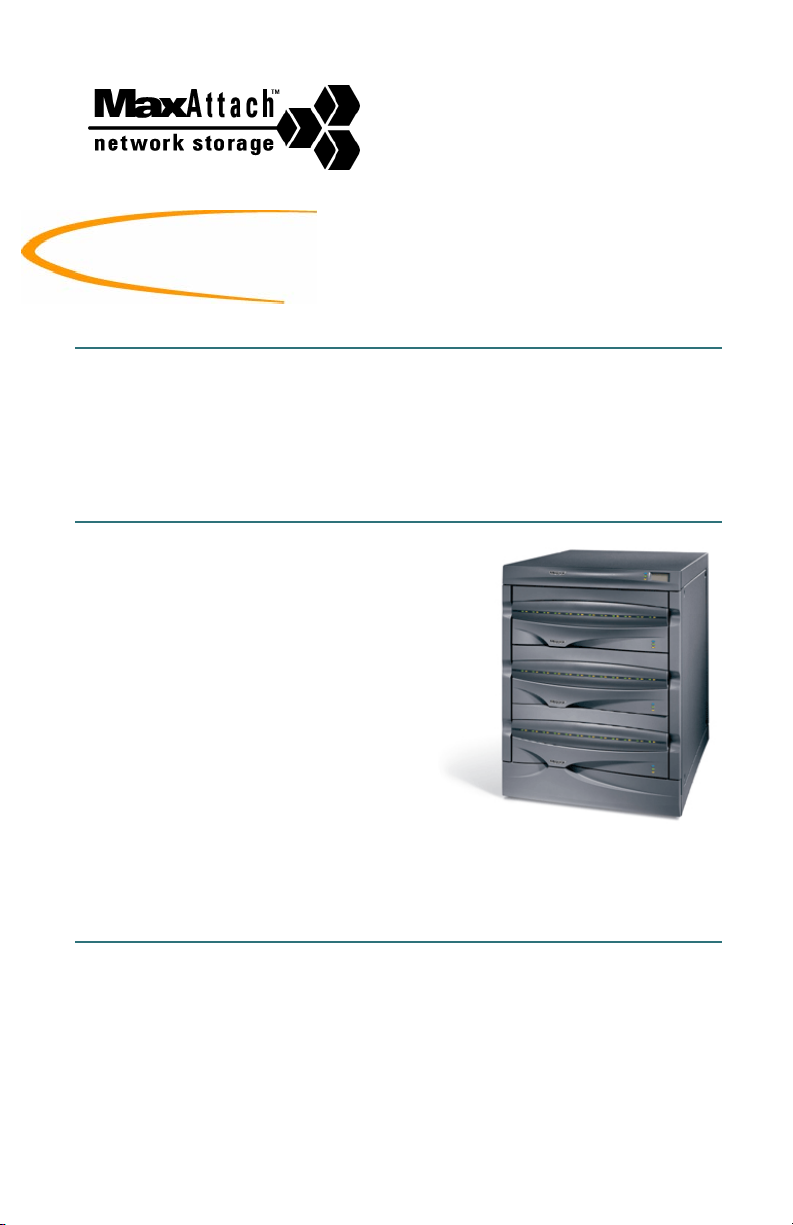
MaxAttach NAS 6000
MaxAttach NAS 6000
Quick Start Card
Quick Start Card
This Quick Start Card is only for a single MaxAttach NAS 6000 Base Unit
enclosed within a cabinet or a single rack-mountable Base Unit. For other
configurations, see the MaxAttach NAS 6000 Installation and Configuration Guide
on the enclosed MaxAttach NAS 6000 Installation and Documentation CD.
Welcome to the MaxAttach NAS 6000
Thank you for choosing a MaxAttach NAS
6000 system. Take a moment to verify the
contents in your box and note the model
and serial numbers for future reference.
The procedures outlined here assume that
you have purchased a MaxAttach NAS
6000 Base Unit system enclosed within a
cabinet, or a rack-mountable MaxAttach
Base Unit system, and that you are highly
familiar with networking and system
administration basics. If not, please refer to either the appropriate Getting Started
Guide based on your system’s configuration, or the Installation and Configuration
Guide on the enclosed CD.
Box Contents
Equipment:
n MaxAttach NAS 6000 file server (with rack mount hardware if required)
n EMU/CPU Serial Cable (for rack mount systems)
n Two AC p ow e r c or d s
Revision 2.0.03A 1 000001576
Page 2
Documentation:
n Quick Start Card
n MaxAttach NAS 6000 End User License Agreement (EULA)
n MaxAttach NAS 6000 Release Notes
n MaxAttach NAS 6000 Installation and Documentation CD containing:
n MaxNeighborhood Discovery and Setup Wizard application
n MaxAttach NAS 6000 Documentation
n Standalone O/S Help Files
1: Unit Information
Please record the following information from your system:
n Model Number:_______________________________
n Serial Number:________________________________
2: Installation Requirements
Client Workstation
n Microsoft Windows O/S 95, 98, Me, NT (SP5), or 2000
n Internet Explorer version 5.01 or higher; version 5.5 or higher recommended
n 10/100 Mbps Ethernet NIC card
n Client for Microsoft Networks enabled over TCP/IP
n CD-ROM drive
User Supplied Equipment
n All systems: two CAT-5 and/or one Fiber Connection NIC cable/s
n Rack-mount systems only: standard 19” rack with at least 4U space, two AC
power strips
3: Installation
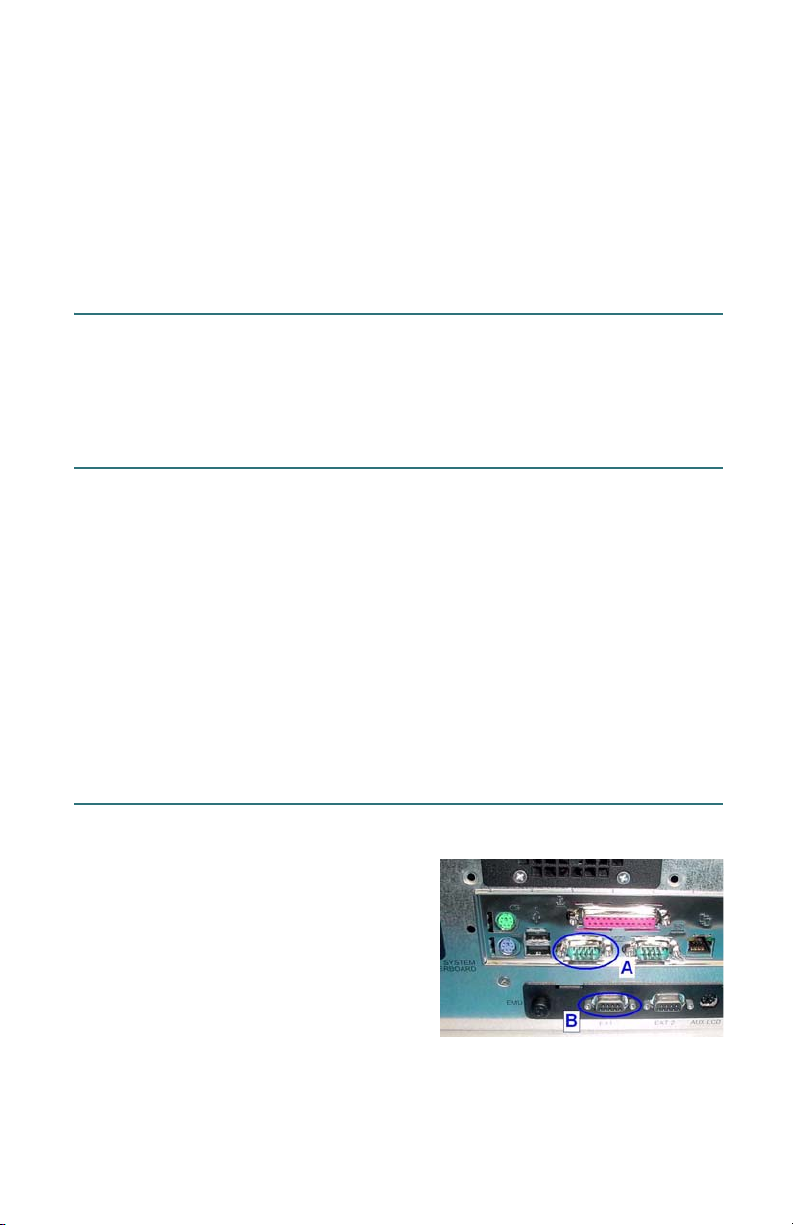
Rack Mount Systems Only:
1. Mount in rack with provided hardware.
2. Install two power supply cords and
connect to power strips.
3. Install EMU cable between CPU I/O
Panel and EMU port as shown at right.
All Systems:
4. Connect the MaxAttach to your network using at least one NIC cable.
5. Make sure back panel switches are both “OFF” or “0” position. Route AC
power strip cords to AC power source.
Revision 2.0.03A 2 000001576
Page 3

4: Reseat All Hard Disk Drives
Reseat each hard drive to make sure shipping vibration has not dislodged them. Be
sure to replace the drive in its original as-shipped Drive Bay.
1. Press down on the Ejector Tab and lift up on the Ejector Lever.
2. Pull the drive out of its Drive Bay (now is a good time to record the drive type
and serial number) and then replace the drive in its Drive Bay until it begins to
engage the connector. Close the Ejector Lever to lock in place.
5: Power Up Your System
1. Make sure the both back panel ON/OFF rocker switches are in the ON or “|”
position.
2. Press the front panel power rocker switch. The green Disk Activity LED on
each disk drive and the green System Status LED in the middle of the Base Unit
front panel will beging to blink for several minutes.
3. When the system has completed its boot process, the Disk Activity LEDs will
go out and the Stystem Status LED will stay on. Your MaxAttach is ready to
configure.
6: Install MaxNeighborhood Software
1. Insert the CD labeled MaxAttach NAS 6000 Installation and Documentation CD
into your CD-ROM drive. If the MaxAttach menu does not appear shortly
after insertion, use Windows Explorer to locate the CD drive and launch the
Setup file on the CD.
2. From the opening screen, select the Install MaxNeighborhood
step-by-step instructions carefully.
3. When the installation is complete, select the option to launch
MaxNeighborhood and then click on the Finish button. A MaxNeighborhood
window will appear with a “SEARCHING, Please Wait...” message. When the
search is complete, the MaxAttach unit/s on your network will be listed.
button. Follow the
7: Configure Your MaxAttach
1. If you have DHCP service on your network, skip to step #3 below.
2. Select the MaxAttach unit you just installed by single clicking the factory
default server name. The default server name will begin with the letters “MA.”
3. Select the Change Settings button. Enter the desired IP Address, Net Mask,
Gateway, and set DHCP Client to Disabled.
Revision 2.0.03A 3 000001576
Page 4

4. Click on Apply to commit the changes. The server will automatically reboot.
5. Close the Change Settings window. After the system has rebooted, press the
Refresh button.
6. The factory default server name will begin with the letters “MA.” In the
MaxNeighborhood window, double-click on the default server name. Your
web browser will launch and display a login screen.
7. Enter the login name “Administrator” (without the quotes) and leave the
password blank. Select the “Administer this server appliance” link. A second
identical login will be required.
8. The First Time Setup Wizard will start and guide you through key configuration
steps: setting the date and time, assigning the administrator password, setting up
email alert notifications, assigning a server name, and helping you change global
network settings. Depending on the changes made, you may be instructed to
reboot your system.
9. Once rebooted, you MaxAttach NAS 6000 is ready for use or for advanced
configuration.
8: Register for On-Site Support
Register now to activate on-site service for your MaxAttach NAS 6000. We are
pleased to provide standard Next Business Day on-site service for your MaxAttach
and wish to ensure that your service is activated. If you have not already received a
service activation contract from Maxtor, please contact 1-800-4MAXTOR or
visit our web site at www.MaxAttach.com. Should you have any questions about
activating your MaxAttach, please do not hesitate to contact us. Thank You
9: Worldwide Support Contacts
Technical support is available worldwide.
n United States: 1-800-4MAXTOR, www.MaxAttach.com
n United Kingdom, France, Italy, Spain, Portugal, and Denmark: +353 1 204 11
11 (Ireland), EuroNSG@Maxtor.com
n Germany: +49 (0) 89 96241919, EuroNSG@Maxtor.com
n Asia Pacific: +852-2585-4500, ApacNSG@Maxtor.com
©2001 Maxtor Corporation. All Rights Reserved. Maxtor is a registered trademark of Maxtor Corporation.
MaxAttach™ and MaxNeighborhood™ are trademarks of Maxtor Corporation. Other product names,
company names, and logos are trademarks or registered trademarks of their respective owners.
Specifications are subject to change without notice. Maxtor reserves the right to revise this publication
and to make changes in the content hereof without the obligation of Maxtor to notify any person of such
revision or changes.
Revision 2.0.03A 4 000001576
11 /0 9/ 01
 Loading...