

Page 1

Music Teacher
Learn to play keyboard with your PC
Page 2

Music Teacher Help Manual
License agreement:
Information in this document is subject to change without notice and does not represent a commitment on
the part of Evolution Electronics Ltd.
The software described in this document is furnished under a single-user license agreement. It may only be
copied for the purpose of a backup under the terms of the single-user agreement. Any other copying is
against the law. No part of this document may be reproduced or transmitted in any form or by any means,
electronic or mechanical, including photocopying and recording, for any purpose without the express
written permission of Evolution Electronics Ltd
Credits and copyright
Copyright © 1998 by Evolution Electronics Ltd. All rights reserved.
Music Teacher is an Evolution Electronics production.
Music Teacher programmed by Stephen J. Mellin.
Manual written by Rhun Roberts
Readme file
Please check the program directory for a file called README.WRI. This will list any changes made to the
program after the manual was printed.
Updating your Software
To update your software to the latest version visit our web site on http://www.evolution.co.uk. Here you
will find patches exclusively for Evolution own brand products. Simply download the free updates, run the
patch.exe files and quickly update your software.
Technical support
Evolution Electronics offers free technical support for registered Music Teacher users. If you have a
problem, before contacting Technical Support please read the relevant section of the manual and the on-line
help section of the software.
If you still need technical assistance, please have the following information to hand:
OPERATING SYSTEM :e.g. Win 3.11
HARDWARE PLATFORM: e.g. IBM PC
CPU: e.g. 486
CPU SPEED: e.g. 33 MHz
RAM: e.g. 8MB
SOUNDCARD:
Technical Support can be contacted:
Between 0900 and 1700 UK Time
Evolution Electronics Ltd,
8 Church Square,
Leighton Buzzard,
Page 3

Bedfordshire,
LU7 7AE.
United Kingdom
Tel: (01525) 372621
Fax: (01525) 383228
Support E-Mail : support@evolution.co.uk
Sales E-Mail : sales@evolution.co.uk
http://www.evolution.co.uk
International :
Tel: +44 1525 372621
Fax: +44 1525 383228
Page 4
Introduction
Welcome to the digital musical world of Evolution Music Teacher brought to you by leading UK music
software developer, Evolution Electronics. This manual is an addendum to the on-line help which is
available within the software.
Installing Music Teacher
If you really hate reading manuals then by all means follow your instincts and experiment. If you have
installed other PC programs, you'll find Music Teacher’s installation very straight forward. Otherwise, check
out the “Installing Music Teacher“ section later on in this chapter.
What is Music Teacher?
Music Teacher is a program designed to improve your musical skills and keyboard technique by
use of simple tests and games. Music Teacher lets you tap out the rhythm of a song - and
automatically plays the correct notes for you. It will even tell you if you're playing ahead of, or after
the beat. The program will even wait for you if you're playing well behind until you catch up with the right
notes!
Music Teacher lets you guess the notes you see on the screen - and tells you if you're playing too
high or too low. Music Teacher will assess every note you play during a song for left and right
hands - and gives you a percentage mark at the end of the test.
Music Teacher lets you load in MIDI file to help you learn how to play it.
Music Teacher has a fun "Game" screen which is great for people of all ages. The
game consists of 12 1-bar tests and has 4 teachers to examine your playing. Mr
Easy might give you full marks for your efforts, but watch out for the MIDI GURU who expects you to play every note "spot-on" before you'll get any kind of mark.
Music Teacher has a Backing mode which plays the backing track of a song as you jam along playing the
melody. The Recital mode is used as a simple MIDI file player - no need to worry about playing the right
notes here - all tracks will be played for you. If you like - you can flick through each track to see what's being
played by, say, the main piano, bass line, guitar riff etc..
Music Teacher has a "loop" feature that allows you to practice difficult sections over and over until you get
them right. You can even slow down the tempo to practice getting those awkward semi-quaver notes!!
Music Teacher has high quality graphics with easy to understand buttons. Fancy a metronome click to help
you get the right rhythm? - no worries - just click on the picture of the metronome!
Music Teacher is an intuitive teaching package which will improve your pitch
and rhythm recognition in no time at all. A few days with Music Teacher and
you'll notice an improvement with your playing. A few weeks with Music Teacher
and you'll be playing your favourite tunes to your friends and family's disbelief!
What you need
To run Music Teacher you require the following:
*A 486 IBM PC or compatible running at a minimum speed of 25 MHz, preferably faster.
Page 5

* Windows 3.1x or Windows 95.
* 4Mb of RAM with Windows 3.1, 8Mb of RAM with Windows 95.
* 3Mb of hard disk space for the program.
* A VGA resolution monitor or better. The screen resolution is designed at 640 x 480 using 256 colours, so
make sure your graphics resolution is set to at least 256 colours.
* A MIDI interface or PC sound card with a MIDI interface. You’ll also need an electronic music keyboard
with a MIDI OUT socket to connect to your soundcard for the inputting of notes into the program.
INSTALLING MUSIC TEACHER
This section explains how to install Music Teacher onto your hard disk. The process is virtually automatic all you have to do is follow a few on-screen prompts.
Windows 95
Put the program disk in a disk drive and click on the start button on the task bar. Click on “Run”. Type in
a:\setup in the “Open” section. If you don’t like typing - you can click on “Browse” - and locate the
setup.exe file on your floppy drive.
Windows 3.x
Put the program disk in your floppy drive and open the file manager. Select Run… from the File Menu and in
the Command Line enter:
X:\SETUP
where X is the letter of the floppy disk drive. In most cases this will be A - so you would enter
a:\setup. Then press Return or click on OK.
If you really don’t like typing you can open the drive by double clicking on the drive icon in the file manager
and then double click on the setup.exe file.
The Music Teacher installation dialogue box will appear asking which directory you want to install the
program to. The default will be C drive followed by “Teacher” (in Windows 3.x) or C:\ Program Files\
Teacher in Windows 95. If you want to change the drive or directory path to install the program - you can
do that here. Now click on the OK button and the routine will create a directory called “Teacher” on your
hard disk and put the files in it. For a smooth installation just click on OK for all options.
To uninstall Music Teacher, follow the standard Windows 95 uninstall procedure and point to the Music
Teacher program when prompted. For Win3.x users, an uninstall program will be installed in the Music
Teacher Program directory.
Page 6
Quick Start
The best way to learn about a new program is to sit down and start using it - so let's go and do just that!
Just follow the simple step-by-step guide below and you'll become a Music Teacher "Power User" in no time
at all!
When you first run the program - a file called INITIAL.MID will be loaded automatically. This is the song
we'll be using to get to know all the main teaching tools of Music Teacher.
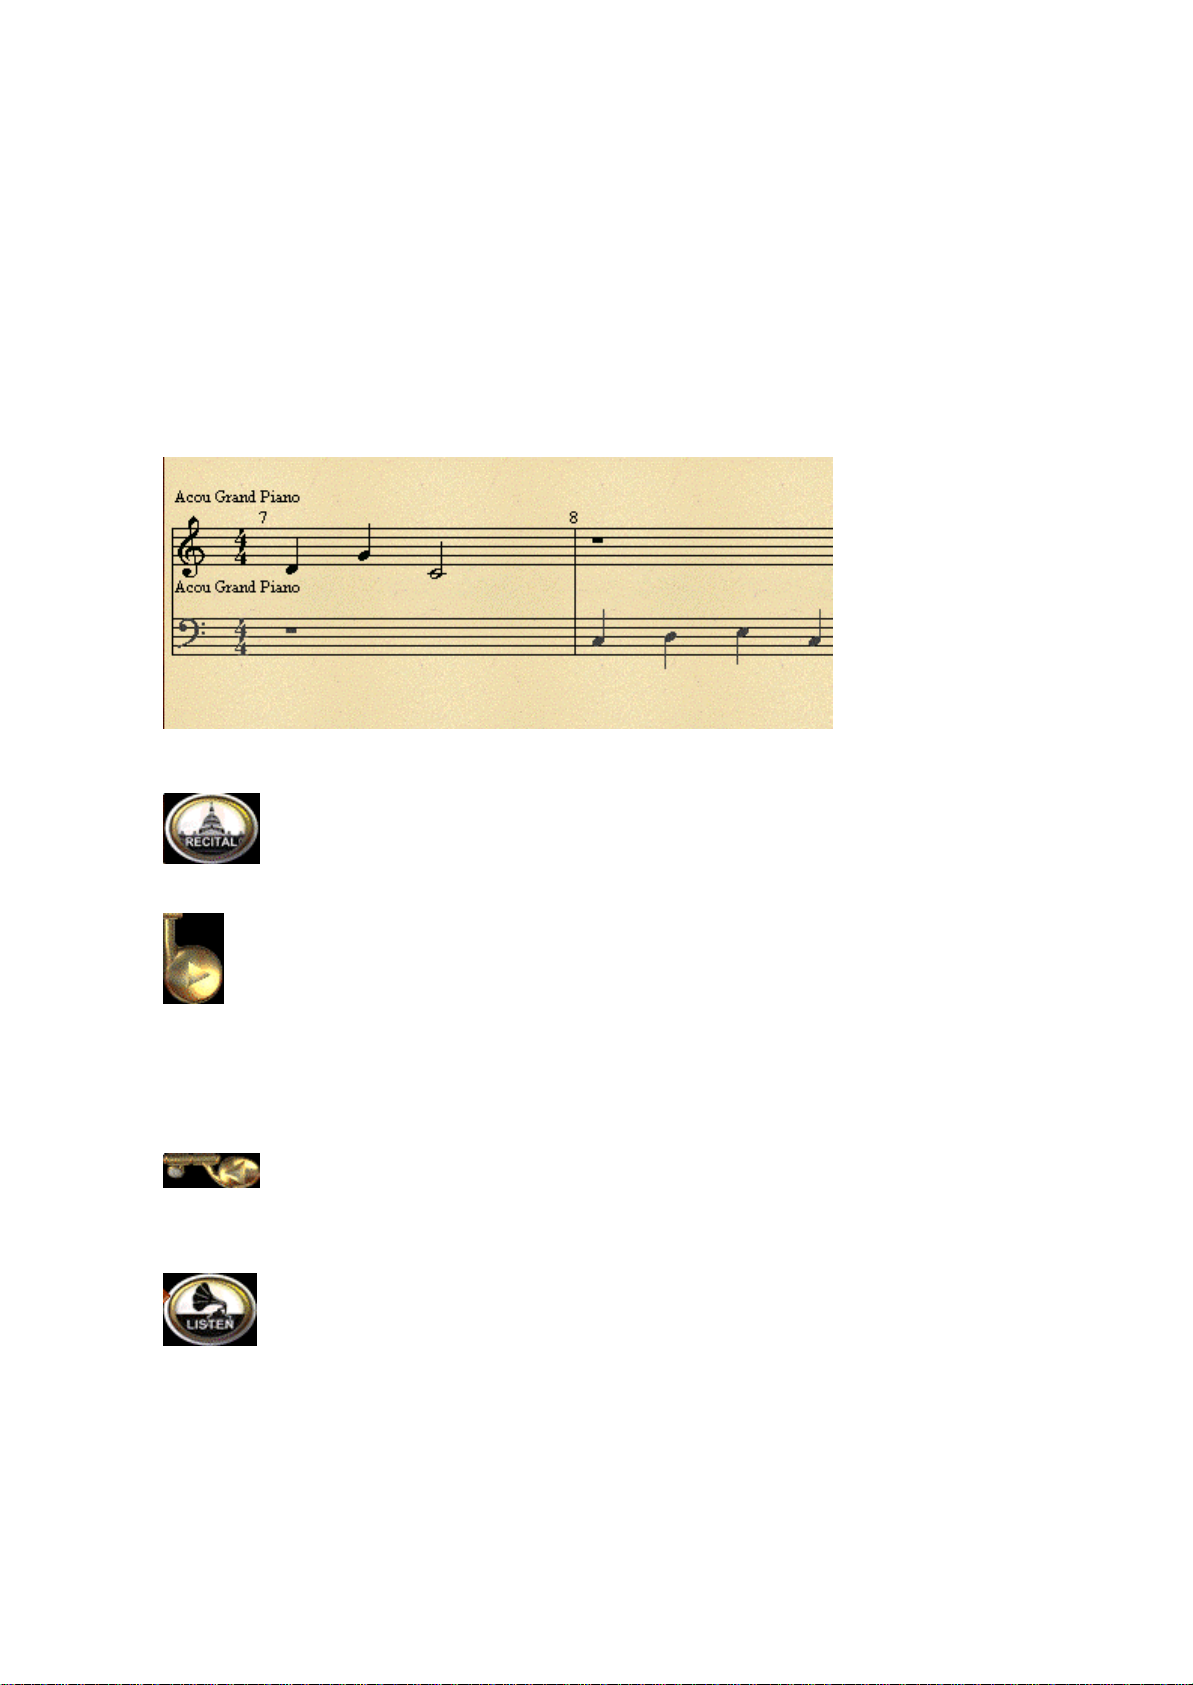
You should see 2 bars of music on the screen with the play position (the triangle) directly
above the rest in the first bar. You should be in Recital mode (as indicated by the button on
the right hand side of the main screen.)
Now press the play button.
This will start the playback of the song. You'll notice some accompaniment sounds playing along
with the melody. As the song is played - each note will turn red in the score display as they are
played. This will help you get the feel of the rhythm of the song.
If the notes appear in red - but you cannot hear any sounds coming from your speakers - please take a look
in the Trouble shooting section before continuing with this quick start tutorial.
At the end of the song - press the go to start button This will take the play position back to
the start of the song. Press play again to listen to the song once more.
Now that you know what the song sounds like-we'll listen to the melody on its own.
Press the Listen button. Notice that the lower stave becomes greyed out, indicating that were
are going to learn the top stave only. Only the music in the score display area will now play.
This includes the greyed out music on the lower stave.
Press play. Again, you'll see the notes on the top stave appear red as they are played. The keys on the
screen keyboard will also turn red when they are played.
Repeat the process of playing and rewinding the song until you're happy with how the melody sounds.
Page 7
When you're happy - rewind the song to the start and press the Teach button. You can now
decide which of the three teaching modes to work with. You can choose to learn either the
rhythm, the notes or both. First of all we will choose to learn just the rhythm of the piece.
Click on the rhythm "pedal".
The object of the rhythm test is to tap out the rhythm of the music displayed in the score area. You can use
absolutely any key on your MIDI keyboard to tap out the rhythm - you don't have to play the same pitch of
the notes you see on the screen.
After pressing play - the play position triangle will move across the screen from left to right, lighting up each
note in turn. All you have to do is tap each note as they turn red.
If you tap too late, you will see a left facing arrow above the note.
If you tap too early, you'll see a right facing arrow above the note.
If you tap the note on the correct beat - the note will turn from red to black and you'll then go on to tap the
next notes.
Let's try it!
Press play.
Did you get 100%?? Maybe not first time. Try again. Rewind the song to the start then press play again.
If you don't play all the notes in the first bar - the play position will stop and wait for a MIDI input. Only
then will it carry on playing.
Repeat the test many times until you get a high percentage mark at the end of the test.
Once you're happy with the rhythm of the song - rewind the song to the start then press the
Notes pedal.
This time - you don't have to play the correct rhythm of the song - all you do is guess the notes you see on
the screen. You can do this in 2 ways:-
1. The Easy way (for cheats) - look at the screen keyboard for the note to play.
2. The Sensible way - play notes on the MIDI keyboard which you think match up with those in the score.
Press the play button.
You'll now see the first note of the song turn red. All you have to do is play notes on your keyboard that
matches that on the screen. There is no metronome click this time - so there is no rush to play each note take your time !
If you play a note which is too high, you'll see a downward facing arrow.
If you play a note which is too low, you'll see an upward facing arrow.
Page 8

To help you guess the correct note - each note you play from your keyboard will be
displayed on the left hand side of the score display as a blue note. If the note you're
learning is still red - it means you haven't played the correct note. Try again until the
next note turns red. Again - look at the indicators above the notes to see if you're
playing too high or too low.
You can stop the test at any point during the song - but if you do reach the end of the
song - the test will stop automatically and will give you a percentage mark.
Repeat the test until you get a higher mark. If you repeat it enough times - you will surely get 100%. Each
time you press play -the test will appear progressively easier as you gradually recognise all the notes in the
song.
Once you've mastered the notes test - press the Notes and Rhythm button
The notes and rhythm test teaches you to play both the notes plus the rhythm of a song. The difference
between the rhythm test and the "notes and rhythm" test is that the latter expects you to play all correct
notes before the play position continues.
Press the play button.
After the 4 beat introductory bar - play the notes you see on the screen. If the test is too fast
for you - press the Tempo button (marked with a % sign) - and choose from one of the
settings 25, 50 or 75. These values will play back the music at a quarter, half and three quarter the original
tempo.
Once you've mastered playing the notes and rhythm of the song at a lower tempo - try increasing the tempo
to the original setting by pressing the tempo button once again. You'll be playing the song and getting
100% in no time at all ! (Once you've got the hang of the song at full speed and you feel like a challenge, you
could try the test at 125, 150, 175 or 200% speed.)
Well done ! - you've now seen most of the major music teaching tools of Music Teacher. You can now go
on to load another song to learn - or try learning both tracks of the default.mid song.
Check out the relevant sections of the help text for more information on these features.
Installed in the same directory as Music Teacher you will find 20 excellent Alfred MIDI files of well known
traditional songs. These files are ideal for testing purposes and each one has a backing track. Listen to them
in Recital mode first of all to listen to the whole arrangements.
Page 9

The Four Main Music Teacher Modes
Listen Mode
When the Music Teacher is in Listen mode - it plays the current track you are learning
regardless of any notes you might play from an external keyboard. You will not be penalized
for playing notes too early or too late - or indeed if you play any wrong notes. Listen mode
will not give you a percentage mark for your playing at the end of a file.
To select a track to listen to - click on one of the track selectors on the left hand side of the main
screen. You can select up to 2 tracks to listen to at any one time by clicking on one of the
triangles with your left or right mouse buttons. If you find you can't select a track - it's because
there are no musical notes on that track to learn. The same is true for channel 10 (drums).
You can change which tracks appear in the score display whilst a song is playing - making it easy to see
which tracks/instruments are playing.
As the play position scrolls across the screen - each note will turn red as it's played.
After listening to a track for a while - you'll probably want to go ahead and be taught how to play that track.
To do this - press on the "Teach" button.
Teach Mode
This is the main teaching button and the button you should have selected when you want to
be taught a song. Only in this mode will you see early/late/high/low indicators when your
notes are not of the correct pitch or rhythm.
Once you're in Teach mode - you can choose any of three tests to help you learn a track. You can be taught
the notes of a track in the notes test, the rhythm of the track (rhythm test) or you can be taught both
(rhythm and notes test).
Start off by clicking the "Notes test" button. You will then have to correctly strike the correct keys on your
MIDI keyboard to match those appearing in the score display. You can do this in your own time - as there is
no metronome click to accompany you.
Once you've mastered the notes test - you can move on to start learning the rhythm of the track by
clicking on the "Rhythm test" button. This time you will have to correctly tap out the rhythm of the notes
you see on the screen. You can play any keys you wish on your MIDI keyboard to tap out the rhythm
without being penalized! If you tap the keys on the correct beat - you should hear the melody being played
by the program.
When you think you've got the hang of the rhythm of the song - you should go on to practice playing the
"Notes and Rhythm" together. This is trickiest test of all (especially when learning 2 tracks!).
Teach mode will play back only the currently selected tracks (chosen from the track selector on
the left hand side of the screen). In this example - both tracks 1 and 2 will be taught.
When in teach mode - the only tracks you'll hear will be the tracks visible in the score display along with the
metronome (if enabled).
To practice any track along with a full orchestration - you must enter Backing mode.
Page 10

When you've mastered the rhythm and the notes of a track - try playing it as a solo in Backing mode. This
will add the backing band to play along with you.
Backing Mode
Pressing the "Backing" button will play all backing tracks for playback (if any are present).
This allows you to jam along with the music and try to follow the score display. If you can't
follow the music in time - don't worry - you won't be penalized for it. The Backing mode does not assess
your timing or note accuracy and does not give you a score at the end of the file. When in Backing mode the tracks currently displayed on the score display will not be played back. This is so you can practice
playing these parts as a solo!
If you find you cannot follow the music at all - go back to Teach mode - and learn any track over and over
again so that you can comfortably play along with the band.
If no additional accompaniment tracks are heard - it means the MIDI file does not contain musical data on
the tracks other than the ones you are viewing.
As the play position scrolls across the screen - each note will turn red as it's played.
If you would rather listen to the complete MIDI file without having to play any parts - click on the "Recital"
button.
Recital Mode
Choose this mode when you simply want to listen to your MIDI file and not learn any of the
tracks. This will play back your song regardless of which tracks you have enabled in the track
selector on the left side of the screen.
The song will start immediately when the Play button is pressed regardless of which test mode you are in and does not wait for a MIDI input.
Use Recital mode as a simple MIDI file player - with full control over start/stop - fast forward/rewind plus the
added bonus of being able to see the music on the score.
As the play position scrolls across the screen - each note will turn red as it's played.
Page 11

Music Tests
3 tests operate when in Teach mode.
Rhythm-Test
Notes-Test
Notes and Rhythm test
Rhythm Test
Choosing Tracks
Objective
Learning the rhythm of two tracks.
Results of the test
The rhythm test allows you to tap out the rhythm of a song and judges
you on how accurate your tapping is. As the play indicator moves across the screen - you can play any key
on your MIDI keyboard to tap out the rhythm. This means you can ignore the pitch of the notes you see all you have to do is strike the keys on the correct beat. If you tap the keyboard on the correct beats - you
will hear the correct melody being played.
Choosing Tracks
Before you start the test you must first select which tracks you are about to learn. Do this by clicking on the
track selector on the left hand side of the main window. After doing this you can go on to start the test. You
can click on up to 2 tracks at a time. If a track is not "clickable"- it means there is no musical data on that
track to be taught.
To start the test press the play button. If you need a one or two bar introduction to the test you must click
on the "Bars-In" button.
Objective
The object of the Rhythm test is to strike keys on your MIDI keyboard on the same beat as the notes
displayed on the screen. The first note to be played will turn red. When a key has been pressed on your
keyboard - the next note along will turn red, and so on.
Each note will turn red when it's time to play that note. The play position triangle will scroll across the top of
the score display and will indicate which beat we are on. As the play position passes immediately above a
note - the note will turn red. This is the time to tap the key.
If a song starts with a few bars rest - the song will play these bars - and carry on until it gets to the first red
note.
If you do not press a key for one complete bar - the music will stop and wait for a MIDI input (or a mouse
Page 12

click on the screen keyboard). When you do eventually catch up with the notes you have missed - the song
will carry on playing. This will also happen if the play position reaches the end of a bar and you haven't
played all the notes in that bar.
Learning the rhythm of two tracks.
If you've selected two tracks to be taught - you must make use of the split point in order to tap out the
rhythm of both hands separately. The split point will be indicated on the screen keyboard by a yellow
triangular indicator. Any note to the right of the split point may be used to tap out the rhythm of the right
hand. Any note to the left of the split point may be used to tap out the rhythm of the left hand.
Please keep an eye on the split point during the test as it moves about according to the notes in the tracks.
In order to tap the rhythm of both tracks - you must make sure you always tap 2 keys on either side of the
split point.
Handy Hint
In case the split point moves around during a test - choose keys on either end of your keyboard to tap out
the rhythm. This way you can be sure to play the left and right hands separately.
If multiple notes are displayed on the same beat (in a chord for example) - you need only play one key on the
keyboard.
If you don't play any notes in any one bar - the music will stop and wait for you to catch up with the notes
in the screen. As soon as you reach the first note of the new bar - the music will carry on automatically.
Please note:-
You must make sure that the rhythm of both tracks are played before the play position moves on to the next
beat. If the notes of only one track is played - the play position will wait until a note on the other track is
played before progressing.
When a note has been played too late - a light purple left arrow will appear in a box above the offending
note indicating the note should have been played earlier.
In the same manner, if a note is played too early (ahead of the beat) - a right arrow will appear in a box
above the offending note/notes indicating the note should be played later on.
Results of the test
At the end of a test - a window will appear indicating how many notes were played correctly or if they were
late or early. An overall mark will be given as a percentage after taking into account all the notes played.
If you are learning the rhythm of 2 tracks - the results window will display a score for both left and right
hands. This way you can see if you need to practice some more with your left or right hand.
Page 13

Notes Test
The note test allows you to play the notes in a song and judges you on how accurate
your pitch recognition is. As each note changes from black to red - you can play any
key on your MIDI keyboard to guess the notes. Indicators will be displayed for any
wrong notes you play.
Selecting Tracks
Before you start the test you must first select which tracks you are about to learn. Do this by clicking on the
track selector on the left hand side of the main window. After doing this you can go on to start the test. You
can select up to 2 tracks to be taught.
To start the test press the play button. The count-in option is ignored when in notes test mode - as there is
no tempo to abide by.
Objective
The object of the Notes test is to strike keys on your MIDI keyboard which are of the same pitch as the
notes displayed on the screen. The first note to be played will turn red. When the correct key has been
pressed on your keyboard - the note will turn black and the next note along will turn red. If multiple notes are
on the same beat (a chord for example) - you must play all notes in that chord before the next notes turn red.
As each note in the chord is played - they will turn from red to black.
The notes will not be recognized until you take your fingers off the keys on your keyboard or until you
release the click on your mouse when on the screen keyboard.
If a song starts with a few bars rest - pressing play will scroll through the score until the first note of the test
is displayed and will turn it red.
Learning the notes on two tracks.
If you've selected 2 tracks to be taught from the track selector - you must make sure that all notes on both
tracks are played before the play position moves on to the next beat. Most of the time - the melody will be
played in the right hand which means it will be displayed in the upper staves. If you don't play all notes
present on the same beat (in a chord for example) - the play position will not continue to the next beat until
all notes have been correctly detected. When a note has been correctly guessed - it will turn from red to
black.
Blue Notes
When you play the keys from your MIDI keyboard - you'll see the notes being displayed on the left hand
side of the score staves as blue coloured notes. This is a helpful guide for you to see how close to the notes
you are. If 2 tracks are selected for teaching - the blue notes will be assigned to both staves with the split
point set at middle C. If the left hand track has notes above middle C - the split point may move up the
keyboard. Respectively - if the right hand track contains low notes below middle C - the split point will move
down the keyboard. This could happen during the playback of a song - so keep an eye on the split point!
When a note has been played too high - a black "down" arrow will appear in a box above the offending
note indicating the pitch was above that of the score display and you need to play a key lower down the
Page 14

keyboard to guess the correct note.
In the same manner, if the pitch of the key you play is too low, - a blue "up" arrow will appear in a box
above the offending note/notes indicating you should play a note higher up in order to guess the correct
note.
Results
At the end of a test - a window will appear indicating how many notes were played correctly or if they were
too high or low. An overall mark will be given as a percentage after taking into account all the notes played.
If you're learning the notes of 2 tracks - the results window will display a score for both left and right hands.
This way you can see if you need to practice more with your left or right hand.
Crossed parts
Sometimes when you load a MIDI file you'll discover that some notes on the lower stave overlap the notes
on the upper stave. This means that notes assigned to the left hand stave would be higher in pitch than
notes on the right hand stave. In this situation - the Music Teacher will display a warning saying you can
only select one track at a time to be taught. You could then either learn one track at a time - or select another
2 tracks to be taught.
If you don't wish to see the warnings appear on the screen - you can turn them off from the Preferences
menu.
Notes and Rhythm Test
Selecting Tracks
Objective
Learning the notes and rhythm of two tracks
"Blue" Notes
Results
The Notes and Rhythm test judges you on your pitch and rhythm accuracy.
As each note changes from black to red - you can play the keys on your MIDI
keyboard to guess the notes and rhythm.
Selecting Tracks
Before you start the test you must first select which tracks you are about to learn. Do
this by clicking on the track selector on the left hand side of the main window. After
doing this you can go on to start the test.
To start the test press the play button. . If you need a one or two bar introduction to the test you must click
on the Bars-In button.
Page 15

Objective
The object of the Notes and Rhythm test is to strike keys on your MIDI keyboard of the same pitch as the
notes displayed on the screen as well as detecting the correct rhythm for the piece of music in the score
display section. The first note to be played will turn red. When the correct key has been pressed on your
keyboard - the next note along will turn red, and so on.
If a song starts with a few bars rest - pressing play will start playing the song from bar 1 - you must count
the number of empty bars before starting to play. If you do not press a key for one complete bar - the music
will stop and wait for a MIDI input (or a mouse click on the screen keyboard). When you do eventually
catch up with the notes you have missed - the song will carry on playing.
The song will not continue when all the correct notes have been played.
Learning the notes and rhythm of two tracks
If 2 tracks have been selected to be taught from the track selector column - you must make sure that the
rhythm and notes of both tracks are correctly played before the play position moves on to the next beat. If
you don't play the correct notes in any of the two tracks for a bar - the music will stop and wait for you to
catch up with all the "missing" notes. If you play the correct notes - the music will continue as soon as the
first note of the new bar is played. The notes you're meant to play will be red until you correctly guess them
-at which point they will turn black.
"Blue" Notes
When you play the keys from your MIDI keyboard - you'll see the notes being displayed on the left hand
side of the score staves as blue coloured notes. This is a helpful guide for you to see how close to the notes
you are. If 2 tracks are selected for teaching - the blue notes will be assigned to both staves with the split
point set at bottom C.
When a note has been played too high - a blue down arrow will appear in a box above the offending note
indicating the correct note is actually lower than the note you played.
When a note has been played too late - a left arrow will appear in a box above the offending note
indicating the note was played after the beat and should be played earlier on.
In the same manner, if a note is played too early (ahead of the beat) - a right arrow will appear in a box
above the offending note/notes indicating you should play the note later on.
Also, if the pitch of the key you play is too low, - an "up" arrow will appear in a box above the offending
note/notes telling you to play a note higher up the keyboard until you get the correct note.
Results
At the end of a test - a window will appear indicating how many notes were played correctly or if they were
too high or low as well as an indication of the accuracy of the rhythm played. An overall mark will be given
Page 16

as a percentage after taking into account all the notes played.
Page 17

Game Screen
The game screen is a fun way of learning musical phrases. All you have to do is work your way through the
level screen from the start all the way to the 12th level. Each game may be easy or challenging depending on
the mode you are in and all phrases are played at random so that no 2 games are the same.
Game Modes
Before you start a game you must decide which test you wish to be examined on - Notes,
Rhythm or both. The buttons are linked to those in the main Music Teacher Screen - so
that if you change the mode in the Game screen - it will also change it in the Music
Teacher when you go back to that screen, and vice versa.
The Games screen contains a level board with 12 buttons, four teachers, a score display, play and restart
buttons and a Teacher button that takes you back into the Music Teacher screen.
The Teachers
There are four teachers to choose from when in Game mode. To choose a teacher - just click on any of the
four buttons. As a teacher is selected - its image will turn black and white (as though drawn on a
blackboard!). The teachers get stricter from left to right.
You must decide on your teacher before starting a game - and you cannot change the teacher half way
through a game. -Well, you couldn't do that in a classroom either could you??!
When selecting a teacher - bear the following in mind:-
Mr Easy - Uncomplicated score display - the timing accuracy does not have to be spot on in the
rhythm tests.
Ms Strict Score display might have accidentals (sharps and flats). Timing accuracy must
be better than with Mr Easy.
Mr Hard Score display could be quite complicated - mixing accidentals with dotted
rhythms, semi-quavers etc...Timing accuracy must be of a high standard.
Page 18

Mr Guru. The Score display could display absolutely anything! Semi-quavers, rests,
dotted notes, triplets, etc...Your timing must be spot on to pass these tests.
Playing the Game
If you're in Notes mode - pressing play will display the first note in the test as a red note. The program will
wait for a MIDI input (or a mouse click on the screen keyboard). All you have to do then is play the notes
you see on the screen. The correct notes will also appear on the screen keyboard which will help you strike
the right notes.
If you play a wrong note - an indicator will appear above the note to tell you if you played above or below
the correct note. If any wrong notes are played in a test - you must retry that test.
If in Rhythm mode, pressing play will start playback of the one bar phrase. The program will wait for a
rhythm to be tapped on the MIDI keyboard. If you need a count-in to the test (which would make it a lot
easier), you must have the "Bars-In" button pressed in the Music Teacher screen. You can press any key on
your MIDI keyboard to tap out the rhythm - the keys do not have to be the same pitch as the notes on the
screen. You will be judged on the accuracy of your timing according to which teacher you have selected. If
your timing is not accurate - you will have to repeat the test. As soon as the rhythm of the complete bar has
been tapped correctly - you will automatically move on to the next square. To start the test again - press the
play button.
In Notes & Rhythm mode - the same rules apply as in the rhythm test. When the play button is pressed -
the play position cursor will scroll across the screen awaiting a MIDI input. You will be expected to play the
correct pitch of the notes as well as tapping in the correct rhythm. You must get both rhythm and pitch
correct before you can move on to the next square.
If you play a wrong note (wrong pitch) - an arrow will be displayed above the offending note or notes.
If the rhythm you play is not correct - arrows will be displayed above the offending notes to show if you
played them early or late.
After successfully completing the test on a square - you'll move automatically to the next square. Press the
play button to start the new test.
Level Squares
If you get a test correct - a purple marble will jump on to the next square. If you don't
play the correct notes or rhythm in a test - the marble will stay on the same square until
you get it right. The object of the game is to get the marble all the way from square 1 to the 12th square.
Game Help
Click on this button for instant help on any feature in the game screen.
Play Button
The play button is used to start each game. When the Play button is pressed - the game
will be "active".
Page 19

Restart Button
Click on the Replay button whenever you wish to start a new game. By pressing the
Replay button, the program will generate a new game so that all 12 tests will be different.
You will start from the first square again - regardless of how far you reached in the
game.
Return to Music Teacher Screen
When you've finished in the game screen - click on the Music Teacher button to
return to the Main Music Teacher screen to carry on with your tests.
Page 20

File Menu
OPEN
Whenever you wish to load a new song into the teacher - you would do it from this menu.
Teacher will only allow you to load in MIDI files using the .MID extension. Any other file will be ignored.
All you have to do is locate the MIDI files on your system (or from floppy disk or CD-ROM) by clicking in
the "Directories" section of the Load file window. All MIDI files in a directory will be displayed on the left
hand side of the "Open file" window. To load one in - all you have to do is click on it with your left mouse
button - then click on the OK button.
Metronome Preference
When the metronome picture is clicked on the main screen, it lets you hear the metronome click through
your MIDI instrument or soundcard. In this preference menu you can determine separately the notes used
by the first beat of the bar and by the other beats, plus their velocities.
Channel
This allows you to specify which MIDI channel of your MIDI instrument the metronome will
output to. By default it will be set to channel 10 which is the most common channel for playing drum
sounds. You could however change this value to anything between 1 and 16 and have any instrument as
your metronome.
To change the value of the Channel - click in the box with your left mouse button, delete the
current value using the delete button on your QWERTY keyboard - then type in the new value.
Pitch
This allows you to change the pitch (note) of the metronome clicks. If playing drum sounds as your
metronome click - you could set it up so that you have a snare drum as the first beat of every bar followed
by a rim-shot for example for every beat. This makes it easy to hear the start of each bar. Typical range
would be from C1 to C6.
Velocity
The "velocity" option allows you to specify the loudness of each metronome click. If using the
same instrument for the Bar clicks and the beat clicks - it's advised to have a higher velocity value for the
first beat of the bar to help you recognize the start of each bar.
Metronome
When the metronome is turned on (as in the picture on the left) - a clicking sound is heard
played on the drum channel (or your PC speaker) to help you with the beat. A click is played
on every beat of the bar. You have full control over which drum instrument actually plays the
metronome beats by changing the metronome settings in the Preferences menu.
The first time you run the program - the metronome is turned on by default. As your timing
gets better you might want to turn off the metronome clicks. To turn off the metronome - just click on the
picture of the metronome so that the metal pendulum arm is vertical.
The metronome click is dependant on the tempo of the MIDI file. The higher the tempo value - the faster the
Page 21

number of clicks.
The metronome click is particularly handy during the count-in to a test to help you get a feel of the tempo
before you play your first note.
Devices
If your computer has any MIDI interfaces installed, they will show up in the Devices Dialog. You can
choose which output device to use by clicking on its name. A device is in use if it is selected (white text on a
black background). Note that Inputs and Outputs are treated separately, so you can, for example, turn off
the MIDI Out on the MPU-401 but still use its MIDI In. If you have problems with no MIDI input or output try various combinations of MIDI IN/Out drivers until you hear sound. Try each output in turn. If you have
an XG compatible soundcard- you must press the XG button to the right of the MIDI OUT you are using.
The same applies if you have a GM or a GS card. Otherwise you might not hear the correct voices when
playing back songs.
MIDI Input
Displays a list of all the MIDI devices detected by your PC. If no devices show up here - you will probably
need to reinstall your soundcard. For more information on this - get in touch with the technical support
department for your soundcard manufacturer.
The Input devices list allows you to choose a driver that will allow your MIDI keyboard to input notes into
Music Teacher.
MIDI Output
Displays a list of all the MIDI output drivers recognized by your PC. These drivers enable the software to
play the music to your desired sound module. If no drivers show up in this column - reinstall your
soundcard or get in touch with the technical support department for your soundcard manufacturer.
Please note:-
Most of Evolution Electronics' technical support calls are soundcard related - so you can help us to help
you by making sure your soundcard has been fully installed with the most up to date drivers (available once
Page 22

more from your soundcard manufacturers). Once your card and MIDI drivers are recognized by your PC they will show up in the Devices menu and selecting one of these will allow you to play notes into the
Teacher.
Page 23

Keyboard Short-Cuts
Function Short Cut Key
Play Enter
Stop Space Bar
Rewind Left Cursor
Fast Forward Right Cursor
Return to Start Home Key
Go to End of song End Key
Left Loop Position "L" key
Right Loop Position "R" key
Set Left Loop Marker "1" key
Set Right Loop Marker "2" key
File Open Ctrl + O
Quit Alt + F4
Metronome On/Off "M" key
Cycle On/Off "C" key
Tempo change "T" key
Bars In (Count-In) "O" key
Help "F1" key
 Loading...