

Makita HANDY VAC II 4071D Instruction Manual
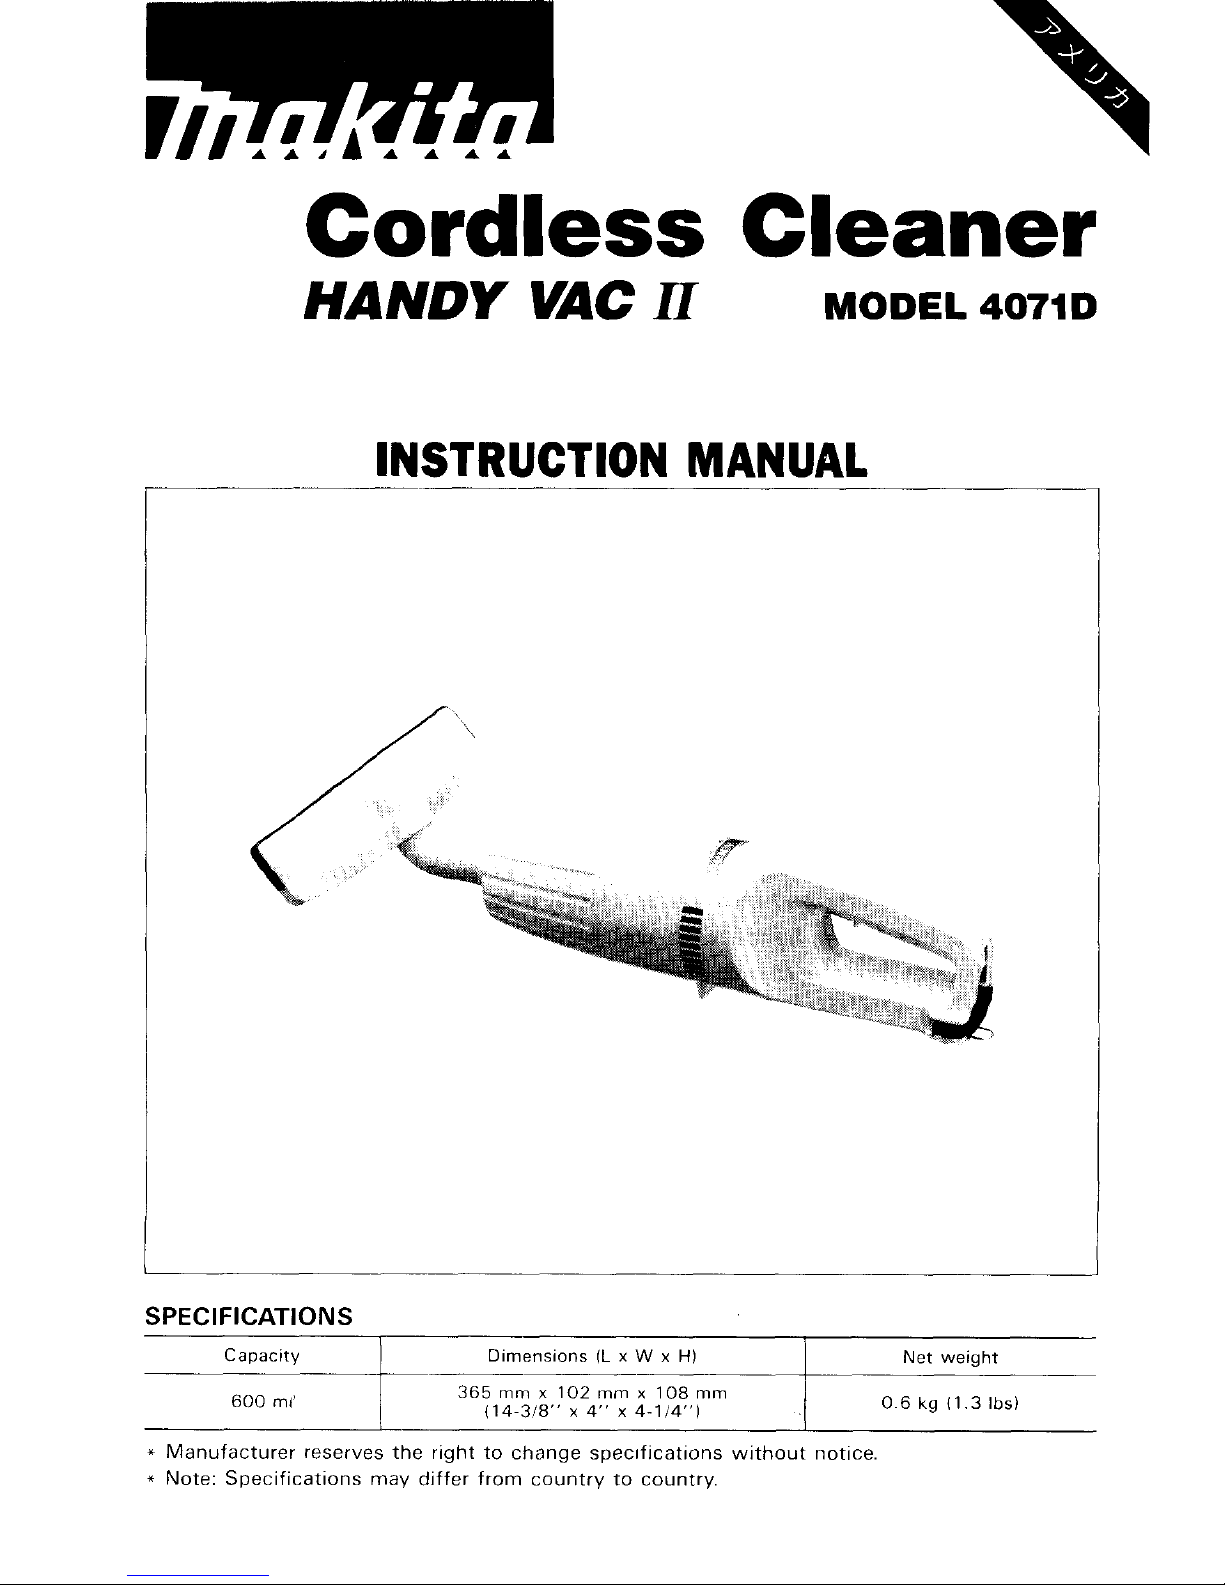
Cordless
Cleaner
Dimensions
IL
x W x
H)
365
mm
x
102
mm
x
108
mm
!
114
318"
x
4"
x
4-1/4")
Capacity
600
mi
HANDY
VAC
II
MODEL
4071D
Net
weight
0
6
kg
I1
3
Ibs)
INSTRUCTION MANUAL
SPEC
I F I
CAT1
0
N
S
~~
*
Manufacturer reserves the right to change specifications without notice
*
Note Specifications may differ from country to country
IMPORTANT
SAFETY INSTRUCTIONS
When using an electrical appliance, basic precautions should
always be followed, including the following:
READ ALL INSTRUCTIONS
BEFORE
USING THIS APPLIANCE
WARNINGTO
reduce the risk of fire, electric shock, or
injury:
1.
2.
3.
4.
5.
6.
7.
a.
9.
IO.
11.
12.
13.
Do
not leave appliance when the battery cartridge is installed.
Remove the battery cartridge from your appliance when not
in
use and
before servicing.
Do
not allow to be used as a toy. Close attention is necessary when used
by or near children.
Use only as described
in
this manual. Use only manufacturer's recom-
mended attachments.
If
appliance is not working as
it
should, has been dropped, damaged, left
outdoors, or dropped into water, return
it
to a service center.
Do
not handle appliance
with
wet hands.
Do
not put any object into openings.
Do
not use with any opening blocked;
keep free of dust,
lint,
hair, and anything that may reduce air flow.
Keep hair, loose clothing, fingers, and all parts of body away from openings
and moving parts.
Do
not pick up anything that is burning or smoking, such as cigarettes,
matches, or hot ashes.
Do
not use without filters
in
place.
Turn off all controls before removing the battery cartridge.
Use extra care when cleaning on stairs.
Do
not use to pick up flammable or combustible liquids such as gasoline
or use in areas where they may be present.
Use only the charger supplied by the manufacturer to recharge.
This appliance is intended for household use.
L
IMPORTANT
SAFETY
INSTRUCTIONS
Length of Cord (Feet)
25
AWG Size of Cord
18
1.
SAVE
THESE
INSTRUCTIONS
-This
50
100
150
18
18
16
3
1.
2.
3.
4.
5.
6.
7.
ADDITIONAL SAFETY RULES
FOR
CHARGER
&
BATTERY CARTRIDGE
Do not charge Battery Cartridge when temperature is BELOW 10°C (5OOF)
or ABOVE 4OoC (104OF).
Do not attempt to use a step-up transformer, an engine generator or DC power
receptacle.
Do
not allow anything to cover or clog the charger vents.
Always cover the battery terminals
with
the battery cover when the battery
cartridge is not used.
A battery short can cause a large current flow, overheating, possible burns
and even a breakdown.
(1
1
Do
not touch the terminals with any conductive material.
(2)
Avoid storing battery cartridge
in
a container
with
other metal objects such
(3)
Do not expose battery cartridge to water or rain.
Do
not store the tool and Battery Cartridge in locations where the tempera-
ture may reach or exceed 5OoC
(122OF).
Do not incinerate the Battery Cartridge even
if
it
is
severely damaged or is
completely worn out. The battery cartridge can explode in a fire.
as nails, coins, etc.
SAVE THESE INSTRUCTIONS.
4
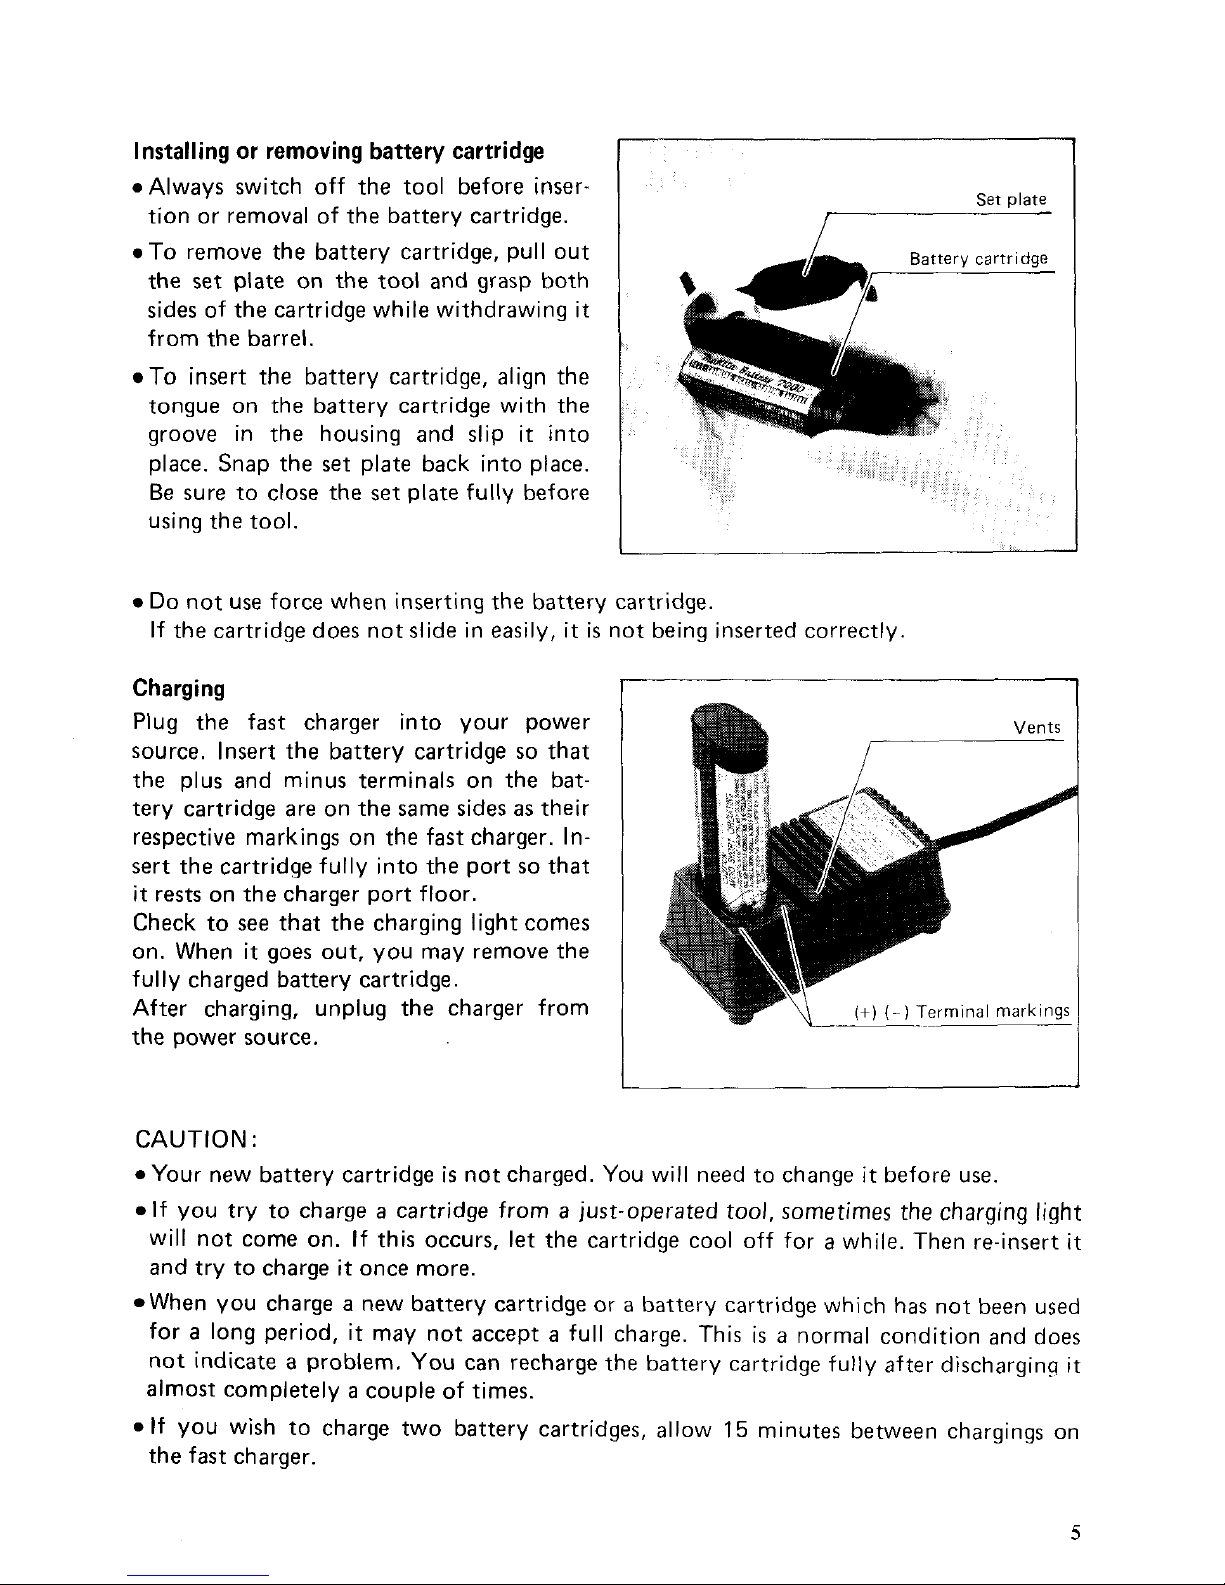
Installing or removing battery cartridge
I
*Always switch off the tool before inser-
tion or removal of the battery cartridge.
To remove the battery cartridge, pull out
the
set
plate on the tool and grasp both
sides of the cartridge while withdrawing it
from the barrel.
To
insert the battery cartridge, align the
tongue on the battery cartridge with the
groove in the housing and slip
it
into
place. Snap the
set
plate back into place.
Be sure to close the
set
plate fully before
using the tool.
Set date
/
Do
not use force when inserting the battery cartridge.
If the cartridge does not slide in easily,
it
is
not being inserted correctly.
Charging
Plug the fast charger into your power
source. Insert the battery cartridge
so
that
the plus and minus terminals on the battery cartridge are on the same sides
as
their
respective markings on the fast charger. In-
sert the cartridge fully into the port
so
that
it
rests on the charger port floor.
Check to
see
that the charging light comes
on. When
it
goes out, you may remove the
f u
I I y charged battery cartridge
.
After charging, unplug the charger from
the power source.
Vents
-I
v\\
i+l
(-I
Terminal
markinas
I
CAUTION
:
Your new battery cartridge
is
not charged. You will need to change
it
before use.
If
you try to charge a cartridge from a just-operated tool, sometimes the charging light
will not come on. If this occurs,
let
the cartridge cool off for a while. Then re-insert
it
and try to charge
it
once more.
When you charge a new battery cartridge or a battery cartridge which has not been used
for
a
long period,
it
may not accept a full charge. This
is a normal condition and does
not indicate
a
problem.
You
can recharge the battery cartridge
fully
after discharging it
almost completely a couple of times.
*If you wish to charge two battery cartridges, allow
15
minutes between chargings on
the fast charger.
5
 Loading...