

Page 1
Bottom-Loading Water Dispensers
(MCWD40BB / MCWD40BW)
newair.com Support Email: support@newair.com
Manual v1.1
Page 2
Magic Chef® Water Dispenser Product Guide
Introduction
Before using your water dispenser, please read this manual carefully.
WEBSITE:
www.newair.com
SUPPORT EMAIL ADDRESS:
support@newair.com
TELEPHONE NUMBER:
1-855-963-9247
Please observe the regulations and laws in the country of use.
Incorrect operation can result in serious damage or injury.
Need to Contact Us?
Manufactured For:
MC Appliance Corp.
940 N. Central Ave.,
Wood Dale, IL 60191 USA
Magic Chef is a registered trademark of
CNA International, Inc. d/b/a
MC Appliance Corporation.
All rights reserved.
NewAir, LLC
6600 Katella Ave, Cypress, CA 90630
Comments/Questions:
Support@newair.com
2
Page 3
Magic Chef® Water Dispenser Product Guide
Contents
Register Your Product Online ........................................................................................................................ 4
Safety Information & Warnings .................................................................................................................... 5
Parts List ........................................................................................................................................................ 7
Installation & Setup ...................................................................................................................................... 8
Cleaning & Maintenance ............................................................................................................................. 10
Troubleshooting .......................................................................................................................................... 11
Limited Manufacturer’s Warranty .............................................................................................................. 12
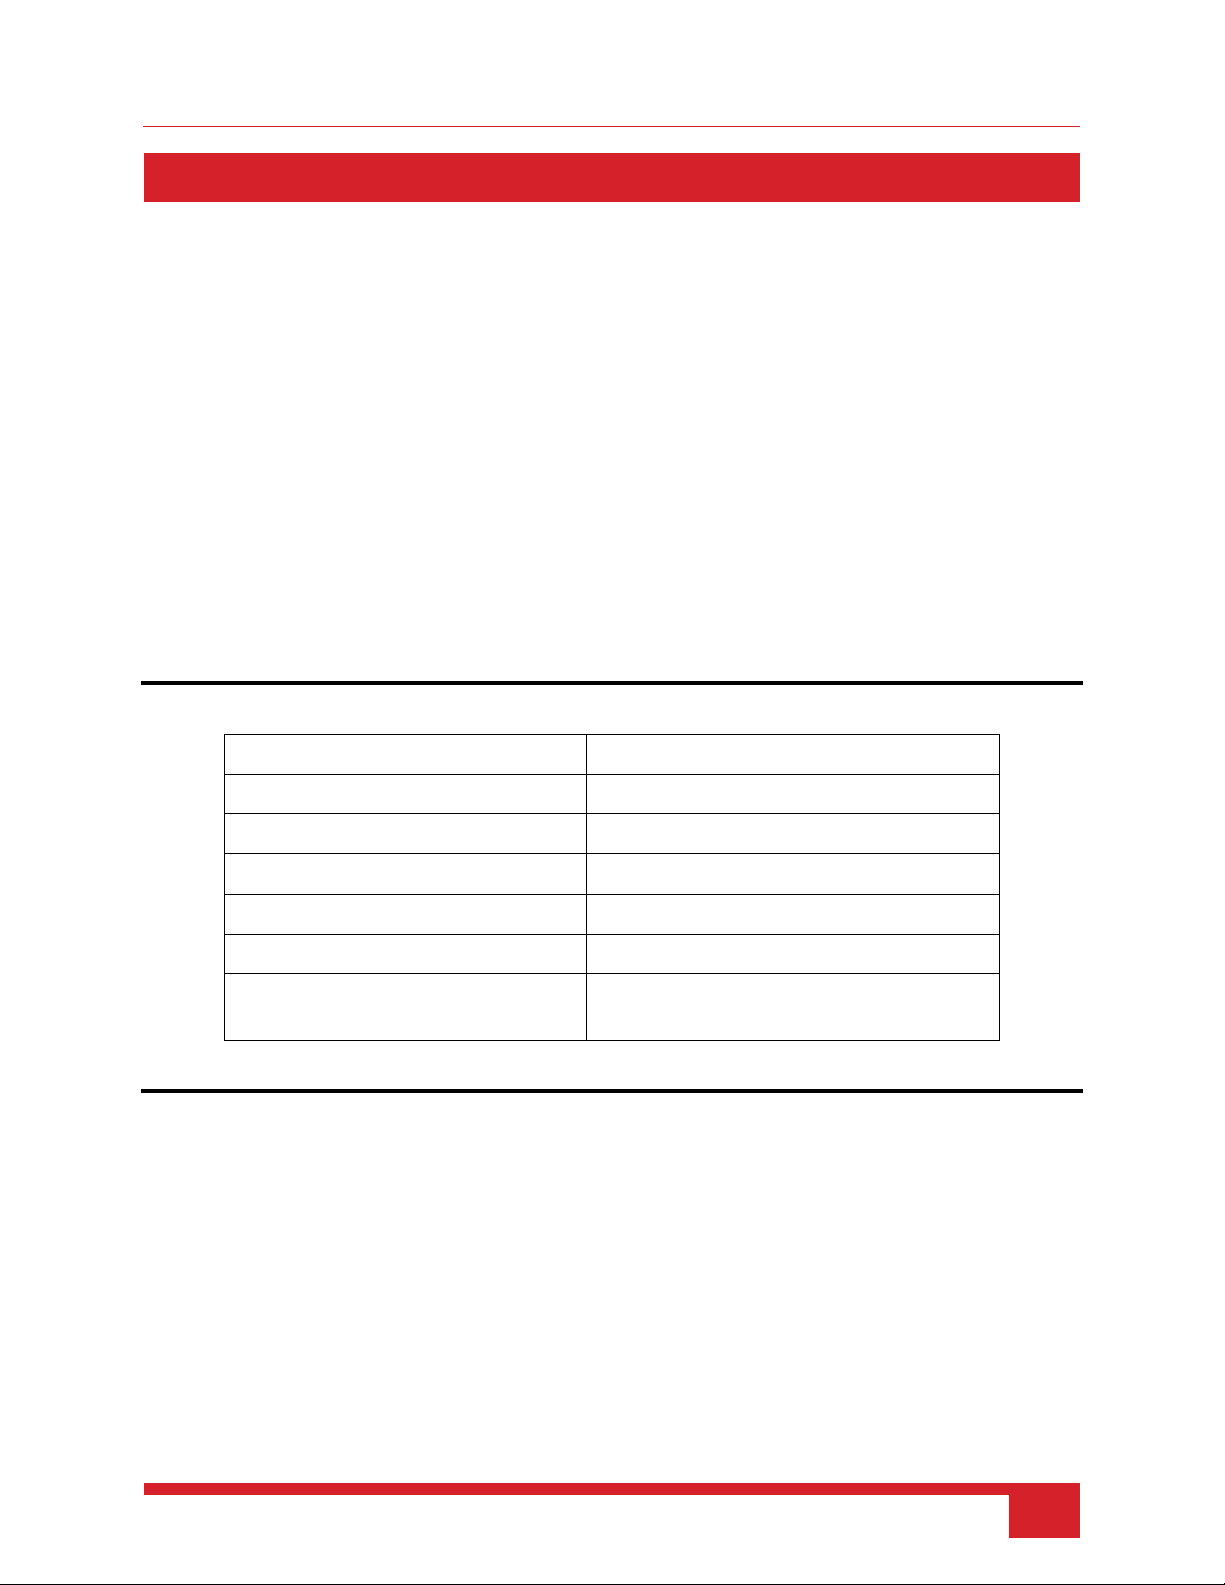
Product Specifications
APPLICABLE ENVIRONMENT: 40-105 F (4-40 C) humidity 90% or below
RATED VOLTAGE: 115 V
COOLING POWER: 120 W
HEATING POWER: 420 W
REFRIGERANT CODE
NAME/QUANTITY:
MODEL: MCWD40BB/MCWD40BW
FREQUENCY: 60 Hz
R-134a/1.27 oz
3
Page 4

Magic Chef® Water Dispenser Product Guide
Register Your Product Online
Register Your Magic Chef® Product Online Today!
Take advantage of all the benefits product registration has to offer:
Service and Support
Diagnose troubleshooting and service issues faster and more accurately
Recall Notifications
Stay up to date for safety, system updates and recall notifications
Special Promotions
Opt-in for Magic Chef® promotions and offers
Registering your product information online is safe & secure and takes less than 2 minutes to complete:
newair.com/register
Alternatively, we recommend you attach a copy of your receipt below and record the following
information, located on the manufacturer’s nameplate on the rear of the unit. You will need this
information if it becomes necessary to contact the manufacturer for service inquiries.
Date of Purchase: ___________________________________________
Serial Number: ____________________________________________
Model Number: ____________________________________________
4
Page 5

Magic Chef® Water Dispenser Product Guide
Safety Information & Warnings
To reduce the risk of fire, electrical shock and/or injury to persons or property please follow basic safety
precautions. Be sure to read all instructions before using this appliance and observe the following safety
tips:
Always:
• Always transport your water dispenser in a vertical position and place on a stable, level surface
during use.
• Always use purified/soft water to prevent mineral build-up in the pump or water pipes.
• Always keep the water dispenser out of direct sunlight.
• Always keep a distance of at least 8 inches (20 cm) from walls on all sides of the water
dispenser.
• Always turn off the unit and unplug it from the power supply if the unit tips over during
operation, or if it is malfunctioning.
• Always keep ventilation openings clear of obstruction.
Never:
• Never use this appliance if it is not working properly, or if it has been dropped or damaged.
• Never use hazardous chemicals to clean or allow them to come into contact with the unit. Do
not use the unit in the presence of flammable substances or vapor such as alcohol, insecticides,
gasoline, etc.
• Never allow children to operate the unit unsupervised.
• Never use liquids other than soft water in this unit. Hard water will cause mineral buildup and
clog the water pipes, damaging the unit or causing leakage.
• Never plug the unit in unit until the water bottle is installed (see installation instructions below).
• Never turn on the hot water setting without a water supply or the unit may catch fire.
• Never use this appliance at excessively high altitude (not recommended above 1,500 meters /
4,900 feet) because the hot water tank could boil before it reaches target temperature for the
hot water spout.
• Never dispose of this appliance with domestic household waste. For disposal, consider local
recycling options or contact the manufacturer for further assistance.
5
Page 6

Magic Chef® Water Dispenser Product Guide
Shock Hazard – Electrical Grounding Required
• This appliance is for indoor use only.
• Never attempt to repair or perform maintenance on the unit until the power cable has been
disconnected.
• Never remove the round grounding prong from the plug and never use a two-prong grounding
adaptor. Use of an extension cord is not recommended.
• Do not pull or place strain on the power cord when moving the appliance.
• Altering or cutting of power cord, removal of power cord, removal of power plug or direct wiring
can cause serious injury, fire, or loss of property and/or life, and will void the warranty. If the
power cord is damaged, it must be replaced by an electrician or specialized technician
authorized by the manufacturer in order to prevent fire.
• Do not operate with an external switching device, such as a timer, or connect to a circuit that is
regularly switched on and off by the utility.
• This appliance is not intended for use by persons (including children) with reduced physical,
sensory or mental capabilities, or lack of experience and knowledge, unless they have been
given supervision or instruction concerning use of the appliance by a person responsible for
their safety.
• Children should be supervised to ensure that they do not play with the appliance.
• Do not store explosive substances such as aerosol cans with flammable propellant in this
appliance.
• Do not clean with a hose or highly pressurized water.
• WARNING---Do not damage the refrigerant circuit.
6
Page 7

Magic Chef® Water Dispenser Product Guide
Parts List
1
Top cover
7
LED night light switch
2
LED indicators
8
Heating switch
3
Cold/room temp water switch
9
Cooling switch
4
Cold/room temp tap
10
Power cord outlet
5
Hot water tap
11
Hot water drain plug
6
Water drip tray
12
Condenser
7
Page 8

Magic Chef® Water Dispenser Product Guide
Installation & Setup
Before connecting the appliance to a power source, let it stand upright for
approximately 2 hours. This will reduce the possibility of a malfunction in the cooling
system from handling during transportation.
Location
• The water dispenser should be placed on a firm, even foundation to minimize noise and
vibration, and reduce the risk of damage to the unit.
• Do not place the dispenser in direct sunlight or near other heat-producing appliances.
• To avoid accidental water damage, place it safely away from furniture or other appliances.
• The unit must be placed within reach of a properly rated grounded socket.
• Allow a minimum 8 inches of clearance on all sides to prevent overheating.
• This unit works best in temperatures ranging from 50-109° Fahrenheit.
Assembly
1. Remove the drip tray from the door and place the grid on top.
2. Snap the drip tray and grid assembly into the door.
Installation
1. Open the water dispenser door.
2. Attach the bottle hose to the pump head and collar.
3. Remove plastic cap from top of the bottle.
4. Clean the outside of the bottle with a cloth.
5. Place the bottle hose into the bottle.
6. Slide the collar down until it clicks into place.
7. Push the head down until the hose hits the bottom of the bottle.
8. Slide the bottle into the cabinet and close the door.
9. Plug the power cord into a properly grounded outlet.
10. The pump will begin to move water from the bottle to the hot and cold water tanks. This
process will take up to 12 minutes in order for it to fill both tanks for the first time. During this
time, the pump will run continuously.
11. This unit will not dispense hot or cold water until the power switches on the back of the unit are
pressed. If everything is on and operating correctly, the light on the far left icon (the power
symbol) should be lit up.
8
Page 9

Magic Chef® Water Dispenser Product Guide
Operation
This unit has been tested and sanitized prior to packing and shipping. During transit, dust and odors can
accumulate in the tank and water line. Pour and dispose of at least one quart of water prior to
consumption.
Dispensing Cold Water
After setup, it will take up to one hour for the cold water to reach the lowest temperature. During this
time, the compressor may run continuously. The snowflake icon on the front of the unit will light up
once the cold water has reached the target temperature.
Dispensing Hot Water
After setup, hot water will be available in roughly 15-20 minutes. The heat wave icon on the front of the
unit will light up once the hot water has reached the target temperature. In order to dispense hot water,
you have to press and hold down the red button on the front of the hot water dispenser, then press the
lever in.
Changing Bottles
A flashing red LED indicator on the front of the unit (the far right icon of the two bottles) will alert you
when the bottle is empty. Replace the bottle as soon as possible once this indicator lights up. Failure to
replace the bottle may cause the unit to overheat.
To replace the bottle:
1. Open the front panel door.
2. Slide the empty bottle out of the cabinet.
3. Remove the hose assembly from the empty bottle and place it on the hose assembly hanger, or
directly into the new water bottle.
4. Set the empty bottle aside.
5. Place a new bottle in the cabinet. Remove the plastic cap from the top of the bottle and clean
the outside with a cloth.
6. Place the bottle hose into the bottle and slide the collar down until it clicks into place. Push the
head down until the hose hits the bottom of the bottle.
7. Slide the bottle into the cabinet and shut the door.
9
Page 10

Magic Chef® Water Dispenser Product Guide
Cleaning & Maintenance
Make sure the power switch is in the off position and unplug the unit from the outlet before performing
any maintenance or servicing the product.
Cleaning the Housing
• Use a soft, damp cloth to wipe the body clean. Clean the drip tray and storage cabinet as
needed.
• Remove dust from the condenser coils on the back of the unit to improve efficiency.
• Never use strong chemicals, gasoline, detergents, chemically-treated cloths, or any other
cleaning solutions to clean the water dispenser, as these can all potentially damage the unit.
• Never use detergent or chemicals that are potentially harmful to your health when cleaning.
• Do not spray water directly onto the surface of the product when cleaning, as some electrical
components may get wet and subsequently damaged.
Cleaning the Water Tanks
1. Make sure the unit is off and unplugged before cleaning.
2. Remove the two screws , then remove the top cover, cold water tank cover and separator .
3. Pour about half a gallon of water into the cold water tank.
4. Place a large water bucket beneath the drain on the back of the water dispenser, then remove
the drain cover and drain the water .
5. Once draining is complete, replace the drain cover, separator, cold water tank cover and top
cover. Ensure the pump and wires are all connected properly before resuming regular use.
The hot water tank is not directly accessible, since the water inside is kept extremely hot.
You can drain the hot water tank from the drain plug in the back, but use caution, the
draining water will be extremely hot as well!
The machine should be disinfected separately and then cleaned thoroughly with water every three
months. To remove mineral deposits or fix clogged pipes, you should contact NewAir for assistance.
10
Page 11

Magic Chef® Water Dispenser Product Guide
Troubleshooting
Water is leaking.
• There may be a leak in the
• Unplug the dispenser, remove the
There is no hot or
• Overconsumption of hot or
• Wait a little while for the unit to
• Water is not ready after
• Wait up to one hour after setup for
• The power switches are
• Ensure that the red and green power
There is no water
• The water bottle may be
• Replace the water bottle.
The unit is noisy.
• The unit is not on a flat
• Place the machine on a flat and level
Water is leaking.
Problem Possible cause Solution
water bottle.
• There may be a leak in one
of the water pipes.
bottle and replace it.
• Contact NewAir for further assistance.
There is no hot or cold water.
Problem Possible cause Solution
cold water.
cold water in a short
amount of time.
initial setup.
not on.
produce more cold or hot water.
cold water, and 15-20 minutes for hot
water.
switches on the back of the unit are on.
There is no water flow.
Problem Possible cause Solution
flow.
• The pump or water tanks
The unit is noisy.
Problem Possible cause Solution
empty.
may be malfunctioning.
and level surface.
• Contact NewAir for further assistance.
surface.
11
Page 12

Magic Chef® Water Dispenser Product Guide
Limited Manufacturer’s Warranty
This appliance is covered by a limited manufacturer’s warranty. For one year from the original date of
purchase, the manufacturer will repair or replace any parts of this appliance that prove to be defective
in materials and workmanship, provided the appliance has been used under normal operating
conditions as intended by the manufacturer.
Warranty Terms
During the first year, any components of this appliance found to be defective due to materials or
workmanship will be repaired or replaced at the manufacturer’s discretion, and at no charge to the
original purchaser. The purchaser will be responsible for any removal or transportation costs.
Exclusions
The warranty will not apply if damage is caused by any of the following:
• Power failure
• Damage in transit or when moving the appliance
• Improper power supply, such as low voltage, defective household wiring, or inadequate fuses
• Accident, alteration, misuse, or abuse of the appliance, such as using non-approved accessories,
inadequate air circulation in the room or abnormal operating conditions (extreme
temperatures)
• Use in commercial or industrial applications
• Fire, water, damage, theft, war, riot, hostility, or acts of God, such as hurricanes, floods, etc.
• Use of force or damage caused by external influences
• Partially or completely dismantled appliances
Obtaining Service
When making a warranty claim, please have the original bill of purchase with purchase date available.
The purchaser will be responsible for any removal or transportation costs. Replacement parts and/or
units will be new, re-manufactured, or refurbished and are subject to the manufacturer’s discretion. Do
not use an unauthorized person to replace or fix a damaged main cord.
For technical support and warranty service, please email support@newair.com
12
 Loading...