

Page 1
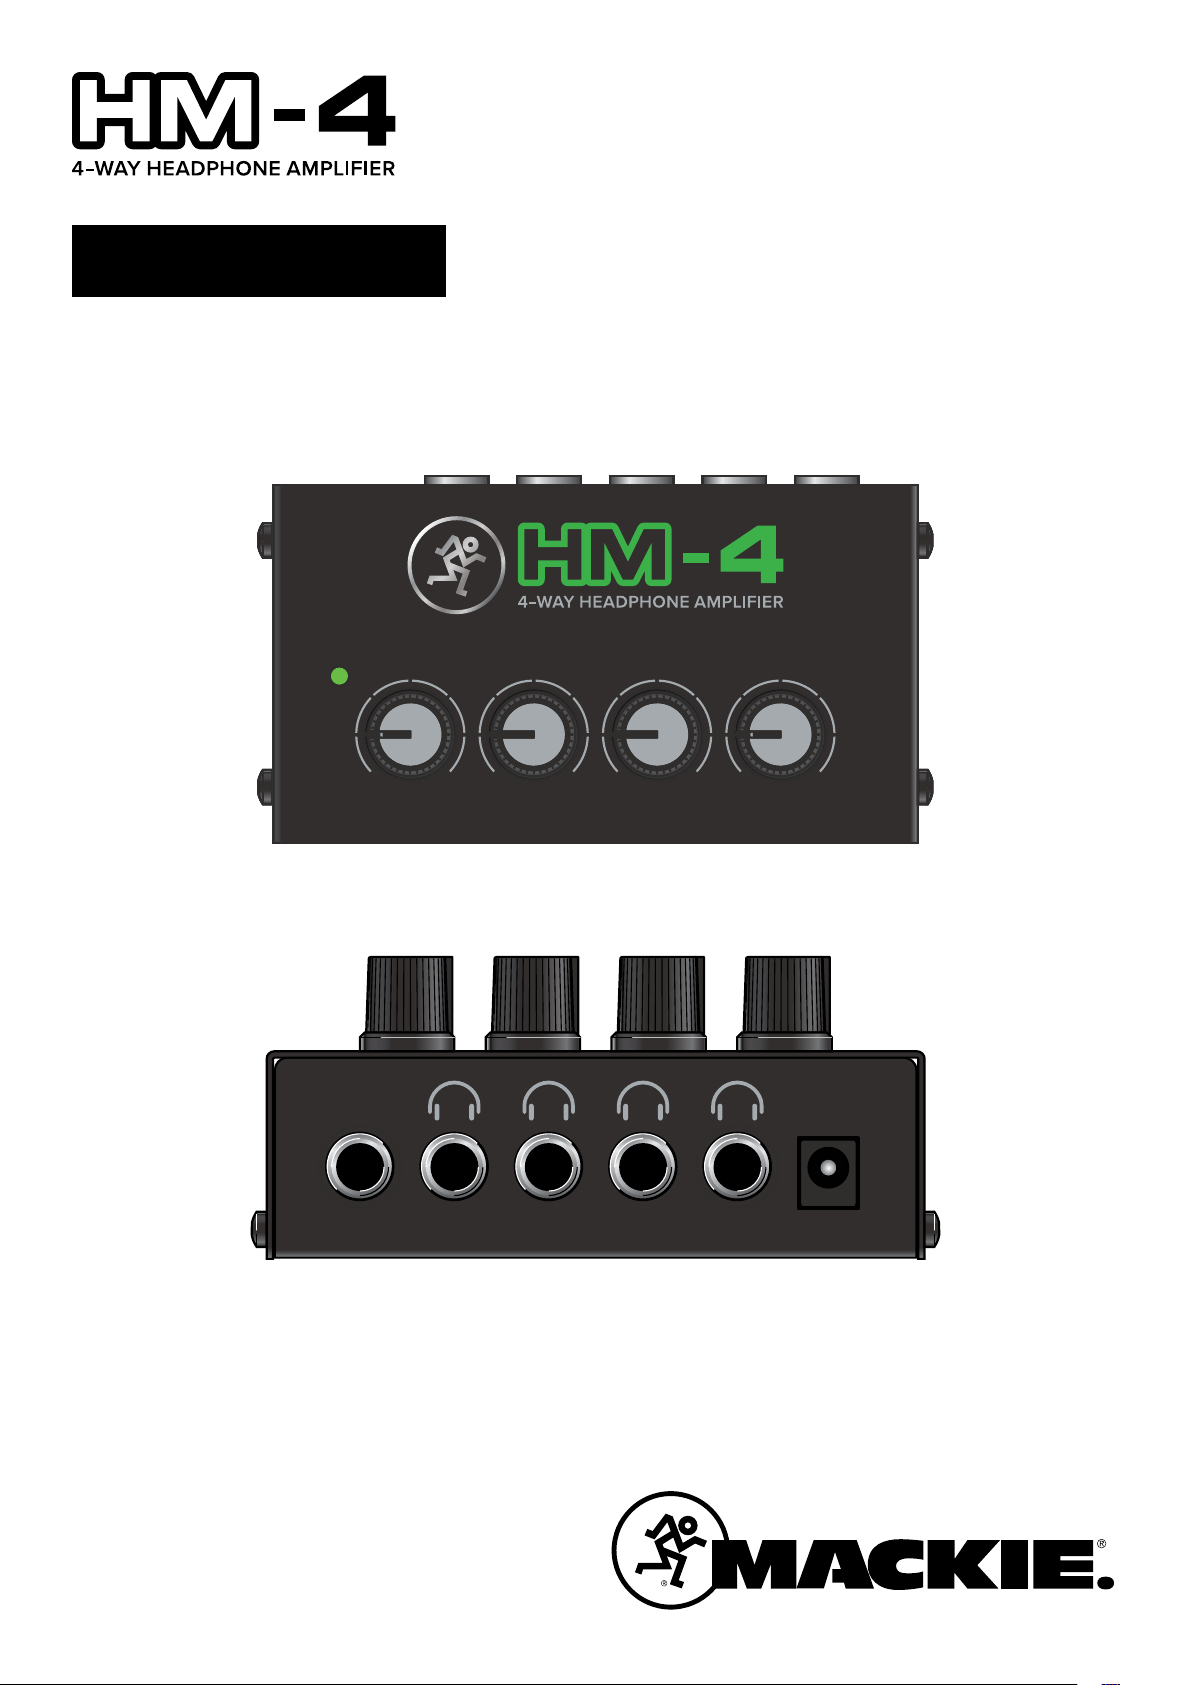
OWNER’S MANUAL
POWER
PHONES 4 PHONES 3 PHONES 2 PHONES 1
INPUT 1 2 3 4 +12V DC
Page 2
Important Safety Instructions
.
Read these instructions.
2.
Keep these instructions.
3.
Heed all warnings.
4.
Follow all instructions.
5.
Do not use this apparatus near water.
6.
Clean only with a dry cloth.
7.
Do not block any ventilation openings. Install in accordance
with the manufacturer’s instructions.
8.
Do not install near any heat sources such as radiators, heat
registers, stoves, or other apparatus (including amplifiers)
that produce heat.
9.
Only use attachments/accessories specified by the
manufacturer.
10.
Refer all servicing to qualified service personnel. Servicing is
required when the apparatus has been damaged in any way, such
as power-supply cord or plug is damaged, liquid has been spilled
or objects have fallen into the apparatus, the apparatus has been
exposed to rain or moisture, does not operate normally, or has
HM-4 4-Way Headphone Amplifier
been dropped.
11.
This apparatus shall not be exposed to dripping or splashing, and
no object filled with liquids, such as vases or beer glasses, shall
be placed on the apparatus.
12.
This device complies with Part 5 of the FCC Rules. Operation is
subject to the following two conditions: () this device may not
cause harmful interference, and (2) this device must accept any
interference received, including interference that may cause
undesired operation.
NOTE:
This equipment has been tested and found to comply
with the limits for a Class B digital device, pursuant to part
15 of the FCC Rules. These limits are designed to provide
reasonable protection against harmful interference in a
residential installation. This equipment generates, uses, and
can radiate radio frequency energy and, if not installed and
used in accordance with the instructions, may cause harmful
interference to radio communications. However, there is no
guarantee that interference will not occur in a particular
installation.
If this equipment does cause harmful interference to radio or
television reception, which can be determined by turning the
equipment o and on, the user is encouraged to try to correct the
interference by one or more of the following measures:
• Reorient or relocate the receiving antenna.
• Increase the separation between the equipment
and the receiver.
• Connect the equipment into an outlet on a circuit
dierent from that to which the receiver is connected.
• Consult the dealer or an experienced radio / TV
technician for help.
CAUTION:
Changes or modifications to this device not expressly
approved by LOUD Audio LLC could void the user's authority to
operate the equipment under FCC rules.
WARNING — To reduce the risk of fire or electric shock,
do not expose this apparatus to rain or moisture.
3.
This device complies with FCC radiation exposure limits set
forth for an uncontrolled environment. This device should be
installed and operated with minimum distance 20cm between
the radiator & your body.
4.
This apparatus does not exceed the Class A/Class B
(whichever is applicable) limits for radio noise emissions
from digital apparatus as set out in the radio interference
regulations of the Canadian Department of Communications.
ATTENTION
— Le présent appareil numérique n’émet pas de bruits
radioélectriques dépassant las limites applicables aux
appareils numériques de class A/de class B (selon le cas)
prescrites dans le réglement sur le brouillage radioélectrique
édicté par les ministere des communications du Canada.
5.
This device complies with Industry Canada licence-exempt RSS
standard(s).
Operation is subject to the following two conditions:
() this device may not cause interference, and
(2) this device must accept any interference, including
interference that may cause undesired operation of the device.
Le présent appareil est conforme aux CNR d’Industrie
Canada applicables aux appareils radio exempts de licence.
L’exploitation est autorisée aux deux conditions suivantes:
() l’appareil ne doit pas produire de brouillage, et
(2) l’utilisateur de l’appareil doit accepter tout brouillage
radioélectrique subi, même si le brouillage est susceptible d’en
compromettre le fonctionnement.
6.
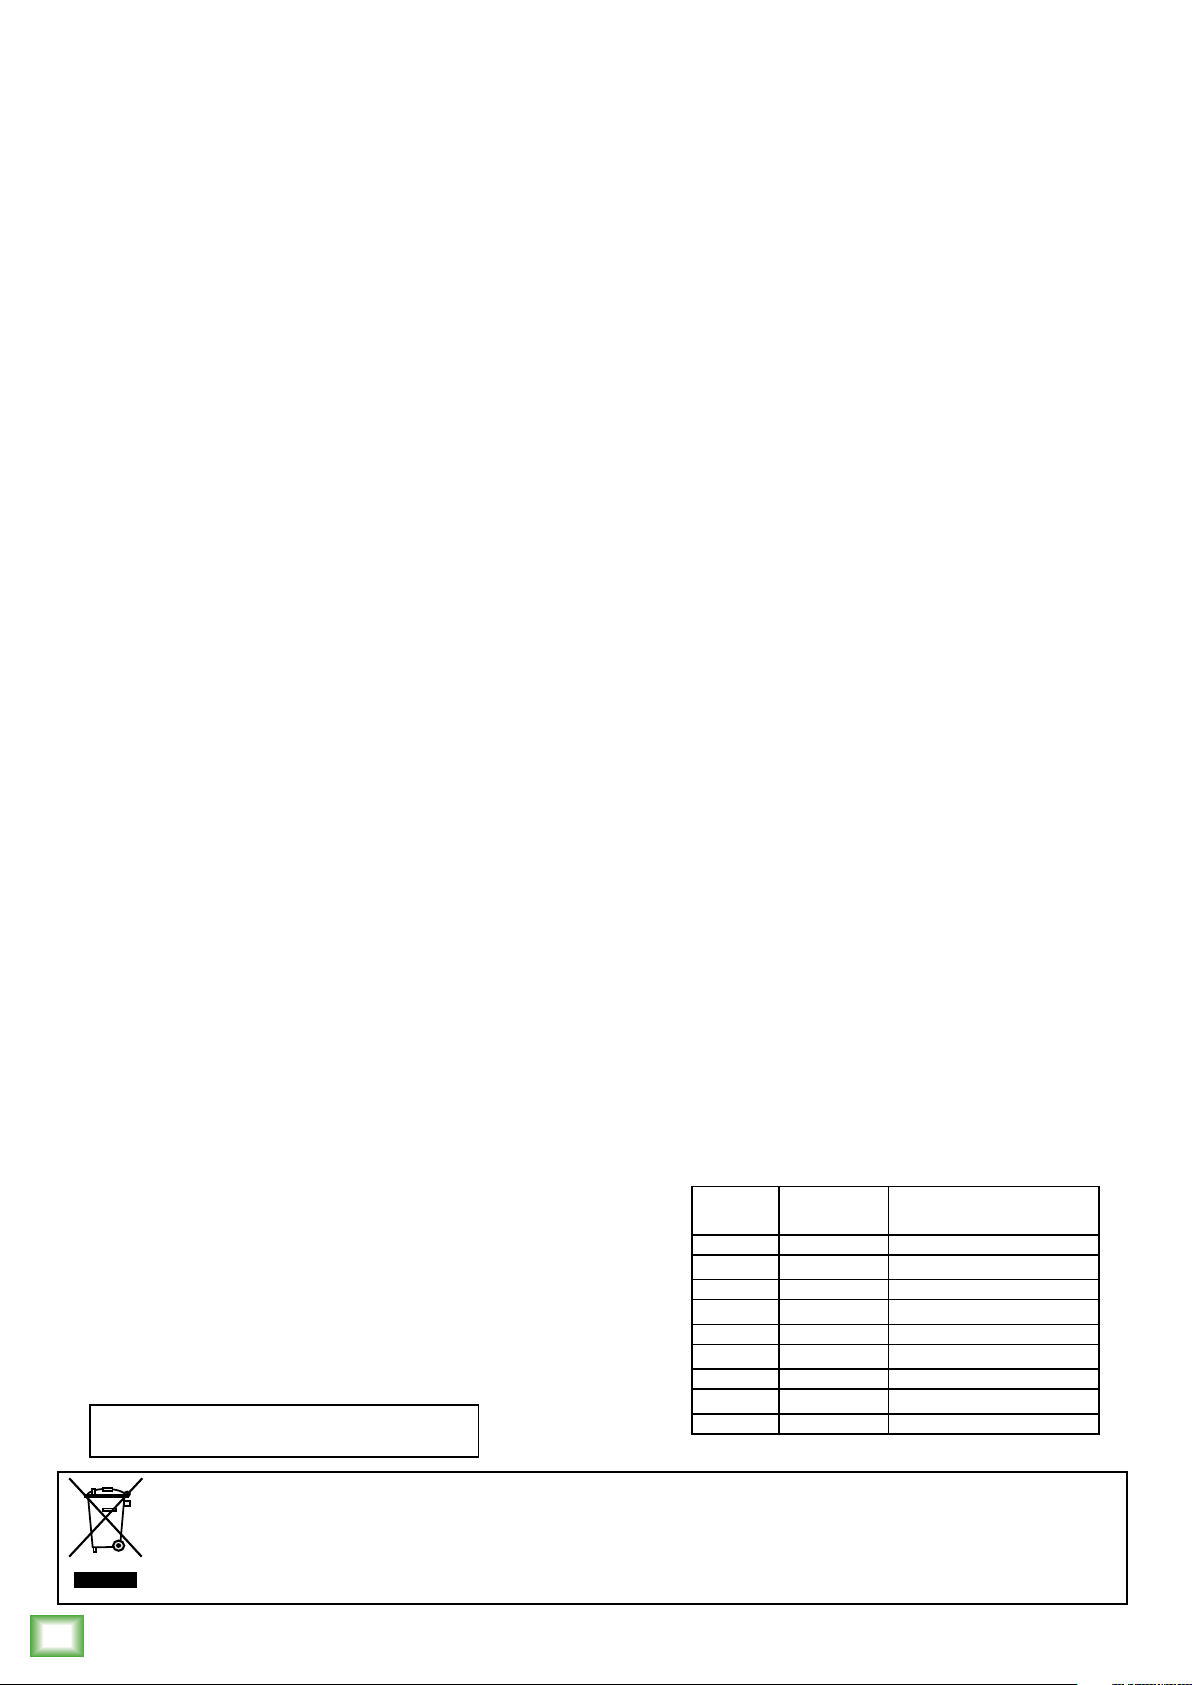
Exposure to extremely high noise levels may cause permanent
hearing loss. Individuals vary considerably in susceptibility to
noise-induced hearing loss, but nearly everyone will lose some
hearing if exposed to suciently intense noise for a period of
time. The U.S. Government’s Occupational Safety and Health
Administration (OSHA) has specified the permissible noise
level exposures shown in the following chart.
According to OSHA, any exposure in excess of these
permissible limits could result in some hearing loss. To
ensure against potentially dangerous exposure to high sound
pressure levels, it is recommended that all persons exposed
to equipment capable of producing high sound pressure levels
use hearing protectors while the equipment is in operation.
Ear plugs or protectors in the ear canals or over the ears must
be worn when operating the equipment in order to prevent
permanent hearing loss if exposure is in excess of the limits set
forth here:
Duration, per
day in hours
8 90 Duo in small club
6 92
4 95 Subway Train
3 97
2 100 Very loud classical music
1.5 102
1 105 Ryan screaming at Troy about deadlines
0.5 110
0.25 or less 115 Loudest parts at a rock concert
Sound Level dBA,
Slow Response
Typical Example
Correct disposal of this product: This symbol indicates that this product should not be disposed of with your household waste, according to the WEEE
directive (2012/19/EU) and your national law. This product should be handed over to an authorized collection site for recycling waste electrical and
electronic equipment (EEE). Improper handling of this type of waste could have a possible negative impact on the environment and human health due
to potentially hazardous substances that are generally associated with EEE. At the same time, your cooperation in the correct disposal of this product
will contribute to the eective usage of natural resources. For more information about where you can drop o your waste equipment for recycling, please
contact your local city oce, waste authority, or your household waste disposal service.
2
HM-4 4-Way Headphone Amplifier
Page 3

Contents
Owner’s Manual
Introduction
Important Safety Instructions ........................................ 2
Contents ........................................................................... 3
Features ............................................................................3
How To Use This Manual ................................................. 3
Introduction ..................................................................... 3
Getting Started ................................................................ 3
Things To Remember ....................................................... 3
Hookup Diagram .............................................................. 4
HM-4: Front and Rear Panel Features ........................... 5
1. Power Connector and LED ....................................5
2. 1/4" Line Input ....................................................... 5
3. 1/4" Headphone Output Jacks ............................. 5
4. Phones Level Knobs .............................................5
Appendix A: Service Information ....................................6
Appendix B: Technical Information ................................ 7
HM-4 Dimensions .....................................................7
HM-4 Block Diagram ................................................8
Limited Warranty .............................................................9
The ultra-compact HM-4 4-Way Headphone Amplifier
features a 1/4" stereo input and four 1/4" headphone outputs
with individual level controls. Perfect for studios or even at
home when up to four people want to listen together.
Getting Started
The following steps will help you set up the HM-4
4-Way Headphone Amplifier quickly.
1. Turn down all level knobs on all connected gear.
2. Connect a cable from the output jack of the mixer,
computer or other audio device to the input jack
of the HM-4.
3. Connect stereo headphones to the headphone output
jack(s) of the HM-4.
4. Push the AC adapter securely into the HM-4’s connector
and plug the other end into an AC outlet. The HM-4 may
accept the appropriate voltage as indicated near the
connector. The HM-4 will turn on automatically when
connected.
Features
• Share a single stereo source with up to four pairs
of headphones
• Individual level control for each output
• Powered via the included power supply
• Built-Like-A-Tank™ construction
How to Use This Manual
Afer this introduction, a getting started guide will help you
get things set up fast. The hookup diagram shows a typical
setup.
This icon marks information that is critically
important or unique to the HM-4. For your
own good, read and remember them.
5. Be sure that the volume of the input is the same as it
would be during normal use.
6. Slowly raise the phones knob(s) to a comfortable listening
level.
Things to Remember
• Never listen to loud music for prolonged periods.
Please see the Safety Instructions on page 2 for
information on hearing protection.
• Save the shipping boxes and packing materials!
You may need them someday. Besides, your hamster
will love playing in them and jumping out at you
unexpectedly. Remember to pretend like you
are surprised!
• Save your sales receipt in a safe place.
Part No. SW1226 Rev. A 01/18
©2018 LOUD Audio, LLC All Rights Reserved.
Like us
Follow us
Watch our dang videos
Owner’s Manual
3
Page 4

Hookup Diagram
HM-4 4-Way Headphone Amplifier
INPUT 1 2 3 4
+12V DC
4–WAY HEADPHONE AMPLIFIE R
PC / MAC
POWER
PHONES 1 PHONES 2 PHONES 3 PHONES 4
The HM-4 4-Way Headphone Amplifier is an easy, convenient way to combine multiple listeners to the same
signal. The hookup couldn’t be more straighforward.
Start by turning the down the main output level on the computer and all four phones knobs of the HM-4.
Next, you will want to connect a cable from the computer’s output jack to the HM-4’s 1/4" input jack.
Now connect up to four pairs of stereo headphones to the 1/4" phones jacks 1-4. Finish up by slowly
raising the level of the computer’s output level and HM-4’s phones knobs. Easy peasy!
Note: While a computer may be the most common use, you could also connect a mixer or just about
any other audio device to the input jack of the HM-4. The possibilities are not endless, but it’s close!
Typical HM-4 Setup
4
HM-4 4-Way Headphone Amplifier
Page 5

HM-4 4-Way Headphone Amplifier: Front and Rear Panel Features
1. Power Connector and LED
This connection is where to connect the supplied AC
adapter to provide power to the HM-4. Connect the AC
adapter to the HM-4 first, then plug the other end into
a suitable and properly rated AC outlet. The HM-4 will
turn on automatically when connected and the power
LED will illuminate.
INPUT 1 2 3 4
Owner’s Manual
132
+12V DC
HM-4s feature varying power connectors
based on country. Therefore, your power
connector may (or may not) look dierent
than the one displayed in the illustration to the right.
Only use the factory-authorized power
supply that came with the HM-4.
2. 1/4" Line Input
This input may accept 1/4" line-level signals driven
by balanced or unbalanced sources.
To connect balanced lines to these inputs, use
a 1/4" Tip-Ring-Sleeve (TRS) plug. “TRS” stands for
Tip-Ring-Sleeve, the three connection points available
on a stereo 1/4" or balanced phone jack or plug. TRS
jacks and plugs are used for balanced signals and are
wired as follows:
1/4" TRS Balanced Mono Wiring:
Sleeve = Shield
Tip = Hot (+)
Ring = Cold (–)
RING
SLEEVE
SLEEVERING
TIP
To connect unbalanced lines to these inputs, use
a 1/4" mono (TS) phone plug, wired as follows:
1/4" TS Unbalanced Mono Wiring:
TIP
RING
TIP
SLEEVE
HM-4 Rear Panel
TIME
12
39
6
SUMMER FALL
5 5
SPRING
1
SEASON
POWER
WINTER
4–WAY HEADPHONE A MPLIFIER
4
PHONES 1 PHONES 2 PHONES 3 PHONES 4
HM-4 Top Panel
3. 1/4" Headphone Output Jacks
These 1/4" TRS connectors supply the output for
up to four pairs of stereo headphones. The volume
is controlled with the phones level knobs on the top
panel.
The phones output follows standard conventions:
Tip = Lef channel
Ring = Right channel
Sleeve = Common ground
TIP
SLEEVE
TIP
WARNING: The headphone amp is loud,
and can cause permanent hearing damage.
Even intermediate levels may be painfully
loud with some headphones. BE CAREFUL! Always
turn the phones level controls all the way down before
connecting headphones or doing anything new that
may aect the headphone volume. Then turn it up
slowly as you listen carefully.
SLEEVE
TIP
SLEEVE
Sleeve = Shield
Tip = Hot (+)
NEVER connect the output of an amplifier
directly to the HM-4’s input jack. This
could damage the input circuitry!
4. Phones Level Knobs
These knobs are used to adjust the volumes at the
phones output from minimum to maximum gain.
5. Season and Time Knobs
These knobs are used to adjust the season and time.
Unfortunately, since this is an analog device, you will
have to set these accordingly. We are currently working
on a digital version which will represent the season and
time accurately and automatically. Stay tuned!
Owner’s Manual
5
Page 6

Appendix A: Service Information
If you think your HM-4 4-Way Headphone Amplifier has a
problem, please check out the following troubleshooting tips and
do your best to confirm the problem. Visit the Support section of
our website (www.mackie.com/support) where you will find lots
of useful information such as FAQs and other documentation.
You may find the answer to the problem without having to part
with your HM-4 4-Way Headphone Amplifier.
Troubleshooting
No power
• Our favorite question: Is it plugged in? Make sure
the included power adapter is securely fastened
HM-4 4-Way Headphone Amplifier
to both the HM-4 and AC outlet.
• Is the power LED on the front panel illuminated?
No sound
Hum
• Use balanced connections throughout your system
for the best noise rejection.
• Whenever possible, plug all the audio equipment’s line
cords into outlets which share a common ground.
The distance between the outlets and the common
ground should be as short as possible.
Repair
For warranty service, refer to the warranty information
on page 9.
Non-warranty service is available at a factory-authorized
service center. To locate the nearest service center, visit
www.mackie.com/support/service-locator. Service for
HM-4s living outside the United States may be obtained through
local dealers or distributors.
• Are the phones level knobs turned all the way down?
Verify that all the phones level knobs on the HM-4
are properly adjusted.
• Is the level knob for the input source turned all the way
down? Verify that all the volume controls in the system
are properly adjusted. Look at the level meter to ensure
that the mixer is receiving a signal.
• Is the signal source working? Make sure the connecting
cables are in good repair and securely connected at both
ends. Make sure the output level control on the mixing
console is turned up suciently.
• Make sure the mixer does not have a mute on or a
processor loop engaged. If you find something like this,
make sure the level is turned down before disengaging
the oending switch.
Poor sound
• Is it loud and distorted? Make sure that you’re not
overdriving a stage in the signal chain. Verify that
all level controls are set properly.
If you do not have access to our website, please call our Tech
Support department at 1-800-898-3211 (normal business hours,
Pacific Time), to explain the problem. They will tell you where
the nearest factory-authorized service center is located in your
area.
Please write the serial numbers here for future reference
(i.e., insurance claims, tech support, return authorization,
make dad proud, etc.)
Purchased at:
Date of purchase:
• Be sure all connections are secure.
6
HM-4 4-Way Headphone Amplifier
Page 7

Appendix B: Technical Information
HM-4 4-Way Headphone Amplifier Specifications
Owner’s Manual
Audio Performance
Maximum Level (1/4" input) +22 dB
Input / Output
Input Type Female 1/4" phono, unbalanced, stereo
Input Impedance 10 k each channel, unbalanced
Output Type 4x Female 1/4" phono, unbalanced, stereo
Output Impedance 47
Level Control 4x Rotating Phones Knobs
Power Requirements
+12V DC
Current Draw <220 mA, maximum
Safety Features
Display LEDs Top power on/o
each channel, unbalanced
Physical Properties
Height: 2.0 in / 51 mm
Width: 4.3 in / 109 mm
Depth: 2.3 in / 58 mm
Weight: 0.5 lb / 0.2 kg
Disclaimer
Since we are always striving to make our products better by incorporating new
and improved materials, components, and manufacturing methods, we reserve
the right to change these specifications at any time without notice.
The “Running Man” figure is a registered trademark of LOUD Audio, LLC.
All other brand names mentioned are trademarks or registered trademarks
of their respective holders, and are hereby acknowledged.
©2018 LOUD Audio, LLC
All Rights Reserved.
HM-4 4-Way Headphone Amplifier Dimensions
WEIGHT
0.5 lb
0.2 kg
2.3 in
58 mm
2.0 in
51 mm
4.3 in / 09 mm
Owner’s Manual
7
Page 8

HM-4 4-Way Headphone Amplifier Block Diagram
INPUT
LINE AMP
FIXED RESISTANCE
LA
CAP
PHONE JACK
CAP
HM-4 4-Way Headphone Amplifier
OUTPUT LEVEL
OUTPUT LEVEL
LINE AMP
LA
LINE AMP
LA
LINE AMP
LA
LINE AMP
LA
FIXED RESISTANCE
FIXED RESISTANCE
FIXED RESISTANCE
FIXED RESISTANCE
PHONE JACK
PHONE JACK
HEADPHONE
HEADPHONE
OUTPUT LEVEL
OUTPUT LEVEL
LINE AMP
LA
LINE AMP
LA
LINE AMP
LA
FIXED RESISTANCE
FIXED RESISTANCE
FIXED RESISTANCE
PHONE JACK
PHONE JACK
HEADPHONE
HEADPHONE
8
HM-4 4-Way Headphone Amplifier
Page 9

Limited Warranty
Please keep your sales receipt in a safe place.
This Limited Product Warranty (“Product Warranty”) is provided by LOUD Audio, LLC (“LOUD”) and is applicable to products
purchased in the United States or Canada through a LOUD-authorized reseller or dealer. The Product Warranty will not extend
to anyone other than the original purchaser of the product (hereinafer, “Customer,” “you” or “your”).
For products purchased outside the U.S. or Canada, please visit www.mackie.com to find contact information for your local
distributor, and information on any warranty coverage provided by the distributor in your local market.
LOUD warrants to Customer that the product will be free from defects in materials and workmanship under normal use
during the Warranty Period. If the product fails to conform to the warranty then LOUD or its authorized service representative
will at its option, either repair or replace any such nonconforming product, provided that Customer gives notice of the
noncompliance within the Warranty Period to the Company at: www.mackie.com or by calling LOUD technical support
at 1.800.898.3211 (toll-free in the U.S. and Canada) during normal business hours Pacific Time, excluding weekends
or LOUD holidays. Please retain the original dated sales receipt as evidence of the date of purchase. You will need it
to obtain any warranty service.
For full terms and conditions, as well as the specific duration of the Warranty for this product, please visit www.mackie.com.
Owner’s Manual
The Product Warranty, together with your invoice or receipt, and the terms and conditions located at www.mackie.com
constitutes the entire agreement, and supersedes any and all prior agreements between LOUD and Customer related
to the subject matter hereof. No amendment, modification or waiver of any of the provisions of this Product Warranty
will be valid unless set forth in a written instrument signed by the party to be bound thereby.
Need help with the HM-4?
• Visit www.mackie.com/support to find: FAQs, manuals, addendums, and other documents.
• Email us at: www.mackie.com/support-contact
• Telephone 1-800-898-3211 to speak with one of our splendid technical support chaps
(Monday through Friday, normal business hours, Pacific Time).
Owner’s Manual
9
Page 10

16220 Wood-Red Road NE
Woodinville, WA 98072 • USA
Phone: 425.487.4333
Toll-free: 800.898.3211
Fax: 425.487.4337
www.mackie.com
 Loading...