


Installation Manual
CS1 is ready to make your home energy efficient and more comfortable. Follow these easy steps to get started.
LUX Products offers installation and product videos Please visit LuxProducts.com/videos or visit our YouTube channel LUX Products Corporation. To contact LUX Technical Support, please call 856.234.8803.
For more information about installation settings, please visit
LuxProducts.com/CS1manual
Para ver estas instrucciones en español, por favor visite
LuxProducts.com/CS1manualsSP
This manual is a comprehensive guide to installation and wiring.
1. START HERE
1 |
2 |
5 |
|
||
|
|
|
|
3 |
|
|
4 |
|
6 |
|
|
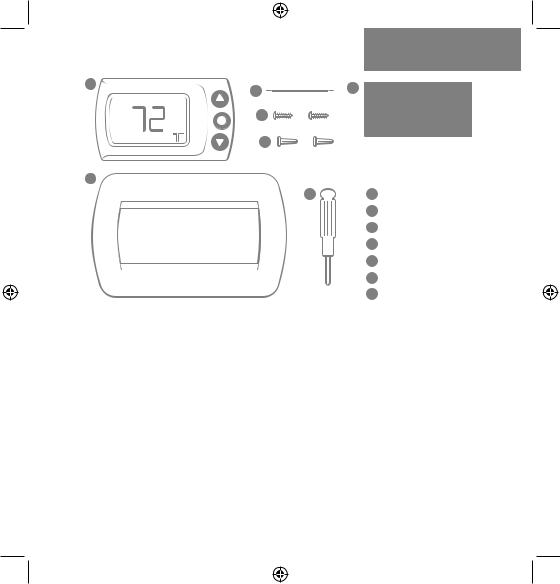
INSIDE THE BOX: |
||
|
|
|
|
|
|
|
|
7 |
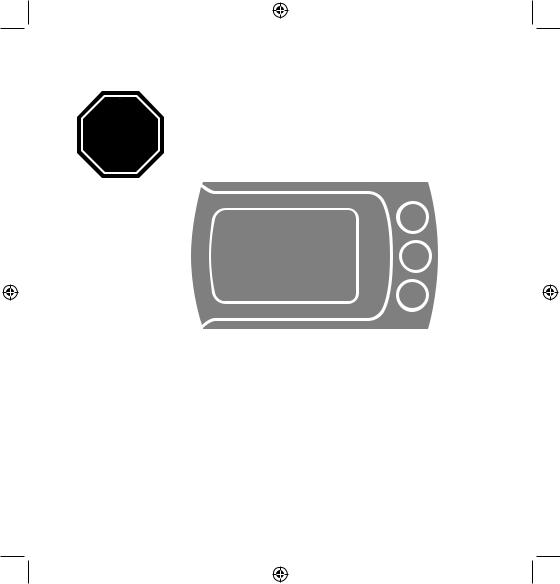
1 |
CS1 Thermostat |
|
|
|
|
2 |
Power Wire |
|
|
|
|
3 |
Mounting Screws |
|
|
|
|
4 |
Wall Anchors |
|
|
|
|
5 |
Wire Labels |
|
|
|
|
6 |
Wall Plate |
|
|
|
|
7 |
Screwdriver |
|
|
Required Tools: |
|
|
|
|
|
-Phillips Screwdriver |
-Smartphone |
|
||
|
Optional Tools: |
|
|
|
|
|
-Power Drill |
-Wire Stripper |
|
||
Table of Contents |
|
|
|
|
|
1. |
Start Here.......................................................................................... |
|
|
|
2-5 |
2. |
Installing with a C-Wire.............................................................. |
|
|
|
6-9 |
3. |
Installing with Power Wire (Included).............................. |
|
10-13 |
||
4. |
Installing with LUX Power Bridge (Not Included)...... |
14-17 |
|||
5. |
HVAC System Setup................................................................. |
|
|
|
18-21 |
6. |
Connecting to the Network................................................ |
|
|
22-25 |
|
7. |
Appendix....................................................................................... |
|
|
|
26-31 |
LuxProducts.com | 3
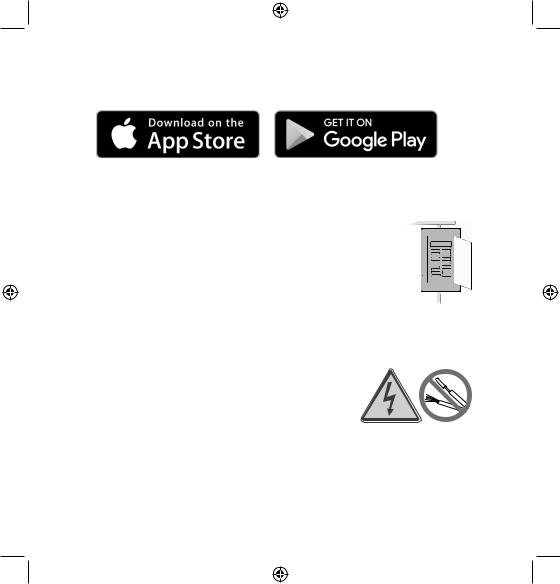
Step 1.1: Download the LUX Products App to your mobile device and create an account.
Step 1.2: Now set your phone aside and turn off the power at the circuit breaker to both your heating and cooling systems
before performing any wiring.
Step 1.3: Confirm that your heating and cooling system is powered down by changing the temperature on your thermostat.
Hint: Your system should not make any noise and you should not feel any air exiting your vents.
Step 1.4: Remove the front of your old thermostat from its base. If you see thick black wires, wire nuts,
or any labels that say 120-240VAC or High Voltage, your system is not compatible with CS1. Please call LUX Technical Support
at 856.234.8803 before proceeding with your installation. If you do not see any high voltage labels or wires, you can continue with your installation.
4 | 856.234.8803
1. START HERE
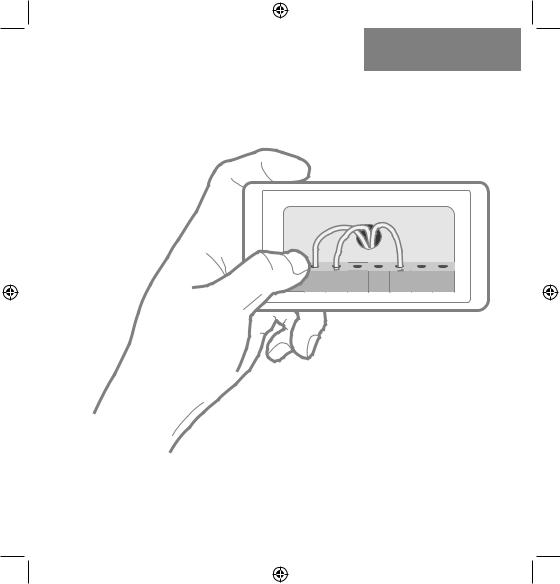
Step 1.5: Use the included wire labels to mark which wire is connected to each terminal in your old thermostat.
Take a picture of your current wiring layout, you will need this picture later.
1 |
1 |
1 |
NOTE: If you have any wires at your thermostat that are not coming from the wall, please leave those wires in your old thermostat. They are not needed for installing your CS1.
Step 1.6: Confirm that you have a C-Wire. If you do, please turn to the next page. If you do not, please skip ahead to page 10.
LuxProducts.com | 5
|
Installing with a C-wire |
STOP |
Before starting |
Turn off the power at the circuit breaker |
|
to both your heating and cooling systems |
|
|
before performing any wiring. |
Step 2.1: Identify your system configuration (see wiring diagrams in appendix). Potential configurations include:
•Conventional 1H/1C (Y, G, W, R, C)
•Conventional 2H/1C (Y, G, W, W2, R, C)
•Heat Pump Single-Stage (Y, G, R, O/B, C)
•Heat Pump with auxiliary heat or dual fuel (Y, G, R, O/B, W, C) If you have only one R wire, please use the RH terminal. If
you have a different configuration other than what is listed above, please call LUX Technical Support for help with your
installation.
6 | 856.234.8803
INSTALLATION WITH
2. C-WIRE
Step 2.2: Remove each wire from its terminal – make sure that they don’t fall down back into the wall.
Step 2.3: Remove the mounting screws from the base of the old thermostat. Remove the base from the wall.
Step 2.4: If you would like to use the trim plate or wall anchors, you can install them now.
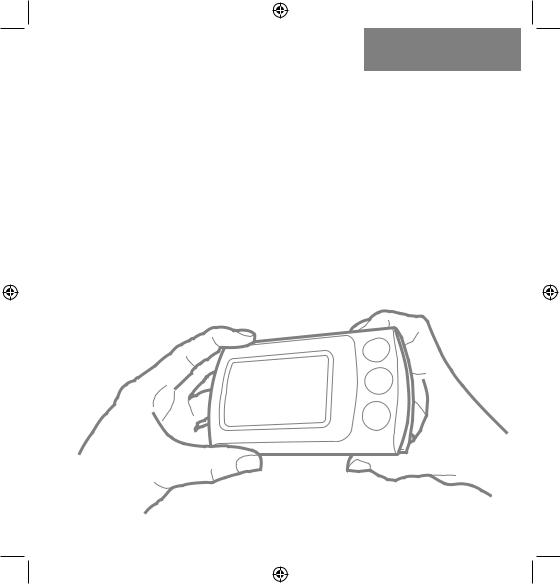
Step 2.5: Separate CS1 from its base, pull the halves apart from the bottom edge. Pull the wires from your wall through the center hole of the CS1 base. Secure the base to the wall using the included mounting hardware.
LuxProducts.com | 7
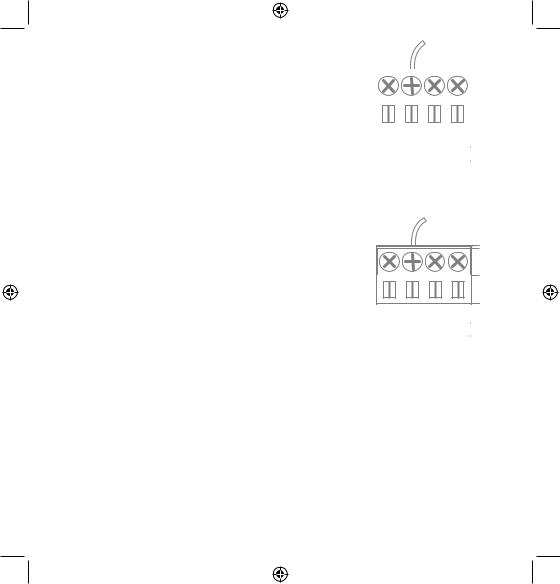
Option 1 - Conventional (furnace) Systems: Step 2.6(f): Following the terminal labels marked “Conventional” on the thermostat base, loosen the screw and insert each labeled wire into the top hole of the
corresponding terminal, tighten the screw.
|
|
|
|
|
|
|
|
|
|
|
|
|
|
|
|
|
|
|
|
|
C |
W1 |
W2 |
|
|
C |
W1 |
O/B |
|
1 |
4 |
2 |
|
|
Step 2.7(f): If you have both an RC and RH wire present, then remove the red cap located on the left side of the
terminal pins. You can now skip ahead to step 2.8.
Option 2 - Heat Pump Systems:
Step 2.6(hp): Following the terminal labels marked “Heat Pump” on the thermostat base and referencing your wiring photo, loosen the
screw and insert each labeled wire into the top |
|
|
|
|
|
|
C |
W1 |
W2 |
|
|
hole of the corresponding terminal, tighten the |
|
C |
W1 |
O/B |
|
screw. |
1 |
4 |
2 |
|
|
|
|
|
|
|
If your old thermostat did not have a W1 wire but did have a W2 wire, please insert the W2 wire into the W1 terminal.
Step 2.7(hp): If you have both an O wire and a B wire (i.e. in some systems), please install the B wire to the “C” terminal.
For more detailed directions, please see the wiring diagrams in the appendix or call LUX Technical Support.
8 | 856.234.8803

INSTALLATION WITH
2. C-WIRE
Installation with C-wire
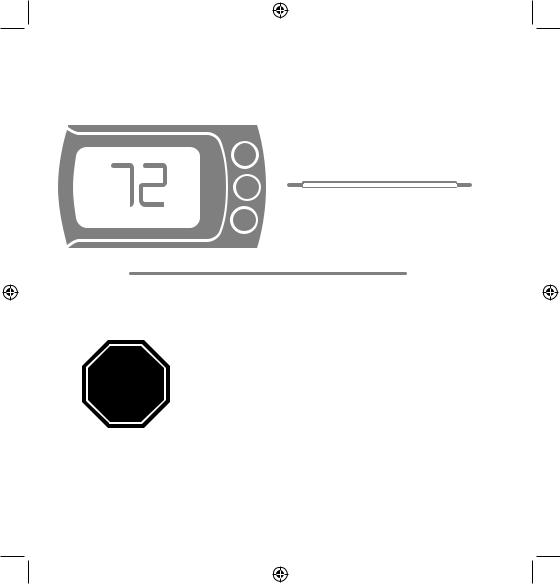
Step 2.8: Securely fasten CS1 onto its base. Once it has clicked into place, return power to your heating and
cooling system.
Step 2.9: After your thermostat powers up, you are ready to configure CS1 for your heating and cooling system and connect to a wireless network.
Please skip ahead to the “System Setup” section of this manual on page 18.
LuxProducts.com | 9
Installing without a C-Wire Using the LUX Power Wire (included)
1. Install and wire CS1
2. Install LUX Power Wire
(at your furnace)
For installation without C-wire, you will need to access your furnace.
Before starting
STOP Turn off the power at the circuit breaker to both your heating and cooling systems before performing any wiring.
Installation without C-wire
Hint: helpful videos showing how to wire a thermostat with the LUX Power Wire are available at:
LuxProducts.com/videos
10 | 856.234.8803
 Loading...