

Page 1
NREY737C
I
NSTRUCTION MANUAL
CAL. Y717 (RYZ SERIES)
CAL. Y737 (RZM SERIES)
■ CHARACTERISTICS
1. Time and calendar:
•Hour, minutes, seconds, year, month, date
and day of the week.
•Fully automatic calendar: The calendar
adjusts automatically for odd and even
months including February of leap years.
•Time indication: Changeover between
12- and 24-hour indications is possible.
2. Stopwatch: Measures up to 99 hours, 59
minutes and 59 seconds in 1⁄100 second
increments for the first hour and in 1second increments thereafter.
•Split time measurement
3. Countdown timer: Up to 99 hours and
59 minutes can be set in minute increments.
•
After the set time is up, the timer counts
up the time up to 59 minutes and 59 seconds.
•The set time can be used repeatedly unless
canceled.
4. Daily alarm: The alarm can be set to
ring on a 24-hour basis.
•
Hourly time signal: Can be set to ring
every hour on the hour with a single beep.
5. Dual time: The time of a different time
zone can be displayed.
6. Illuminating light: The light illuminates
the display for easy viewing in the dark.
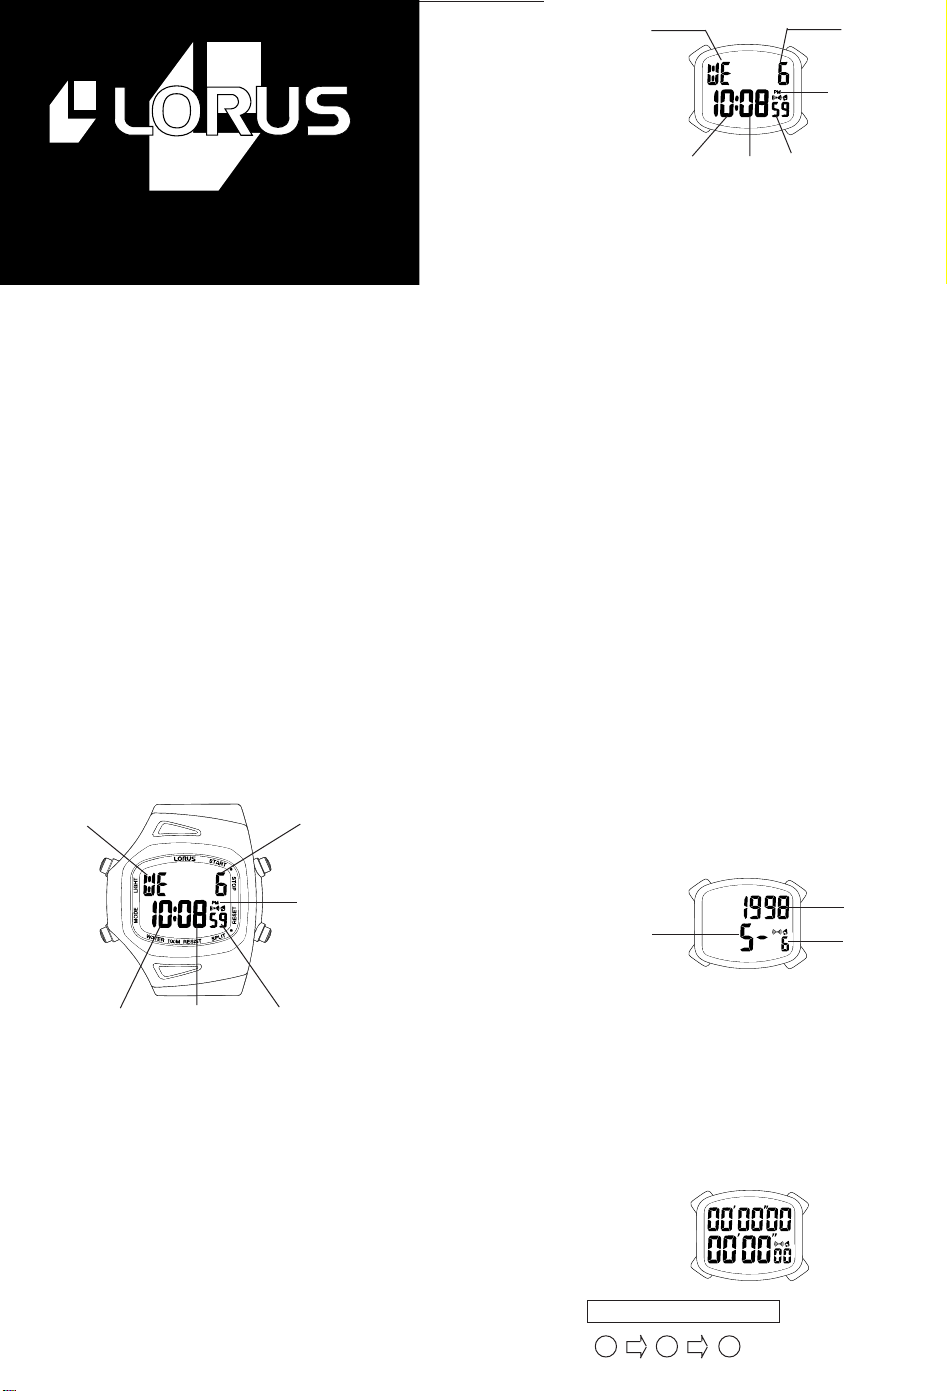
■BUTTONS AND DISPLAYS
Day Date
B
A
C
PM
mark
D
05-98
■ TIME/CALENDAR MODE
DateDay
←
SecondsHour
Date
C
PM mark
D
←
C
↓
Month
Year
Date
B
A
Minutes
1. Press button “A” to show the TIME/CALENDAR
mode.
2. Press button “A” for 2 to 3 seconds to
show the time/calendar setting display.
The second digits start flashing.
3. Selection of the digits to be adjusted (flashing)
is made in the following order by pressing
button “C”.
Seconds→Minutes→Hour→Year
↑
12- or 24-hour indication
4. Press button “D” to set the flashing digits.
One digit is advanced with each press of
the button. Digits except seconds and 12/24-hour indication move quickly by keeping
button “D” pressed.
● Seconds setting
Press button “D” in accordance with a
time signal. The seconds are reset to
“00” and start immediately.
When the seconds count any number
from “30” to “59” and button “D” is pressed,
one minute is added and the seconds
are reset to “00”.
5. After all the adjustments are completed,
press button “A” to return to the TIME/
CALENDAR mode.
Notes:
1. When setting the hour digits in the 12hour indication, check that AM/PM is set
properly. Only “PM” mark is displayed.
For the AM setting, there is no indication.
In the 24-hour indication, “24” is displayed.
2. Once the year, month and date have been
set, the day of the week is set automatically.
3. If the watch is left untouched in the time/
calendar setting display with the digits
flashing, it will automatically return to
the TIME/CALENDAR mode in 2 to 3 minutes.
Showing the calendar display
• Press and hold button “C” in the TIME/
CALENDAR mode. While the button is
kept pressed, the year, month and date are
displayed.
Month
SecondsHour Minutes
With each press of button “A”, the selection of
the mode can be made in the following order:
TIME/CALENDAR
mode
A
➡➡
DUAL TIME
mode
A
A
STOPWATCH
➡➡
➡➡
ALARM mode
mode
➡➡
TIMER
mode
➡➡
A
A
STOPWATCH MODE
■
• The stopwatch can measure up to 99 hours,
59 minutes and 59 seconds.
• It measures in 1⁄100 second increments for
the first hour and in 1-second increments
thereafter.
Stopwatch operation
Press button “A” to show the STOPWATCH
mode. “Chrono” is displayed first, and then
the STOPWATCH mode appears.
B
A
Standard measurement
C
StartCStopDReset
C
D
Page 2
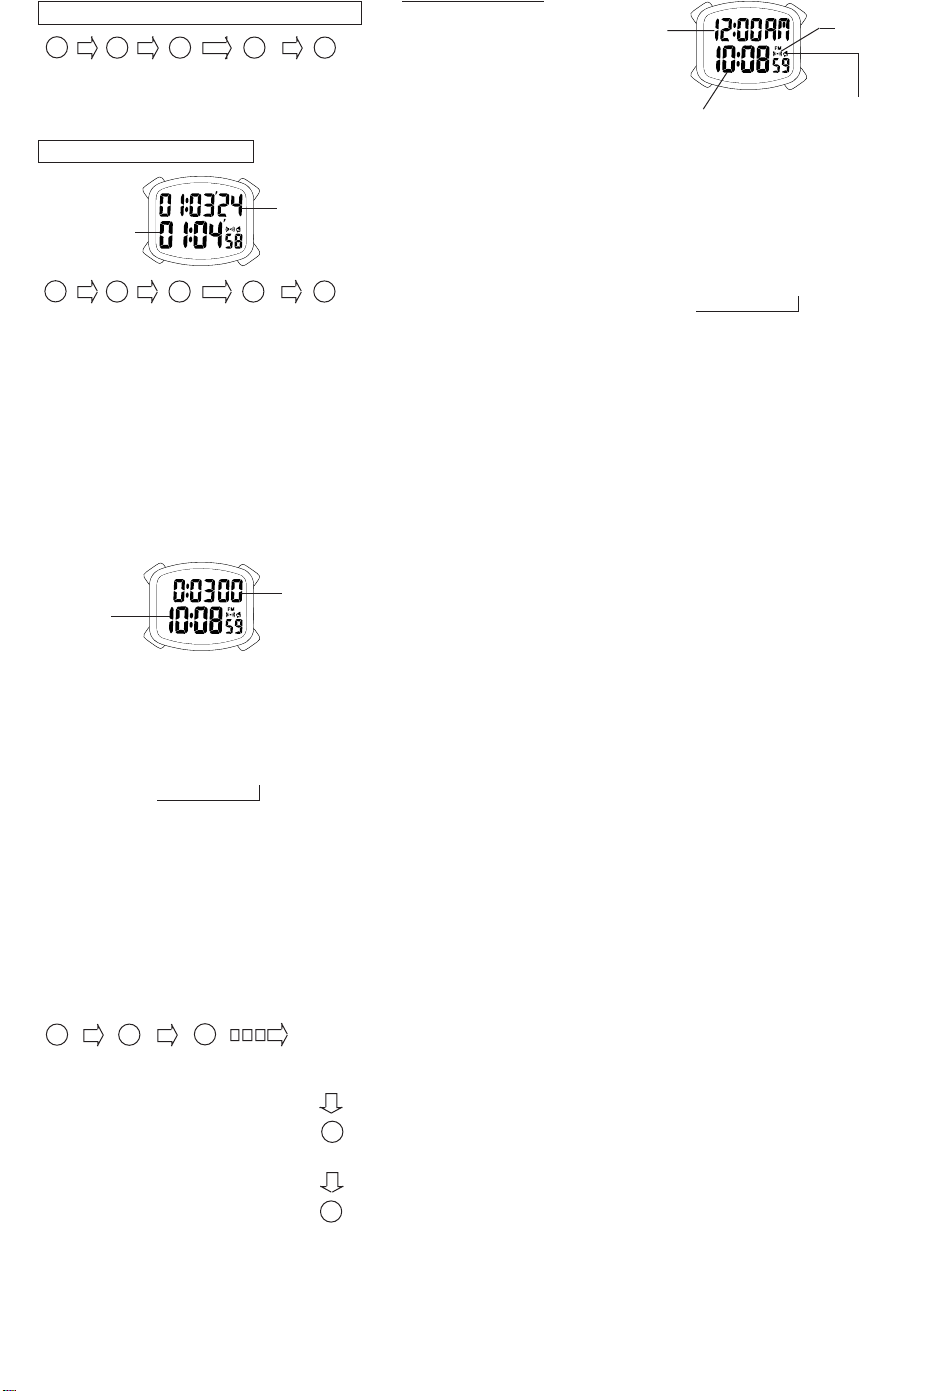
Accumulated elapsed time measurement
C
StartCStopCRestart
** Restart and stop of the stopwatch can be
repeated by pressing button “C”.
Split time measurement
B
Accumulated
elapsed time
A
C
StartDSplit 1DSplit 2
** Split time can be measured repeatedly by
pressing button “D”.
■
TIMER MODE
• Up to 99 hours and 59 minutes can be set in
minute increments.
• After the set time is up, the timer counts
up the time up to 59 minutes and 59 seconds.
• The set time can be used repeatedly unless
canceled.
Press button “A” to show the TIMER mode.
“TIMER” is displayed first, and then the TIMER
mode appears.
B
Current
time
A
Timer setting
1. Press button “A” for 2 to 3 seconds to
show the timer setting display. The hour
digits start flashing.
2. Press button “C” to select the digits to be
adjusted (flashing).
Hour
→
C
**
StopDReset
C
D
C
**
StopDReset
C
D
Minutes
Split time
Set time
↑
3. Press button “D” to set the flashing digits.
One digit is advanced with each press of
the button. Digits move quickly by keeping
button “D” pressed.
4.
After all the adjustments are completed, press
button “A” to return to the TIMER mode
* If the watch is left untouched in the timer
setting display with the digits flashing,
it will automatically return to the TIMER
mode in 2 to 3 minutes.
Timer operation
Press the buttons in the following order.
C
StartCStopCRestart
** Restart and stop of the timer
can be repeated by pressing button
“C”.
* When the set time is up, a warning
sound beeps for 20 seconds. To
stop it manually, press any of
the buttons.
Notes:
1. After the set time is up, the
timer counts up the time up to
59 minutes and 59 seconds.
2. Once the timer is set, the set
time is retained and can be used
repeatedly unless it is readjusted.
**
Time-up
* Warning
sound
beeps.
C
Stop
D
Reset
.
Minutes
C
Alarm
mark
DA
Hourly time
signal mark
Set
alarm time
Current time
1. Press button “A” to show the ALARM mode.
“ALARM” is displayed first, and then the
ALARM mode appears.
2. Press button “A” for 2 to 3 seconds to
show the alarm setting display. The hour
digits (and “AM”/“PM” mark if the time is
set in the 12-hour indication) start flashing.
3. Press button “C” to select the digits to be
adjusted (flashing).
Hour
→
↑
4. Press button “D” to set the flashing digits.
One digit is advanced with each press of
the button. Digits move quickly by keeping
button “D” pressed.
■ ALARM MODE
• The alarm can be set to ring on a 24-hour
basis.
Page 3
5.
After all the adjustments are completed, press
button “A” to return to the ALARM mode.
Notes:
1. When the time function is displayed in the
24-hour indication, the alarm is also displayed
in the 24-hour indication.
2. When setting the hour digits in the 12-
hour indication, check that AM/PM is properly
set. In the 24-hour indication, there is no
indication.
3. If the watch is left untouched in the alarm
setting display with the digits flashing, it
will automatically return to the ALARM
mode in 2 to 3 minutes.
Engagement/disengagement of the alarm
& turning on/off of the hourly time signal
•
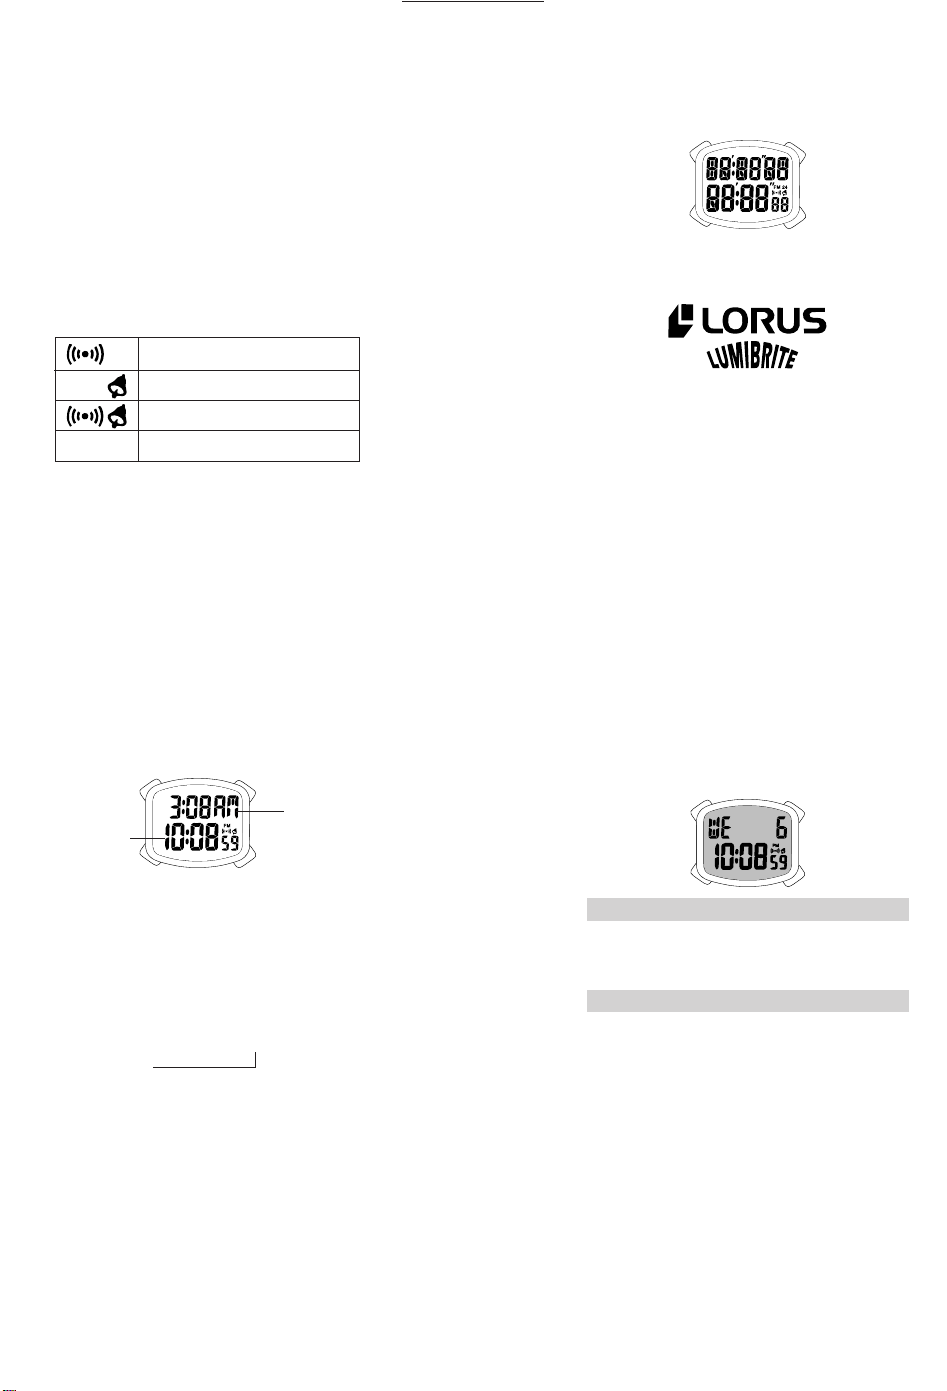
With each press of button “C” in the ALARM
mode, the alarm and hourly time signal are
engaged and disengaged in the following order.
Alarm engaged
Hourly time signal engaged
Both engaged
Neither engaged
• At the designated time, the alarm rings for
20 seconds and stop. To stop it manually,
press any of the buttons.
• The alarm can be tested by keeping button
“C” pressed in the ALARM mode.
Checking the set alarm time
• Press and hold button “D” in the TIME/
CALENDAR mode. While the button is
kept pressed, the alarm time that has been
set is displayed.
Note:
When the alarm is disengaged, the set alarm
time will not be displayed.
■ DUAL TIME MODE
• The time of a different time zone can be
displayed.
B
Main time
A
1. Press button “A” to show the DUAL TIME
mode. “dUAL” is displayed first, and then
the DUAL TIME mode appears.
2. Press button “A” for 2 to 3 seconds to
show the dual time setting display. The
hour digits (and “AM”/“PM” mark if the
time is set in the 12-hour indication) start
flashing.
3. Press button “C” to select the digits to be
adjusted (flashing).
Hour
→
C
Dual time
D
Minutes
↑
4. Press button “D” to set the flashing digits.
One digit is advanced with each press of
the button. Digits move quickly by keeping
button “D” pressed.
5. After all the adjustments are completed,
press button “A” to return to the DUAL
TIME mode.
Notes:
1. When the time function is displayed in the
24-hour indication, the dual time is also
displayed in the 24-hour indication.
2. When setting the hour digits in the 12-
hour indication, check that AM/PM is properly
set. In the 24-hour indication, there is no
indication.
3. If the watch is left untouched in the dual
time setting display with the digits flashing,
it will automatically return to the DUAL
TIME mode in 2 to 3 minutes.
■ NOTE ON UNUSUAL DISPLAY
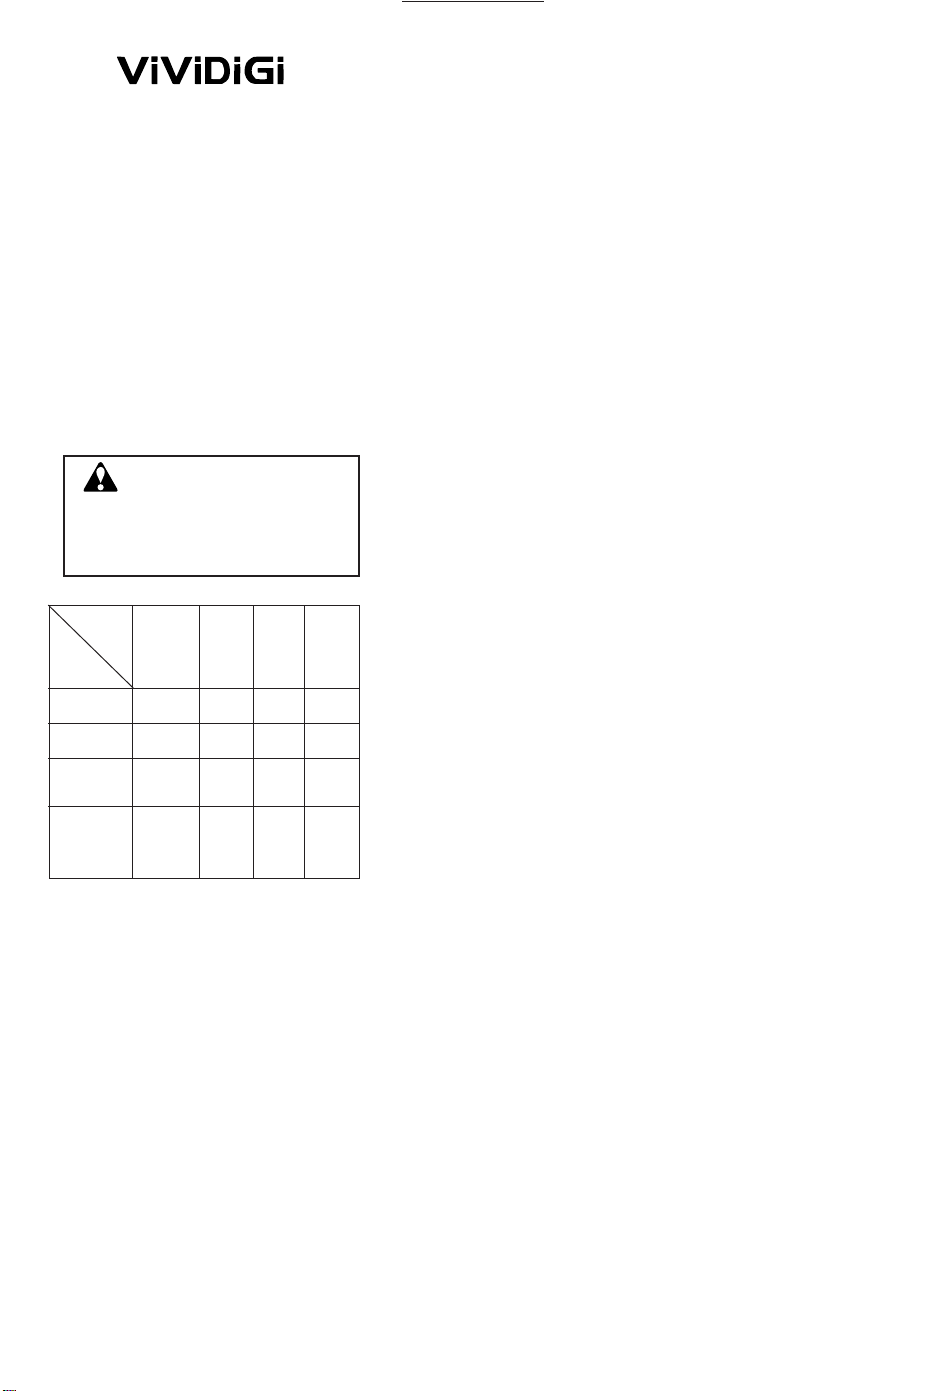
While in the time/calendar setting display
with the digits flashing, the display as shown
below will appear if both buttons “C” and “D”
are pressed successively in a short time. This
is not a malfunction. Press button “A”, “C” or
“D” to return to the TIME/CALENDAR mode,
and then set the time/calendar again.
C
DA
■ LUMIBRITE WATCH
(dial, hands, buttons, case, bezel, strap, etc.)
✩ If your watch is a LORUS LUMIBRITE watch,
it has following features.
LORUS LUMIBRITE watches absorb and store
light energy from natural and artificial light
sources and emit light in the dark. They are
made of environmentally friendly material,
and therefore, are harmless to human beings
and the environment.
• With a full charge, LORUS LUMIBRITE
watches glow in the dark hours longer than
conventional luminous watches of this type.
If exposed to a light of more than 500 lux
(i.e., the brightness of a typical office) for
approximately 10 minutes, or direct sunlight
for 2 minutes, they will glow for hours.
• Since LORUS LUMIBRITE watches emit
the light they store, the brightness will
decrease gradually over time. The length
of time they will glow may also differ slightly
depending on such factors as the brightness
of and distance from the light source used
to charge the watch.
■ ILLUMINATING LIGHT
B
Cal. Y717
Press button “B” in any mode. The light
illuminates the display for 4 seconds for
easy viewing in the dark.
Cal. Y737
Press button “B” in any mode. The
electroluminescent light evenly illuminates
the display for 4 seconds for easy viewing in
the dark.
Notes:
1. The watch works with one battery. When
the light begins to lose its luminance,
this is an indication that the battery is
depleted. We recommend that you change
the battery before the watch itself stops.
2. If the light is used continuously for a
long time, the battery life may be less
than the specified period.
■ ViViDiGi
ViViDiGi is a new type of liquid crystal panel
that makes possible various colors and high
contrast.
• Excellent light reflection and transmission
make the display bright and clear.
• Various color options are available.
Page 4
• Either the whole panel or the displayed
data only can be illuminated.
* Features vary in different models.
■ BATTERY CHANGE
The miniature battery SEIKO CR2025 or Matsushita
CR2025, which powers your watch should last
approximately 3 years. However, because it
is inserted at the factory, the actual life of
the battery once in your possession may be
less than 3 years.
Be sure to replace the battery to prevent any
possible malfunction as soon as it runs down.
To replace the battery, we recommend taking
the watch to a local watch repair shop.
Note:
If the illuminating light is used for more than
4 seconds a day, the alarm more than 20
seconds a day and/or the timer warning sound
more than 20 seconds a day, the battery life
may be less than the specified period.
■ CARE OF YOUR LORUS WATCH
• BATTERY
CAUTION
Do not expose the old battery to
fire or recharge it. Keep it at a
place beyond the reach of children. If a child swallows it,
consult a doctor immediately.
• WATER RESISTANT
Condition
Accidental
of use
contact with
No
water, such
as splashes
and rain
*
Indication on
the dial/
case back
indication
WATER
RESISTANT
WATER
RESISTANT
(50 M/5 BAR)*
WATER
RESISTANT
100 M/
10 BAR or
()
above
* If your watch is 200 M/20 BAR, 100 M/10
BAR or 50 M/5 BAR water resistant, it is so
indicated on the dial/case back.
• Do not operate the buttons when the watch
is wet.
• If the watch is exposed to salt water, rinse
it in fresh water and then wipe it thoroughly
dry.
Caution:
Leather straps are not water resistant except
so indicated, even if the watch head is water
resistant.
• ALLERGIC REACTION
Because the case and band touch the skin
directly, it is important to clean them
regularly. If not, shirt sleeves may be
stained and those with delicate skin may
develop a rash. Please wear the watch
with some play to avoid any possible allergic
reaction. If you develop a rash on your
wrist, stop wearing and consult a physician.
• MAGNETISM
Your watch will not be affected by magnetism generated by household electric
appliances.
• SHOCKS AND VIBRATIONS
Your watch may be worn for normal sports
activities, but be careful not to drop it or
hit it on hard surfaces.
Swimming and
taking a
shower
NO
YES NO NO NO
YES
YES YES YES NO
Skin
Scuba
diving
diving
NO NO NO
YES NO NO
• TEMPERATURE
Your watch is preadjusted so that constant
accuracy may be insured at normal temperature.
■ SERVICE
When your LORUS watch requires repair or
servicing, please see the enclosed
WARRANTY/GUARANTEE.
Printed in Hong Kong
 Loading...