

Page 1
Technology Department
Linksys Router Setup Guide
Teachers/Staff
Ver. 1.3 OS X
This guide is intended to help you set up the Linksys Wireless Router
in your home. You will then be able to use your QV laptop wirelessly in
your home as well as share your Internet connection with any other
computers you may have.
IMPORTANT NOTES:
• In order to use this router you MUST have either a Cable or
DSL Internet connection. This will NOT work with Dial-up
service.
• You will also need to have a member of the technology staff
perform a short update to your QV laptop computer’s
configuration.
Step 1.
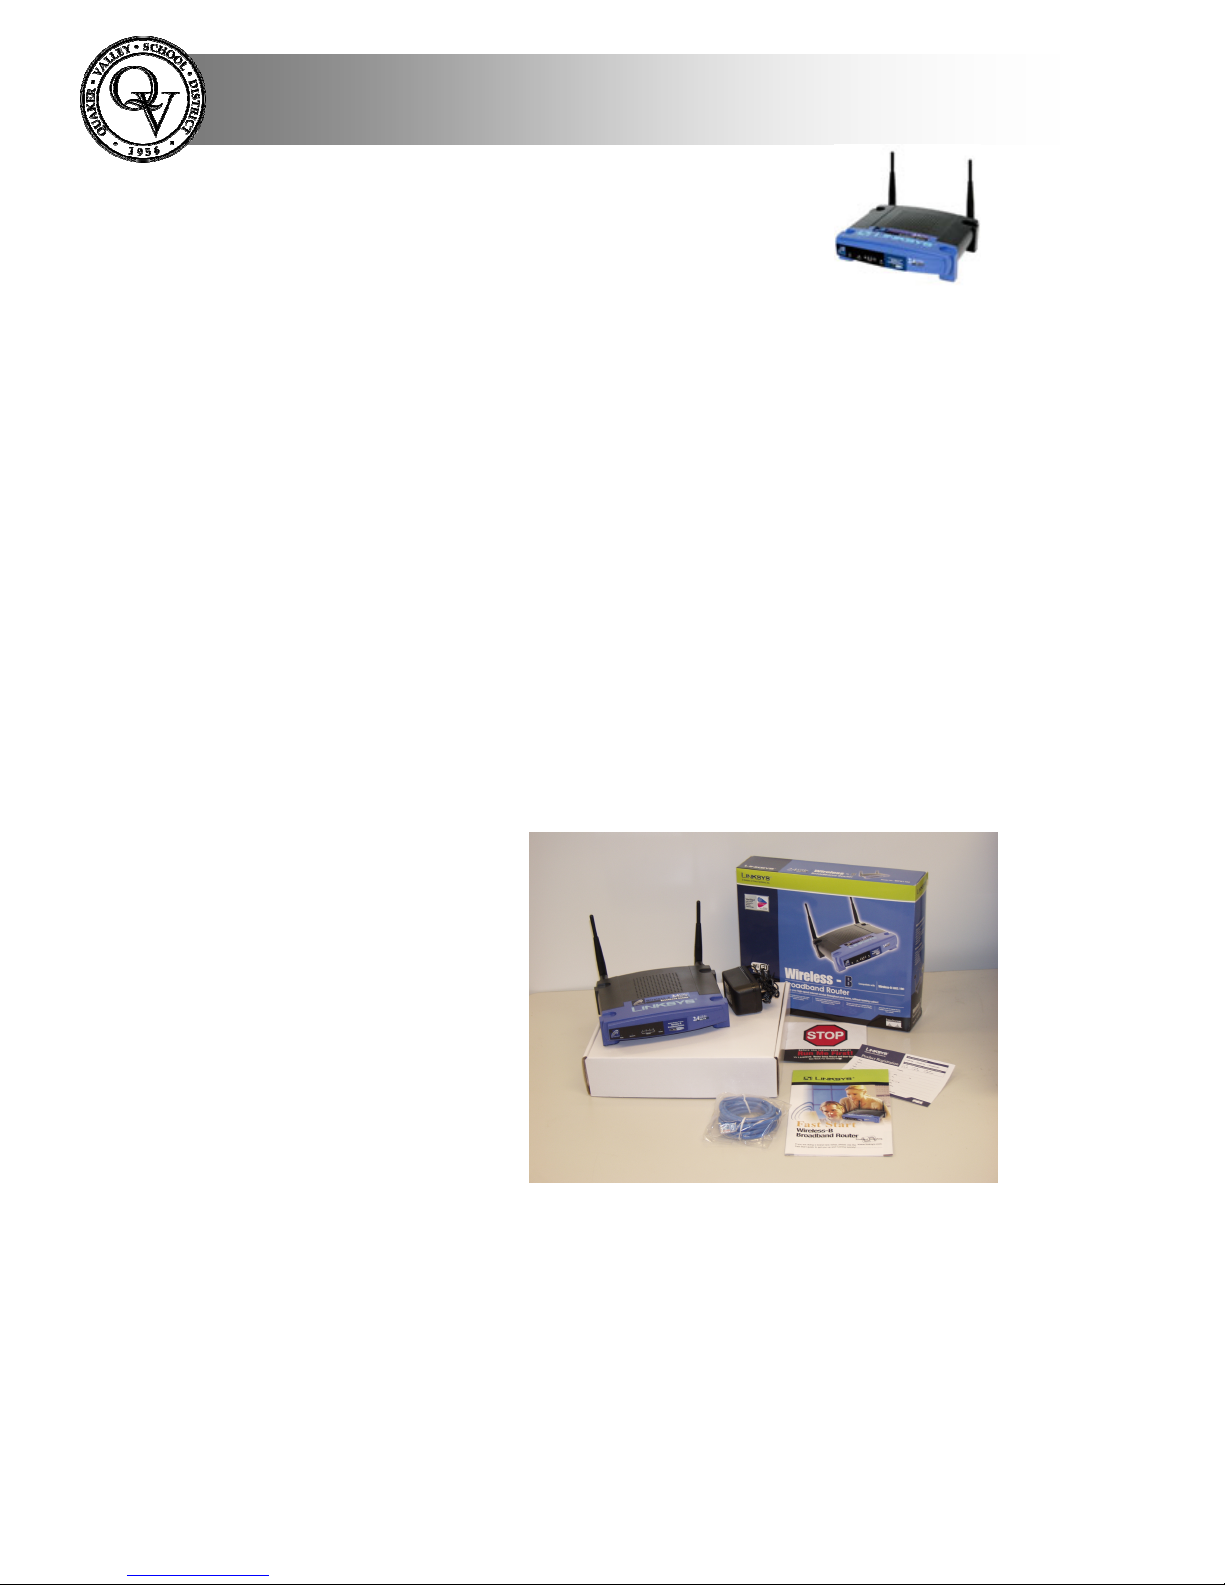
A. Unpacking the router.
In the router package you will find the following parts:
• Router
• Power supply
• Ethernet (cat5)
cable
• CD ROM
labeled “STOP”
• Quick Start
Guide
Please place the Quick Start Guide and CD off to the side. They will not be
used in most installations, but can be referred to if necessary. The CD
contains a Microsoft Windows only set-up wizard, and the instruction
manual in PDF form.
Page 2
Technology Department
B. Making the Connections.
1. The first step is to power-down your cable/DSL modem by
unplugging it, and turning off your computers.
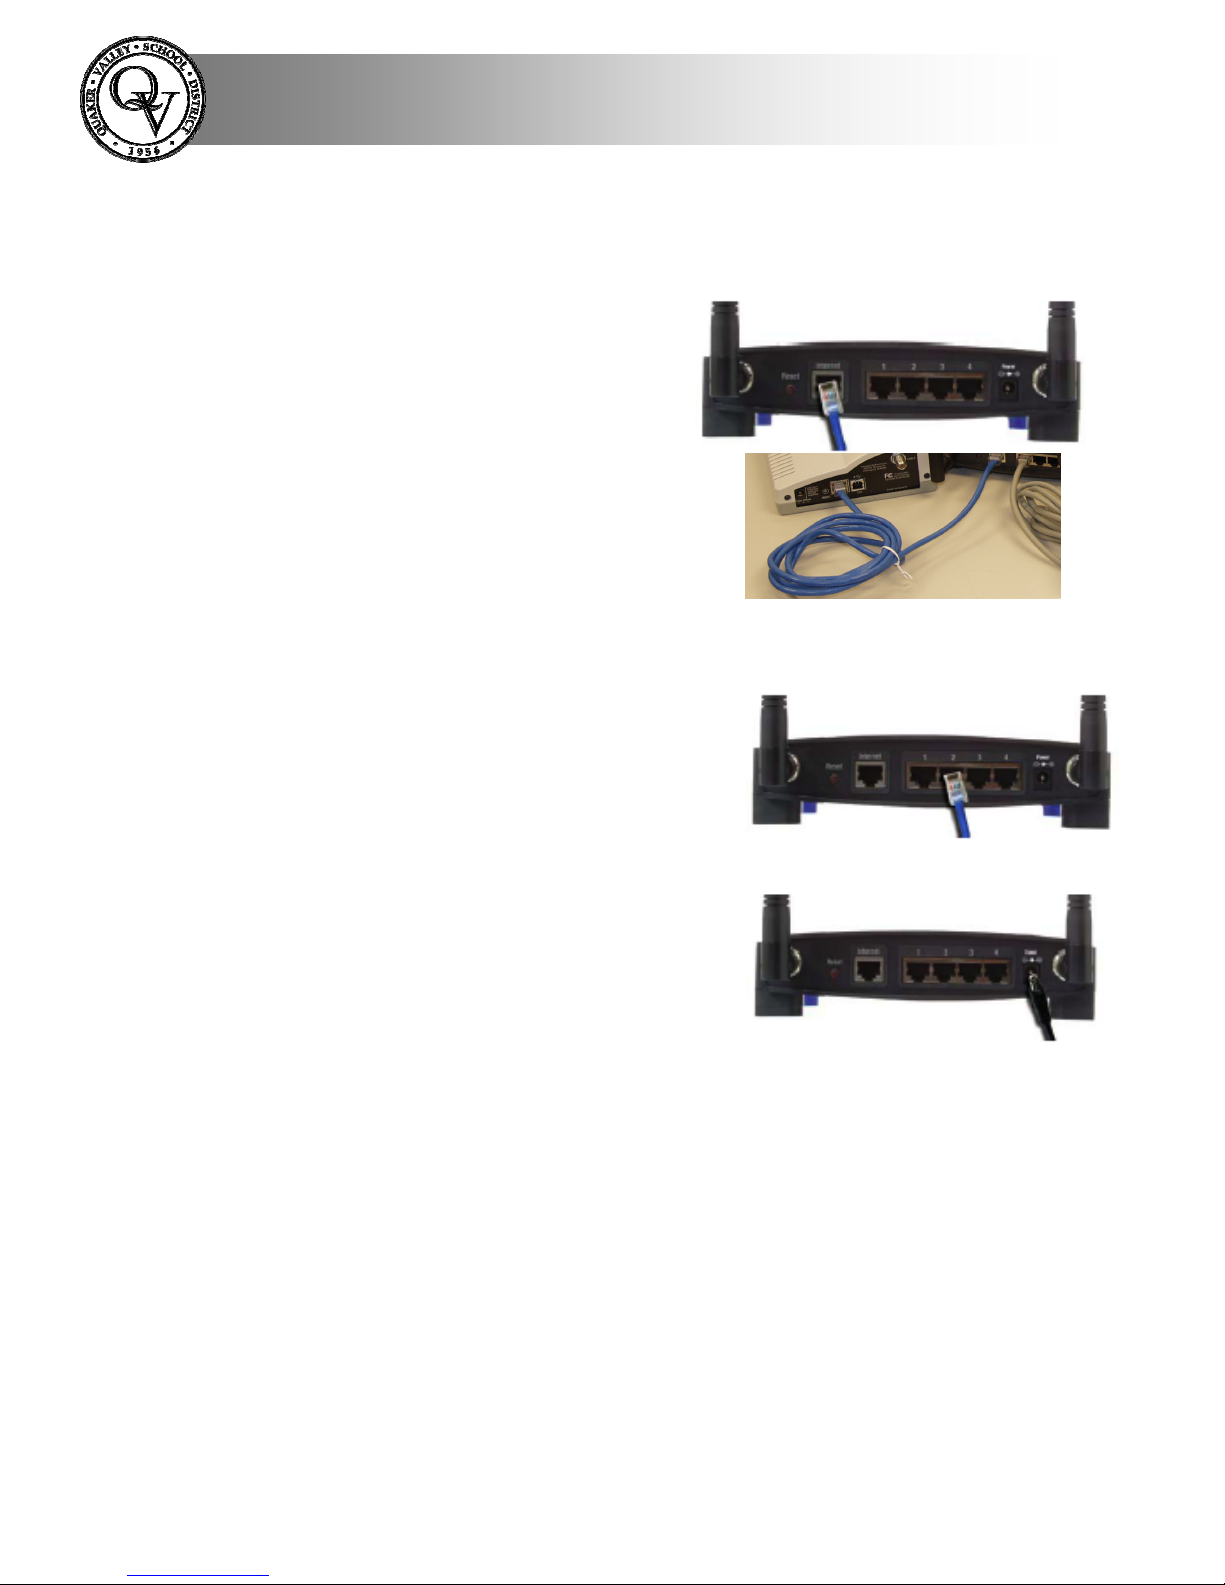
2. The next step is to connect the
cable/DSL modem to the router.
Your modem is most likely
connected directly to your home
computer with an Ethernet cable at
this time. Disconnect that cable
from the modem and plug in the
supplied blue cable. The other end of
the blue Ethernet cable gets plugged
into the Router’s Internet port. (See
photos at right)
3. Now plug the Ethernet cable from your
home computer into one of the 4
Ethernet ports on the back of the router.
Do not connect your QV laptop to these
ports.
4. Next connect the Power Adapter
(included) to the Router’s power port
and then plug it in a power outlet. The
Power LED on the front of the router
will light up when it is plugged in.
5. Next power-on the cable/DSL modem by plugging it back in. The
Internet LED on the front of the router should now be illuminated.
6. Press the reset button on the back of the Router and hold it in for 3
seconds. This will restore the Router’s default settings.
This completes the Router connections.
Page 3

Technology Department
Step 2.
A. Using the Router. (Cable Subscribers)
DSL subscribers please skip to part B.
1. Turn on your QV laptop. During the clinic they added a new
location to your computer.
You can change locations
by going to Finder and
clicking on the blue Apple
in the top left hand side and
selecting the Location
menu. You will have 2
locations one called School
and the other Home. You
will need to switch between
these locations depending
on where you are.
2. Change your location to Home. You will need to do this
each time you use your laptop at home. You will also need
to switch the setting to School when you are at work.
3. Click on the Airport symbol at the top right-hand side of
your screen and select linksys. You will only need to do this
once. The laptop should automatically recognize the router
after the first time.
4. Test your Internet connection by logging onto Internet
Explorer.
5. Test the Internet connection on any home computers you
have connected to the Router.
In most cases this will complete your Linksys Router installation for those
people using cable Internet providers. If you are having trouble with a home
computer you will need to refer to the Adobe PDF instruction guide found
on the CD ROM for more detailed information on configuring your
computer to use the router.
Page 4

Technology Department
Step 2.
B. Using the Router. (DSL Subscribers)
1. Turn on your QV laptop. During the clinic they added a new
location to your computer.
You can change locations by
going to Finder and clicking
on the blue Apple in the top
left hand side and selecting
the Location menu. You will
have 2 locations one called
School and the other Home.
You will need to switch
between these locations
depending on where you are.
2. Change your location to Home. You will need to do this
each time you use your laptop at home. You will also need
to switch the setting to School when you are at work.
3. Click on the Airport symbol at the top
right-hand side of your screen and
select linksys. You will only need to
do this once. The laptop should
automatically recognize the router
after the first time.
4. Open Internet Explorer. Type http://192.168.1.1 into the
Address field as shown and
press the Enter key.
5. A password screen will
appear. Leave the User
Name field blank and
type the password admin
in the password field.
Press OK.
Page 5

Technology Department
6. You will now be in the Linksys router set up pages. These
pages are used to set a few parameters to get the router to
work with your DSL providers network. You will need to
know several bits of information to complete this step. In
most cases your DSL provider is the only place to get this
information.
7. You will find the
following screen.
You will need to
select the Internet
Connection Type
for your DSL
service. In most
cases this will be
PPPOE. You may
need to enter a Host
Name and Domain
name in the top
boxes if, your ISP
requires it.
8. Next you need to enter
your User Name,
Password, and, if
needed, the Service
Name in the boxes
provided. You need to
get these from your
DSL provider if you
don’t know them.
Then click the Apply
or Save Changes
button.
Congratulations! You have finished setting up your Linksys Router. Test
your Internet connection using Microsoft Internet Explorer.
Page 6

Technology Department
Troubleshooting
1. If you are having trouble setting up your router
the best resource is your Internet Service
Provider, not your BTC. Because here are many
variables involved and different ISP’s the
building BTC may not be able to provide the
information that the ISP can.
2. The CD Rom that was packaged with your
router has the user manual that you can also
refer to for more detailed information or if you
need to use the more advanced features of the
router.
3. Your BTC will provide support for router
connection between your QV issued laptop and
the router only. Any other computers used with
the router are unsupported.
Notes:
• During the technology clinic that was preformed on your computer
you were given Administrative rights to your computer. This means
that the computer is no longer “locked down” as it has been in the
past.
• The proxy server (Bess) was not installed for the home connection
due to potential connectivity issues with the router. You will have
unrestricted and unfiltered access to the Internet when using this
connection.
 Loading...