

Linksys DMRW1000 Quick Start Manual
Wireless Home Audio
Controller
Wireless-N Touchscreen Remote
DMRW1000
Quick Installation Guide
UK
English
DK
Dansk
DE
Deutsch
NL
Nederlands


Table of Contents
English ............................................................1
Controller Overview .........................................2
Wireless Home Audio Installer . . . . . . . . . . . . . . . . . . . . . . . . . . . . . . . 3
Touchscreen Icons . . . . . . . . . . . . . . . . . . . . . . . . . . . . . . . . . . . . . . . . . . 4
Troubleshooting . . . . . . . . . . . . . . . . . . . . . . . . . . . . . . . . . . . . . . . . . . . . 5
Online Services . . . . . . . . . . . . . . . . . . . . . . . . . . . . . . . . . . . . . . . . . . . . . 6
Dansk .............................................................7
Controller-oversigt ..........................................8
Installationsprogram til Wireless Home Audio ................9
Ikoner på berøringsskærmen ...............................10
Fejlnding . . . . . . . . . . . . . . . . . . . . . . . . . . . . . . . . . . . . . . . . . . . . . . . . .11
Online-tjenester . . . . . . . . . . . . . . . . . . . . . . . . . . . . . . . . . . . . . . . . . . .12
Deutsch ..........................................................13
Controller – Übersicht ......................................14
Wireless Home Audio-Installationsprogramm . . . . . . . . . . . . . . .15
Touchscreen-Symbole ......................................16
Fehlerbehebung ...........................................17
Online-Dienste .............................................18
Nederlands .......................................................19
Controller - Overzicht . . . . . . . . . . . . . . . . . . . . . . . . . . . . . . . . . . . . . . 20
Installatieprogramma voor draadloze Home Audio ..........21
Pictogrammen op het aanraakscherm . . . . . . . . . . . . . . . . . . . . . .22
Problemen oplossen . . . . . . . . . . . . . . . . . . . . . . . . . . . . . . . . . . . . . . . 23
Onlineservices . . . . . . . . . . . . . . . . . . . . . . . . . . . . . . . . . . . . . . . . . . . . . 24
Table of Contents
iWireless-N Touchscreen Remote

English
Thank you for making a great decision and choosing to purchase the
Linksys by Cisco Controller – Wireless-N Touchscreen Remote. The Controller
is designed to be used with the Linksys by Cisco Director (DMC250), Player
(DMP100), or Conductor (DMC350).
With the Controller you can control your Wireless Home Audio system from
any room in your house. Select your music source, stream different music to
individual rooms, or the same playlist throughout your entire home when
you’re in Party Mode—all at the touch of your finger. And with the Docking
Station accessory, stream songs from your Apple iPod® playlists. Browse,
discover and play millions of songs online through audiolounge™ and
RadioTime® anywhere in your home.
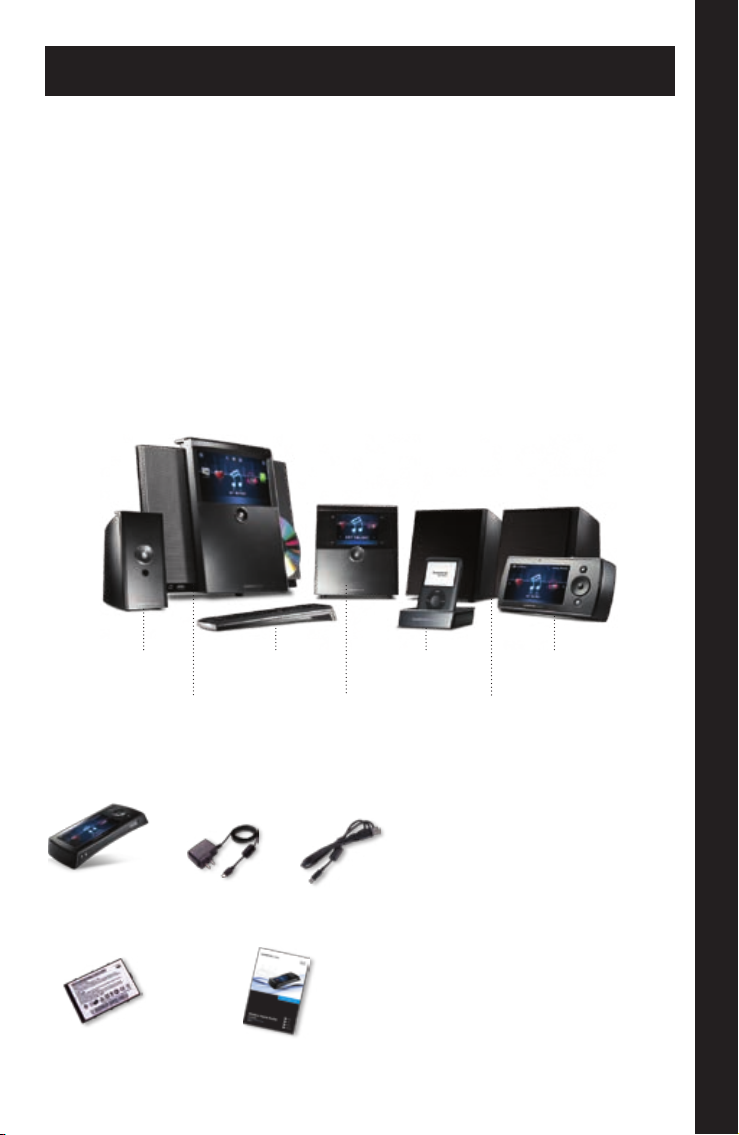
Wireless Home Audio Product Family
†
Player
(DMP100)
Conductor
(DMC350)
Remote Control
(DMRIR500)
(DMC250)
Package Contents
Controller Power Adapter USB Cable
Battery Quick Installation Guide
Docking Station for
Director
iPod (MCCI40)
Controller
(DMRW1000)
Speakers
(DMSPK50)
English
1Wireless-N Touchscreen Remote
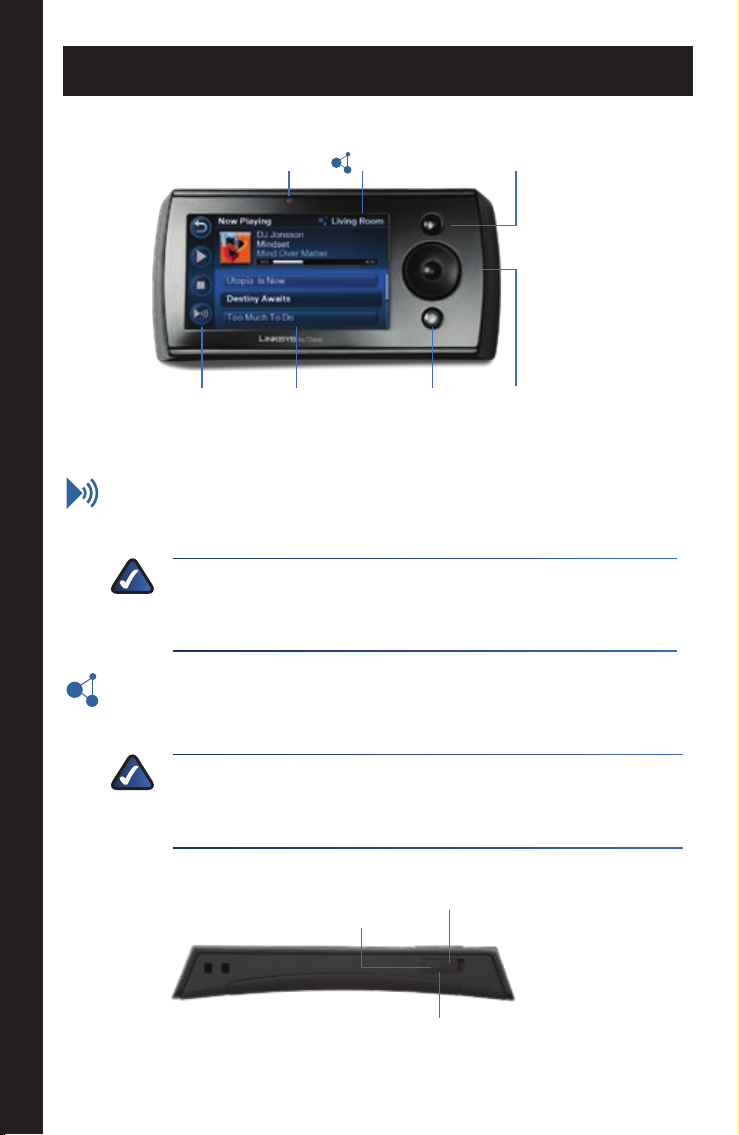
Controller Overview
Top
Ambient Light Sensor
Selected Device
Volume
Play To
4.3" Touchscreen
Home
Scroll/5-Way Button
Controlling Multiple Rooms or Zones?
Play To Allows you to change how many devices you are currently
“playing to”. Devices you check will all play the same music,
synchronized.
NOTE: The collection of devices you are “playing to” is called
a zone. These devices remain linked until you uncheck them
in the Play To menu.
Selected Device Touch here to choose the device or zone you want
to control. All actions (Play, Stop) will be directed to the currently
selected device or zone.
NOTE: You can change the device or zone you are controlling
at any time. Simply press the selected device name and
choose another device or zone you wish to control.
Side
Mini-USB
Connector
Reset Button
Cover
Controller Overview English
2 Wireless-N Touchscreen Remote
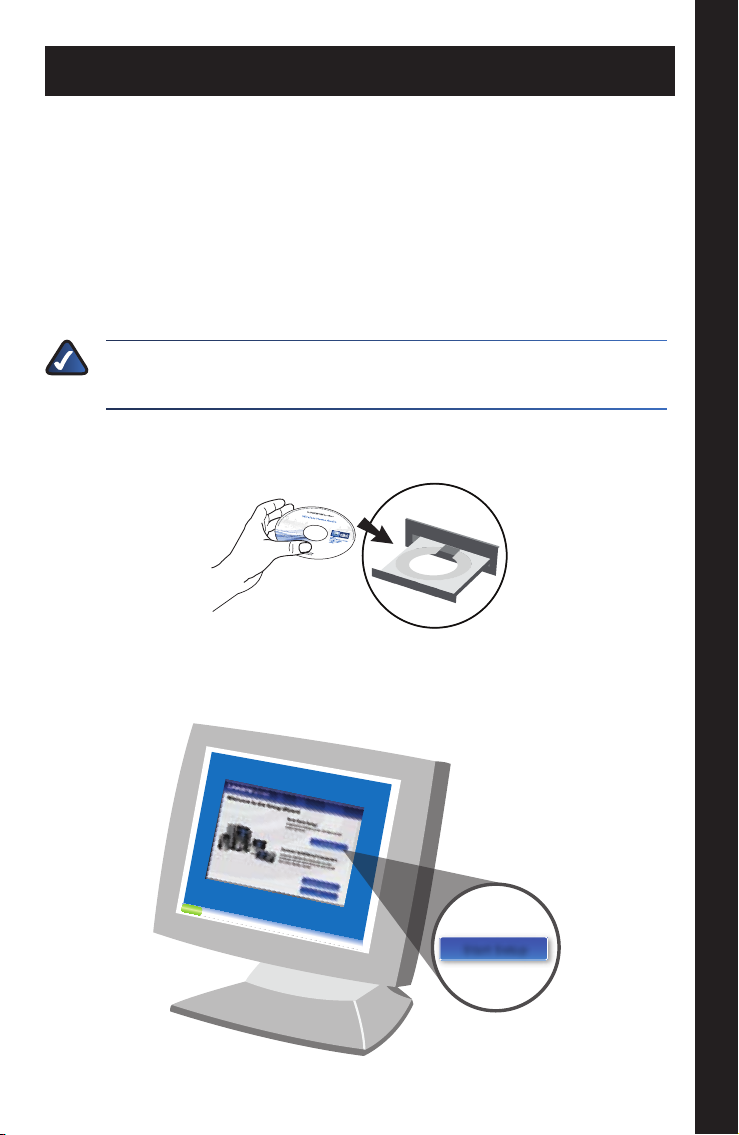
Wireless Home Audio Installer
Start Setup
The Wireless Home Audio Installer will guide you through the setup of your
Linksys by Cisco Wireless Home Audio devices. Below is an overview of the
steps required to get up and running.
Install EasyLink Advisor •
Install Cisco Media Center software for your computer •
Configure your Wireless Home Audio Devices •
Create your Cisco account and register for music services •
NOTE: The Controller package does not include a CD. Use the CD
that came with your Director, Player, or Conductor.
To begin, insert the CD into your CD-ROM drive. A.
Click the B. Start Setup button and follow the on-screen prompts to
configure your Wireless Home Audio devices.
Wireless Home Audio InstallerEnglish
3Wireless-N Touchscreen Remote
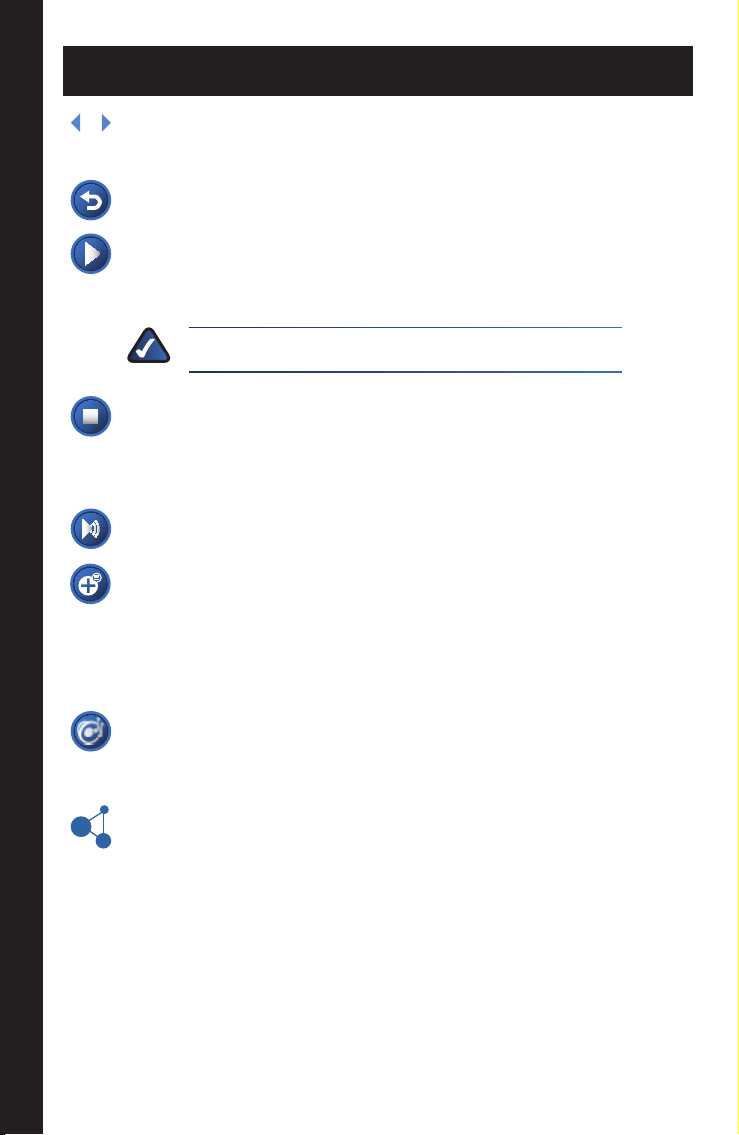
Touchscreen Icons
Navigation Arrows Scrolls through the icons in the direction
selected.
Back Returns to the previous screen.
Play/Pause This button toggles between playback and a paused
state. If nothing is playing, pressing this button when music is
selected starts playback of the selected music.
NOTE: You cannot pause streaming Internet music.
Stop Stops the current music selection (playing or paused music)
and moves the first item played to the top of the queue which is
then highlighted. The user is then brought to the Now Playing
screen. The Stop button does not clear the queue.
Play To Use this button to select the zones to play the music to.
Add to Now Playing Queue When music is highlighted (Genre,
Playlists, Artist, Album, or Song), the selected item will be added
to the queue on the Now Playing screen. The queued item will be
added to the bottom of the queue and will not begin playing even
if it is the only item in the queue.
Now Playing Queue Press this button for a shortcut to the Now
Playing screen. The Now Playing screen shows the currently playing
song and a list of your music in your queue.
Selected Device Touch to choose the device or zone that you want
to control. All actions (Play, Stop) will be directed to that device/
zone.
Charging the Battery
The Controller includes two charging options. One connects the Controller
to the computer to charge and the other connects to a standard power
outlet.
Touchscreen Icons English
4 Wireless-N Touchscreen Remote
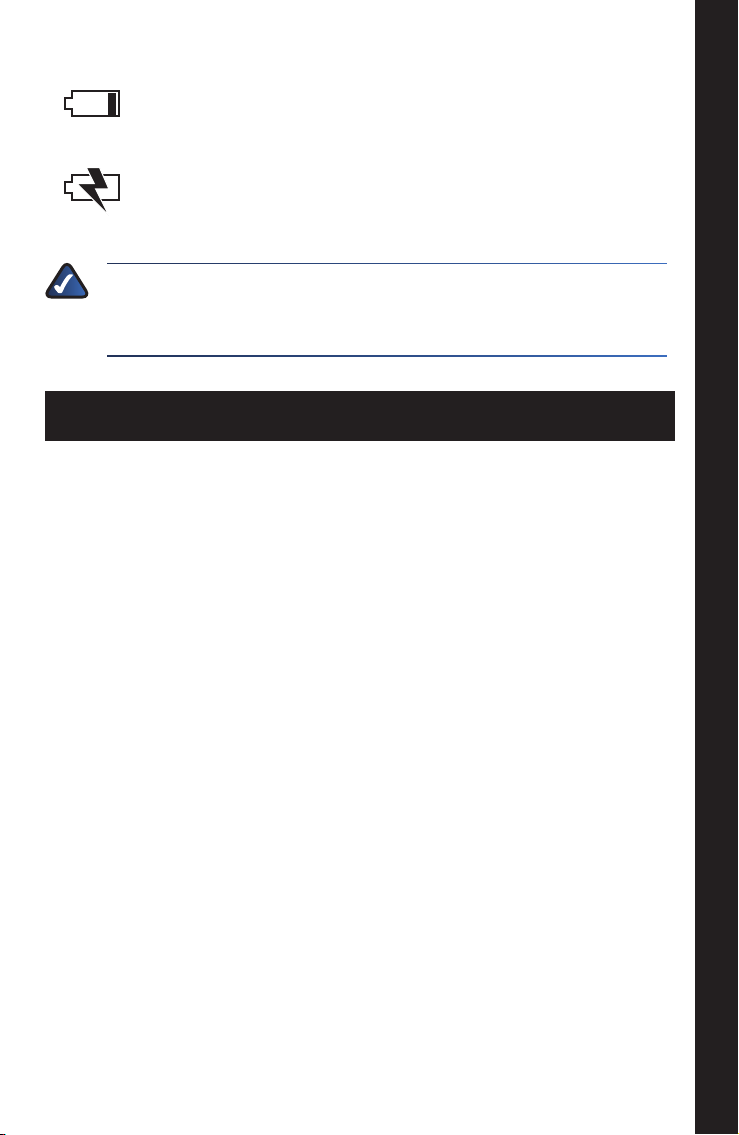
Battery Status The battery status icon will indicate the power
remaining on the battery. A message will appear when the
battery power is low.
Battery Charging When the battery is plugged into a power
source and charging, this icon will be displayed in the upper left
corner of the LCD touchscreen.
NOTE: There is no power off button on the Controller. The
Controller has sleep mode and hibernate mode to reduce battery
consumption.
Troubleshooting
Do I need to run the CD to congure my Wireless Home Audio devices?
Yes. Basic settings can be applied on some devices via their screens, but •
in order to fully configure your Wireless Home Audio devices you must
use the CD.
How do I congure my rewall to work with my Wireless Home Audio
devices?
It is possible that firewalls can prevent your devices from being found •
and configured. Please visit www.linksysbycisco.com/homeaudio/ug
for details on how to fix your firewall settings.
How do I share my music from additional computers and allow them to
control my Wireless Home Audio devices?
Run the CD on your additional computers and select the • Connect
Computers option on the first screen.
Where do I nd the Cisco Media Center software after installation is
complete?
Go to • Start > Programs and select Cisco Media Center. You can start the
Cisco Media Player from here.
TroubleshootingEnglish
5Wireless-N Touchscreen Remote
What do I do if my iTunes library or other audio les are not found by Cisco
Media Center?
Some iTunes files may not be available. Songs purchased from iTunes* •
may be protected with Digital Rights Management (DRM); DRM files
cannot be played to your Wireless Home Audio devices directly from your
PC. The optional Linksys by Cisco Docking Station for iPod (MCCI40) will
allow you to connect your iPod to your Director or Conductor and play
back all of the songs from your iPod.
*iTunes Plus files are not protected
During the initial configuration, you are asked to select directories •
where your music is stored. To change or add additional directories,
right-click on the icon on the taskbar and select Properties.
Modify or type in a new directory by typing in the entire path such as
C:\Documents and Settings\username\My Documents\My Music; in
the Local Media Directory field. Additional directories are separated by a
semicolon. Click OK after all updates are complete.
WEB: If you need additional support, contact us on the web at
www.linksysbycisco.com/support
Online Services
AudioLounge is a new online music service that gives you unlimited access
to millions of songs. You can listen to full length CD quality tracks, discover
new music and old favorites, and even create and share playlists with
friends and family. With your new Wireless Home Audio products and the
audiolounge service, you can play your music where you want and when
you want.
Radiotime provides streaming access to over 100,000 radio stations and
shows. You can locate shows based on location, topic, or music genre.
Online Services English
6 Wireless-N Touchscreen Remote
 Loading...