

LINDY 43019 User Manual

Multi Function Cable Tester
User Manual English
LINDY No. 43019
www.lindy.com
© LINDY ELECTRONICS LIMITED & LINDY-ELEKTRONIK GMBH - FIRST EDITION (Jul 2007)

10

Multi Function Cable Tester User Manual
Introduction
Thank you for purchasing the LINDY Multi Function Cable Tester. Thi s specially designed
cable tester; tests an d anal yses a comprehensive range of PC connector types and the most
commonly used cables. It not only tests each pins connection to identify open circuits, short
circuits and mis-wires, it also shows pin to pin connectivity, and can record up to a 100 test
results. The crucial data collected can be saved and uploaded to a PC via USB for analysis.
With an integrated LCD Display (with back light function), you can clearly determine the
cable pin wiring easily and efficien t ly.
Features
• Identify open wires, short wires, and mis-wires
• Supports 18 types of PC cable connector
• 100 Test results can be saved and transferred to the PC via USB
• Alphanumeric LCD with back light function
• Low voltage indicator
• Connectors: IDC40, IDC34, DVI29, HDB15M/F, DB9M/F, COAX, BNC, RJ11, RJ45,
1394-6P, 1394-4P, SATA, USB(A/B), HDMI, RCA
• Power: DC 9V Battery or DC 9V 150mA power jack (adapter not included)
Button definition
ON/OFF Press the ON/OFF button to power the tester and back light on or off
UP/DOWN Press the UP/DOWN button to select the function
SAVE Press the SAVE button to save the test results
DELETE Press the DELETE button to delete the record of any status/condition
BACK Press the BACK button to return to the main menu
ENTER Press the ENTER button to run the selected function
3
Multi Function Cable Tester User Manual
Getting Started
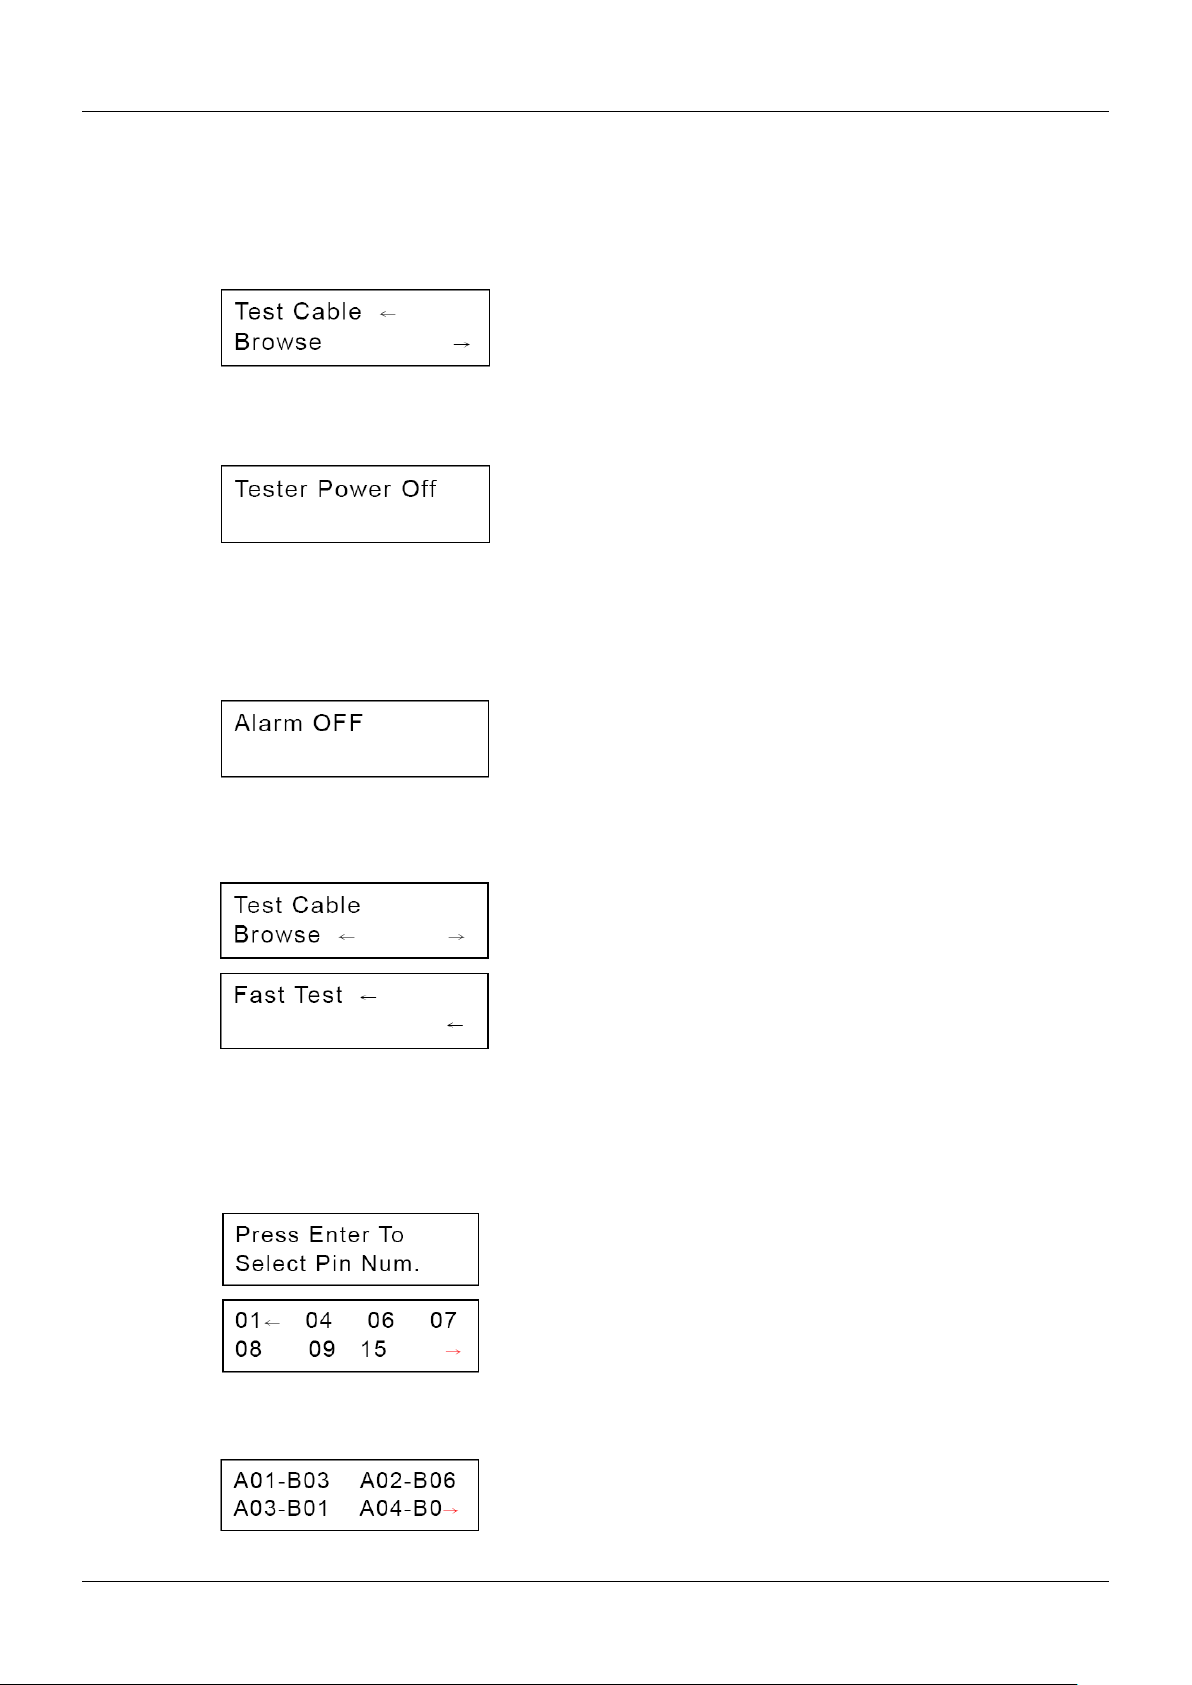
1. Push the ON/OFF button to power “on” the tester. A beep sound will indicate that the tester is working. The
LCD will show the following message:
2. In operating mode, you can press the ON/OFF button to switch the LCD’s back light to “on” or ”off”. By
holding the ON/OFF button, the LCD will display the following message:
The tester will power “off” when you release the button.
3. In operating mode, you can hold the DOWN button for 5 seconds to activate the "Alarm" function, after the
display shows "Alarm OFF(or ON)" you can press ENTER to turn on/off the alarm and press the DOWN
button to go back to back to previous menu.
4. In operating mode, press the UP or DOWN button to select the desired mode: “Test Cable” for line testing,
“Browse” to review the saved data, or “Fast Test” to quickly test a cable and then press ENTER to confirm
the desired selection.
Testing a Cable
1. Use the UP or DOWN button to select the number of pins for the cable you want to test, then press ENTER
to start the test.
2. When the test is done, the LCD will display the pin-pin connectivity. The results will be displayed as the
following:
4
 Loading...