

LG SJ9 User Guide
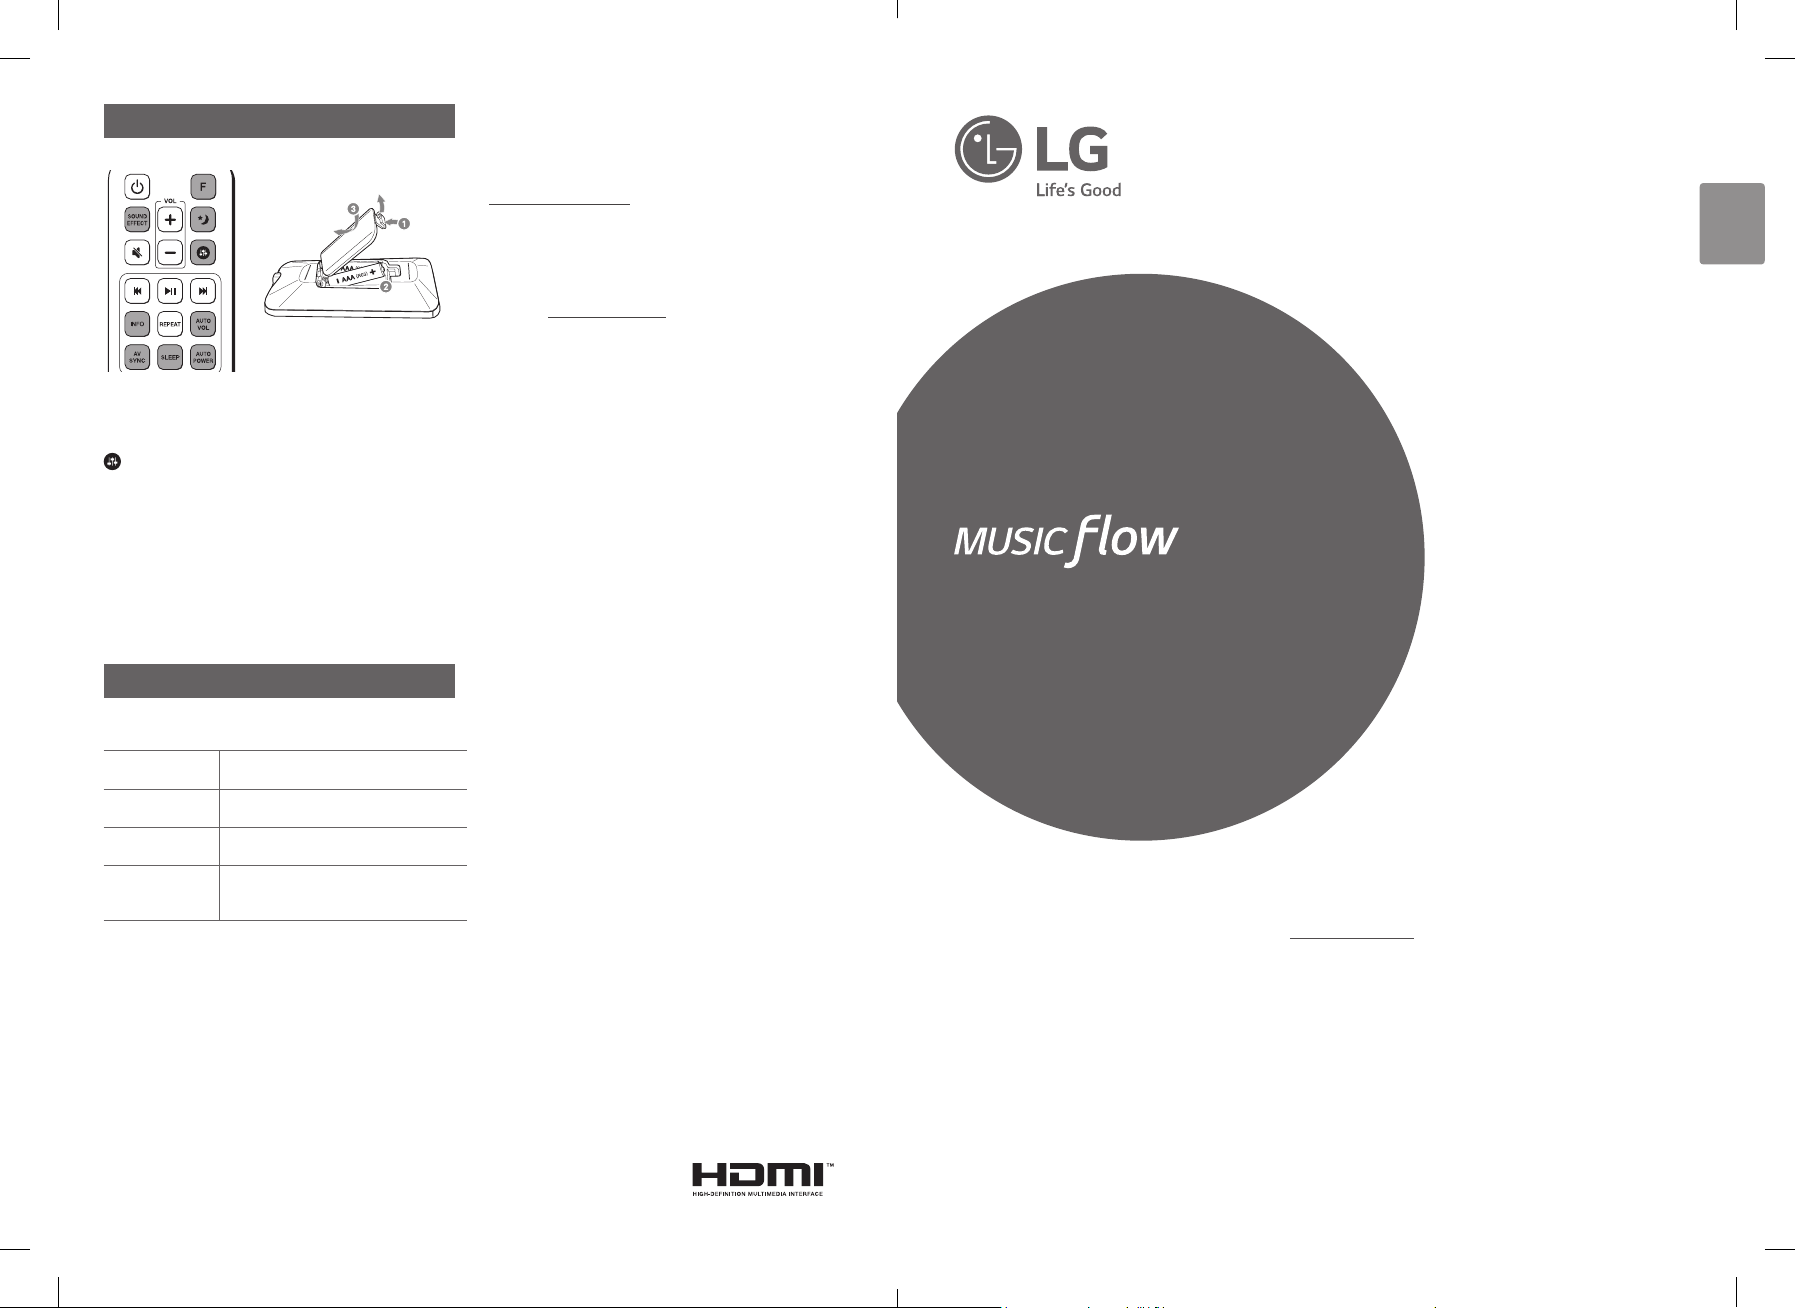
Remote control
Replacement of battery
SOUND EFFECT: Selects a sound effect mode.
F: Selects the function and the input source.
8: Turns down the volume at night.
:
Adjusts sound level of Treble, Bass and Sub-woofer.
INFO:
Displays the input source information.
AV SYNC: Synchronizes the audio and video.
SLEEP: Sets the system to turn off automatically at a specied
time.
AUTO VOL:
appropriately.
AUTO POWER: Automatically turns on by an input source.
Adjusts too loud or low output volume level
OPEN SOURCE SOFTWARE NOTICE
INFORMATION
To obtain the source code under GPL, LGPL, MPL, and other open
source licenses, that is contained in this product, please visit
http://opensource.lge.com.
In addition to the source code, all referred license terms, warranty
disclaimers and copyright notices are available for download.
LG Electronics will also provide open source code to you on CDROM for a charge covering the cost of performing such distribution
(such as the cost of media, shipping and handling) upon email
request to opensource@lge.com. This offer is valid for three (3)
years from the date on which you purchased the product.
ENGLISH
SIMPLE MANUAL
SJ9
SMART Hi-Fi
Additional Information
Specication
Power
requirement
Power
consumption
Dimensions
(W x H x D)
Amplier
(Total RMS
Output power)
Design and specications are subject to change without notice.
Refer to the main label.
Refer to the main label.
Approx. 1200 mm x 58 mm x 145 mm
500 W RMS
AUDIO
Wireless Multi-room Sound Bar
Please read this manual carefully before operating your set and retain it for future reference.
To view the instructions of advanced features, visit http://www.lg.com and then download
Owner’s Manual. Some of the content in this manual may differ from your unit.
MODEL
SJ9
*MFL69727357*
www.lg.com
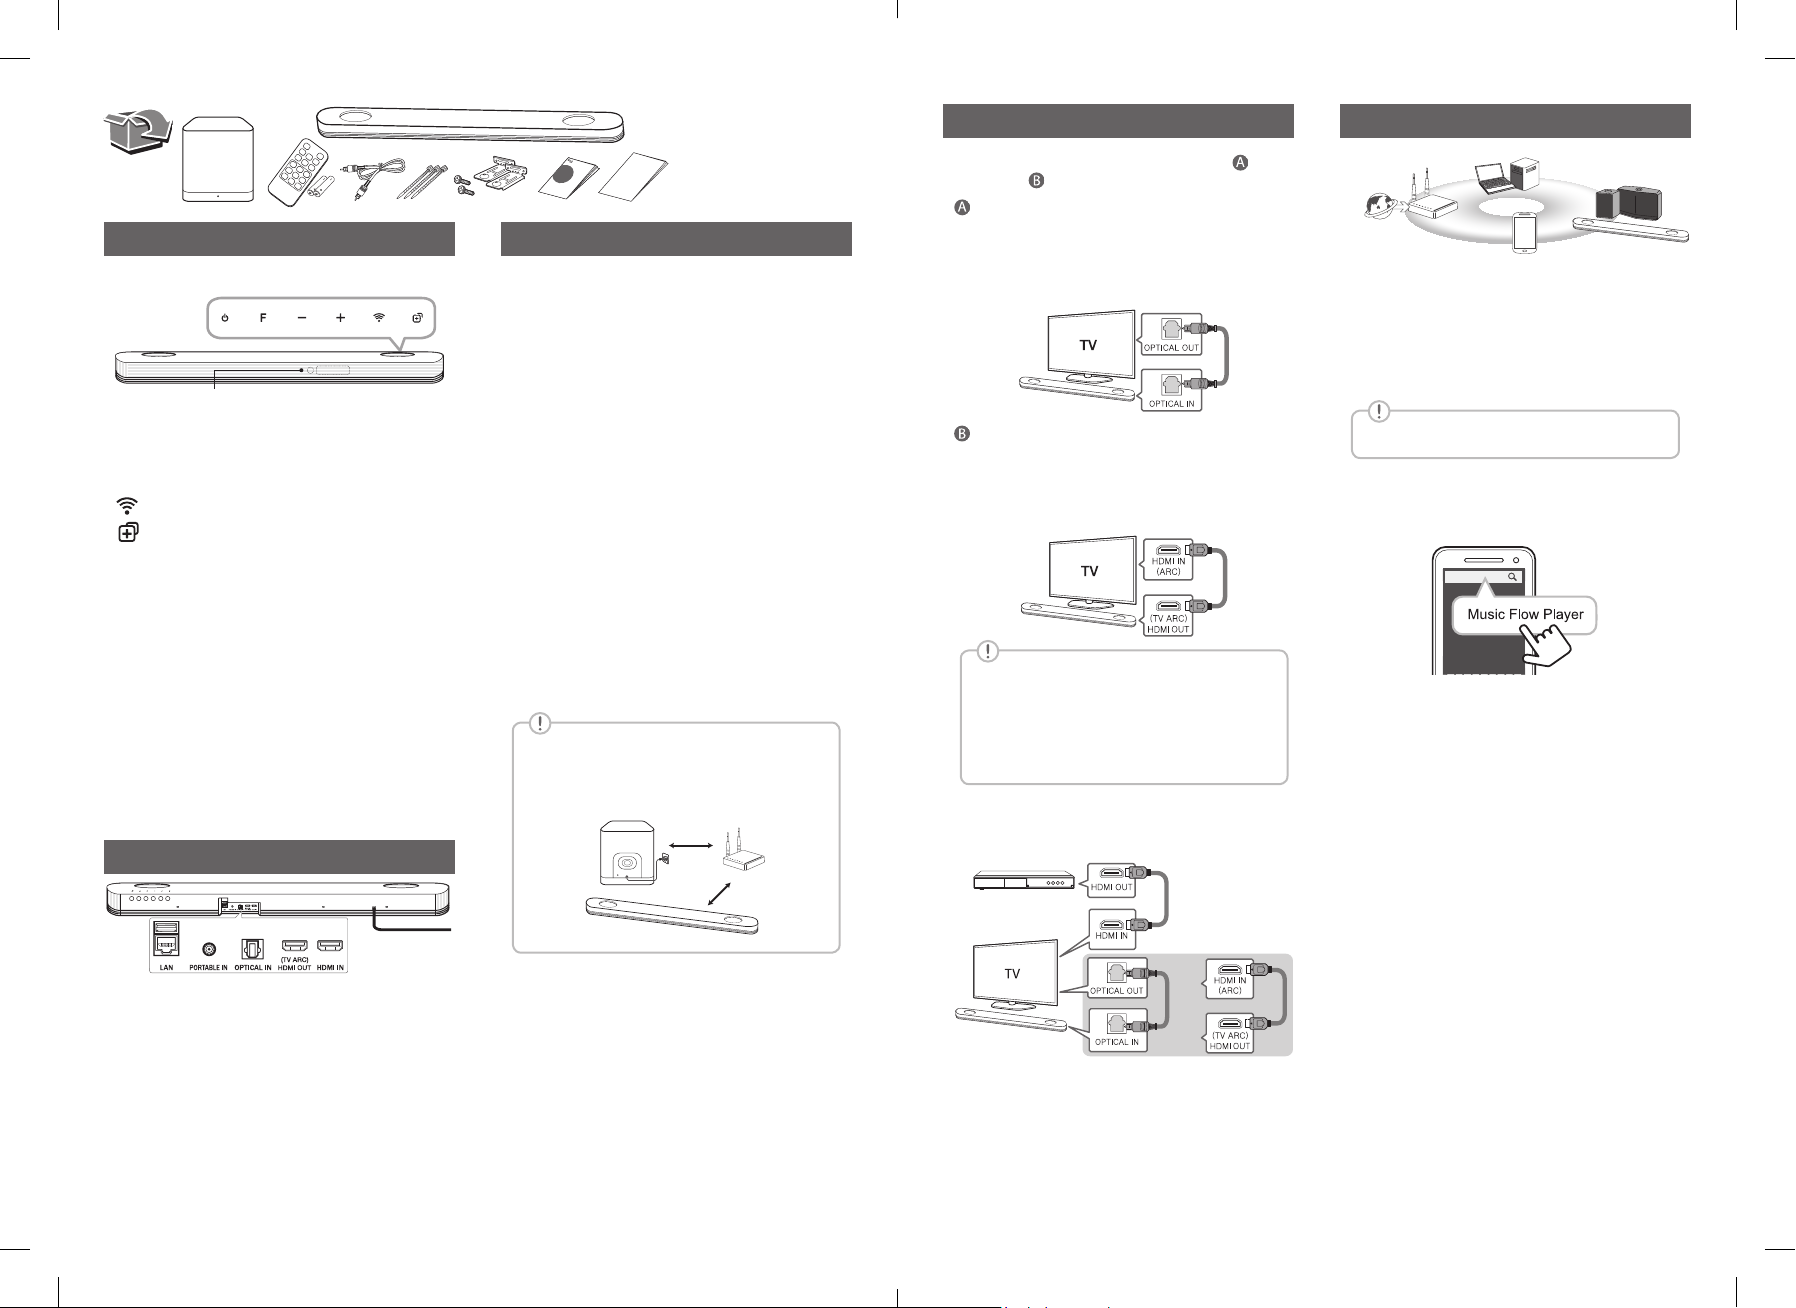
Network ConnectionTV Connection
Front Panel
The buttons are located on the rear.
LED indicator
1 ·······································Standby
F ································Selects function
-/+ ·······························Adjusts volume
····················Connects wireless network.
···· Adds the additional Music Flow product to
your network. (In case that one or more Music Flow
product is connected.)
LED indicator: Shows connection status.
• White (Blinking): Waiting for network connection
• White (Staying on): Network connection is
completed.
• White (Dimmed): Standby mode with network
connection.
• Green (Staying on): The rst group was set.
• Red (Staying on): Standby mode without network
connection.
Rear Panel
Subwoofer Connection
Place the wireless subwoofer near the sound bar and
follow steps below.
a Connect the power cord of the sound bar and the
wireless subwoofer to the outlet.
b Turn on the sound bar. :
The sound bar and wireless subwoofer will be
automatically connected. The subwoofer's green
LED turns on.
Subwoofer Connection Manually
If the subwoofer does not make sound, try to connect
manually.
a Press Pairing button on the rear of the wireless
subwoofer.
• The green LED on the front of the wireless
subwoofer blinks quickly.
b Turn on the sound bar.
c Pairing is completed.
• The green LED on the front of the wireless
subwoofer turns on.
Keep the sound bar and the subwoofer away
from the device (ex. wireless router, microwave
oven, etc.) over 1 m to prevent wireless
interference.
> 1 m
Connect the sound bar and TV using Optical ( ) or
HDMI ARC (
Optical Connection
a Connect the sound bar to the TV using
b Set up [External Speaker (Optical)] on your
HDMI(ARC) Connection
a Connect the sound bar to the TV using HDMI
b Set up [External Speaker (HDMI ARC)] on
• HDMI connection is unavailable if your TV
• If this unit is connected by OPTICAL and
).
Optical cable.
TV setting menu.
cable.
your TV setting menu.
does not support HDMI ARC.
ARC at the same time, the ARC signal is a
high priority.
Additional Device Connection
a Connect to the external device like as follow.
(Set-top Box,
Player etc.)
d
c
a
b
a Check network condition. A router connected to
network should be installed.
b Connect your smart device to your home network.
c Connect the sound bar to the power supply.
d Connect the media server to your home network in
order to enjoy music.
All devices should be connected to same router.
• Download LG Music Flow Application
Download “Music Flow Player” on the App Store or
Google Play Store.
• Launch Music Flow Player App
Follow the steps for wired or wireless connection
displayed on the screen.
USB (Service only) ······S/W download connector.
LAN·····························Connect to router.
PORTABLE IN ············Connect portable device.
OPTICAL IN ··········Connect to an optical device.
HDMI OUT (TV ARC) ············· Connect to a TV.
HDMI IN ········Connect to device with HDMI OUT.
OR
b Set the input source by pressing F on the
remote control or unit repeatedly.
 Loading...