How it Works
Log In / Sign Up
Buy Points
How it Works
FAQ
Contact Us
Questions and Suggestions
Users
LG
Loading...
P
P900ROP
P9032R3S
P9032R3SA
P9032R3SM
P9032R3SP
P9035R3S
P9042R3SM
P9050R
P9050RTB
P905R
P905RTB
P90I
P90SDWG
P920
7
P920H
P925
5
P925G
P929
P930
6
P936
P940
7
P940H
P9545R3S5
P9561R3F
P9561R3S
P9563R3FA
P961RDNL
P961RON5L
P961RONL
2
P961ROPL
3
P970
10
P970G
2
P970H
P990
8
P990H
P990hN
3
P999
3
P999DW
3
PA1000
11
PA1000T
5
PA1000W
2
PA36
10
PA45
2
PA49
2
PA51D
PA65
2
PA66
PA70G
14
PA70GJE
PA72G
10
PA72GJE
PA75C
PA75U
3
PA75UJE
PA77U
PACEZA000
12
PACKAGED AIR
PACKAGED TERMINAL AIR CONDITIONER/HEAT PUMP
PACM4B000
5
PACM5A000
7
PACP4B000
8
PACP5A000
11
PACS4B000
8
PACS5A000
12
PAHCMR000
5
PAHCMS000
2
PAHCMW000
PAHCNM000
3
PATX13A0E
2
PATX25A0E
3
PATX50A0E
2
PB02A
PB60G
18
PB60GJE
PB61U
2
PB61UJE
PB62G
13
PB62GJE
PB63U
3
PB63UJE
PBACNA000
2
PBSC30
2
PBS-C510
3
PBSGB30
PBSGB40
PC07SQR
PC09SQ
5
PC100-ACBB
PC11A
PC12
11
PC12DAB
2
PC12SQ
4
PC12-UA
4
PC12-UD
3
PC-14
13
PC14DAB
PC14-UA
PC18SQ
3
PC-99DA
2
PC PL2110
Loading...
Loading...
Nothing found
PA72GJE
User Manual
62 pgs
2.32 Mb
0
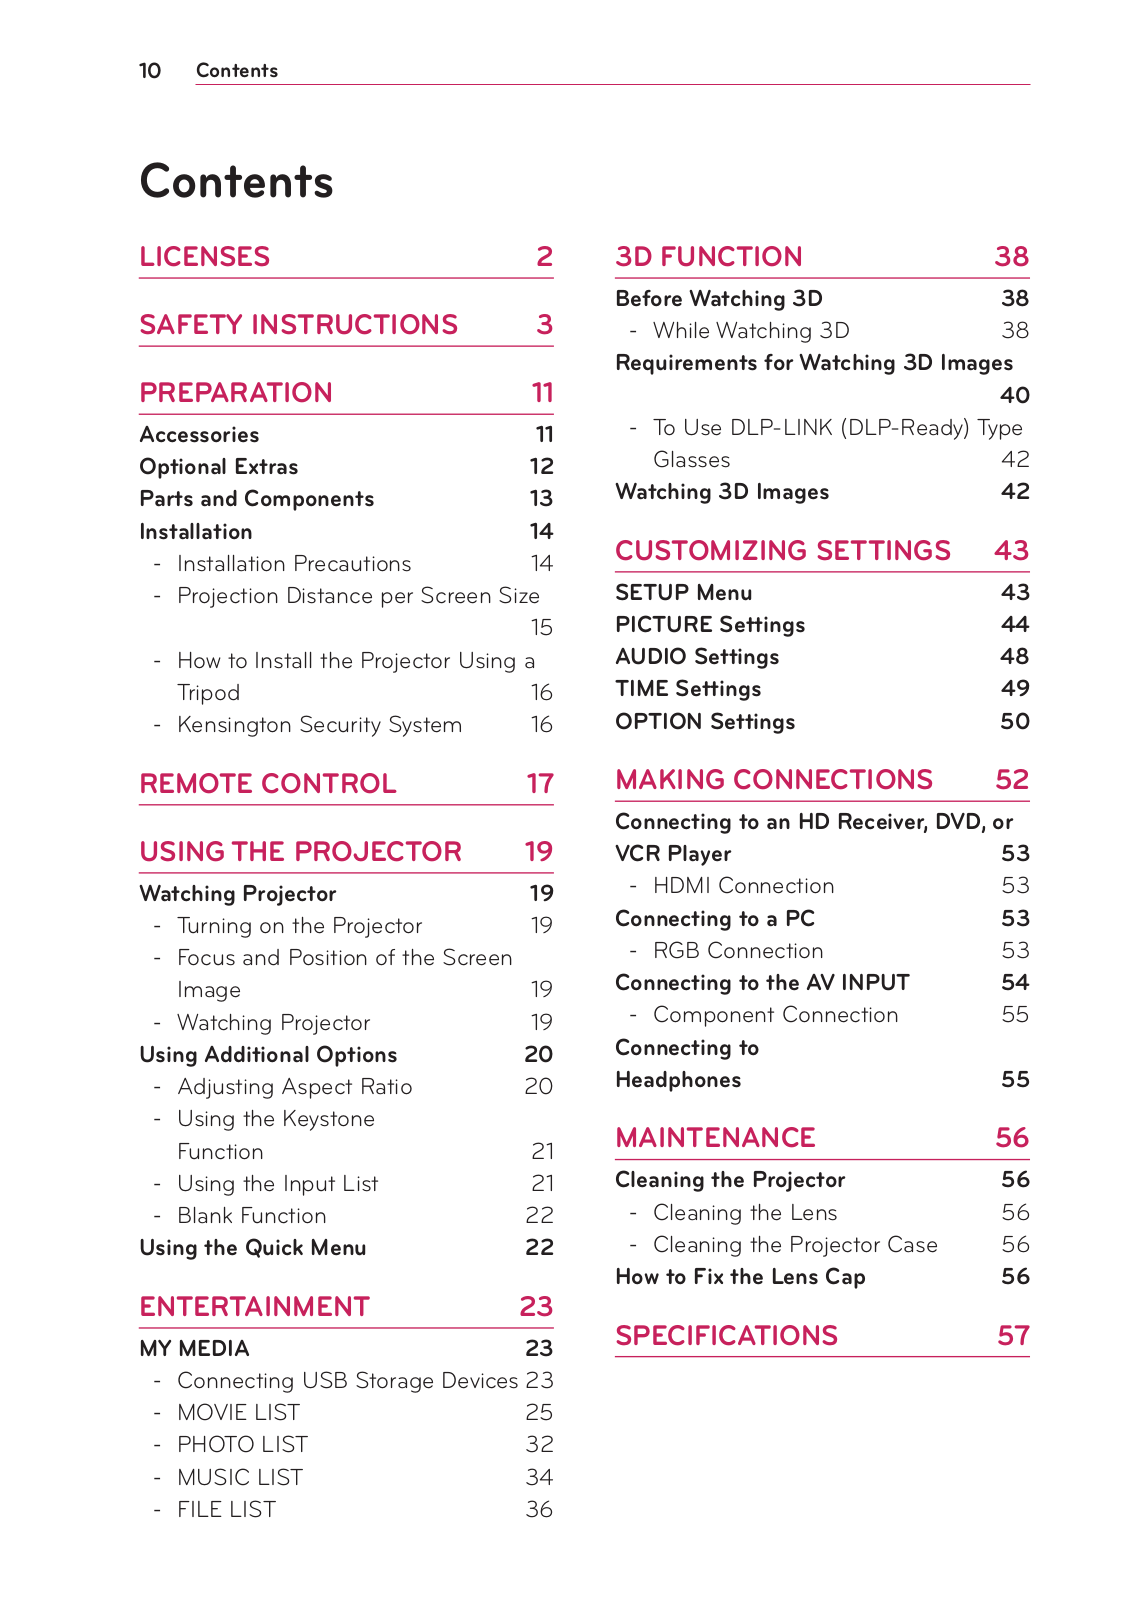
Table of contents
Loading...
LG PA72GJE User Manual
...
LG User Manual
Download
Specifications and Main Features
Frequently Asked Questions
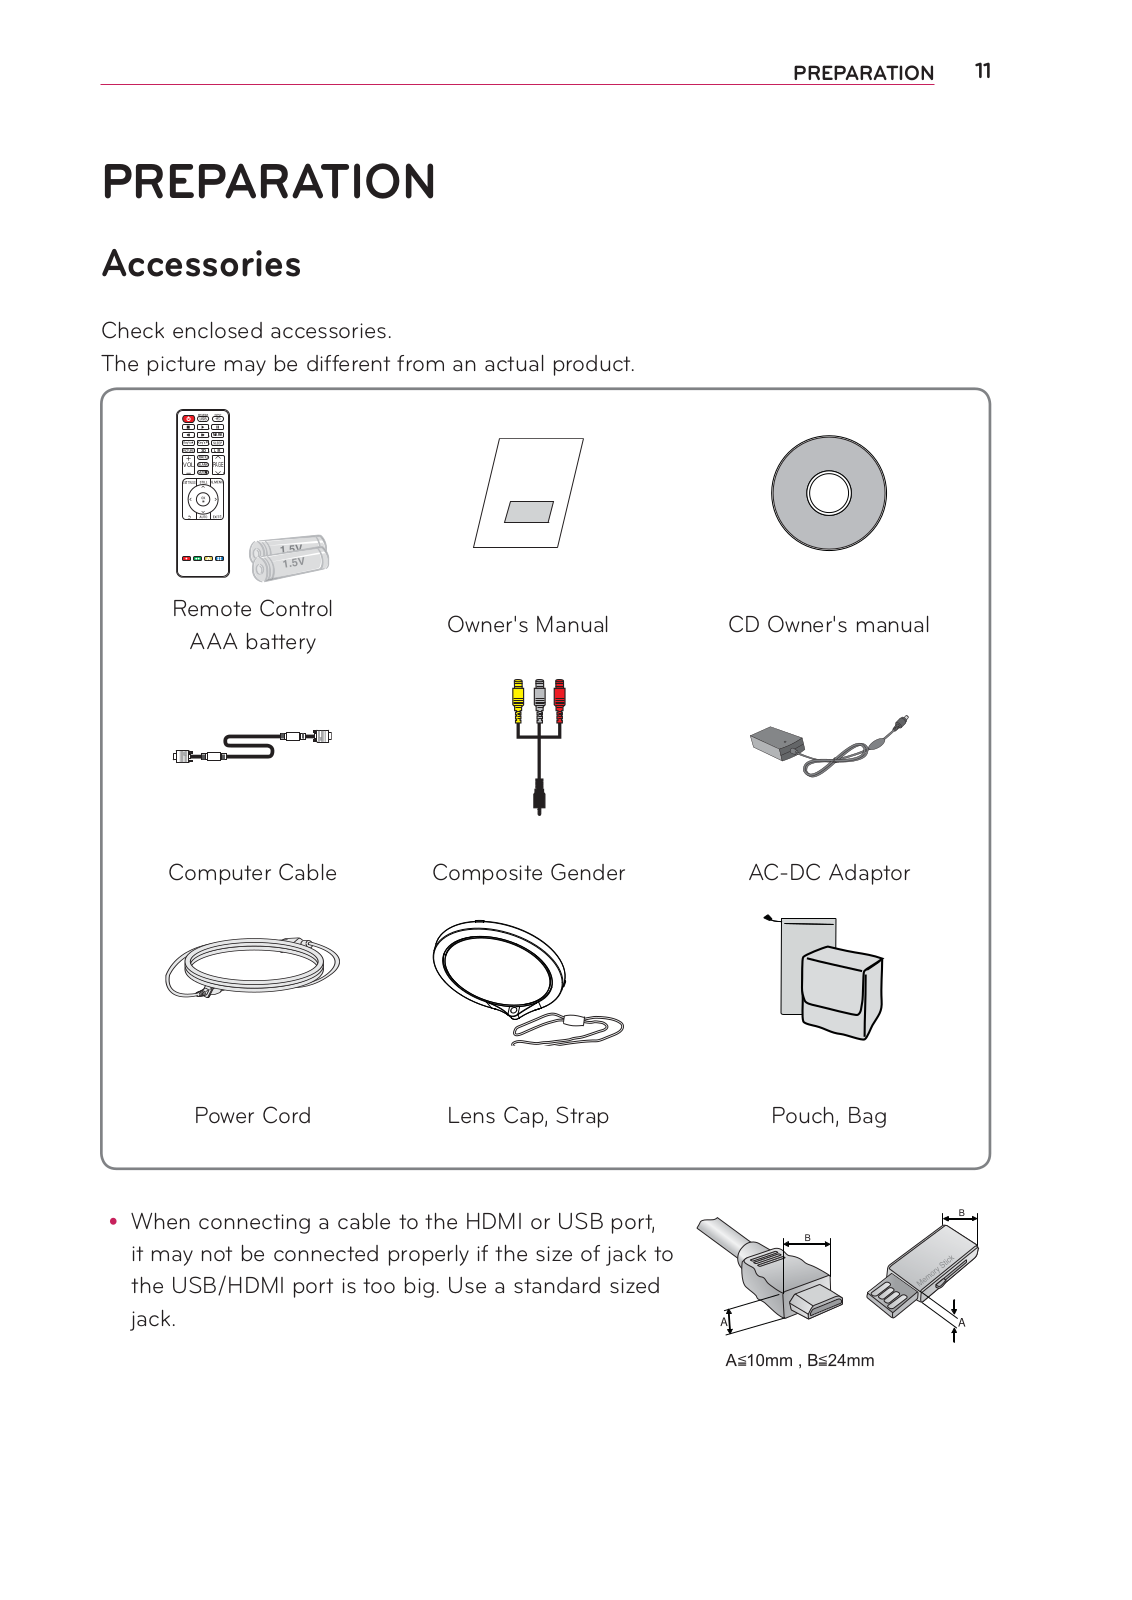
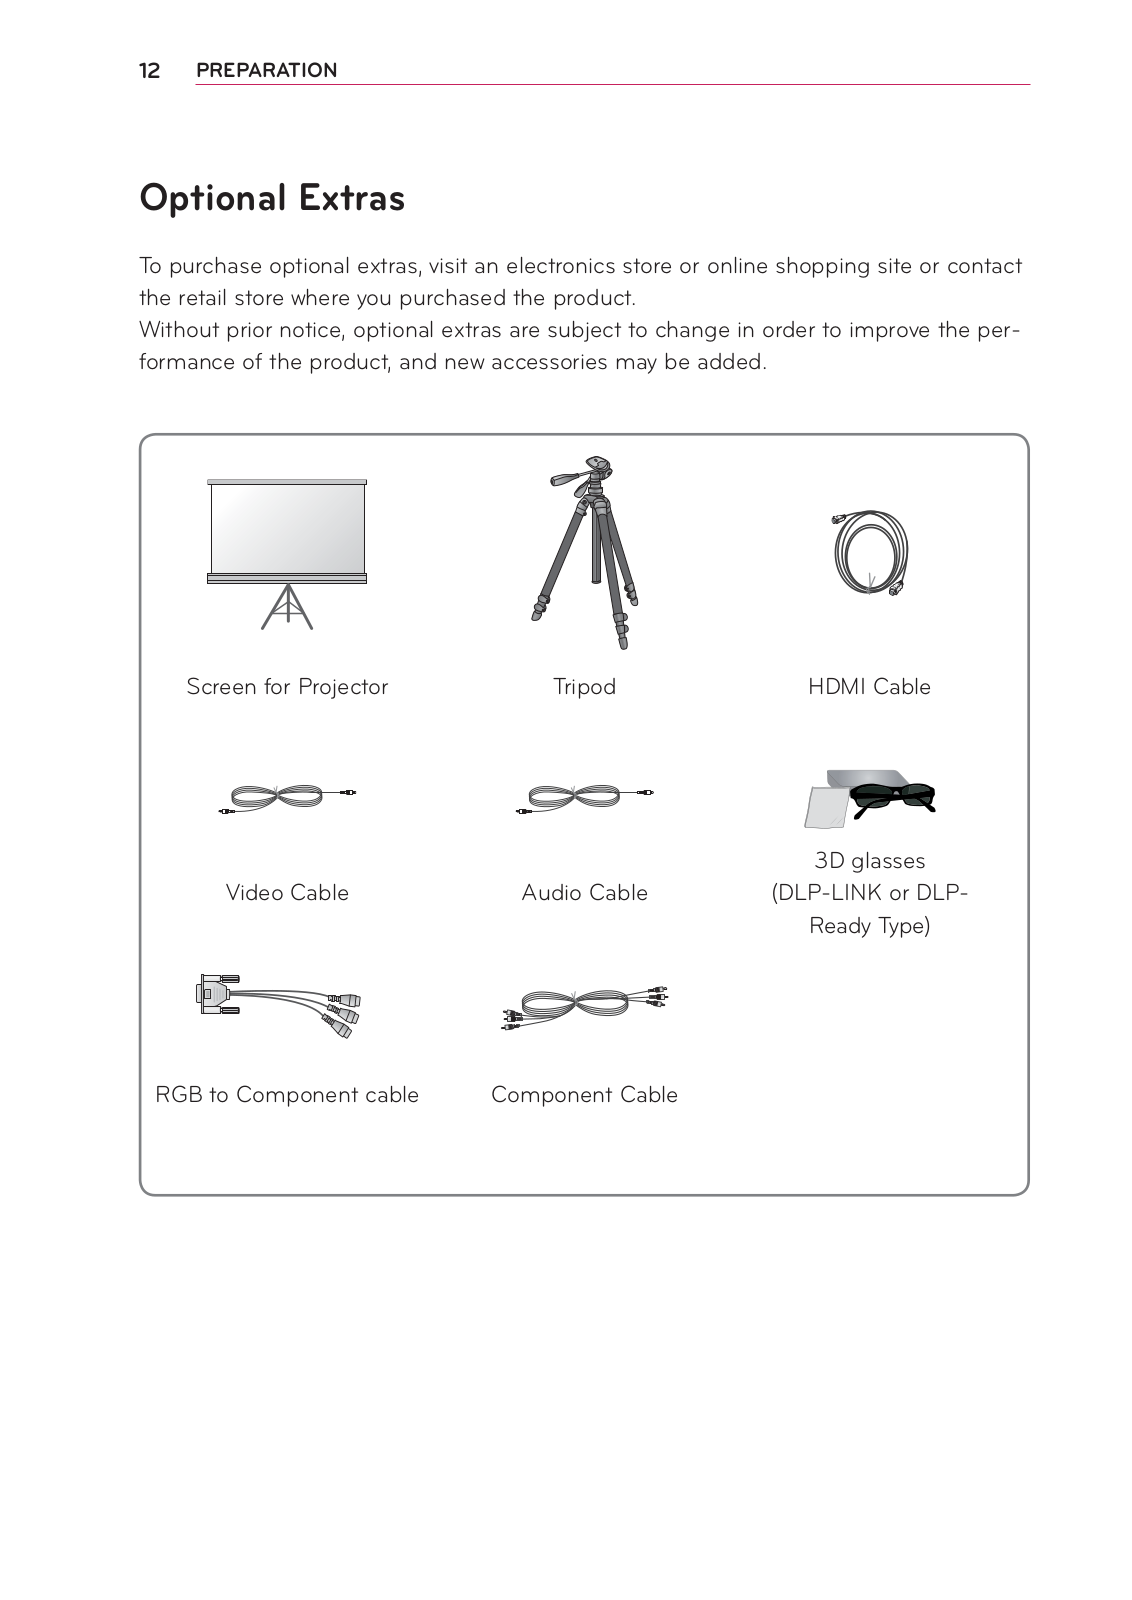
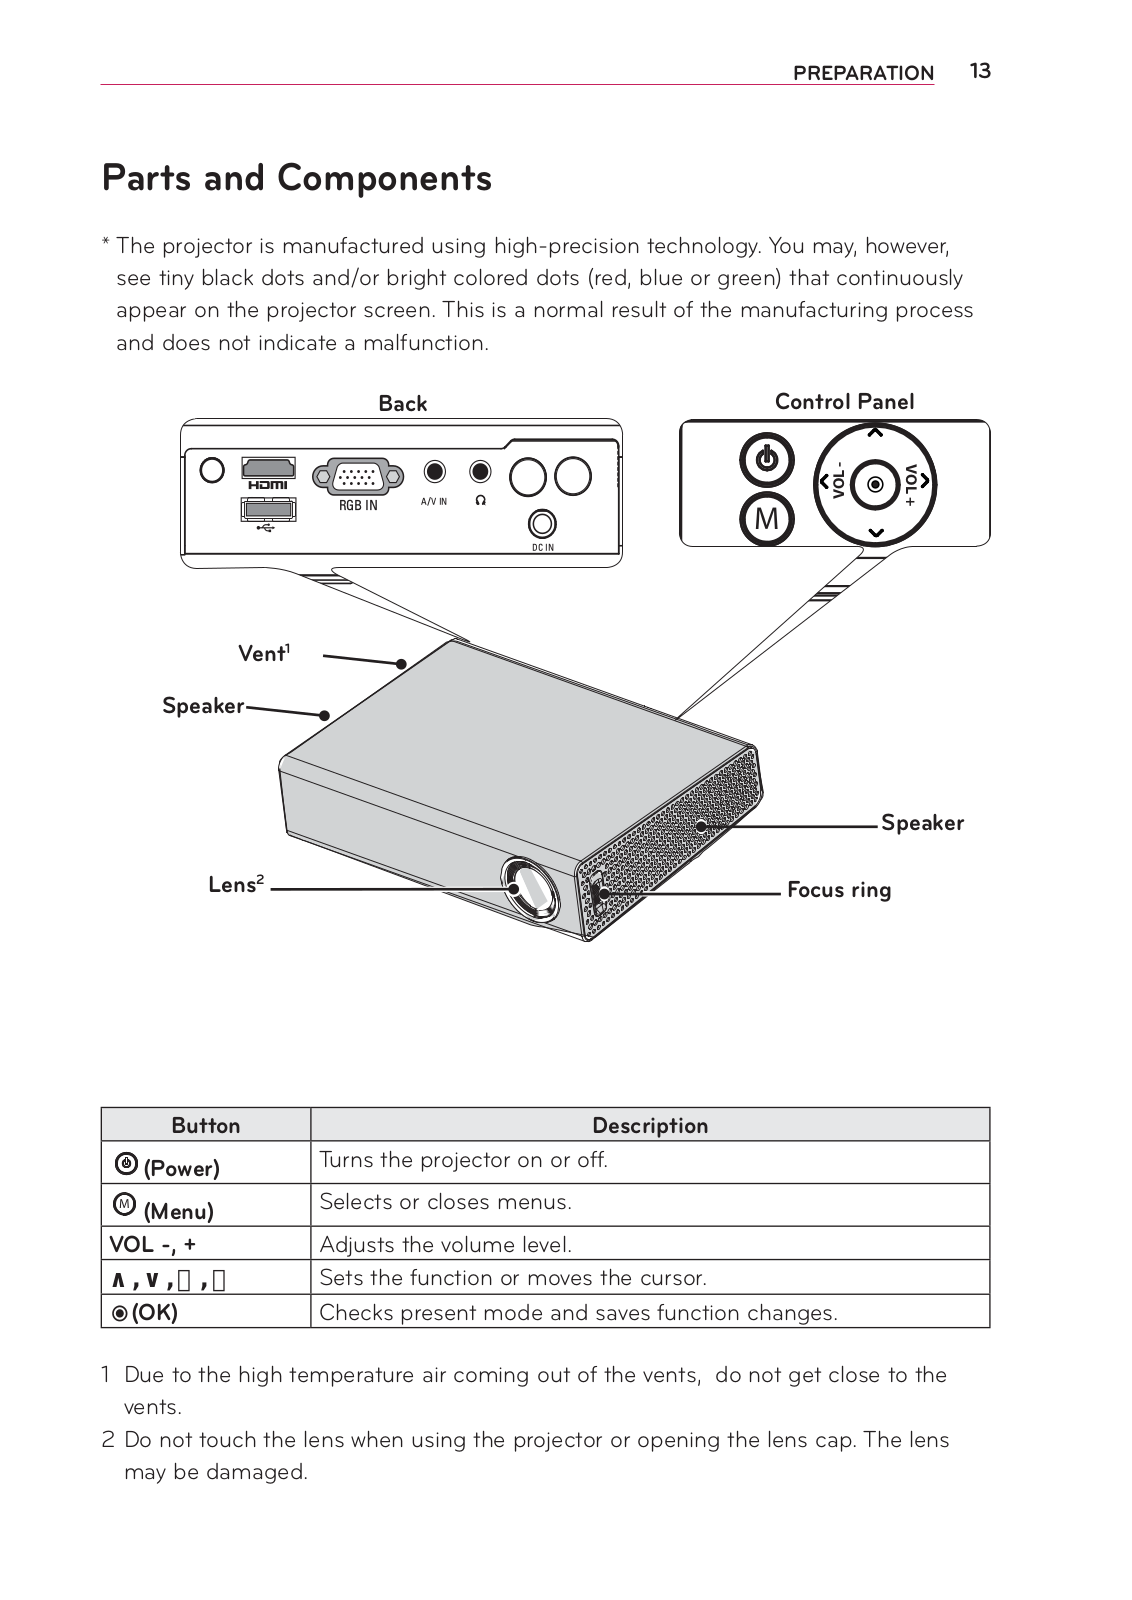
User Manual
Download
Loading...
+
43
hidden pages
Unhide
You need points to download manuals.
1 point = 1 manual.
You can buy points or you can get point for every manual you upload.
Buy points
Upload your manuals
 Loading...