

Lenovo M7208W, M7208 User Manual
M7208W/M7208
用户手册
Multifunction Laser Printer
User Manual
ATTENTION: Read these instructions carefully before
using this product to ensure correct operation. Keep
this User Manual in a safe place for future reference.

1
Thank you for buying a Lenovo product!
Please read the documentation included with this product carefully before setup and use
to ensure correct operation. Lenovo (Beijing) Limited is not liable for any loss incurred
through failure to operate this product as instructed in and required by this User Manual,
or from any failure to operate the product correctly caused by misunderstandings, except
where such loss is caused by Lenovo professional maintenance personnel.
Lenovo (Beijing) Limited has taken great care to ensure the accuracy of this User Manual
but cannot guarantee it is free from all errors.
Lenovo (Beijing) Limited is committed to constantly improving product functions and
services. The company reserves the right to modify any product, software or application
described in this User Manual, and the contents of the User Manual itself, without prior
notice.
This user manual aims to help you use this product correctly and does not contain any
description about the software and hardware configurations of this product. Please refer
to your contract (if any) or packing list, or contact your dealer for the product configuration.
Images in this user manual are for reference only. In case of any inconsistency between
any individual image and the physical product, the physical product shall prevail.
© 2012 Lenovo (Beijing) Limited. This user manual is subject to the protection of copyright
laws and regulations. This User Manual may not be copied or transcribed by any means,
transmitted over a wired or wireless network by any means, or translated into any other
language without prior written permission from Lenovo (Beijing) Limited.
Lenovo, and other Lenovo trademarks or logos are trademarks or registered trademarks
of Lenovo (Beijing) Limited or its subsidiaries in Chinese mainland and/or other countries/
regions. Other names and products mentioned in this manual may be the registered
trademarks or trademarks of Lenovo (Beijing) Limited or other companies.
If you discover any inconsistency between the physical product and this manual, want to
get the latest information, or have questions and advice for us, please call us or go to our
website: http://www.lenovo.com
Technical support: 0086 10 400-810-1234
(Please call 0086 10 58511600 from areas where the 400 code cannot be used)
Disclaimer

2
Please do not copy or print any item prohibited from copying by law.
In general, copying or printing the items below are regarded as illegal according to local
bylaws:
Banknotes
Revenue stamps
Bonds or other debt certificates
Bank books
Compulsory military service documents or draft documents
Stocks
Bank drafts
Checks
Passport
Driver's license
Welfare documents
Immigration documents
Checks or drafts issued by government agencies
Identity documents
Badges or medals
Stamps (either obsolete or not)
Works under copyright protection are not allowed to be copied. Some works under
copyright protection can be partially copied for "fair use". Multiple copies will be regarded
as improper use. Artworks are considered to be works under copyright protection.
The above list is for reference only and is not all-inclusive. The company is not liable for its
integrity and accuracy. If you have questions regarding the legality of copying or printing
an item, please consult a legal adviser.
Legal Prohibition

3
Table of Contents
Disclaimer ...................................................................................1
Legal Prohibition .........................................................................2
1 Guide to Components..............................................................7
Exterior ................................................................................7
Interior .................................................................................8
2 Setting up the Printer ...............................................................9
2.1 Unpacking .....................................................................9
2.2 Opening the Paper Feed .............................................10
2.3 Loading Paper ............................................................. 11
2.4 Connecting the Printer to a Power Socket ..................13
2.5 Starting the Printer ......................................................13
2.6 Installing Printer Drivers and VOP Software ...............14
Quickly Installation .....................................................15
Wi-Fi Config and Installation ......................................20
Installing Wi-Fi Printer Drivers ....................................20
Upgrading Printer Drivers ...........................................21
Uninstalling Printer Drivers .........................................22
2.7 Printing a Test Page ....................................................23
2.8 Printing a Configuration Page .....................................23
3 Print Media ............................................................................24
3.1 Supported Paper ........................................................24
Paper Sizes ................................................................24
Paper Types ...............................................................24
Paper Capacity ...........................................................24
3.2 Non-Recommended Paper Types ...............................25
3.3 Print Area .....................................................................26
4 Printing ..................................................................................27

4
4.1 Print Jobs ....................................................................27
Printing with a Printer Driver ......................................27
Printing with VOP .......................................................28
4.2 Canceling Print Jobs ...................................................29
5 Copying .................................................................................31
5.1 Placing Originals .........................................................31
About Originals ...........................................................31
Placing Originals on the Scanner Glass .....................31
5.2 Basic Copying .............................................................32
Copying with Printer Keys ..........................................32
Making Multiple Copies using Printer Keys ................34
Copying with VOP ......................................................34
5.3 Copying Both sides of an ID Card onto one
side of Paper .....................................................................35
5.4 Canceling a Copying ...................................................37
6 Scanning................................................................................38
6.1 Scanning with a PC .....................................................38
Using TWAIN scanner ...............................................38
WIA Scanning (Windows) ...........................................42
Scanning with Mac ICA ..............................................43
6.2 Scanning with VOP .....................................................44
7 Drivers ...................................................................................45
7.1 Supported System Environment .................................45
7.2 Drivers Used in Windows ............................................45
Basic Tab ....................................................................46
Advanced Tab.............................................................51
Print Profile Tab ..........................................................58
Support .......................................................................59

5
7.3 Drivers Used in Mac ...................................................60
Basic ..........................................................................60
8 Print over Wi-Fi ......................................................................65
8.1 Wi-Fi Config and Installation .......................................65
8.2 Network Installation ....................................................69
8.3 Print over Wi-Fi ...........................................................72
9 Keys and Indicators ...............................................................73
9.1 Introduction ..................................................................73
9.2 LED Indicator ...............................................................73
9.3 LED Indicator and Status Description .........................74
9.4
LED Indicator Status and Operation Guide .................................. 77
10 Machine Maintenance .........................................................79
10.1 Maintaining the Toner Cartridge ................................79
10.2 Replacing the Toner Cartridge ...................................80
10.3 Cleaning the Printer ...................................................82
11 Troubleshooting ...................................................................84
11.1 FAQs ..........................................................................84
11.2 Paper Feed Problems ................................................85
11.3 Removing Paper Jams ..............................................86
11.4 Print Quality Problems ...............................................92
11.5 Printing Problems ......................................................93
11.6 Copying Problems .....................................................95
11.7 Scanning Problems ...................................................96
11.8 LED Indicator Status for Errors and
Operation Guide ................................................................96
12 Appendix..............................................................................97
12.1 Precautions about Toner ...........................................97
12.2 Moving and Transporting the Machine ......................97

6
12.3 Toner Cartridge ..........................................................98
12.4 Specifications of the Machine ....................................99
12.5 Trademark ...............................................................102
Index .......................................................................................104

7
1
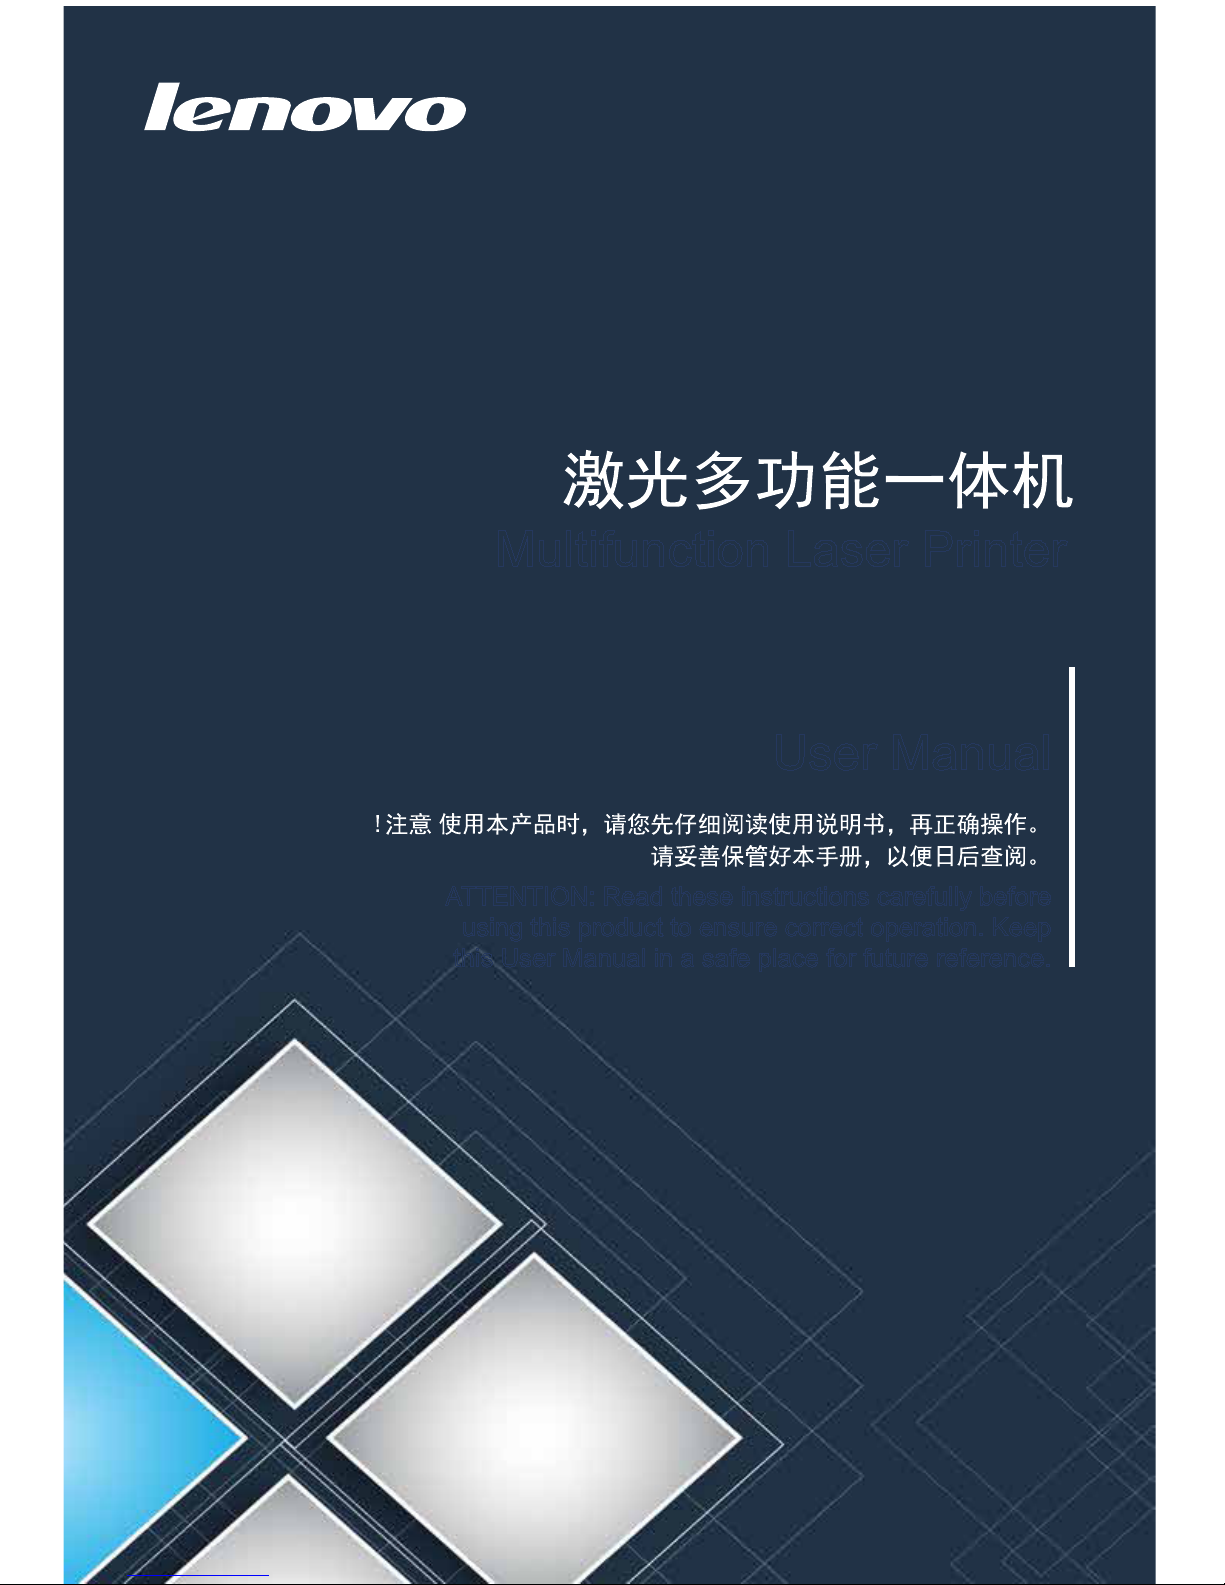
Guide to Components
This section introduces the names of the parts in front, at the back and inside the machine.
Exterior
Paper exit
Scanner cover
Notes
• Please refer to Chapter 9: Keys and Indicators for details of key functions and
how indicators display the printer device status.
Start key
Power key
8
Interior
Paper jam
release lever
Toner cartridge
9
2
2.1 Unpacking
Setting up the Printer
1
Take the printer and all accessories out of the packaging.
Check you have all the accessories listed below.
Important
• If you find any accessories or parts missing or defective, please notify your
reseller immediately.
• The toner cartridge has been installed in the printer.
• Some parts may be not used in other countries.
• Printer driver and user manual are in the CD-ROM.
2
Carefully remove the packing tape from the outside and inside of the printer.
Toner cartridge
USB cable (1.2 m)
Power cable (1.5 m)
CD-ROM
Quick Installation Guide
Safety manual

10
2.2 Opening the Paper Feed
1
Open the feed tray.
2
Pull out the Extension Panel 1.
3
Flip open the Extension Panel 2.
Extension Panel 1
Extension Panel 2
The raised section
here can help you
easily open the
feed tray.
11
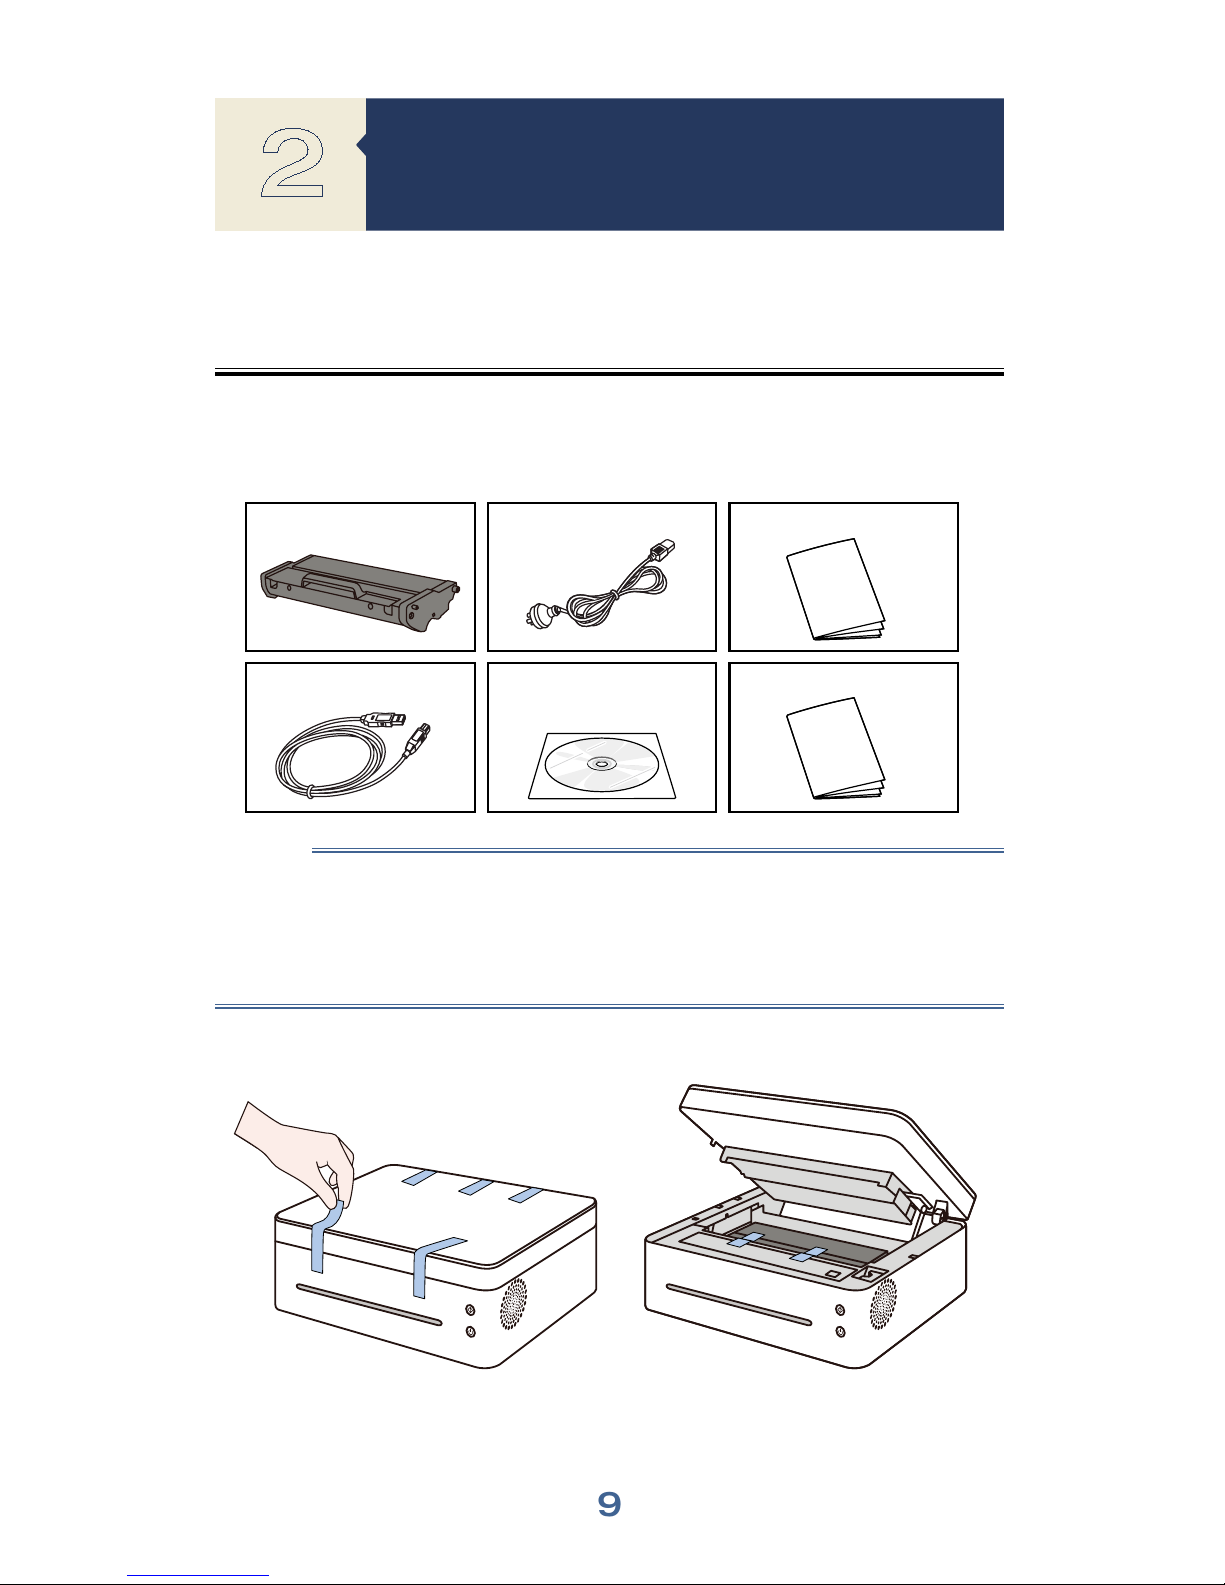
2.3 Loading Paper
This section explains how to load paper into the paper feed.
Notes
• Please refer to Chapter 3: Print Media for details of print media.
1
Before loading the paper, bend the sheets back and forth and fan the stack.
Use a flat surface such as a desk to line up the edges of the sheets.
Notes
• Doing this helps to prevent paper jams.
2
Load the paper with the front side facing up.
3
Do not load too much paper at
a time.
The feed tray can hold 50 sheets
(A4 70g/m²) maximum.

12
4
Pinch the paper guide clip and slide it to fit the paper size.
Important
• Please make sure to set the paper size and type when loading paper. When
printing, please specify the paper size and type in the printer driver so the settings
can be used for printing the loaded paper.
Notes
• Please refer to Chapter 3: Print Media for how to specify the paper size and type
in the printer driver.
• Curled paper may cause paper jams. Please flatten curled paper before loading it.
• Do not push the paper guide too far. This may cause the paper to bend.
• Failure to adjust the paper guide may cause a paper jam.
• If you need to add paper to the paper feed while printing, remove any remaining
paper in the paper feed first and then add new paper. Adding new sheets to the
feed tray while there is paper remaining may cause paper jams or concurrent
feeding of multiple sheets.
13
2.4 Connecting the Printer to a Power
Socket
1
Plug the power cable into the power
port at the back of the printer.
2
Plug the other end of the power cable into a properly grounded AC power supply socket.
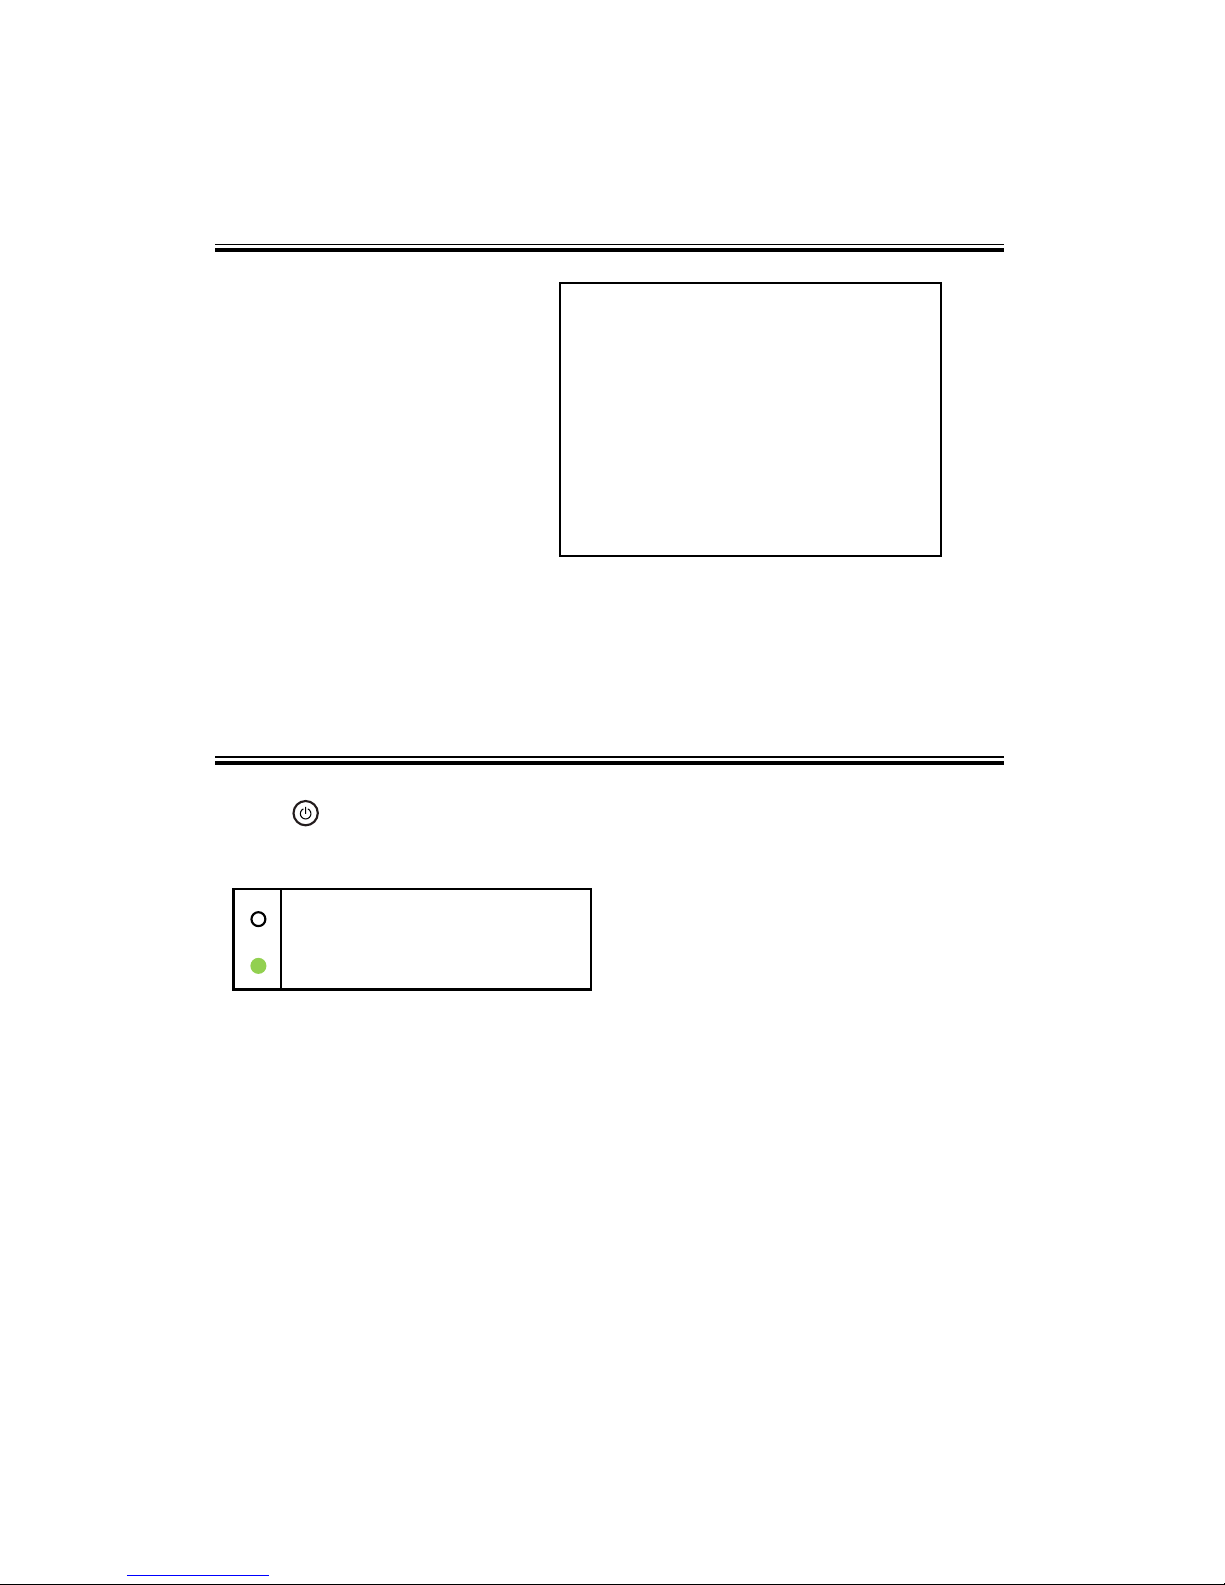
Hold the
power key for 0.5 seconds or longer to start the printer.
The indicator display shown below indicates that the printer is ready.
Start indicator is off
Power indicator is green
2.5 Starting the Printer
14
2.6 Installing Printer Drivers and VOP
Software
Quickly Installation(USB)
Wi-Fi Config and Installation
Network Installation
VOP software will be installed on your device by default
when you choose Quick Install.
Notes
• Please refer to VOP Software for details
Please confirm the following items:
Your computer has 1G or more of internal
memory.
Your computer has 200 MB or more free space
available on the hard disk.
Your computer has a Windows or Apple Mac
operating system which supported by this printer.
Different Models
Some functions may not be available on all models or in all countries/regions.
Drivers and VOP software are listed below.
Drivers and VOP software M7208 M7208w
Printer Driver √ √
Scanner Driver √ √
VOP (Windows & Mac) √ √
VOP (Android & iOS) × √
Three ways to install
drivers
Installing VOP software
Notes
• Please refer to Chapter 7: Drivers for more information about compatible
operating systems.
Before installing printer
drivers

15
Installing drivers on Windows
The exact steps will depend on which version of the operating system you use. This
example uses Windows 7.
1
Start the printer and connect the computer and printer with the USB cable.
2
Insert the CD-ROM supplied with this product into the computer's CD-ROM drive.
3
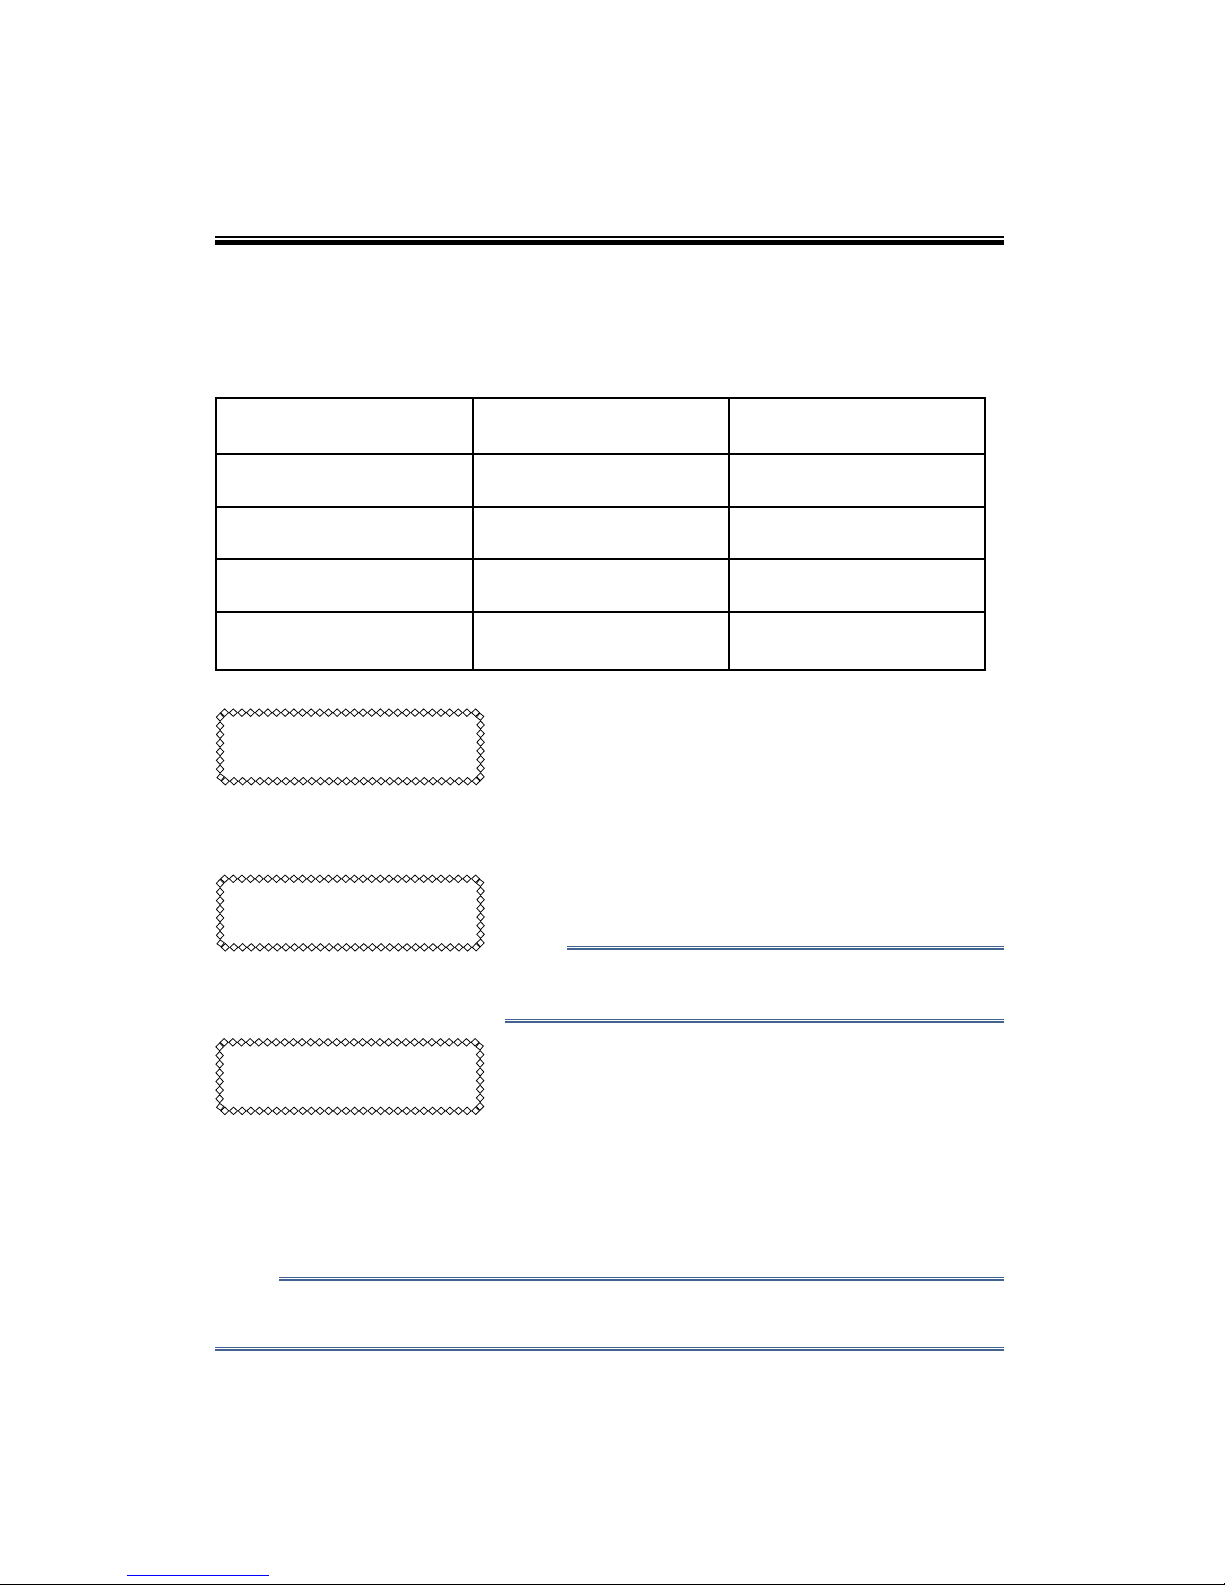
When the installer window is
displayed, select the required
language.
Quickly Installation
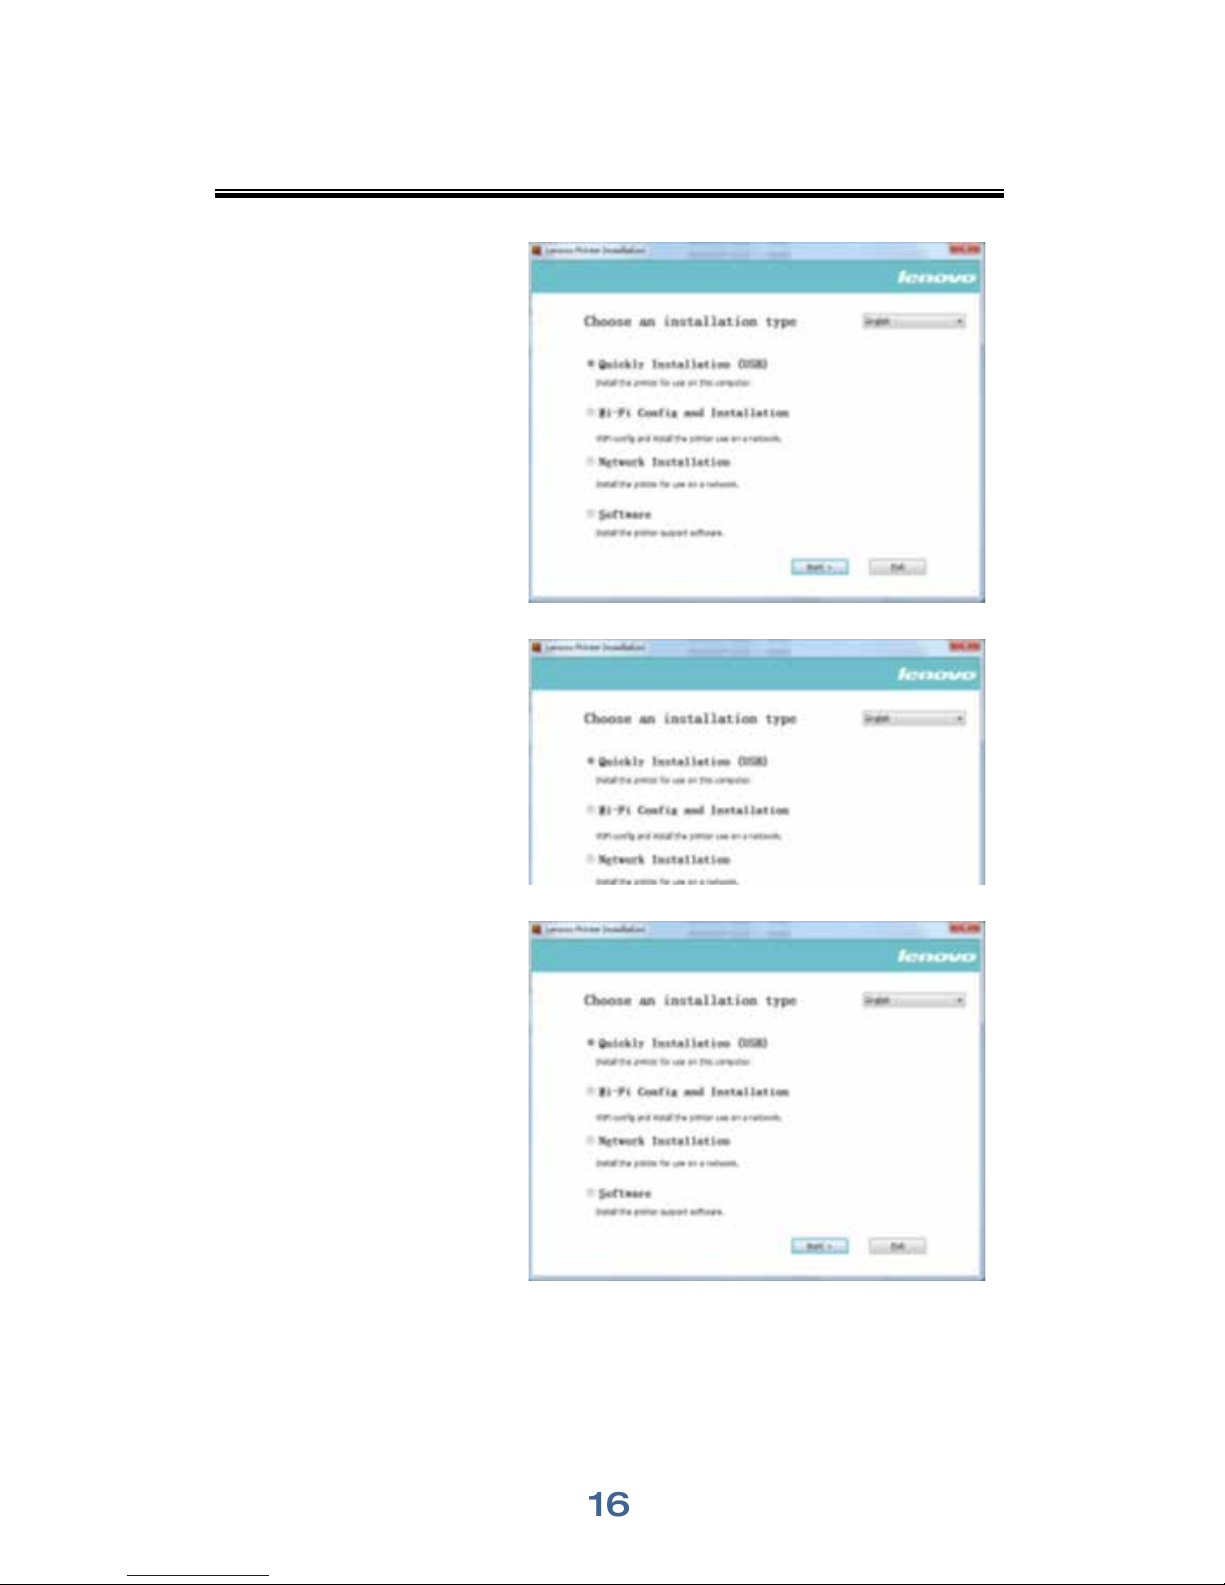
16
4
Click [Quick Install (USB)].
5
Click [Next].
The program will start installing
automatically.
6
When the installation is complete,
click [Done].
The printer driver installation is complete. You can start to use your printer.
17
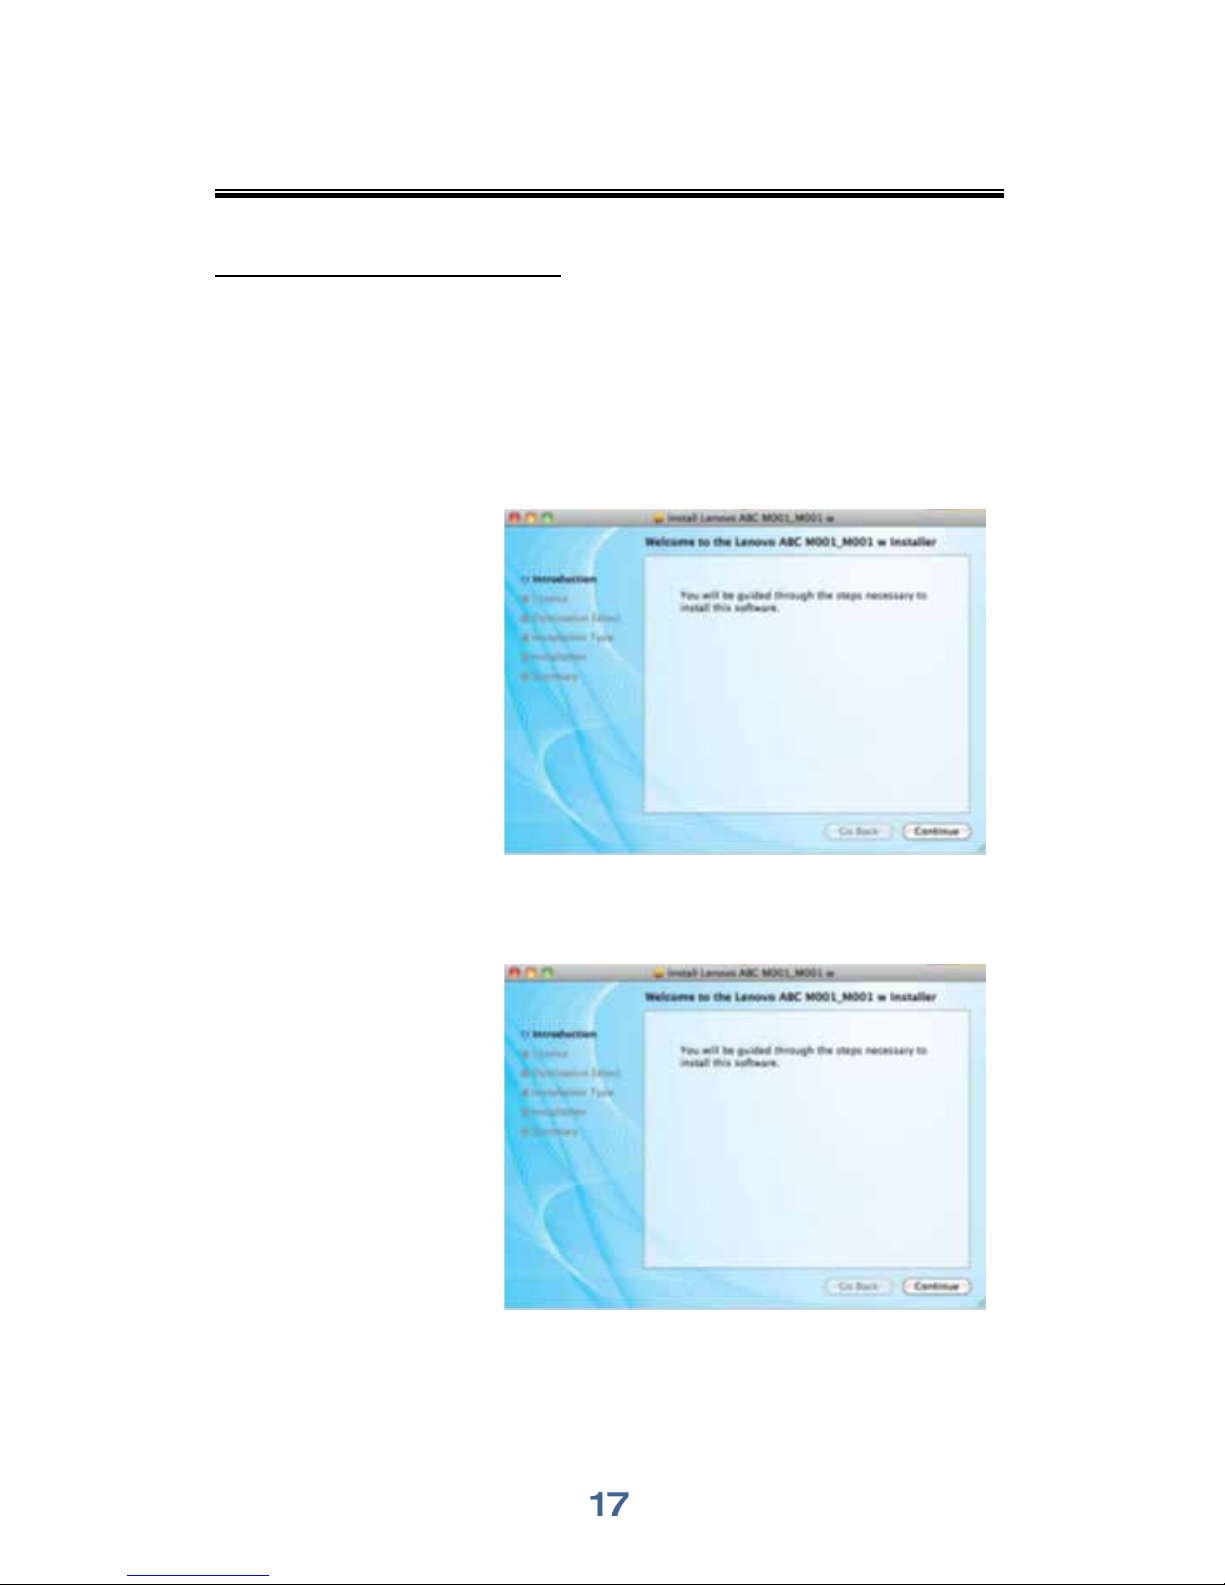
Installing drivers on Mac OS
1
Start the printer and connect the computer and printer with the USB cable.
2
Insert the CD-ROM supplied with this product into the computer's CD-ROM drive.
3
Double click the CD disk icon on the computer desktop.
4
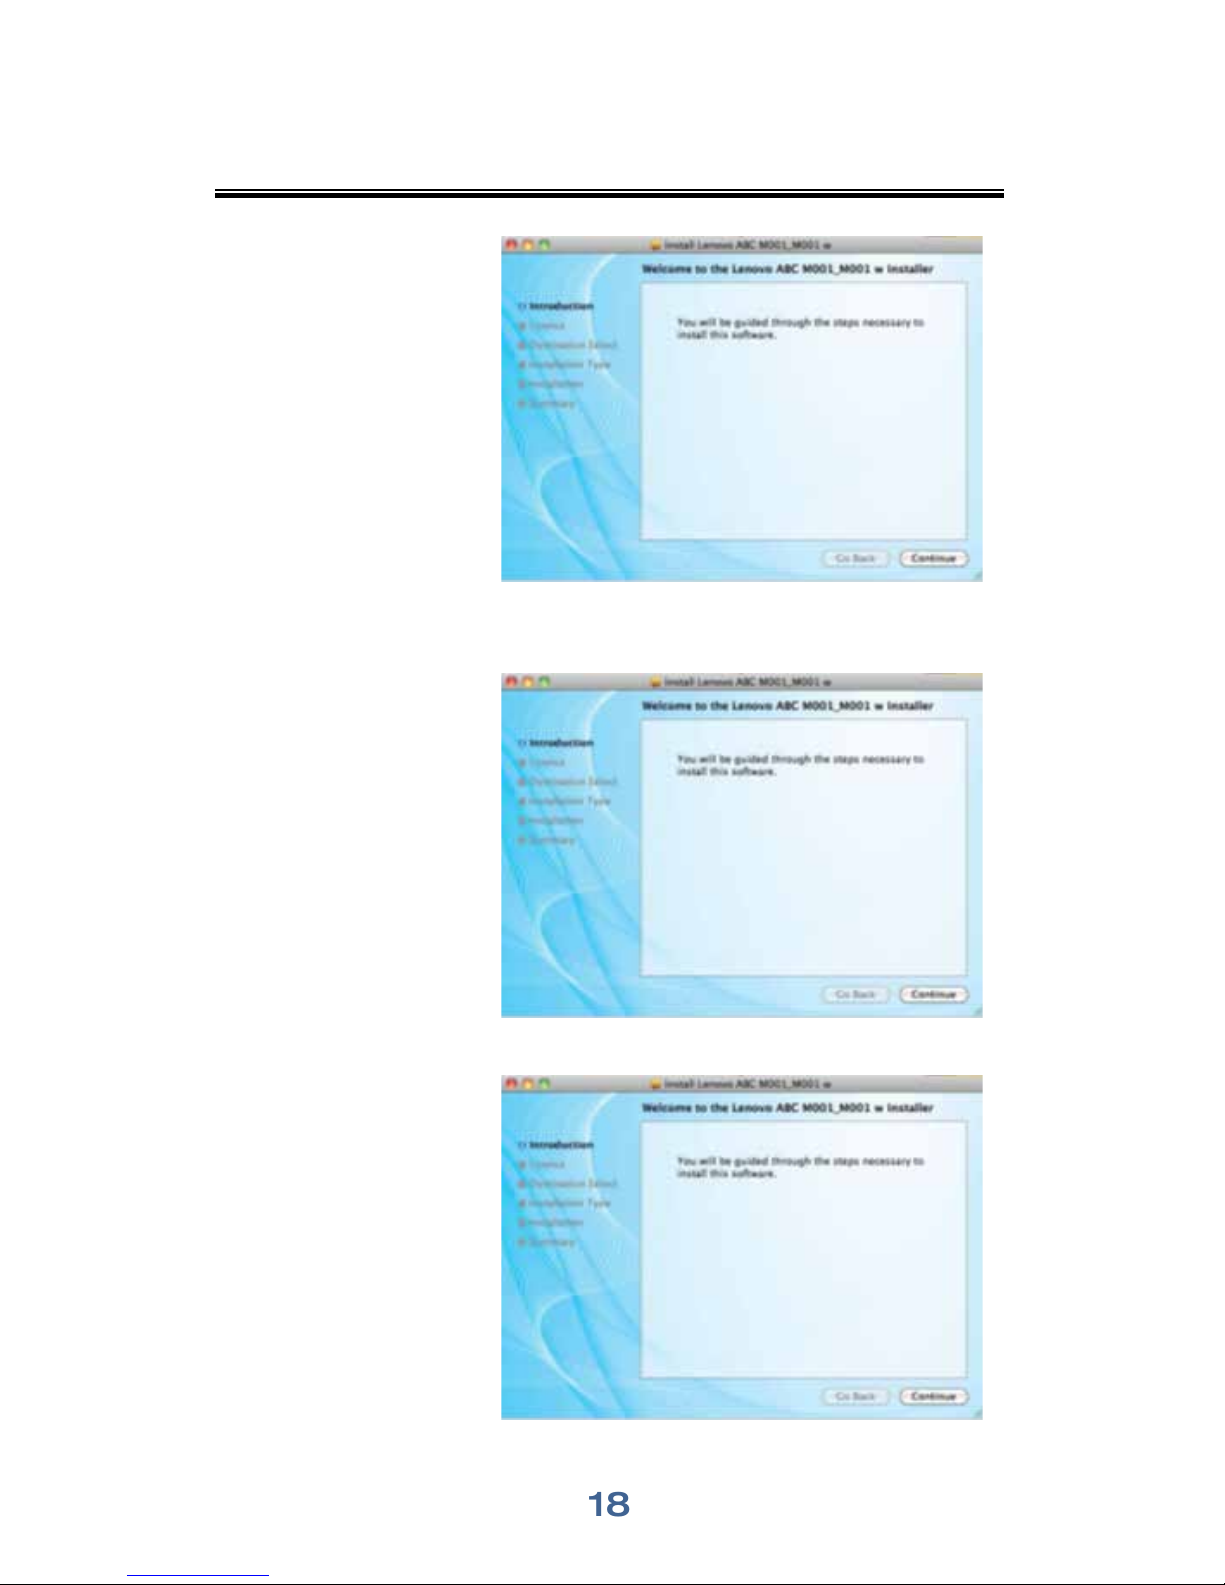
Double click the [Install] icon. A window will pop up as shown in the screenshot below.
5
Click [Continue] in the introduction window.
6
When the License Agreement interface appears, please select the required language.
18
7
Please carefully read the
software License Agreement,
and click [Continue].
8
If you accept the terms of the license agreement,
please click [Accept]
to continue installation.
9
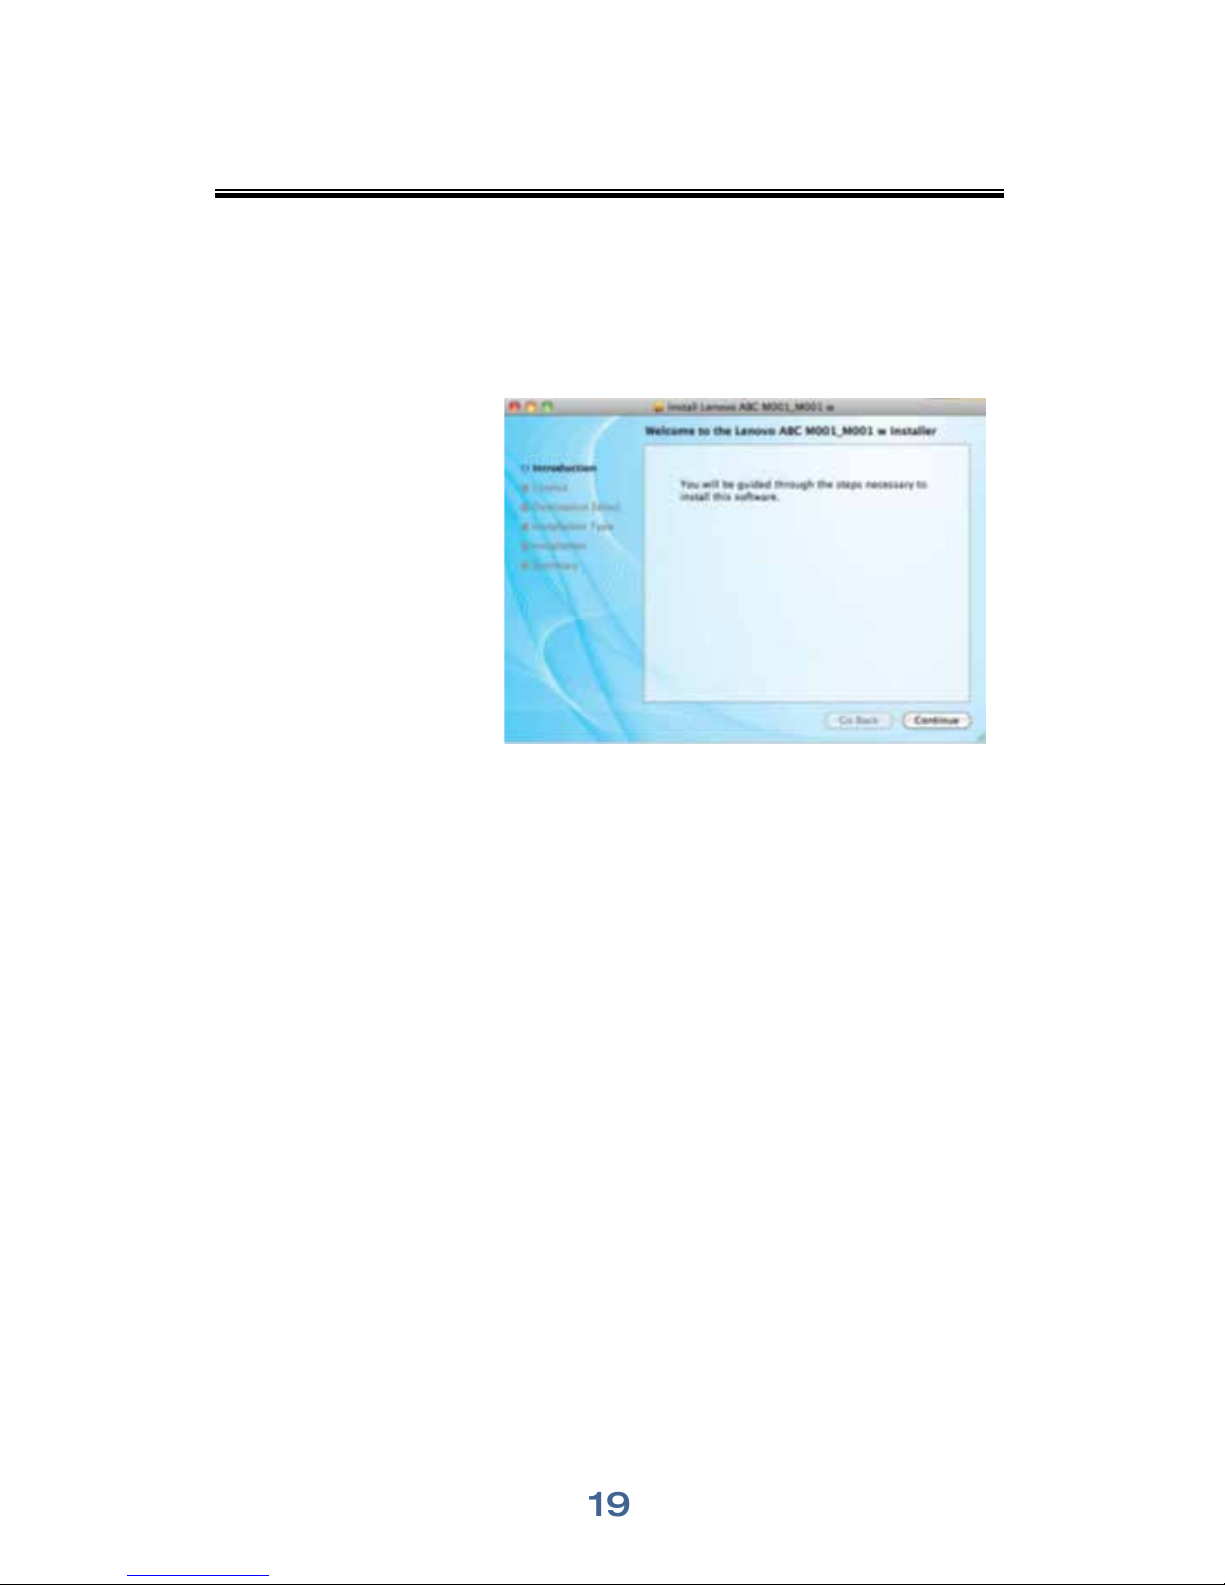
Select options as instructed on the interface, and click [Continue].
10
Click [Install],
and the system will perform
a default install of the
software.
19
11
For MAC OS X 10.5 and 10.6, enter the administrator name and password and click
[OK].
For MAC OS X 10.7, 10.8 and 10.9, please enter the administrator name and
password and click [Install Software].
12
Click [Continue].
13
Click [Restart] to complete the installation.

20
Wi-Fi Config and Installation
When the printer is used for the first time,it needs to configured for Wi-Fi.After the printer
is configured,you can operate the printer via Wi-Fi.
Important
• Some functions may not be available on all models or in all countries/regions.
Please refer to the models and specific configurations listed: Different Models.
• Please refer to Chapter 8: Print over Wi-Fi for Wi-Fi configuration and Wi-Fi
printer driver installation.
Installing Wi-Fi Printer Drivers
Please install the Wi-Fi printer driver if you have not used a Wi-Fi enabled printer before.
Important
• Some functions may not be available on all models or in all countries/regions.
Please refer to the models and specific configurations listed: Different Models.
• Please refer to Chapter 8: Print over Wi-Fi for Wi-Fi configuration and Wi-Fi
printer driver installation.

21
You can upgrade the installed printer driver by following the steps below.
1
In the [Start] menu, click [Devices and Printers].
Windows XP, Windows Server 2003/2003 R2:
In the [Start] menu, select [Printers and Faxes].
Windows Vista, Windows Server 2008:
In the [Start] menu, select [Control Panel] and
click [Hardware and Sound]-[Printer].
Windows 8/8.1, Windows Server 2012/2012 R2:
Click [Settings] on the charm bar, and then click [Control Panel].
When the window pops up, click [View devices and printers].
2
Right click the icon of the printer you want to modify, and click [Printer Properties].
Windows XP/Vista, Windows Server 2003/2008:
Right click the icon, and click [Properties].
3
Click the [Advanced] tab.
4
Click [New Driver...], and click [Next].
5
Click [Have Disk....].
6
Click [Browse...], and select the location of the printer driver.
7
Click [OK] and specify the printer model.
8
Click [Next].
9
Click [Finish].
10
Click [OK] to close Printer Properties window.
11
Restart the computer.
Upgrading Printer Drivers

22
You can use the uninstall program also can uninstall the printer driver by following the
steps below.
1
In the [Start] menu, click [Devices and Printers].
Windows XP, Windows Server 2003/2003 R2:
In the [Start] menu, select [Printers and Faxes].
Windows Vista, Windows Server 2008:
In the [Start] menu, select [Control Panel]
and click [Hardware and Sound]-[Printer].
Windows 8/8.1, Windows Server 2012/2012 R2:
Click [Settings] on the charm bar, and then click [Control Panel].
When the window pops up, click [View devices and printers].
2
Right click the icon of the printer you want to delete, and click [Remove Device].
Windows XP/Vista, Windows Server 2003/2003 R2/2008:
Right click the icon you want to delete and click [Delete].
3
Click [Yes].
4
Click any printer icon, and click [Print Server Properties].
5
Click the [Driver] tab.
6
If [Change Driver Settings] is displayed, please click it.
7
Click [Remove...].
8
Select [Remove Driver And Driver Package] and click [OK].
9
Click [Yes].
10
Click [Delete].
11
Click [OK].
12
Click [Close] to close the Print Server Properties window.
Uninstalling Printer Drivers

23
At the end of driver installation,there will be a print test page option,and you can also print
the test page by the following.
This example uses Windows 7.
Click [Start], then [Devices and Printers]. Right click your printer and select
[Printer Properties] to display the properties dialog box (shown on the right).
Click [Print Test Page].
If the test page is successfully printed, the Lenovo M7208/M7208w has been configured
correctly.
2.7 Printing a Test Page
2.8 Printing a Configuration Page
The configuration page shows your printer settings.
When the printer is in the state of standby,quickly press the
power key three times in
under a second and observe the indicator light.
Start indicator is off
Power indicator alternates between
green and off every second
This indicates that print tasks have been set up successfully.

24
3
3.1 Supported Paper
Print Media
Paper Sizes
A4
Letter "8½" × 11"
B5
A5 LEF
B6 LEF
A6
Executive 7¼" × 10½"
16K (195 × 267 mm)
Custom Paper Size
Custom Paper Size supports the following sizes:
• Width Approx. 76.2-216mm (3-8.5 inches)
• Length Approx. 116-356mm (4.5-14 inches)
Paper Types
Plain Paper (70-90 g/m²)
Recycled Paper (70-90 g/m²)
Thick Paper (90-105 g/m²)
Thin Paper (60-70 g/m²)
Label
Paper Capacity
Paper tray
50 sheets (70 g/m²)

25
Do not use the following types of paper:
Special paper for ink-jet printers
Special paper for viscous inks
Curled, folded or creased paper
Twisted paper
Corrugated paper
Wet paper
Dirty or torn paper
Excessively dry paper that may produce static
Printed paper except that with header/footer designs
Paper printed by non-laser printers (e.g. monochrome or color copiers,
ink-jet printers, etc) in particular may cause failures
Special paper such as thermal paper paper and carbon paper
Paper weighing heavier or lighter than the limit
Paper with windows, holes, perforations,cutouts,or embossing
Adhesive label paper on which glue or base paper is exposed
Paper with clips or staples
Envelopes
Notes
• Poorly stored paper can cause paper misfeeds,print quality degradation,or
malfunctions.
• Use of any of the paper types listed above may damage the product. Such
damage is not covered by the warranty from Lenovo (Beijing) Limited.
3.2 Non-Recommended Paper Types
26
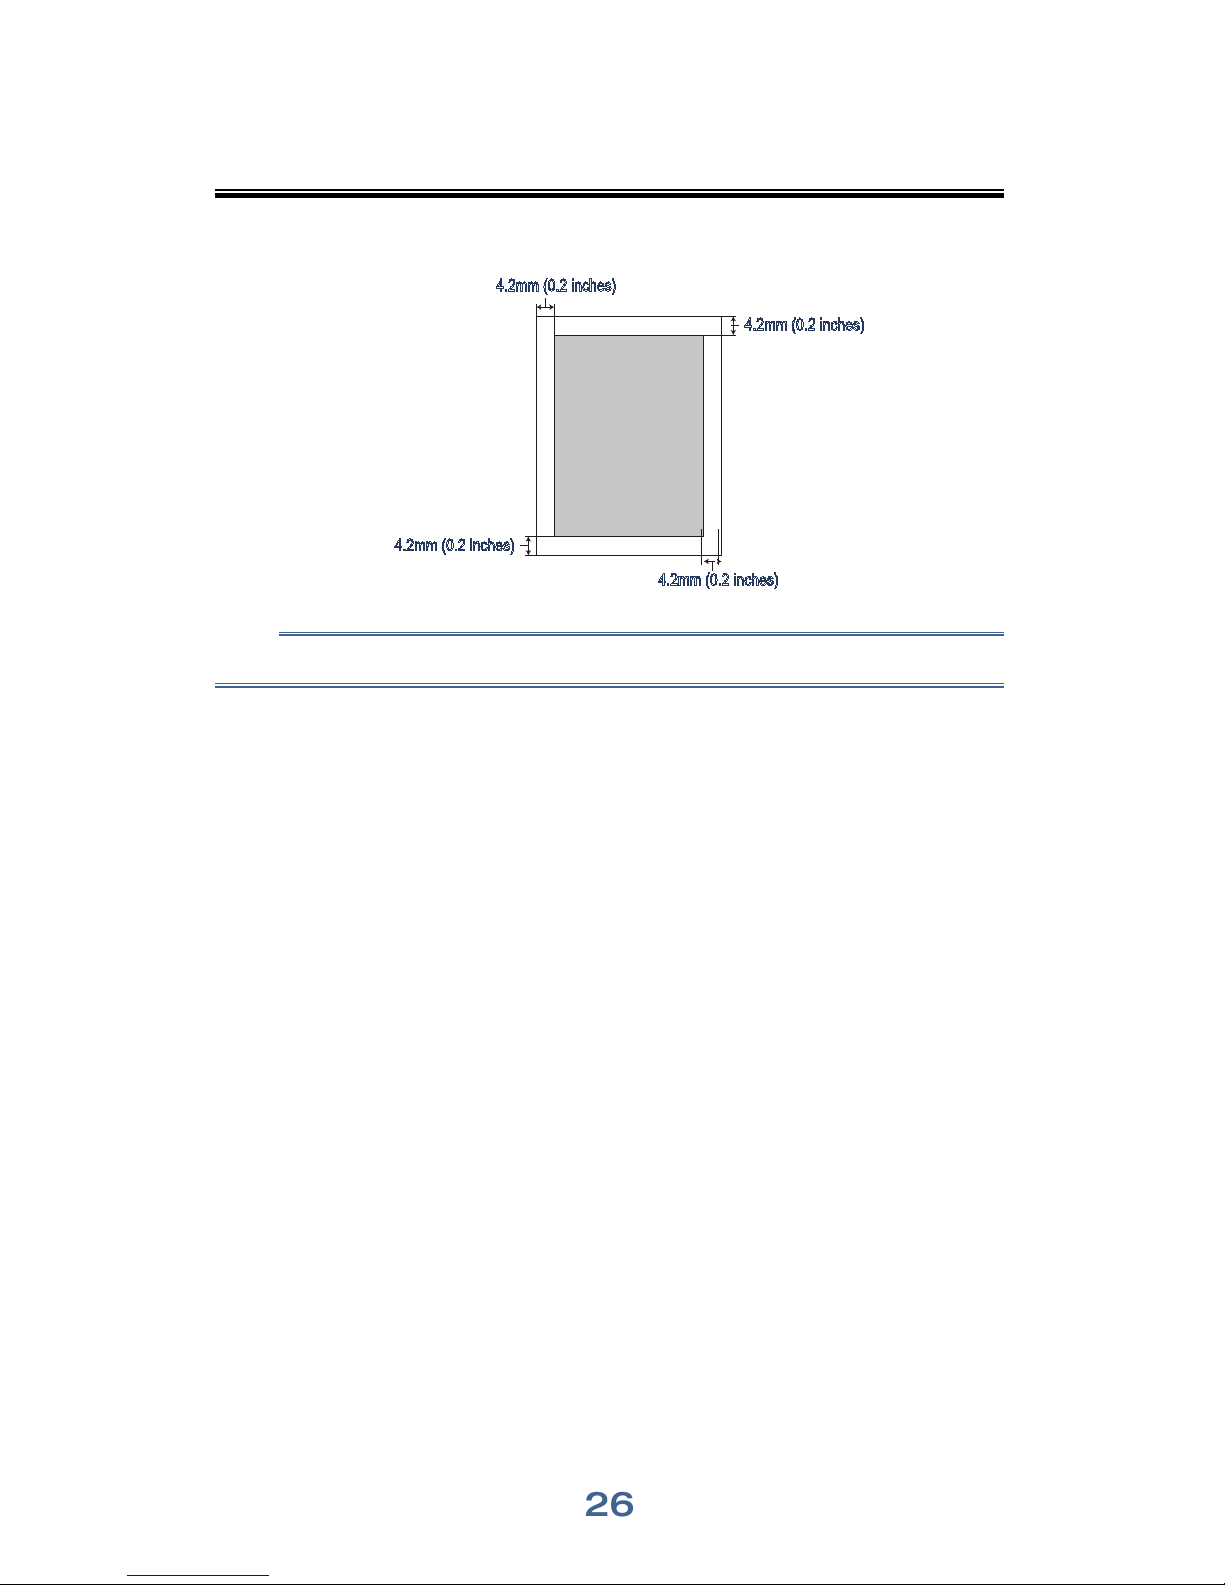
3.3 Print Area
The picture below shows the area of the paper that the machine can print on.
Notes
• The print area may vary depending on the paper size and printer driver settings.
Print Area
4.2mm (0.2 inches)
4.2mm (0.2 inches)
4.2mm (0.2 inches)
4.2mm (0.2 inches)

27
4
4.1 Print Jobs
Printing
This printer offers two options for handling printing:
Printing with a Printer Driver
Printing with VOP
Printing with a Printer Driver
This option allows you to print files on the computer using printer drivers.
The example below is for Adobe Reader XI on Windows 7.
The steps needed to print may be different for other software or environments.
Please see the software you are using to print for the actual steps you need to follow.
1
Please confirm the printer is connected.
2
Open the file your want to print.
3
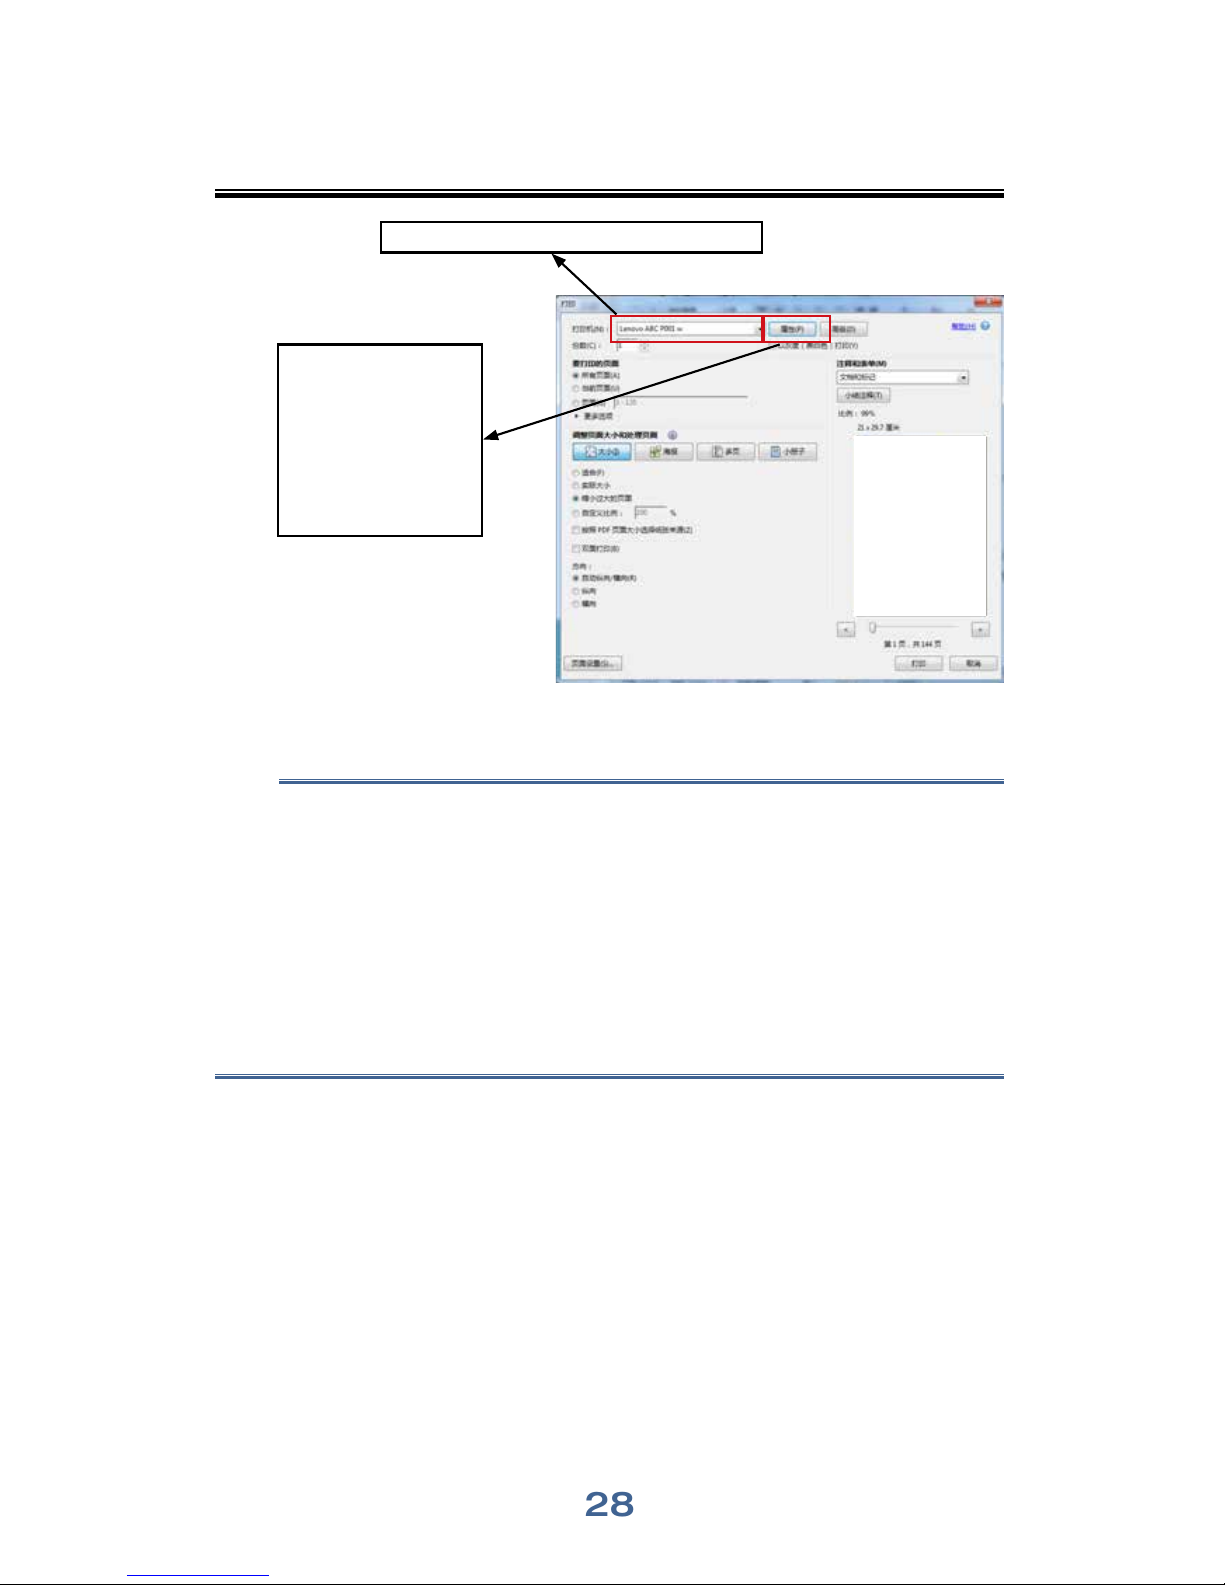
Select Print in the File menu.
The print dialog box is displayed. (Dialog box may be different for other software.)
Select basic print settings in the print dialog box.
The settings include number of
copies, paper size and orientation.
If no other print requirements are needed, click [Print] to start printing.
28
Notes
• Click the [Properties] button in the print dialog box to display another dialog box
with more printer settings.
• Any changes made will apply only to the software currently in use.
If you want your printer to always use the settings, please follow the steps below:
1. Click the Windows [Start] button.
2. Select [Devices and Printers] to open the window.
3. Select your printer, right click, and select [Printing Preferences].
4. Configure the printer settings here and click [OK]. These settings will be
effective for all printing on this computer.
• Please refer to Chapter 7: Drivers for details about the printer settings.
• Please refer to Chapter 9: Keys and Indicators for details of key functions and
how indicators display the printer device status.
Printing with VOP
Please refer to VOP Print Functionality
Click [Properties]
if displayed. Click
[Settings], [Printer] or
[Options] if displayed,
then [Properties].
Please make sure your printer is selected.
29
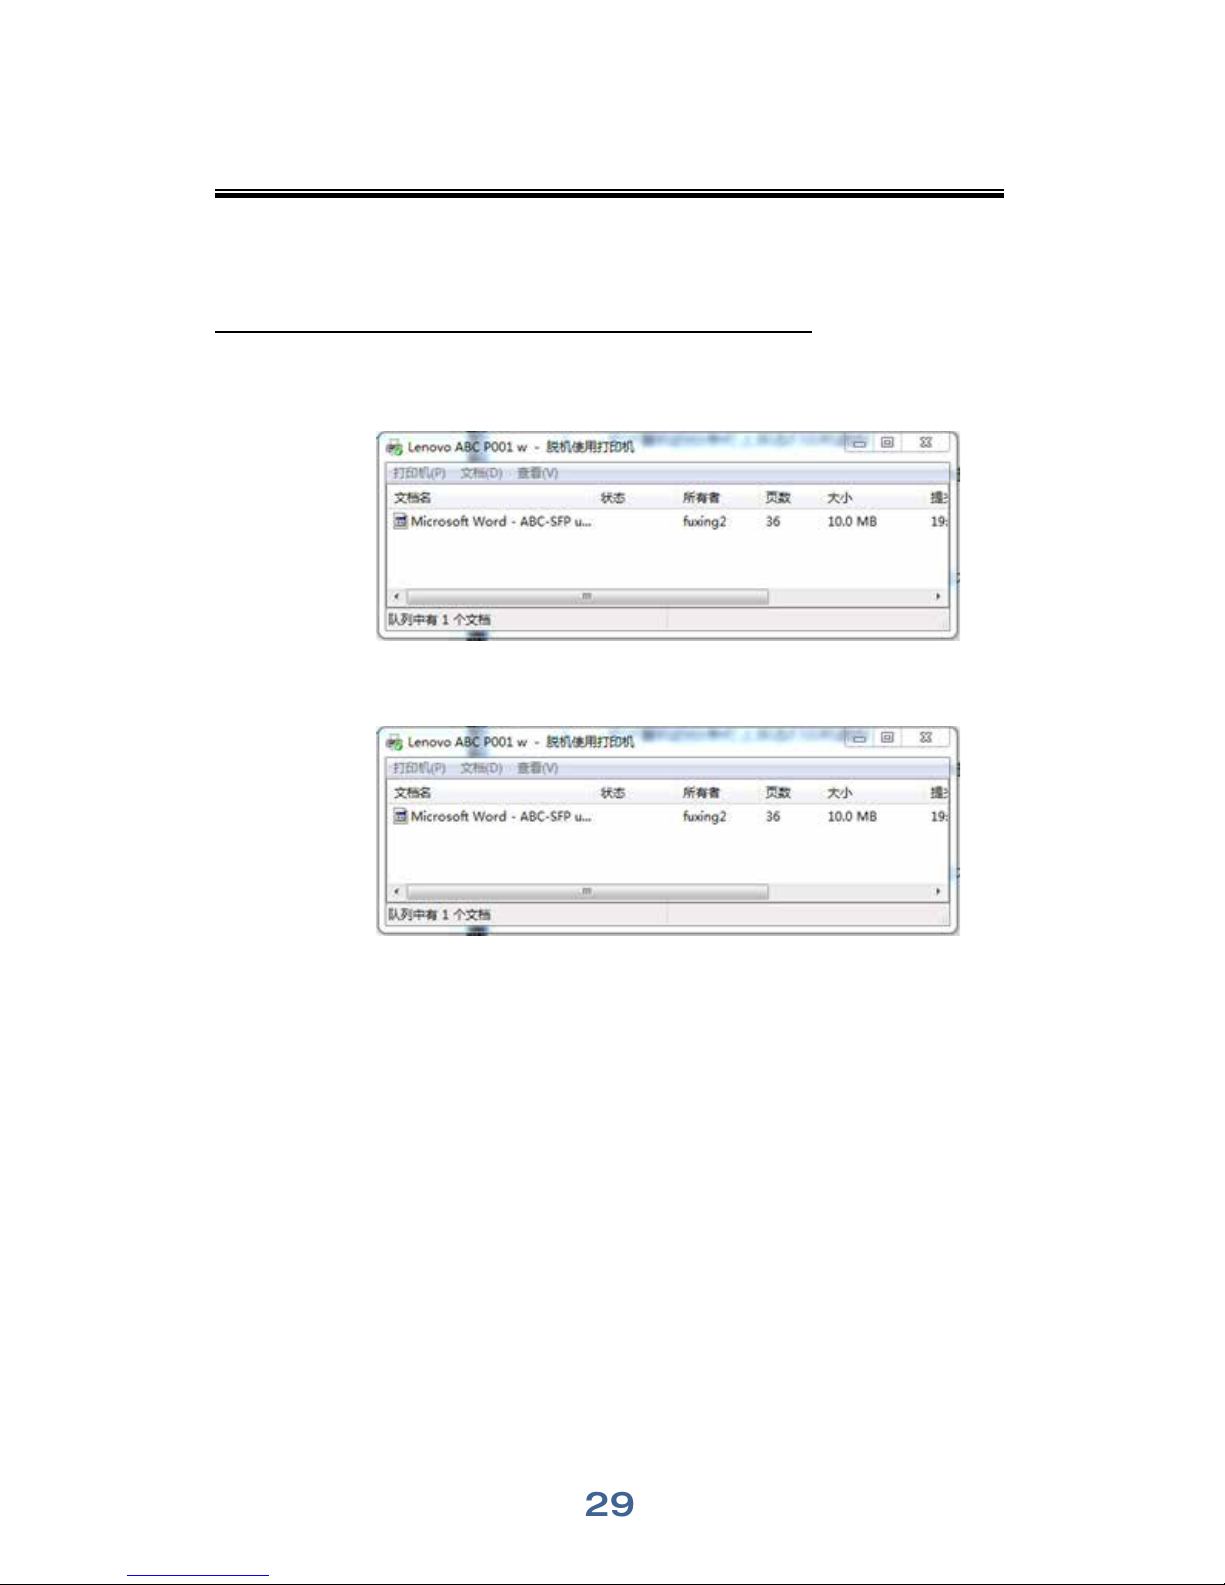
The steps for canceling a print job are different for jobs that are not yet printing or
currently printing.
Canceling a Print Job before Printing has started
1
Double click the printer icon on the taskbar at the bottom right of the computer
desktop. The print queue is displayed.
2
Click [Print Task]. Then right click it and click [Cancel].
3
Click [Yes] to cancel the task.
4.2 Canceling Print Jobs
 Loading...