

Page 1
Smart Glasses new glass C100
Lenovo Smart Glasses User Guide
C1 02.indd 1 2015/10/16 15:22:09
Page 2

C1 02.indd 2 2015/10/16 15:22:10
Page 3
C1 02.indd 3 2015/10/16 15:22:10
Page 4
Note: Please read this document carefully before installing and using the device and keep this document properly.
C1 02.indd 4 2015/10/16 15:22:10
Page 5
Thank you for purchasing this Lenovo product.
Note
Before using this document and the supported device, please carefully read and understand this
document, particularly the key safety information in it and the Notification section in the appendix. This will
help you use this device safely and properly.
To obtain an electronic version of this document, visit the support service portal for this device on the
Lenovo product website, and perform a search as instructed.
Version 1 (May 2015)
All rights reserved. © Affiliate of Lenovo Group. 2015 All rights reserved.
C1 02.indd 5 2015/10/16 15:22:10
Page 6
C1 02.indd 6 2015/10/16 15:22:11
Page 7

C1 02.indd 7 2015/10/16 15:22:11
Page 8
C1 02.indd 8 2015/10/16 15:22:11
Page 9
Overview
Support
Thank you for choosing new glass smart glasses. This document will guide you on how to use
this device and its key features.
For more information and additional support, please visit http://newbd.com/topic/newglass.html.
Specifications
Display 0.294” LCOS 16: 9 panel, screen definition: 800*480
Scope of view 20°, equivalent to a 25-inch display two meters away from the wearer
Camera photo: 8 megapixels; video: 1080p
Connectivity Wi-Fi 802.11b/g/n, Bluetooth 4.0, Micro USB
Processor 1.2GHz OMAP4460 dual-core processor and image engine
System Android 4.2.2
Storage Total 16GB, with 1 GB embedded RAM
Battery 1340 mAh, 3.7 V
Control Power switch, photo button, touchpad
Sensors GPS, proximity sensor, ambient-light sensor, 3-axis gyroscope, 3-axis
accelerator, 3-axis magnetometer
Audio 1.5W Noise cancelling speaker, microphone, 3.5mm mono headset
Size Glasses: 102.65*53.42*12.4mm (LxWxH)
Neck base: 139.72*139.68*25.15mm (LxWxH)
Weight glasses: 22 g, neck base: 80g
C1 02.indd 9 2015/10/16 15:22:11
Page 10
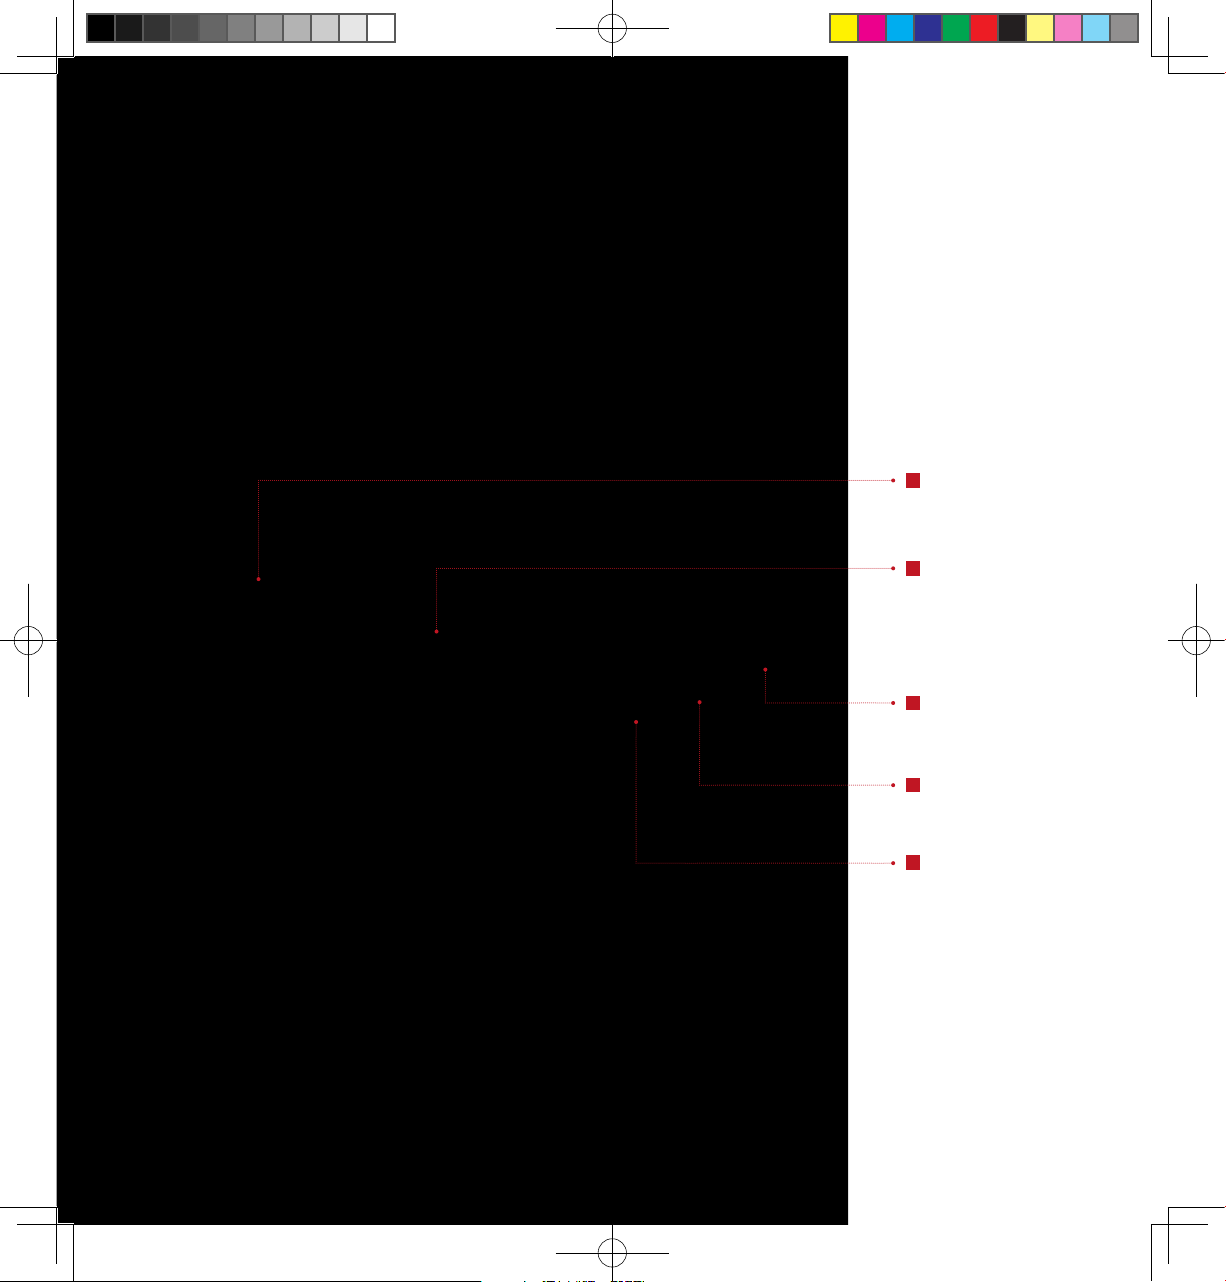
Overview
1
Glasses
2
Camera/
video key
3
Prism
4
Ambient-light
sensor
5
FHD camera
C1 02.indd 10 2015/10/16 15:22:14
Page 11

Connection cord
6
Headset jack
Micro USB port
7
8
C1 02.indd 11 2015/10/16 15:22:16
Page 12

Neck base
1
Main body of
neck base
Left/right
neck clip of
neck base
Sleep/
power
button
MIC
2
3
4
5
C1 02.indd 12 2015/10/16 15:22:18
Page 13

6
Prism display
window
7
Slot
8
Proximity
sensor
9
Earphone
C1 02.indd 13 2015/10/16 15:22:21
Page 14

Charging
Before starting up this device for the first time, connect it to
a power supply and disable the transport mode.
Connect the charging cable to the Micro USB port located
at the lower portion of the main body of the neck base.
Please use the power adapter provided. Connect the
charging cable to the adapter, and plug the adapter into
a standard power socket. The power input for charging
should be 5 V/1 A.
C1 02.indd 14 2015/10/16 15:22:23
Page 15

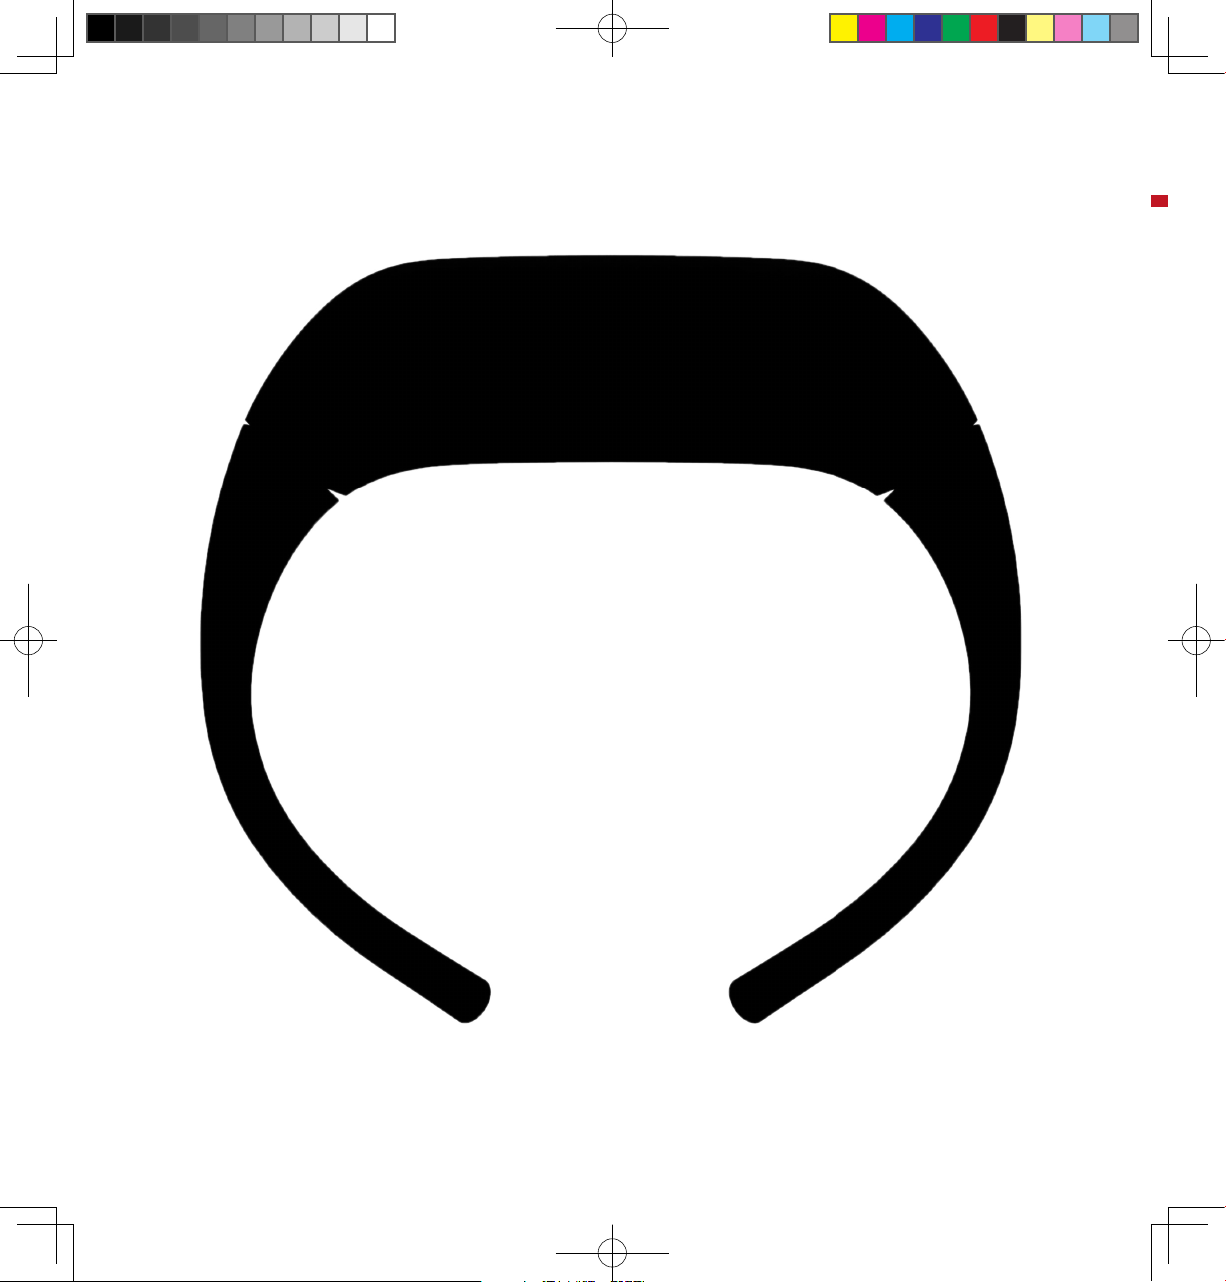
Provided glasses frame
Wearing
This device comprises a pair
of glasses and a neck base,
which are connected via a
connection cable. Put neck
base around your neck, and
attach this device to the
glasses frame provided or
some other glasses frame
of your choice. Then, adjust
the prism on the glasses until
you achieve an optimal line of
sight.
Insert the tab (1) on the
glasses frame into the slot (2)
on the glasses frame. Now,
1
you can attach your glasses
onto the frame. To detach
your glasses from the glasses
2
C1 02.indd 15 2015/10/16 15:22:25
frame, pull tab (1).
Page 16

The part of the neck base in contact with the wearer's skin is
made of thermal resistant material to help lower the temperature
at the point of contact between the neck base and skin.
C1 02.indd 16 2015/10/16 15:22:25
Page 17

Matching the Glasses Frame
Choose a clip that is suitable for your glasses frame. Insert the
clip into slot (1) on your glasses, and then clip it onto the arm of
your glasses at position (2).
The opening of the wire grip should face upwards, and it should
cover the end of the glasses arm. Insert the connection cable
into the cable clipping.
1
2
C1 02.indd 17 2015/10/16 15:22:26
Page 18

Adjustment
Adjust the clip such that it is suitably positioned on the glasses arm. Rotate the front end of
the glasses clockwise or counterclockwise, until the prism achieves an optimal line of sight.
C1 02.indd 18 2015/10/16 15:22:30
Page 19

Neck base
Wear the neck base around your neck. Adjust
the left or right clip to get a good fit between
the neck base and your neck. This will provide
the best comfort.
C1 02.indd 19 2015/10/16 15:22:31
Page 20

C1 02.indd 20 2015/10/16 15:22:32
Page 21

Buttons
Power button
To turn on this device, press and release the
power button. To turn off this device, press and
hold the power button.
Photo/video button
To take a photo, press and release the photo
button. To take a video, press and hold the
photo button.
C1 02.indd 21 2015/10/16 15:22:32
Page 22

Touchpad
A touchpad is located on your new glass to help you control the
device. The touchpad can perform the following functions:
C1 02.indd 22 2015/10/16 15:22:32
Page 23

Tap: select Sliding forward: page right
Sliding backward: page left
C1 02.indd 23 2015/10/16 15:22:32
Sliding down with
single finger: back
Page 24

C1 02.indd 24 2015/10/16 15:22:33
Page 25

Start to use About the Glasses Manager App
The Glasses Manager app is not only a tool for managing
glasses apps also helps you configure the settings for your
new glass. Before using new glass, download and install
this app and complete the activation of new glass.
If you are using an Android phone, scan the QR code
below to install the Glasses Manager app.
You can download the installation APK from the URL below:
http://www.newbd.com/app/C100GlassManager.apk
C1 02.indd 25 2015/10/16 15:22:33
Page 26

Activate the glasses.
Step 1: Turn on the device.
Press the power button to turn the device on.
After powering on, you will see the Activation Wizard. It
will guide you through the activation in a step by step
manner.
Step 2: Install the Glasses Manager app.
If you are using an Android phone, scan the QR code
below to install the Glasses Manager app. Then, you can
enter the app.
Step 3: Log onto the glasses manager app.
You'll need a NDB account to use the Glasses Manager
app. If you have a NDB account or have registered using
your mobile phone number or email address, log onto the
Glasses Manager app.
Step 5: Scan the QR code with your new glass.
When you are prompted by the instructions on the screen
to scan the QR code and activate your device, tap the
touchpad to scan the QR code.
After the QR code is scanned, your new glass will be
activated and connected to Wi-Fi. Ensure that the Wi-Fi
hotspot signal is available.
Step 6: Activation is complete.
When using your new glass for the first time, you will find
some glasses apps preinstalled on your device. Tap the
touchpad on the main page to see all the available apps.
The main page of the new glass is as shown below.
Step 4: Generates a QR code with the Glasses
Manager app.
If it you are logging onto this app for the first time, you will be
prompted to activate your device. Select a Wi-Fi hotspot you
frequently use, and enter the password. After verification, a
QR code will be generated for you to activate this device.
C1 02.indd 26 2015/10/16 15:22:33
Page 27

Glasses Desktop
The Glasses Desktop is embedded with a
voice engine, and connects to the Internet
independently and runs applications.
It synchronizes and shares resources
generated by your new glass.
The interface of the Glasses Desktop is
displayed by taking card as a unit, and its
default main page is the Clock page. Using
the touchpad, slide back for settings, slide
forward for history, tap to display the app
interface, slide downward for the previous
page, and slide with two fingers for the
homepage. The Glasses Desktop is as
shown below.
The records generated when you use your
new glass will be saved under different
folders, including the photo album, SMS, and
call log. Slide forward or backward on the
touchpad to switch between folders, records
or menus. Tap the touchpad to confirm
your selection. See the figure below for an
overview of the structure.
C1 02.indd 27 2015/10/16 15:22:34
Page 28

Basic functions
Voice control
On the homepage, you can use direct voice commands to control your new glass, such as to take a photo or
video, send SMS, or navigate. You can also ask questions. When you say ‘Start’ to the new glass, it will show
recommended voice commands to you.
Connect to Bluetooth.
Please connect to Bluetooth using the Glasses Manager app.
To enable the Bluetooth visibility of your new glass, do the following: Homepage -> Slide backwards to find Settings ->
Tap the touchpad to enter the Settings page, and then select Bluetooth Settings. Once you enter the Bluetooth Settings
page, your new glass will enable Bluetooth visibility automatically. Please stay on this page, and wait for your mobile phone
to search for your device and perform Bluetooth connection.
Connect to Wi-Fi network
On the Glasses Manager app, choose Add Wi-Fi Network. Generate a QR code as instructed, then scan this code
with your new glass.
Perform the following procedure on your new glass: Homepage -> Slide backwards on the touchpad to find Settings ->
Tap the touchpad to enter the Settings page and then choose Bluetooth setting -> Slide forward on the touchpad to enter
Wi-Fi Settings -> Tap the touchpad to select the Add/Change Network menu -> Tap the touchpad to select Add Wi-Fi
Network menu, and then scan the Wi-Fi QR code generated by the app after entering the scanning state.
Note: Currently, this device does not support networks with captive portals.
C1 02.indd 28 2015/10/16 15:22:34
Page 29

Software installation
There are two versions of the new glass: the developer's version and consumer's version.
You can differentiate between them by reading the device information. The developer's
version has a text identification, while the consumer's version does not. The two versions
have different requirements for software installation:
Developer's version: you can install any app, and install glasses apps using the Glasses
Manager.
Consumer's version: you can only manage and install glasses apps using the Glasses
Manager.
C1 02.indd 29 2015/10/16 15:22:35
Page 30

Notifications
This document is only applicable to products or services
provided within the jurisdiction of the mainland of the P.R.C.
Lenovo may not offer any of the products, services or features
mentioned in this document in any other countries or regions.
Lenovo may terminate the provision of any product(s) and/
or service(s) at any time. The information about products
and services is subject to change at any time. For the latest
information on our products or services, please contact your
local sales representative.
Any reference to a Lenovo product, program or service in this
document does not necessary limit the use to only Lenovo
products, programs or services. You can choose to use
alternative products, programs or services with equivalent
functions, as long as the intellectual property rights of Lenovo
are not violated. The user, however, should be solely responsible
for the evaluation and verification of any other product, program
or service.
This document is provided by Lenovo “as is”, without any
representations or warranties, express or implied, including
warranty for merchantability and warranty for applicability.
If applicable laws do not allow the exclusion of implied or
expressed warranties for certain types of transactions, the
above exclusion may not apply to you.
Lenovo has made every effort to achieve accuracy and
consistency during the preparation of this document, but
cannot make a guarantee that this document will be error-free.
Lenovo may revise this document without notice from time to
time, and the revisions can be found in the latest version of this
document. Lenovo may make improvements and/or changes
to the products and/or programs described in this document
without notice.
The images and figures in this document are provided only for
illustrative purposes; there may be some differences between
them and the actual product. Some parts, functions and/or
features described in this document may only be applicable
to certain series or models of the product. The descriptions
are provided for explanation purposes only, and should not be
deemed as the specifications or configuration of the product
you have purchased. The specifications and configuration
of the product you have purchased are stated in transaction
documents such as the purchasing agreement, invoice and
packing list. If you have any questions regarding this, please
consult the distributor of your product.
The contents of this document do not affect or change
Lenovo’s product assurance (guarantee) policy, and should not
be deemed as permission to use or the guarantee of, whether
expressed or implied, the intellectual property rights of Lenovo
or of any third-party.
Any links to non-Lenovo websites are provided to you for your
convenience only. These websites and their contents are not
part of Lenovo's products or services, and Lenovo accepts
no responsibility for their accuracy and applicability. Use these
websites at your own risk.
The technical performance indices stated in this document are
measured in specific environments, and may differ significantly
from the data acquired in other operating environments.
Some measurements were made on systems that were under
development; Lenovo does not guarantee that the same
results can be obtained in systems that are generally available.
If necessary, you should verify the performance data in your
specific operating environment.
The software mentioned in this document are provided under
the terms of their license agreements only, and may only
be used as stated in the license agreements. The software
provided with this product may differ from the software being
sold independently, and may not come with the user manual or
the full functions. Lenovo does not recommend or guarantee
the use of the provided software with other products, or the use
of other software with this product. Lenovo does not guarantee
the reliability of the provided software when used on other
products.
This document and its content may not be duplicated, copied,
added, deleted or compiled into other machine-readable
format without prior written permission from Lenovo. Storing
this document in a retrievable system of any form, sending this
document over a cabled or wireless network, or translating it
into any language in any form is strictly prohibited.
C1 02.indd 30 2015/10/16 15:22:35
Page 31

Trademarks
The texts and logos below are trademarks of the affiliate of the Lenovo Group.
The names of other companies, products and services mentioned may be the trademarks
or service marks of their respective owners.
C1 02.indd 31 2015/10/16 15:22:35
Barcode
Page 32

www.newbd.com
C1 02.indd 32 2015/10/16 15:22:35
 Loading...