

Page 1
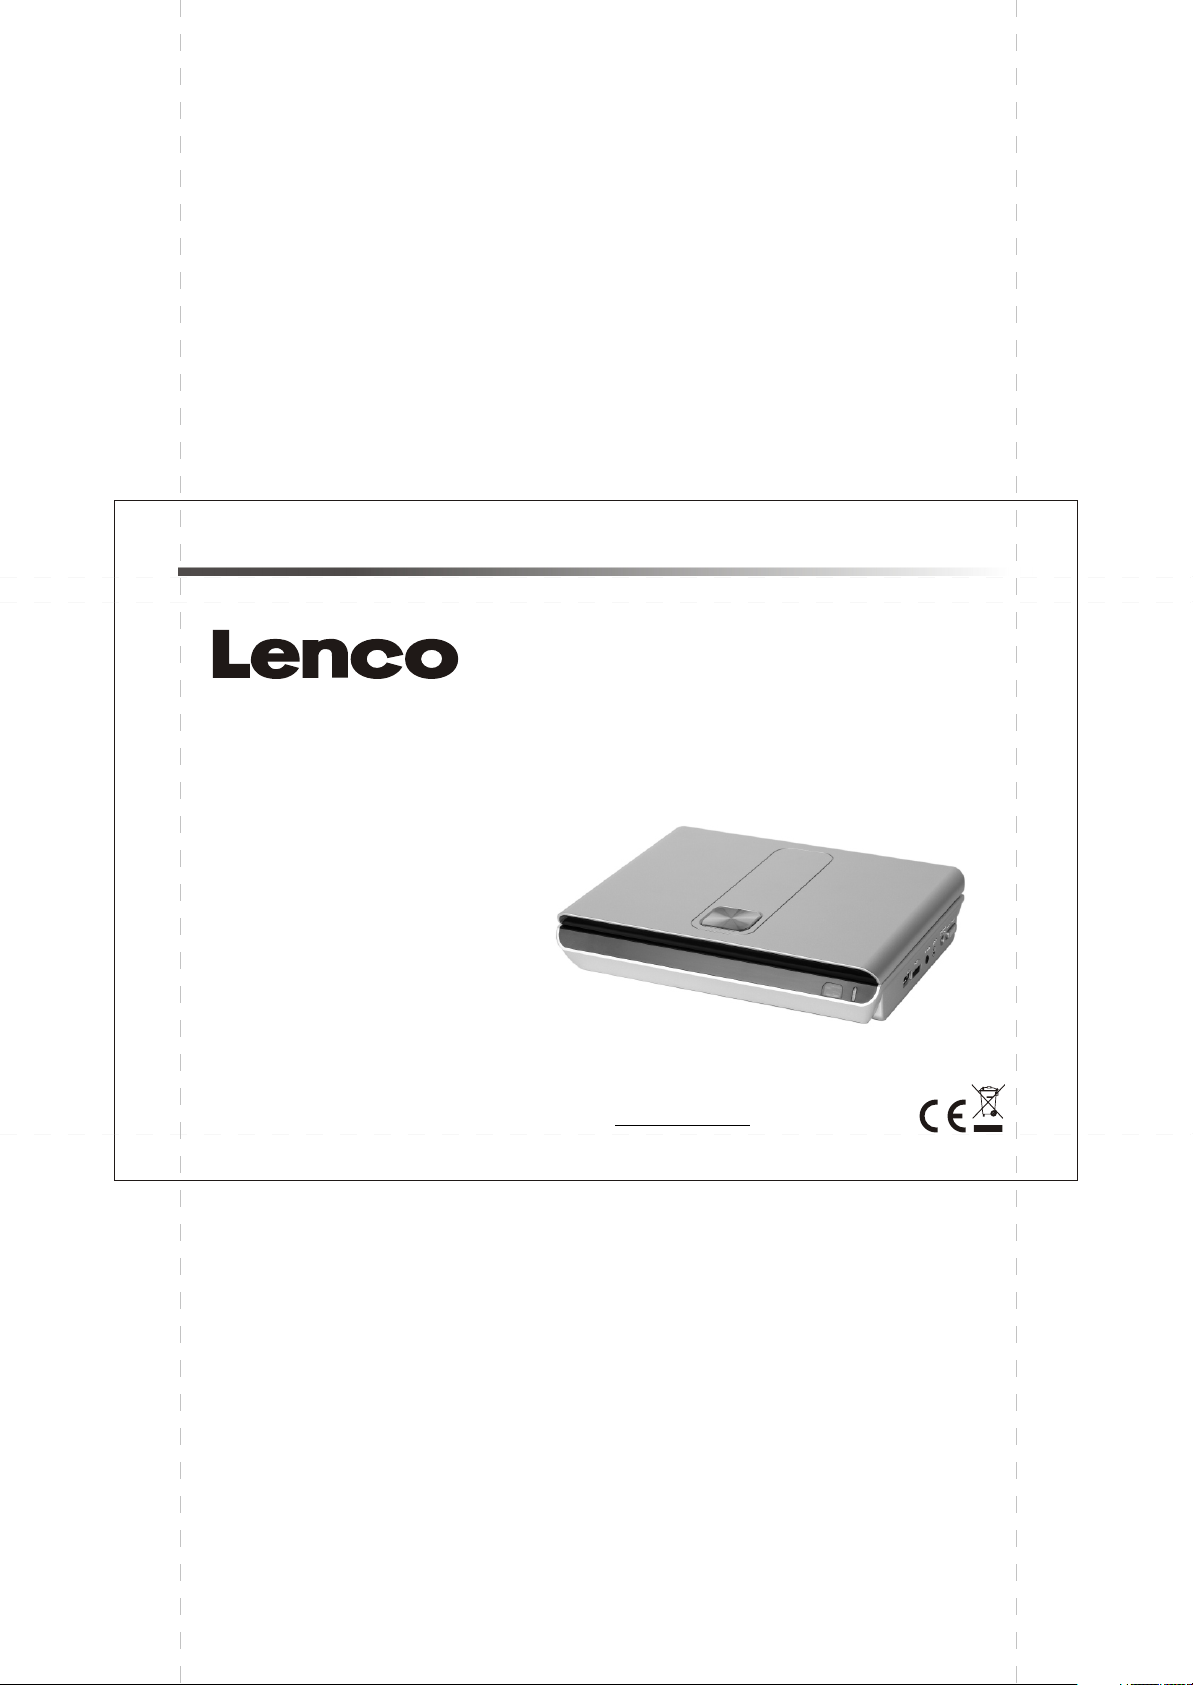
USER MANUAL
DVD/MPEG4/CD/MP3/PLAYER
Please read this User Manual carefully to ensure proper use of this
product and keep this manual for future reference.
For information and support, www.lenco.eu
DVP-731
Page 2
Content
IN
TR
OD
UC
TI
ON
Sa
fet
y P
rec
au
tio
Pa
ne
l Ill
us
tra
tio
Re
mo
te
Co
ntr
ol
S
ON
TI
EC
NN
CO
Co
nn
ec
tin
g t
o a
at
Fe
ed
nc
va
Ad
MP3/WMA/MPEG4 playing
PL
CD
RE
TU
PIC
SY
ST
EM
SE
TU
OT
HE
RS
Sp
ec
ific
ati
on
s
Ac
ce
sso
rie
s
ns
n
2
3
4
TV
se
t
es
ur
5
6
7
7
P
AYB
AC
K
9
9
EN-01
Page 3
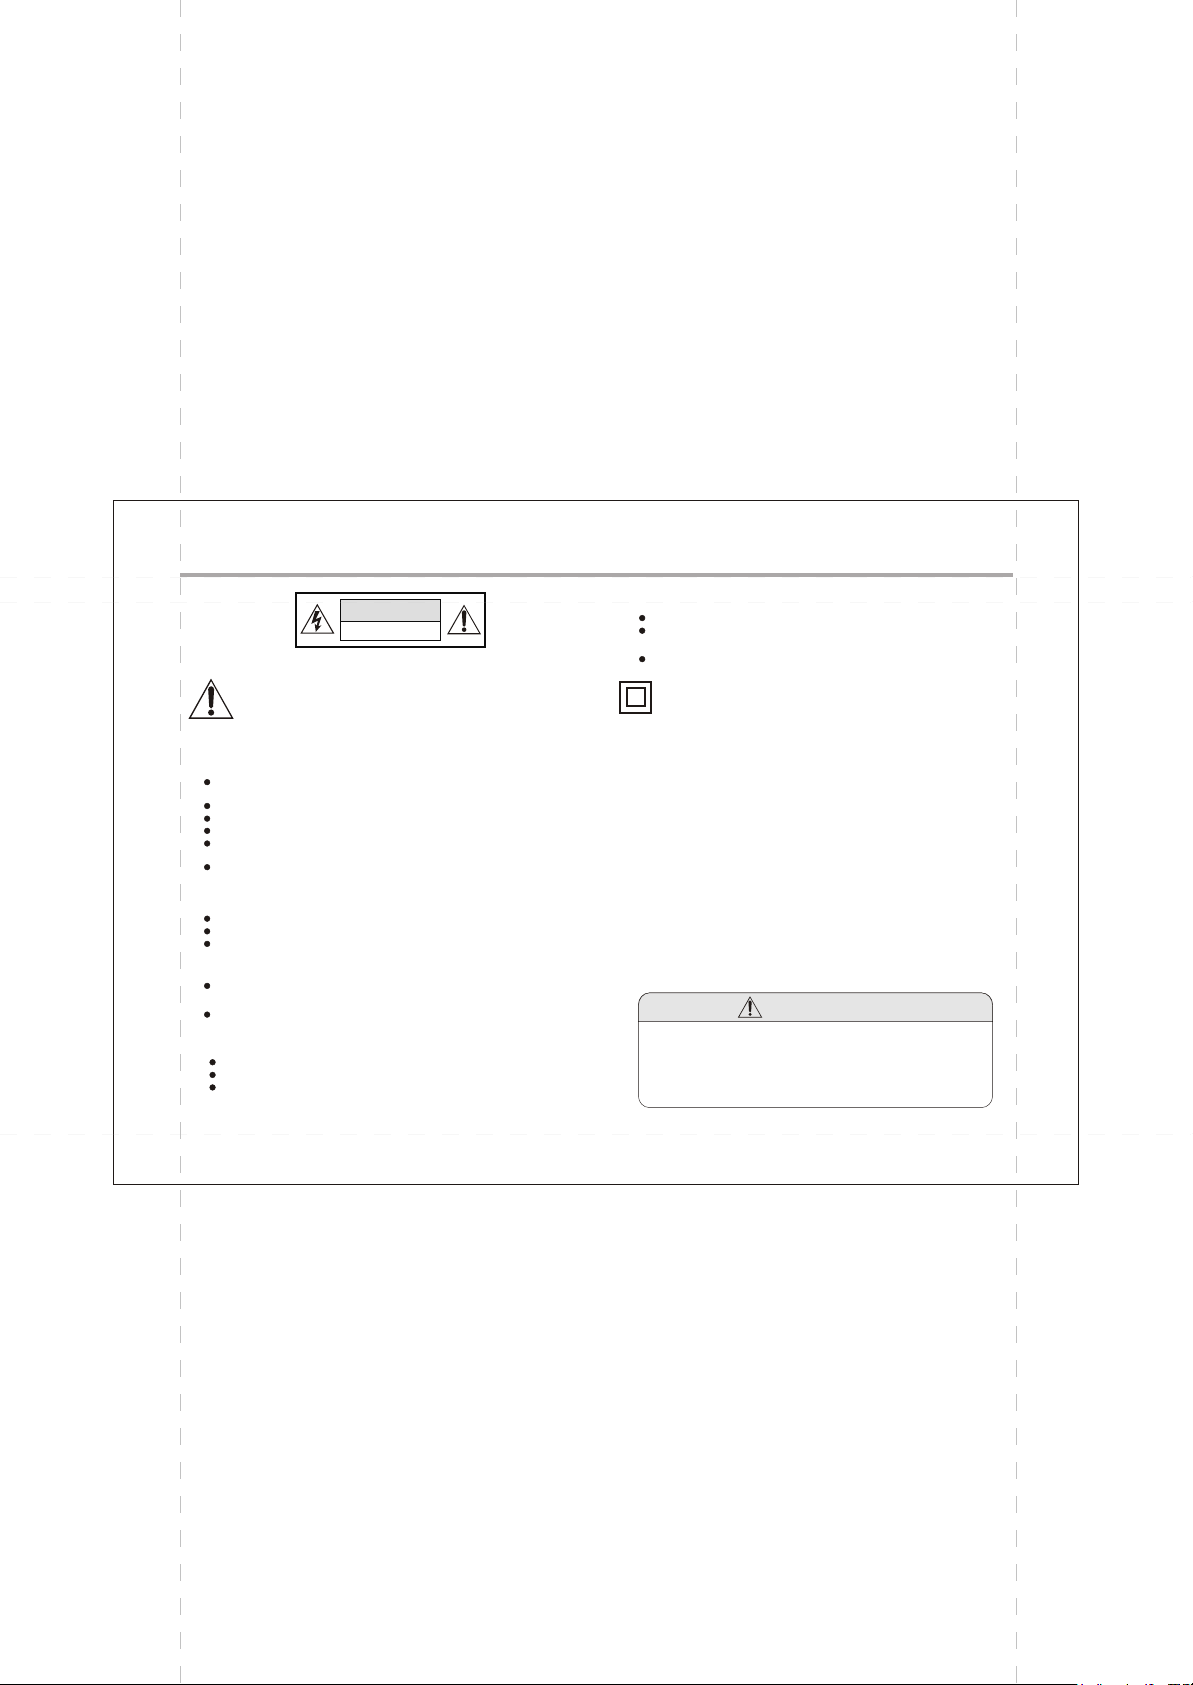
Safety Instructions
N
O
I
T
U
A
C
E
F
O
K
IS
R
D
O
Safety is Important
To en
sure yo
ur safe
ty a
e Sa
d th
rea
you
ure
ens
ope
rate
thi
s pro
duc
t.
Keep this information in a safe place for future reference.
Please read all the safety information before using the product.
Safety Considerations.
t the
tha
s so
ble
ca
n the
itio
Pos
pin
che
d by
item
s pla
ced
orta
ortable D
the p
ed fl
orta
ble D
orta
lay
am
ble D
er
on o
VD P
ble D
.
e so
VD P
Do n
Do n
Do n
Do not place water filled objects such as vases on top of
the p
Do n
the t
the p
ot us
e
the p
ot al
low to g
ot ex
pos
e
VD P
ble D
orta
nak
ace
ot pl
f
op o
the p
Cleaning
ALWAYS unplug before you clean it.
Do not use liquid or aerosol cleaners.
Clean with a soft, damp (not wet) cloth.
the portable DVD Player
the portable DVD Player
Ventilation
The slots and openings on are for ventilation.
Do not cover or block them as it may cause overheating.
NEVER let children push anything into the holes or slots on
the case.
Servicing
There are no user serviceable parts in this .
When servicing, refer to qualified service personnel.
Consult your dealer if you are ever in doubt about the
installation, operation or safety of this unit.
the portable DVD Player
R
T
C
E
L
N
O
T
O
nd the s
fety
y ca
r ag
lay
VD P
VD P
urc
lay
IC
P
E
Ins
layer
es, s
er
S
N
ain
H
nno
er
lay
.
K
C
O
afety o
truc
st th
in h
er
uch
tion
t be w
em
um
to d
as c
f others
, ple
yo
fore
s be
n or
ed o
alk
.
id or
dam
ripp
and
ing o
les
p co
r spl
, on
et wet.
portable DVD Player
u
ase
ndi
ash
Ba
tte
ry D
isp
osa
ase
ver d
ste
eck
Thi
ins
acc
rep
WAR
not
high
ome
ults.
off th
ay is
ificat
s sy
ula
ess
lac
exp
ion m
lights
non
Neve
e un
mad
ens
.
wit
tion
NIN
isp
em
mb
ible
ose
of th
r try
it at o
e up
ay le
l
ure
ose
h yo
ol in
be
pa
ent
G: To r
thi
or d
ark s
e ac
to re
nce,
of m
ad to
bat
of ba
ur lo
dic
twe
rts.
par
s ap
tivem
pair
and
any
furth
teri
es a
re d
isp
ose
re o
n a fi
ies i
tter
cal a
uth
orit
y for
dis
odu
is pr
at th
s th
pots
en h
ts.
edu
atrix
this m
prec
ate
Wh
ce t
par
Spec
may
disp
notify
ision
er da
aza
en s
atu
occu
achin
our
mag
ain
us m
rdo
erv
icin
g us
he r
isk o
f fire
or c
ain
s to r
and transfer, do not use USB extension
ial no
r on
the L
CD s
logy, a
chno
lay te
elec
Com
e.
e by
troni
you
pany
rself.
c com
or th
In ca
pone
d of s
r wit
pos
ct in
s vo
e on
or e
ord
tice
cree
nd d
e co
nts. A
oes
se o
rresp
Ple
Ne
wa
Ch
1. The apparatus shall not be exposed to dripping or Splashing and
that no objects filled with liquids, such as Vases, shall be placed
tion
s.
the apparatus.
2. The mains plug is used as the disconnect device, the disconnect
ing
.
device shall remain readily operable.
3. To be completely disconnect the power input, the mains plug of
apparatus shall be disconnected from the mains.
4. The mains plug of apparatus should not be obstructed or should
be easily accessed during intended use.
Warning:
Prolonged exposure to high volume from audio players can
or permanent hearing loss
The USB drive must be connected directly to the unit.
To prevent data loss by interference
A few
phen
or fa
turn
displ
mod
EN-02
afe
h oth
al re
por
cor
e an
ltag
ly id
lec
tric
s.
cause temporary
n. It
is a v
not m
faul
f any
ondi
ng d
ny d
isass
ly.
er h
gul
ent
ery c
ean
ate
d us
ica
sho
omm
any
ts. P
eale
emb
ous
atio
s do
l
ck, d
defe
lease
r. The
ly or
on
eho
ns.
er
ld
e
ubl
o
cords.
cts
Page 4
Panel Illustration
1
2
3
4
OK
SETUP MENU TFT
16
12
1
LCD DISPLAY
2
SPEAKER
3
DISC DOOR
4
OPEN DISC TOP
5
PREVIOUS BUTTON
6
NEXT
7
STOP
8
SOURCE
9
PLAY
10
PAUSE
11
MOVE ( )
5
6
7
8
9
10
11
12
13
14
15
SETUP BUTTON
13
TFT ON/OFF
14
MENU BUTTON
15
BATTERY CHARGE INDUCATOR
16
SENSOR
POWER (ON/OFF) SWITCH
17
18
DC 12V INPUT JACK (power supply)
19
PHONE JACK
20
AV OUTPUT JACK
21
VOLUME CONTROLL
22
USB
23
CARD SLOT
21
22
23
19
20
18
17
EN-03
Page 5

Remote Control
Remote Control
1. A-B Repeat
press 1x: set A ,prss 2x: set B
press3x: disable the function
2. Prog/Repeat
Short press: Repeat mode
Long press (2Sec.):
DVD program mode
3. 0-9 Number Keys
4. Setup
Open the setup menu
5. Goto
Goto a specific time index
6. Fast Forward
7. Next
Next chapter or file
8. Previous
Previous chapter or file
9. SOURCE
Input mode selection,
10. Display
Display detailed informations
of the current file or disc.
9
10
11
12
13
14
15
16
17
18
11. Angle / Audio
Short press:
Changes the audio mode (if different modes
are available)
Long press (2Sec.):Changes the angle mark
(if different modes are available)
12. Title / Subtitle
Short press: Change subtitle mode
(if subtitles are available)
Long press (2Sec.): DVD Title menu
13. MENU / ZOOM
Short press: Zoom in
Long press (2Sec.): Menu key for DVD Menu
14. STOP / SLOW
Short press: Stop
Long press (2Sec.): Slow motion
15. Direction keys ( )
16. Fast Rewind
17. ENTER
To confirm and enter options or to play files.
18. Play / Pause
1
Note:
2
1. In this manual, will be used to represent the different
NAVIGATION ARROWS on the remote control.
3
2 In order to operate any of the remote functions. First push the
Power switch in ON position.
3. TITLE Function The content of a DVD is often divided into several
titles that contain multiple menus. Press for approx. 2 Seconds in the
4
menu button, the title is displayed. Using the buttons or
the numerical buttons (0-9) on the remote control, you can select the
5
desired title or the desired option. Confirm with OK.
6
7
8
2
CR2025
1
HOW TO REPLACE THE BATTERY
STEP 1: PUSH THE BUTTON TOWARD LEFT;
STEP 2: PULL THE BATTERY LOADER OUT.
BATTERIES
INCORRECT USE OF BATTERIES MAY CAUSE THEM TO LEAK,
CORRODE OR EXPLODE.
Be sure to place the batteries in the correct direction.
It is dangerous to charge/heat/open or short-circuit the batteries.
Do not leave dead or expired batteries or mix old/new batteries.
When not using the remote control for a long duration of time,
remove the batteries. When operating range becomes reduced,
replace all batteries with new, fresh ones.
If leakage from the battery occurs, wipe the battery liquid from the
battery compartment, then replace.
EN-04
Page 6

t
e
S
V
T
a
to
g
n
ti
c
e
n
n
o
C
About Built-in Rechargeable Battery
Precautions related to battery recharge
1. Once the battery is fully discharged, immediately recharge it (regardless of whether you plan
use the battery or not) in order to maximize the battery life. When the power is low, the battery
to
icon
will be shown on the upper left corner of the TFT for warning.
2. To charge the battery, please connect this player to AC mains via the AC adapter and the charge
indicator will turn on in red, and the indicator will turn into green when the battery is fully charged.
This will take about 2-2.5 hours if the player is in off mode or 4.5-6 hours if the player is in working
mode.
Using and maintaining your rechargeable batteries
1. Please make sure you always use only the AC adapter included with the player to recharge
batteries.
your
2. Recharge efficiency will degrade when the environmental temperature drops below 50oF
(10oC) or exceed 95oF (35
3. The lasting time of the fully charged battery when a headphone is connected to the player is
approximately
1.5
hours
VIDEO IN
AUDIO IN
oC).
Yellow
CV
BS
R
Green
L
Red
Connections
Phone Jack Function
Insert the earphone into the earphone jack, to listen the music
or movie privately.
Battery charging
When the unit battery is powered out, connect the AC adapter
onto the unit. the battery will charge automatically.
Volume adjust
Use VOLUME CONTROLL in the side of the unit to adjust the
volume.
USB interface
This unit have a USB IN jack to play the MP3 music or and JPEG
files or other files. Press the <SOURCE> button to choose
USB IN mode. All the function is the same to play a disc.Note: the
USB IN port is compatible with flash memories, it is not warranted
the compatibility with MP3 players using owner software.
NOTE:
When using USB function. Please do not insert in the wrong
direction, or it will be corrupted.
3 In
1 Card
Reader F
This unit have a 3 in1 card jack. You can insert (MMC, SD ,MS)
three kinds of card with card port interface. Press the
<SOURCE> button to choose CARD mode to play the MP3
music or MPEG4 movie and JPEG files. All the function is the
same to play a disc.
unction
EN-05
Page 7

MP3/WMA/MPEG4 PLAYING
1/7
AVI
Mp3
Mp4
Photo
WMA
XVID
1
2
101
102
103
104
105
Audio
Filter
Repeat off
Mode Normal
JPEG Preview
00:00:15
Filter
Repeat off
Mode Normal
Music Playing
Insert the MP3/WMA/MPEG4 disc, use navigation keys to open the desired
directory.
Press ENTER to enter the sub directory. Use the navigation keys to select the
desired track and then ENTER to play the file. Press the PLAY/PAUSE key to
pause the playback, press the stop key to stop the play. To return to the upper
menu, press navigation key to choose the icon and press ENTER to confirm.
Open the option menu using the navigation keys
Filter: Allows selecting the categories of files displayed in the browser list.
Repeat: To switch different repeat playing mode
Select single option to enable one file repeat, select folder option to
enable all the files in the folder repeat.
Mode: Select different playing mode
Normal: Normal playback
Shuffle: Shuffle mode enabled. When playback reaches the end of the
current chapter/track, playback jumps to a random chapter/track.
Music Intro: In this mode, the unit will play the first 10 seconds of the file and
then skip to the next file.
Edit Mode: Use this option to enable programmed playback mode. Select the
mode, press LEFT Navigation key to directory and press ENTER to choose the
desired track and press Add to program to program the playback list.
Program view: Display directory/folder.
Brower view: Display playback list directory.
Add to program: Use this in combination with Edit Mode to create a play list.
Clear program: When entered the Browser View and in complete stop state
(press STOP button twice), use this option in combination with Edit Mode to
delete tracks from the playback list.
EN-06
Page 8

PICTURE CD PLAYBACK
1/7
Photo
1
2
100
102
103
104
105
Press Navigation key to choose the root directory and then press
ENTER button to enter into the sub directory. Press Direction key
to choose the desired picture and then press ENTER or PLAY to
enjoy the picture. If youwant to return to the upper menu, press
Navigation
Image rotation
In picture play state, press key to rotation the picture,
press ANGLE button to change the picture scan mode.
key to choose the icon and press ENTER button.
Navigation
Filter
Repeat off
Mode Normal
JPEG Preview
SYSTEM SETUP
MENU OPERATION
Press the SETUP button on the remote control and the SETUP MENU will
be displayed. Use the direction buttons for up and down movement to select
the desired item, then press the ENTER button to confirm.
Press LEFT direction button return to the main menu. To exit the setup, press
the SETUP button. Press right navigation key to enter the submenu.
LANGUAGE SETUP
Select Language in the setup menu.
Language
Video
Rating
Misc
OSD Language
Use this item to select the language of the setup menu and screen
display.
Subtitle
Set the default subtitle.
Note: not every disc supports this function.
MPEG4 Subtitle
Set default MPEG4 subtitle encoding option.
Note: not every disc supports this function.
Audio
Set the default audio language.
Note: not every disc supports this function.
EN-07
Language
Subtitle
MPEG4 Subtitle
Audio
DVD Menu
Page 9

SYSTEM SETUP
DVD Menu
Set the default DVD menu language.
Note: not every disc supports this function.
VIDEO SETUP
Select Video in the setup menu, and display the Video submenu:
Language
Video
Aspect Ratio
TV System
Smart Picture
Rating
Misc
Aspect Ratio
Select the aspect ratio.: 16:9 , 4:3 PS, 4:3LB
Notes:
The image display ratio is related to the recorded disc format. Some
disc can not display images in the aspect ratio you choose. If you play
a disc recorded in 4:3 format on a wide screen TV, black bars will appear
on the left and right side of the screen. You must adjust the screen
setting depending on the type of the television you have.
TV System
This product supports output of various systems (NTSC, PAL).
When connecting to a TV set make sure that both units have the same
PAL / NTSC settings.
Smart picture
Adjust display effect:
Standard: default effect.
Bright: internal setting for bright view effect. Soft: internal setting for soft
view effect.
Dynamic: user adjusts brightness, contrast, color etc.
RATING SETUP
Select Rating in the setup menu, and display the Rating submenu:
Note: Not all DVD support ratings.
Language
Video
Parental Control
Set Password
Rating
Misc
Parental Control
Set the desired level.
Note: not every disc supports this function.
Set Password
Use the 0-9 keys to input four digits(password), then press ENTER
to confirm.
Note: If you forget your password, please use the universal password 6666 to unlock.
MISC SETUP
Select MISC in the setup menu, and display the submenu:
* Use Default Settings
Reset data to factory default.
Language
Video
Use Default Settings
Rating
Misc
EN-08
Page 10

Specifications
Other
Play mode
Disc mode
Video characteristic
Video S/N ratio
Resolution AV Out
Audio characteristic
Frequency response
Audio S/N ratio
Dynamic range
Distortion
D/A Converter
Accessories
NTSC/PAL
DVD,VCD, CD, MP3, CD-R, CD-RW, JPEG,
DVD+ -R/W, MPEG4,
65dB.
500 lines.
fs 96KHz: 20Hz-20KHz:+/-1dBI
90dB
80dB
< 0.01%
96KHz/24bit
AC/DC adapter
Remote control
Output characteristic
Display Device
Screen Size
Video output
Audio output
Power Voltage
Power consumption
Size
Weight
Color TFT-LCD
7 inches
1Vp-p(75 W)
2CH
DC IN 12V
15W
205x160x42mm
1.0kg
Specifications are subject to change without notice.
SO
URCE
DISPL
AY
AU
DIO
ME
NU
1
SU
AN
BT
GL
ITL
E
E
2
4
RE
PEAT
3
5
7
SETU
6
P
8
9
0
ENTE
R
ST
OP
GOTO
LI type batteries
Car adapter
EN-09
Page 11

Caution: Danger of explosion if battery is incorrectly replaced. Replace
only with the same or equivalent type.
Warning: The battery (battery or batteries or battery pack) shall not
be exposed to excessive heat such as sunshine, fire or the like.
Warning: To reduce the risk of fire or electric shock, do not expose
this apparatus to rain or moisture. The apparatus shall not be exposed
to dripping or splashing and that no objects filled with liquids, such as
vases, shall not be placed on apparatus.
Warning: Only use attachments/accessories specified provided
by the manufacturer, the Portable DVD Player is supplied by AC
adapter, the AC adapter is used as disconnect device, the disconnect
device shall remain readily operable.
If at any time in the future you should need to dispose of this product please
note that: Waste electrical products should not be disposed of with household
waste. Please recycle where facilities exist. Check with your Local Authority or
retailer for recycling advice. (Waste Electrical and Electronic Equipment Directive)
 Loading...