

Leica Zeno Mobile Quick Manual
Zeno Mobile
Quick Guide
Version 1.0
English

2
Zeno Mobile Quick Start Manual
Starting Zeno
Mobile
Step Description
1.
To start Zeno Mobile tap the Zeno Mobile App icon .
2. Zeno Mobile starts in the Projects
overview. When you start Zeno
Mobile for the first time you will only
find a default project called "Project
1" in the list.
Tap on "Project 1" to open the
default project.
To add a new project tap the
in the upper right
corner.

Zeno Mobile Quick Start Manual 3
Zeno Mobile
Components
a) Zeno Mobile Toolbar buttons
b) Zeno Mobile Notification Area: slide
upwards to open the Zeno Mobile
Notification Drawer
c) Slide towards the middle to open the
Zeno Mobile Navigation Slider
d) Map View
4
Zeno Mobile Quick Start Manual
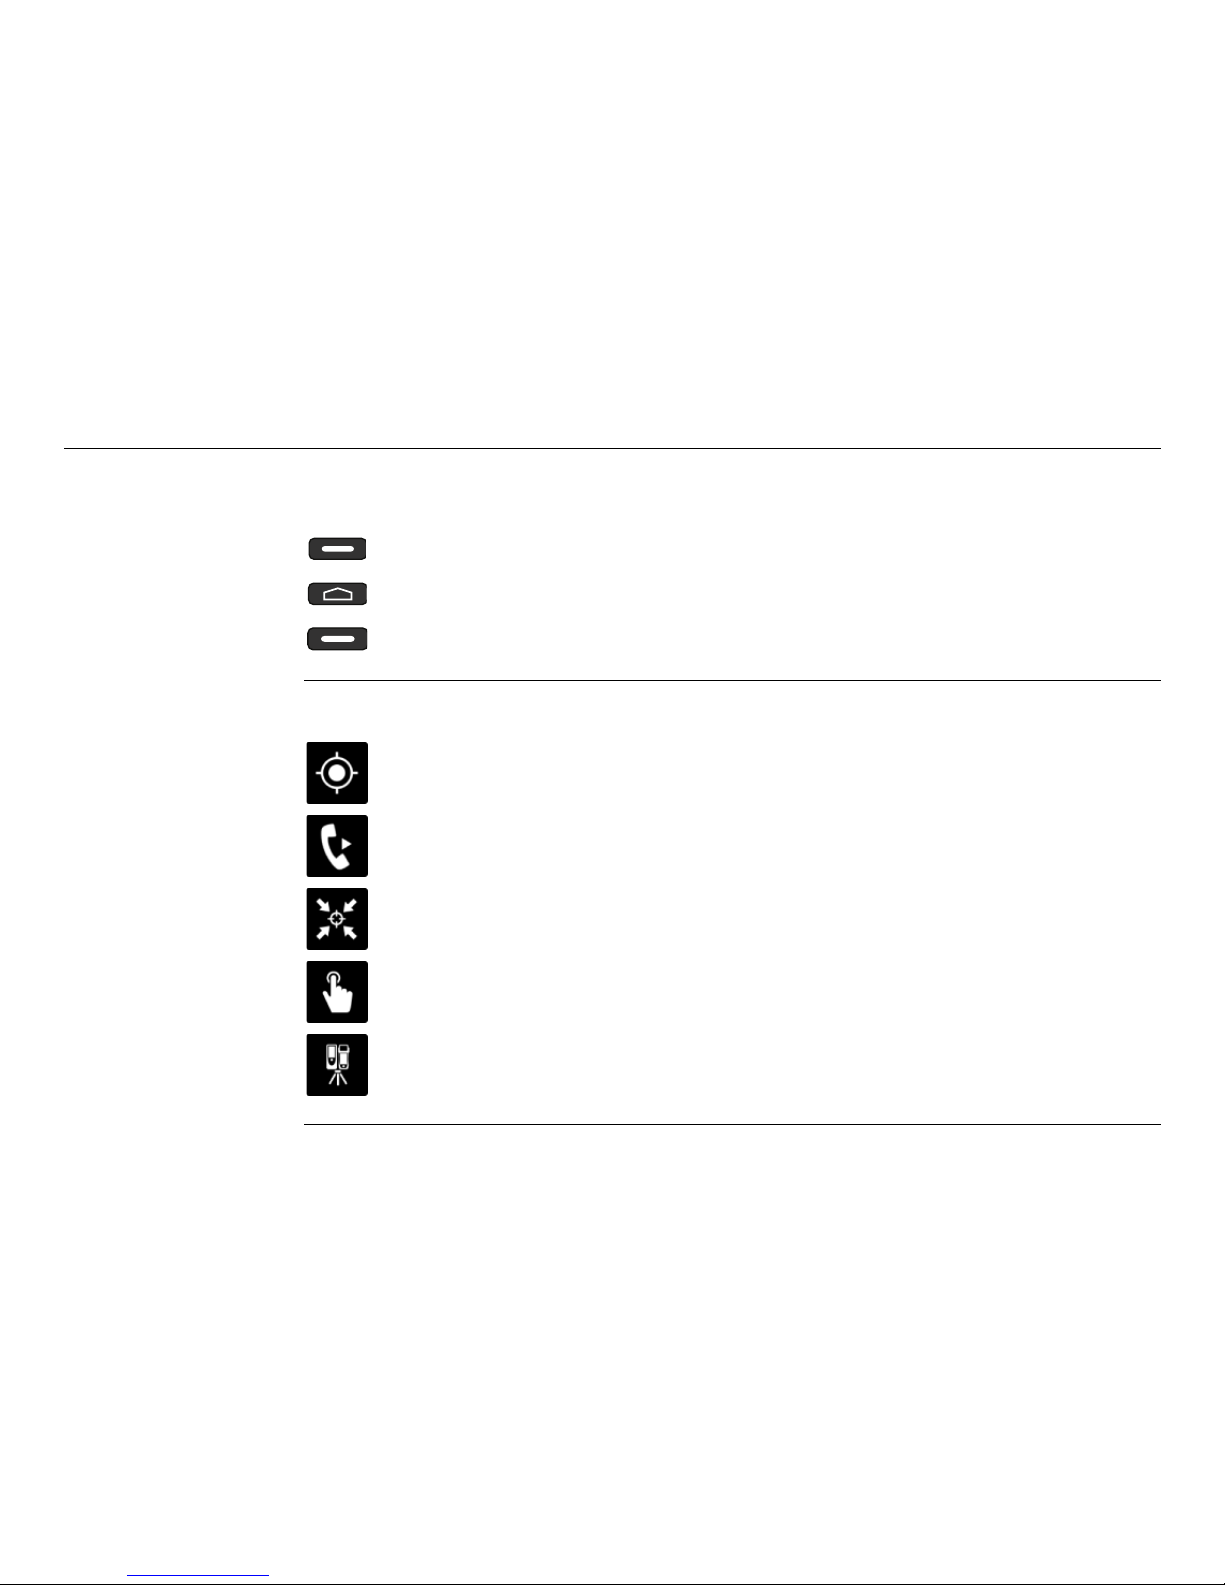
To navigate Back, Home or to go to Open Apps make use of the hardware buttons
on the Zeno 20:
The Zeno Mobile
Toolbars
Tap the Zeno Mobile toolbar buttons to perform central tasks like:
Press the Back button on the left to go back one step.
Press the Home button to return to the Home screen.
Press the Open Apps button on the right to get a list of all open Apps.
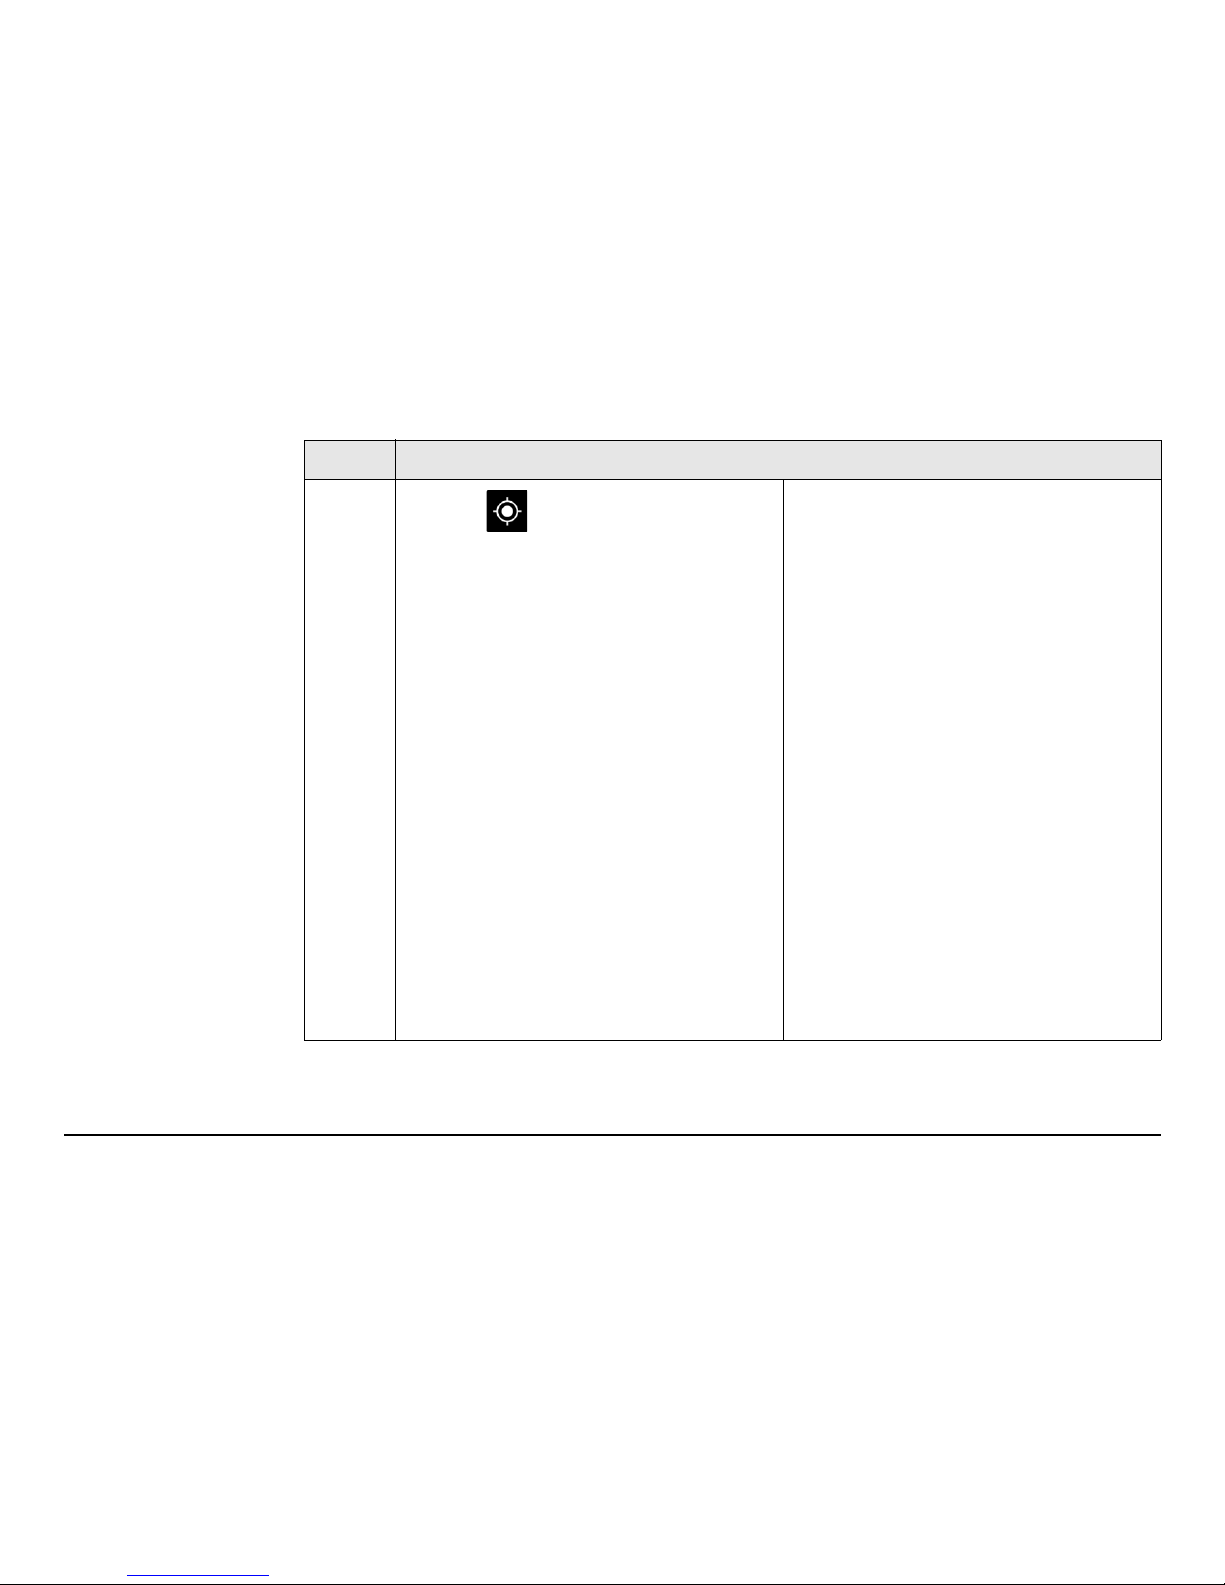
Take a Measurement
Switch RTK on/off
Center on GNSS
Switch on/off Edit Feature Tool
Switch on/off gamtec mode
Zeno Mobile Quick Start Manual 5
The Zeno Mobile
Notification Area
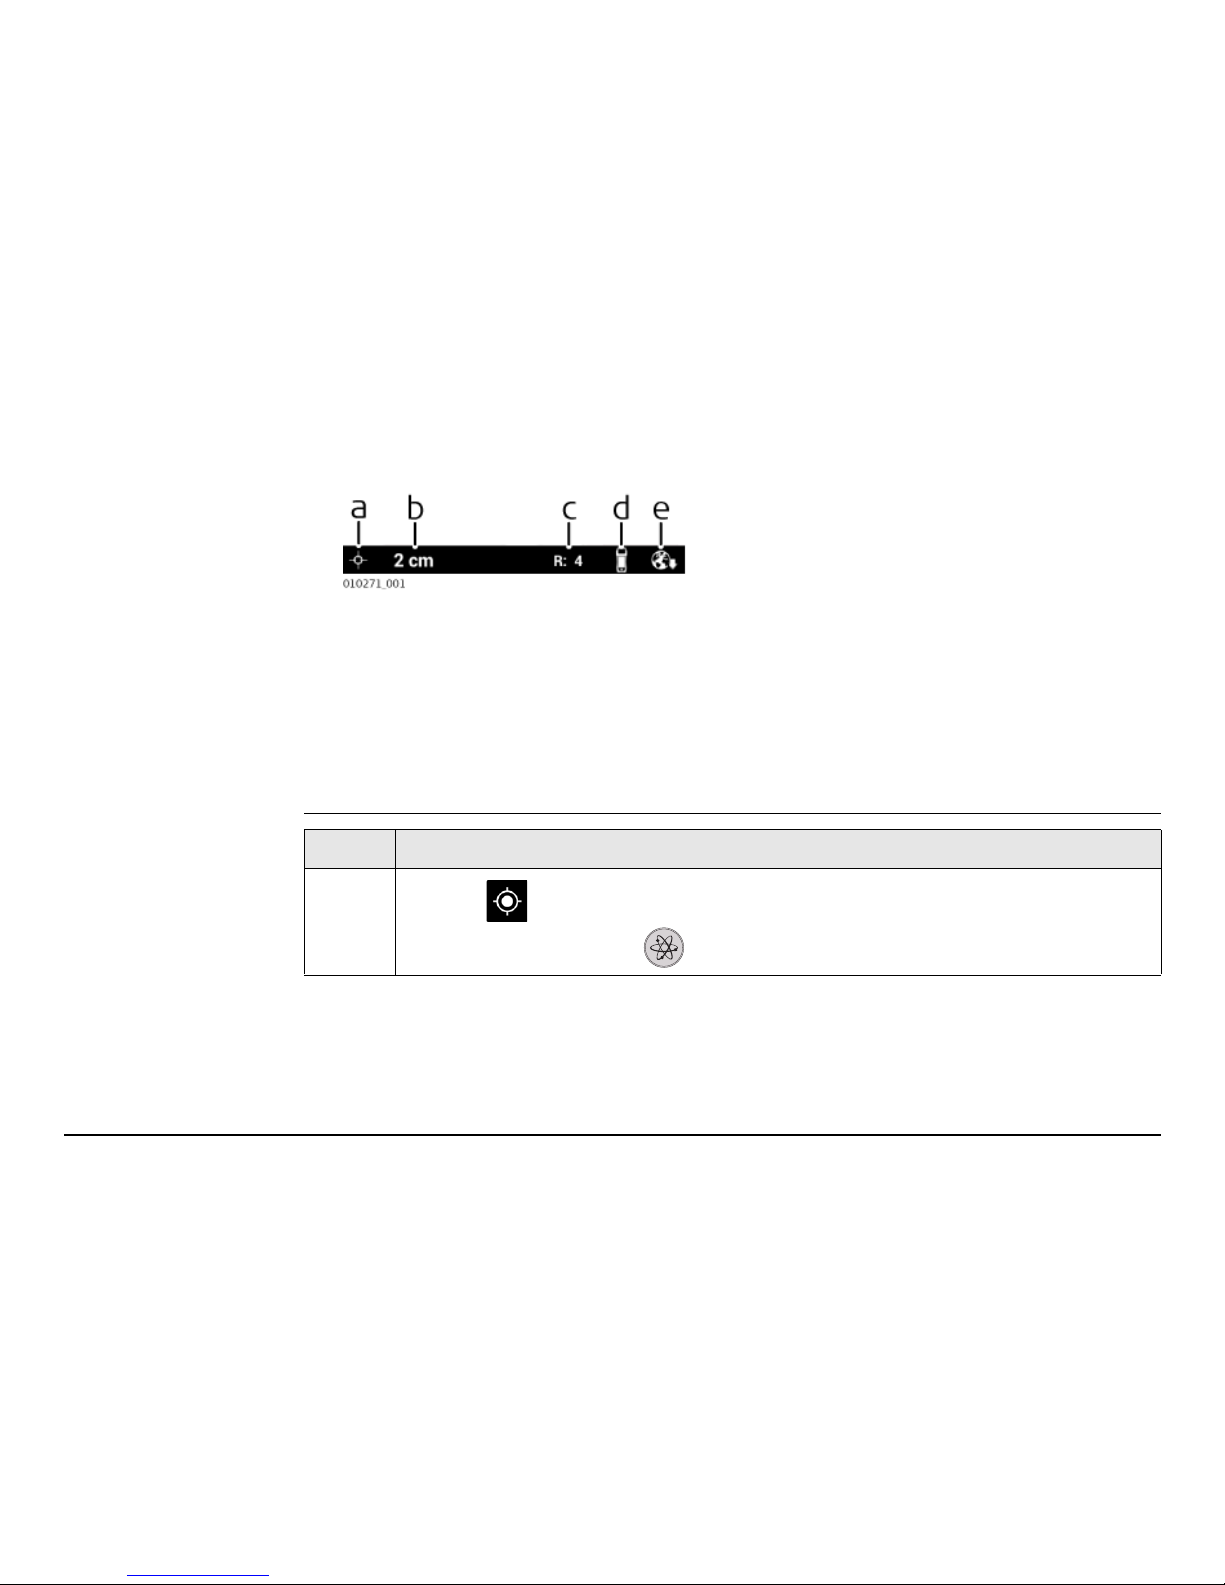
The Zeno Mobile Notification Area at the bottom displays GNSS information:
When a notification comes in the status symbols are replaced for a few seconds with
the notification text. You are notified if, for example:
• the GNSS position is lost
• the RTK fix is lost
• the solution type changes (only if accuracy is lost)
How to measure a
Point?
a) GNSS solution type
b) Estimated position accuracy
c) Satellites in use
d) Antenna in use
e) RTK connection type
Step Description
1.
Tap the toolbar button to take a GNSS measurement.
Alternatively, press the hardware button on the Zeno 20.
6
Zeno Mobile Quick Start Manual
2. If GNSS is switched off you will
directly be guided to the Location
access page.
Tap the switcher and slide it rightwards to switch GNSS ON.
By default, GNSS is off to
save battery.
Tap the Back button at the bottom to
return to the Zeno Mobile Map View.
Step Description
Zeno Mobile Quick Start Manual 7
3.
Tap the toolbar button again.
The New Layer dialog pops up to
make you define the first layer in
your project.
Let us, for example, define a feature
layer called "Tree". To do so tap the
Name field and type "Tree". The
System Name will be written auto-
matically, but can be changed if
necessary.
Leave the Geometry Type ("Point")
as is.
Tap OK to close the dialog and create
the new feature layer.
Step Description
8
Zeno Mobile Quick Start Manual
4. In the Map View the Feature Tag
pops up.
The feature tag shows you:
a) the feature layer of the meas-
urement that you have just
taken, in this case "Tree"
b) the symbology that is currently
used for the feature layer "Tree"
The feature tag stays open
for 5 seconds, then it transforms to the green pin .
In order to re-open the
feature tag, tap onto the
green pin.
Step Description
 Loading...