

Page 1
The Leica
Darkfield
Quebec
Colony Counter Model
3325/3326/3327/3328
Page 2
LLEEIICCAA DDAARRKKFFIIEELLDD QQUUEEBBEECC®®CCoolloonnyy CCoouunntteerr
MMooddeell 33332255//33332266//33332277//33332288
IInnssttrruuccttiioonn MMaannuuaall
1.0 INTRODUCTION
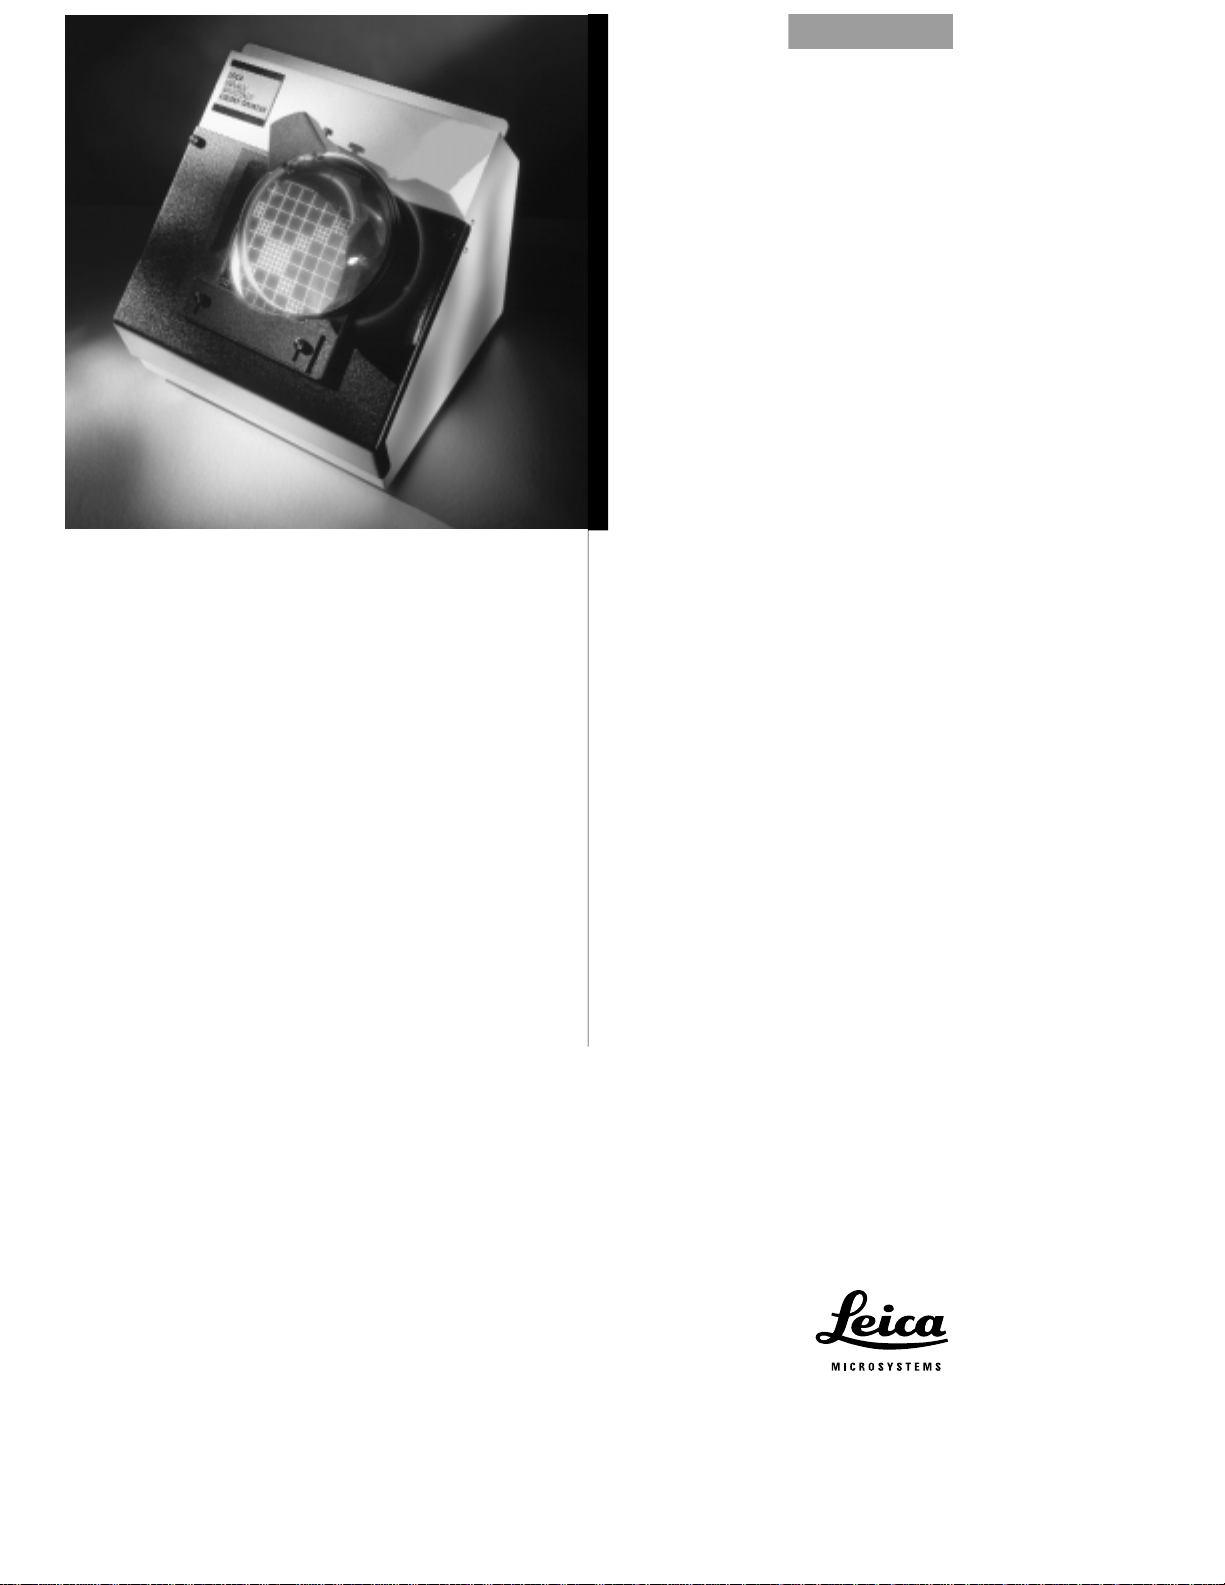
The LEICA DARKFIELD QUEBEC®Colony Counter provides efficient, accurate and convenient colony counting. Even, glarefree illumination over the entire culture plate assures clear,
quick results. By touching the colony with the counting probe
(Models 3327/3328), colonies are recorded on the digital display; they appear bright and are readily distinguished from
other structures. Wolffheugel and Stewart counting plates are
available.
2.0 UNPACKING & ASSEMBLY
Carefully remove the LEICA DARKFIELD QUEBEC®Colony
Counter and accessories from the packing box and inspect
them to assure damage did not occur in shipping.
Place the instrument on a hard, flat surface.
A leg located on the bottom can be set at either a tilt angle or
locked flat to the instrument base.
Similarly, the 1.5X magnification lens may be raised or lowered
for user preference. A 1.5X auxiliary lens (Catalog No. 3331) is
available as an accessory and is designed to be placed over
the existing lens to increase the total magnification to 3X.
The LEICA DARKFIELD QUEBEC
®
Colony Counter (Model 3327
& 3328) includes a five-digit L.C.D. counter with a reset button,
a ground contact and counting probe (Figure 1). An optional
push button counter also is available.
The counting probe (Models 3327/3328 only) is shipped with the
needle tip reversed for protection from damage. To assemble
the counting probe for use, loosen the knurled nut, remove the
needle, place the blunt end in the chuck and retighten.
The ground contact has a magnetic base and is attached to
the instrument case so the arm extends over the culture plate
and touches the surface of the agar.
The push button counter plugs into the two-hole receptacle
at the rear of the colony counter.
3.0 TESTING THE INSTRUMENT
Before using the LEICA DARKFIELD QUEBEC®Colony Counter
it should be tested. Plug the electrical cord into a grounded
120V/60 cycle AC outlet (Model 3325/3327) or
230V/50 cycle AC outlet (Model 3326/3328).
Turn the instrument on using the switch located on the rear
panel. Touch the tip of the counting probe to the ground arm
probe. A count should register on the L.C.D. display, if the
colony counter is operational.
To return the L.C.D. display counter to “0” depress the reset
button.
4.0 CARE OF THE COUNTING PROBE
Care should be taken to keep the tip of the counting probe
sharp. If the needle is blunt, small colonies will be difficult to
count and accurately register.
The probe tips touching media and/or colonies should be
cleaned as dictated by good laboratory procedures. Solutions
of 70% isopropyl alcohol, iodine/alcohol, Lysol®Brand or formaldehyde may be used to clean the tip without harm.
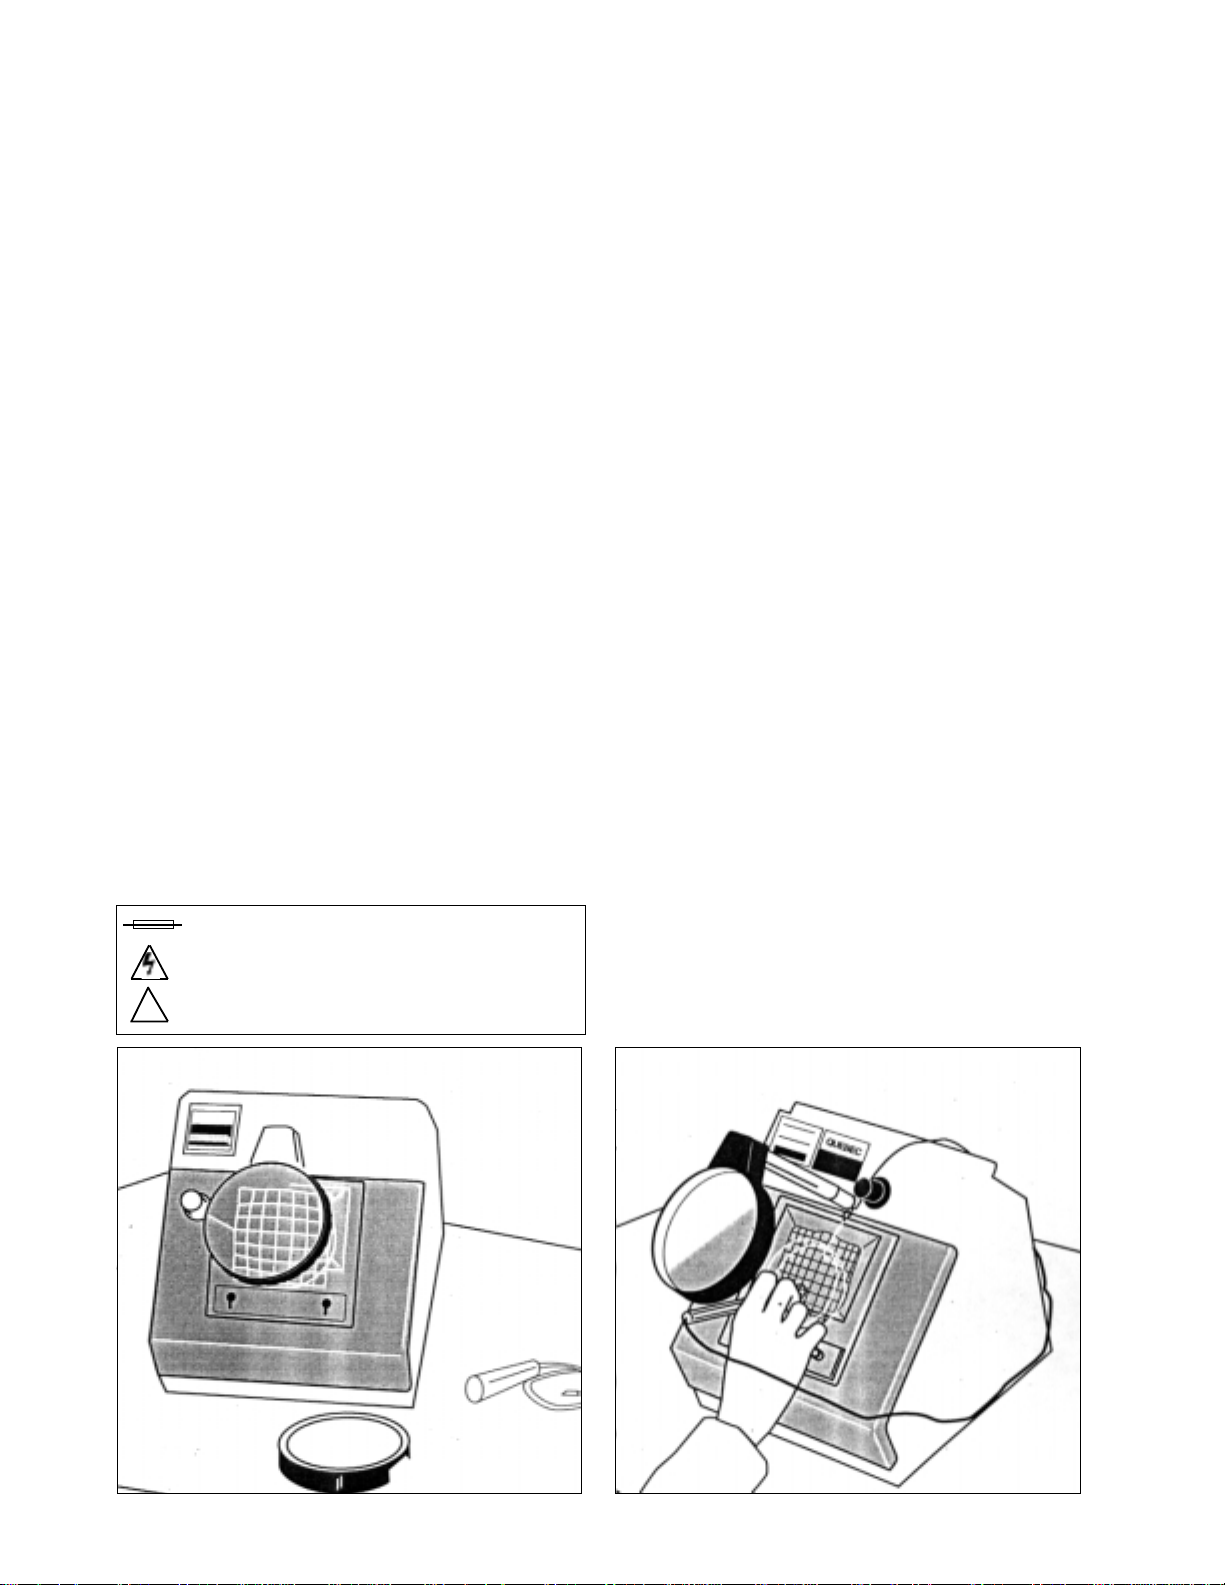
FFiigguurree 22
FFiigguurree 11
Explanattion of Warning Symbols
CCAAUUTTIIOONN::
Replace with same type and rating fuse
CCAAUUTTIIOONN::
Risk of electric shock
CCAAUUTTIIOONN::
(Refer to accompanying documents)
!
Page 3

7.0 CLEANING THE COUNTING PLATE
Remove the screw on the left side of the instrument face.
Swing the magnification lens aside and open the black front
section attached to the lower hinge. The counting plate is held
in place with four screws attached to the back of the front
panel. Loosen the screws and slip the plate out of the retainer.
Clean the counting plate with a solution of mild detergent and
water or xylene. DO NOT USE AN ABRASIVE CLEANSER. It will
damage the white grid on the counting plate.
Dry the counting plate with a lint-free cloth. Place the counting
plate back into the retainer until it is firmly seated. Avoid leaving fingerprints on the surfaces; they may cause inaccurate
readings. Ensure plate is installed with rulings facing bulb to
avoid damage.
Tighten the four screws and return the front section to the
operating position. Replace the screw on the front of the instrument.
The LEICA DARKFIELD QUEBEC®Colony Counter is designed to
insure reliability, long life and minimal maintenance. Contact
your local Leica representative for additional operating or service information.
7.0 FUSES
The LEICA DARKFIELD QUEBEC®Colony Counter has two fuses
located in a fuse drawer next to the power switch on the rear
panel. The instrument must be unplugged to allow access to
the fuse drawer.
8.0 SPECIFICATIONS
The LEICA DARKFIELD QUEBEC®Colony Counter bears the
following marks: UL, cUL
• Models 3325 and 3327 are rated 120VAC, 40 watts
• Models 3326 and 3328 are rated 230VAC, 50 watts
OOppeerraattiinngg CCoonnddiittiioonnss
• Indoor use only
• RH 80% up to 31°C decreasing linearly to 50% RH at 40°C
• Pollution degree 2
• Altitude up to 2,000m
• Temperature 5°C to 40°C
• Main supply voltage ±10%
• Installation CAT II
5.0 OPERATING THE COLONY COUNTER
To count directly on the surface of the nutrient medium, place
the uncovered culture plate on the culture plate holder. Loosen
the two thumbscrews on the holder to center the culture plate
on the counting plate.
Plug the ground contact and the counting probe into either
electric receptacle on the back of the instrument. Position the
ground contact with magnetic base near the culture plate so
that the L-shaped tip makes contact with the surface of the
agar.
Counts are automatically registered by simply touching each
colony with the needle point of the counting probe (Figure 2).
To prevent the possibility of spurious registration resulting from
the “entry” and “exit” of the probe tip into the medium, a
pulsed delay circuit will admit only one count over a short time
period. This feature does not interfere with the maximum
counting speed of a skilled operator.
6.0 BULB REPLACEMENT
The LEICA DARKFIELD QUEBEC®Colony Counter illumination
source is a standard 40 watt soft white-type incandescent bulb.
(50W for 230V operation)
Disconnect the instrument from its power source. Remove the
screws on the face of the instrument. Swing the magnification
lens aside and open the black front section attached to the
lower hinge. Unscrew the burned out bulb and replace it.
Reconnect the colony counter to its power source (Figure 3).
FFiigguurree 33
CCAAUUTTIIOONN
: Use only the fuse specified
on the data plate for replacement.
DDaannggeerr::
The glass bulb may be hot. Do not
attempt to change the bulb before it is completely cooled or without wearing adequate
skin protection.
!!
Page 4

Due to a policy of continuous
development, we reserve the
right to change specifications
without notice.
Leica Microsystems Inc. Phone: 716 686 3000
Educational and Analytical Division Fax: 716 686 3085
P.O. Box 123 www.leica-ead.com
Buffalo, NY USA 14240 ISO-9001 Certified
©1999 Leica Microsystems Inc., Buffalo NY USA 3/01 Printed in USA 3325-101 Rev. D
 Loading...