

Page 1
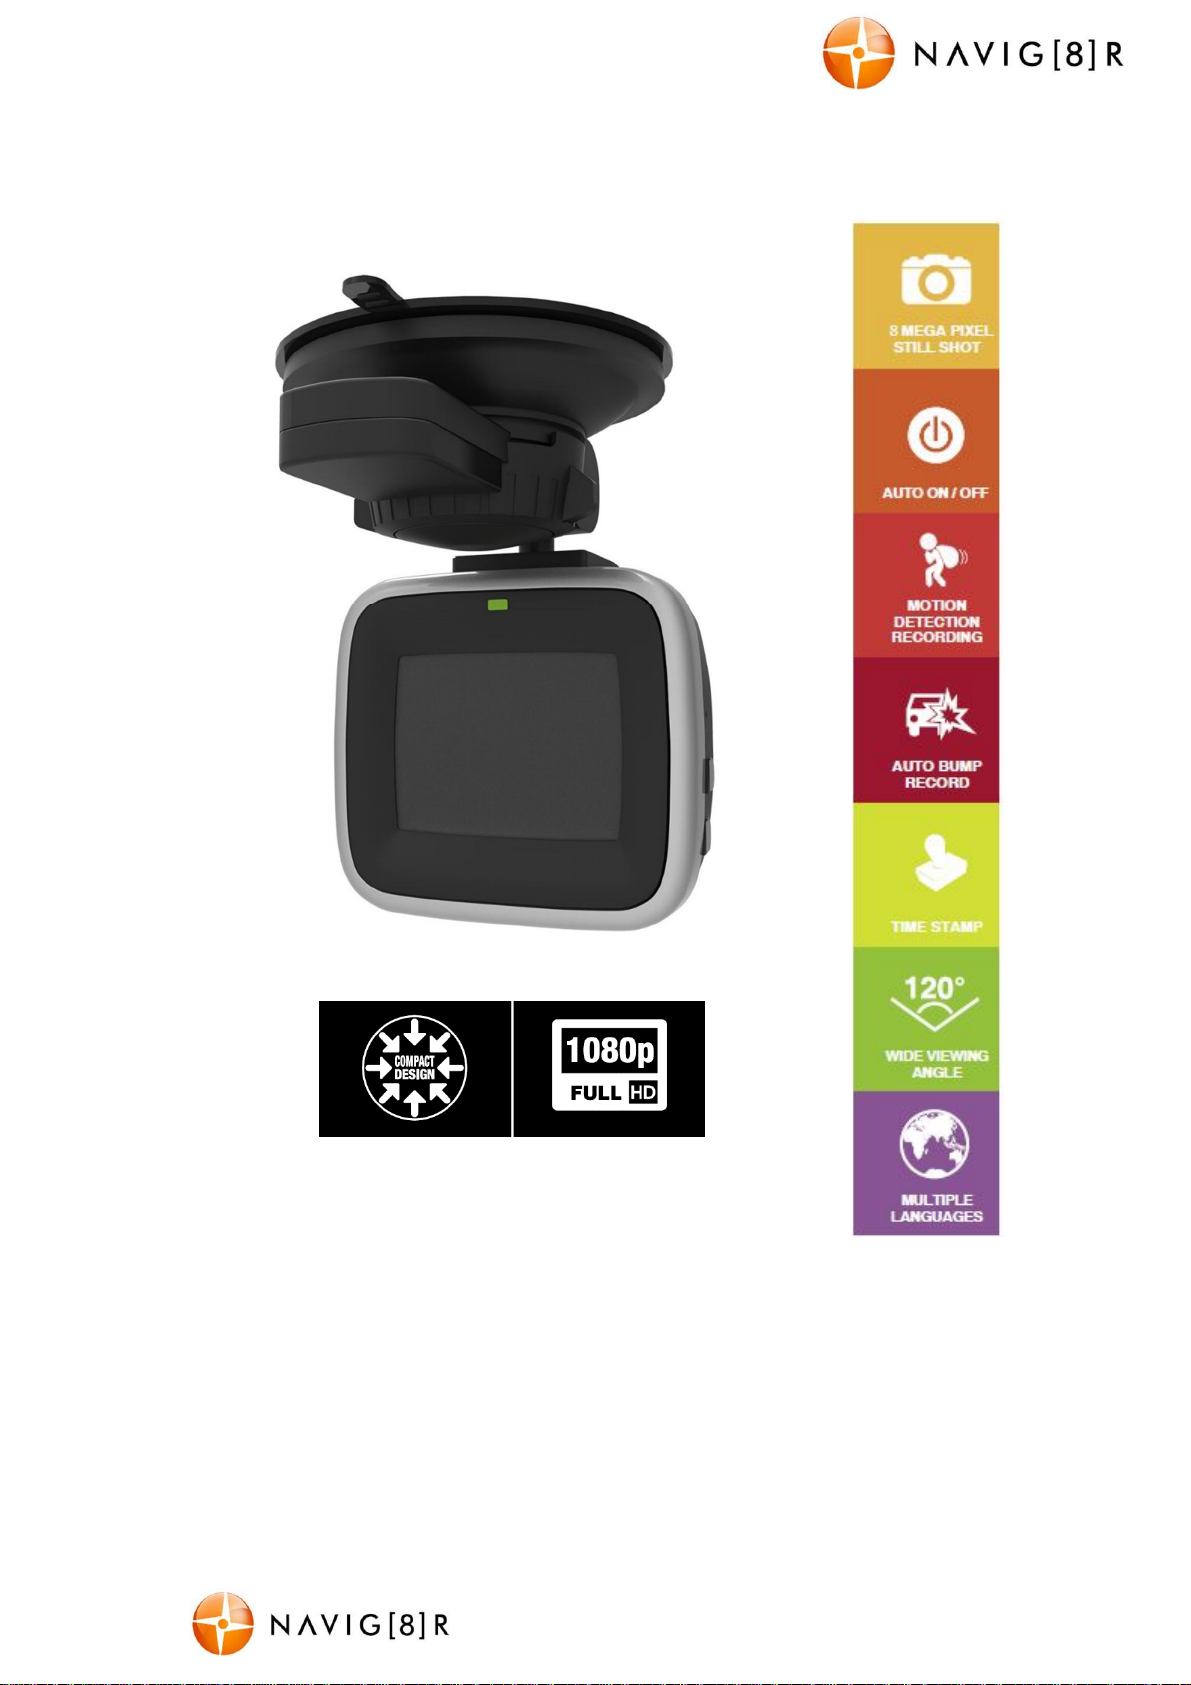
NAVC-307 USER MANUAL
Please read carefully before use
It is recommended to use a Class 4 ( 4Mb/s write speed) Micro SDHC card for optimal
performance. Some “Extreme Speed” class 10 UHS 2 cards may not function correctly
1
Page 2

NAVC-307 USER MANUAL
TABLE ON CONTENTS
Important Safety Instructions and Precautions 2
Product Connections and Use 3
What’s in the box 4
Features and Operation 4
Power on/off function (auto on/off) 4
Auto Record when turned on 4
Installation on the car windscreen 4
Recording 5
Change between modes 5
Mode Settings 5
- Digital Video 6
- Digital Still Camera 6
- Playback 7
- Setup Hardware 7
USB Connection 8
Typical Photo/Video Storage Capacity 8
Connecting the NAVC-307 in the car 9
Trouble shooting / FAQ 10
Product Specifications 10
IMPORTANT SAFETY INSTRUCTIONS AND PRECAUTIONS
- Read all instructions carefully before use.
- Retain manuals for future reference.
- Use this product only in the manner described.
- Only use a water-dampened soft-cloth to clean the surface of this product.
- The following will damage this product: any liquid such as water or moisture, extreme
heat; cold; humidity, dusty or sandy environments.
- Only place this device on stable surfaces and ensure that any attached cables are secure
and will not cause the device to fall.
- If charging is required, it is recommended to thoroughly charge electronic devices for the
first time overnight. Subsequent charges can be as needed. During charging, or
extended use, the product may become warm.
- There are no user serviceable parts in this product.
- Un-authorized attempts to dismantle or repair this product will void product warranty
- Using this device near other electronic devices may cause interference.
2
Page 3
NAVC-307 USER MANUAL
1 2 3 10
9 8
11
6
5 4 15
14
7
13
12
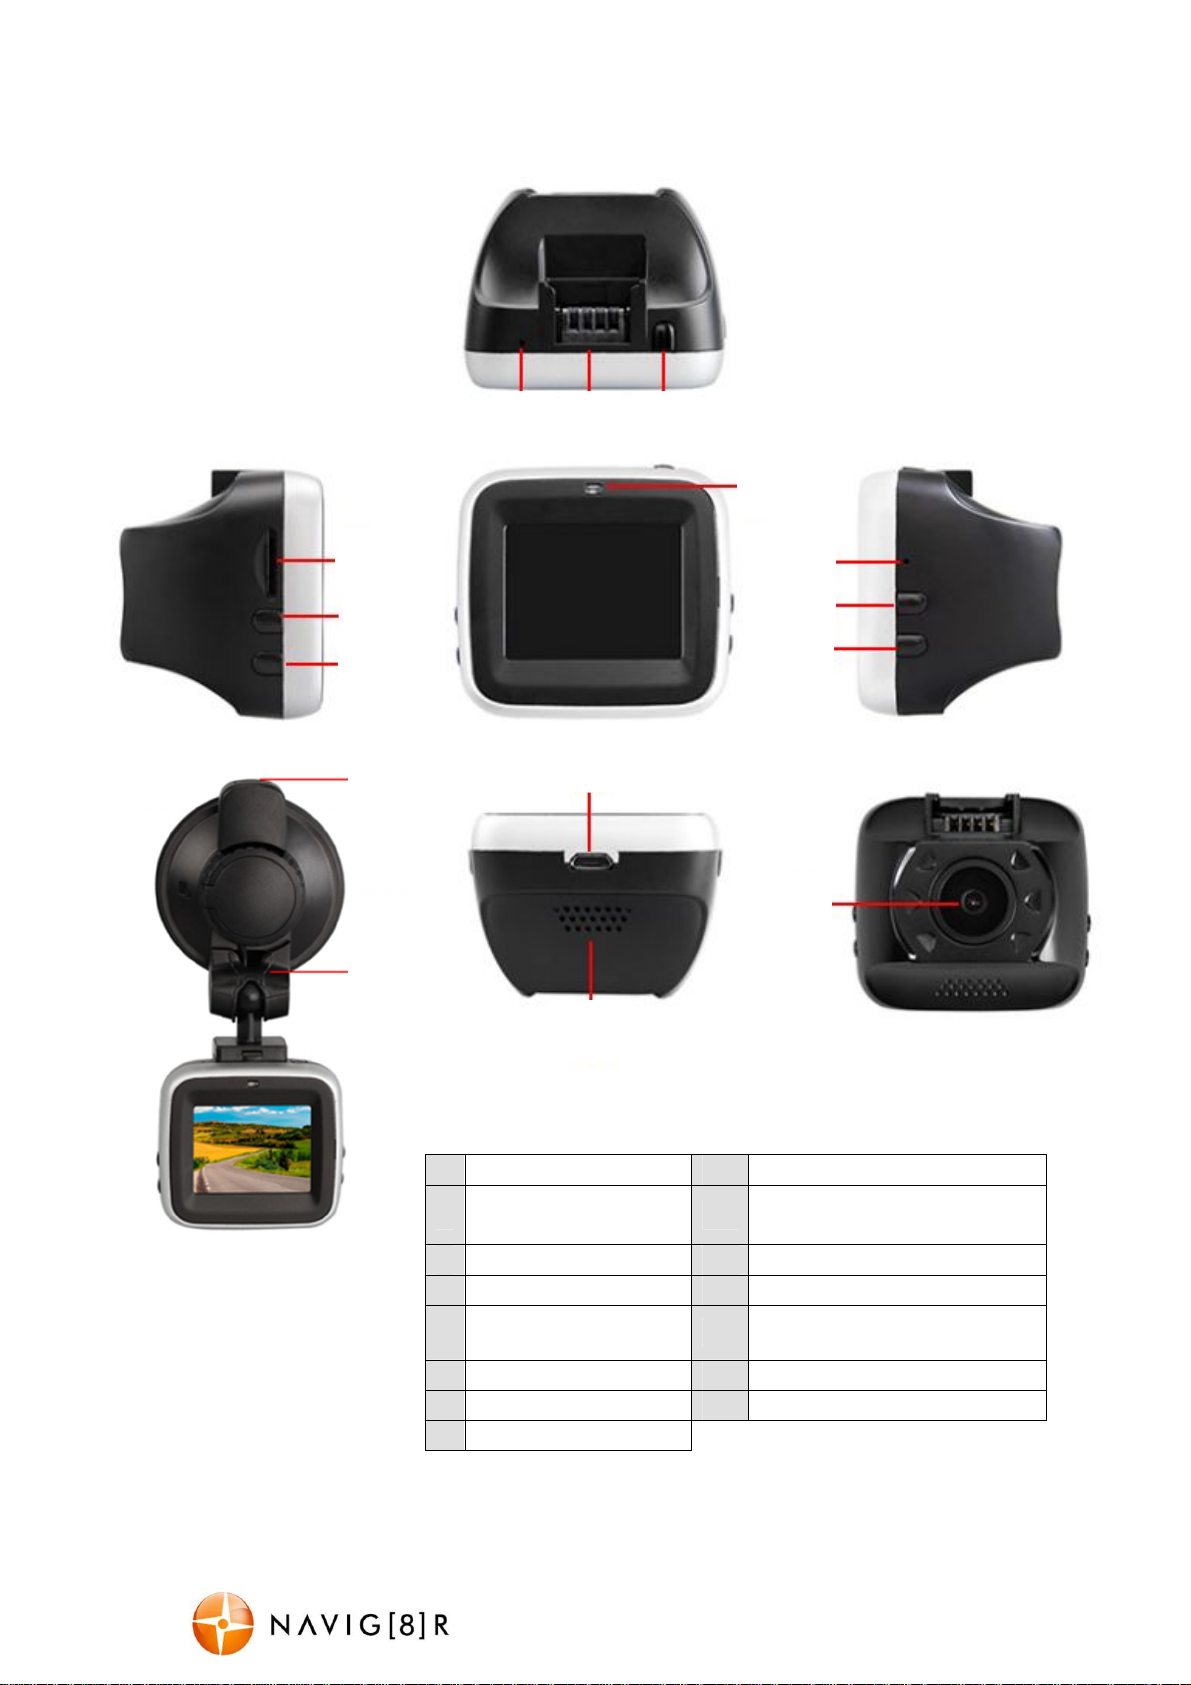
PRODUCT CONNECTIONS AND USE
1 Microphone 9 Up Button
Suction Mount
2
Fitting
3 Power Button 11 LED Indicator Light
4 Reset Button 12 Camera
5 Menu Button 13
6 OK Button 14 Suction Mount
7 Micro USB Port 15 2nd USB Port (Optional use)
8 Down Button
10 Micro SD Card Slot
Speaker (Note: For button
sounds only)
3
Page 4
NAVC-307 USER MANUAL
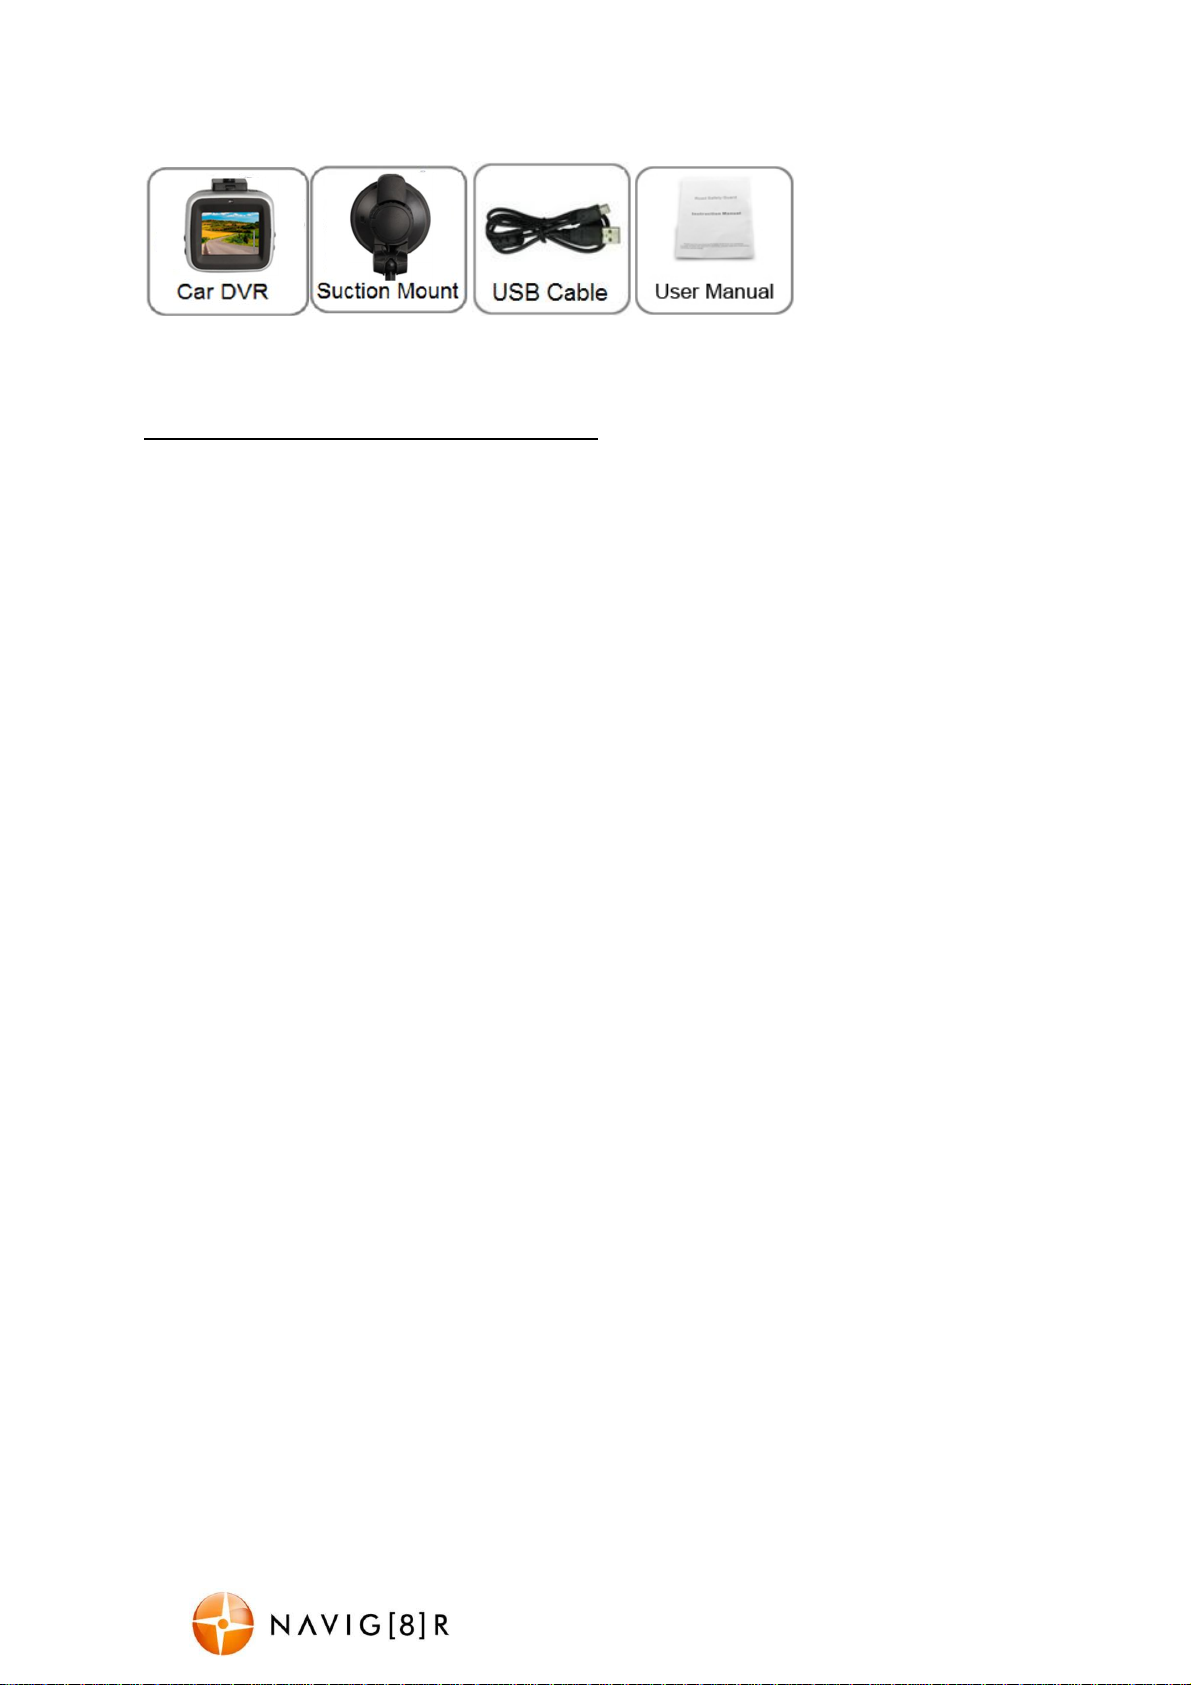
WHATS IN THE BOX
FEATURES AND OPERATION
Note: A memory card is required for operation
The NAVC-307 requires a Micro SD card (not included) to record video / image content. (see
page 8 for a table showing SD card capacity and the relevant amount of video / image
content able to be stored). For optimal performance, we recommend using a Class 4 Micro
SD card (the most common type) to ensure fast data transfer rates.
Power on/off function (auto on/off)
To turn on the NAVC-307, press the power button on the top of the device. To turn off,
press the same power button. When connected to the 12v DC socket (cigarette socket) of
your car, the NAVC-307 will turn on and off automatically when the car’s ignition is turned
on or off. If the NAVC-307 does not turn off immediately it means the device is completing
the file save process before turning off (usually only a few seconds).
If the 12v socket is “constant on” (in some European vehicles), then the NAVC-307 will need
to be turned on/off manually by the power button.
Auto Record when turned on
When the NAVC-307 is turned on (either by pressing the power button or auto on) the
device will automatically begin recording. To stop recording, press the OK button or
disconnect the power cable.
Installation on the car windscreen
The NAVC-307 works best when mounted centrally and high up on the windscreen (typically
behind or close to the rear vision mirror). Use the supplied windscreen suction mount to
affix the NAVC-307 to the windscreen and then adjust the mount until you can see a clear
view of the road ahead on the LCD.
4
Page 5

NAVC-307 USER MANUAL
Recording
Turn on the NAVC-307. Recording should start automatically. If not press the “OK” button.
When recording, the green indicator LED will begin to flash. The recorded file is saved onto
the Micro SDHC Card. Stop recording by either pressing the OK button or turning the car
ignition off (stopping power to the device)
In the event of an incident / accident – STOP the Recording.
- Due to the “cycle recording” nature of this technology, older recorded files will be overwritten (depending on
the chosen resolution settings and the memory capacity of the Micro SD card). For example a 2GB SD card at
HD resolution will only offer you 20 minutes of record time before the files (2 or 5 or 15min sizes) start to get
overwritten
- Should you wish to KEEP the video footage of an incident from not being overwritten, stop the recording soon
after an incident has occurred (Either press “OK” or disconnect the power or remove the Micro SD card).
- Alternately use a larger capacity SD card or lower the recording resolution (eg; a 32GB SD card at VGA
resolution will offer you 640 minutes of record time) or otherwise use a second Micro SD card as a backup.
Changing between modes
Press and hold the MENU button for 5 seconds to change between modes. Each mode has a
unique icon at the top right of the screen.
MODE SETTINGS
To enter the SETTINGS for a selected mode, press the MENU button again momentarily.
Two titles will appear. The first will be named after the MODE which you have currently
selected (on the left) and the second SETUP (on the right)
Use the UP and DOWN arrows to navigate each option, the OK button to enter and confirm
and the MENU button to toggle across to the SETUP menu.
Press the MENU button a last time to exit the SETTINGS options and to return to the main
screen.
5
Page 6

NAVC-307 USER MANUAL
Digital Video
Available Options:
Video Output Options Action
Size Select [FHD, HD, VGA] Select the resolution and size of recorded files
Records the current date and time onto the
Time Stamp Select [On / Off]
Video time Select [1, 3 or 5mins]
Motion Detect Select [On / Off]
Audio Record Select [On / Off]
video file (date/time is set in the setup
options)
Select the time you wish to record the videos
in If using a large capacity card (32GB) 10
minutes is recommended
When set to “On”, the NAVC-307 will begin
recording when it senses movement. For
example; if the NAVC-307 is left on, the
camera will begin recording if the image is
disrupted (like a person walking by)
Turns the built in microphone on or off. For
privacy this can be turned off so that no audio
is recorded.
Digital Still Camera
Available Options:
Capture Options Action
3M highest image quality, least amount of
photos.
Size
Time Stamp [Select] On, Off Display the date and time on recorded files
[Select] 3, 2, 1.3MP
or VGA
2M high image quality, least amount of photos.
1.3M average image quality, more amount of
photos.
VGA low image quality, most amount of photos.
6
Page 7

NAVC-307 USER MANUAL
Playback
Available Options:
Play Options Action
Delete [Select] Single, All
Protect
Thumbnail [Select] Execute, Cancel Select image thumbnail view.
Volume [Select] 0 thru to 7 Select between volumes 0 to 8.
[Select] Lock One, All or Unlock
One or All
Choose to delete the current
image or all images.
Protect videos or picture so they
cannot be deleted.
Setup (Hardware)
Available Options:
Note: The Setup options are accessible through any mode.
Setup Options Action
Select “Execute” to format the Micro SD card.
Warning: formatting the card will erase all of the
content on the card.
Turn function and button noises ON or OFF when
pressed.
Format
Sound
Effect
Select [Cancel /
Execute]
Select [On / Off]
Language Select [English] Choose a language for the onscreen menu display.
Auto Off
FW Version
System
Reset
Light
Frequency
TV Output Select [NTSC or PAL]
Date Input
USB
Backlight
Select [1, 3, 5 mins
or OFF]
[Display] Firmware
Version
Select [Execute,
Cancel]
Select [50 or 60Hz]
(Scroll through
values and adjust)
Select [PC Cam or
Disk Drive mode]
Select [15, 30 or 60
sec OFF or OPEN]
Used to adjust the time to automatically power off
Display the Firmware Version
Select OK to return the device settings back to the
original factory settings.
For older television sets or monitors which cannot
auto select the refresh rate frequency, select 50Hz
(generally not applicable for newer TVs in
Australia/New Zealand).
For older television sets without refresh rate
selection. PAL is typically selected for Australia.
Use this option to set the date and time on the
device. Should the device not be used for a long
period of time and should the battery run
completely flat, then the date/time will need to be
re-set.
Change the function of your crash camera to
become a PC Camera (Webcam) or an external
storage device.
Select a time for the LCD to automatically turn off.
Typically used for night time driving.
7
Page 8

NAVC-307 USER MANUAL
USB Connection
Connect the NAVC-307 to a Windows PC with the USB cable (included). The LCD screen will
display a NOTEBOOK icon. Under “My computer” or “Windows Explorer” you should see a
drive which will resemble a “Removable Disk (?:)” (like a USB Flash drive or Hard drive).
Recorded videos and photos are stored in the DCIM\100DSCIM folder, and the files are
named as PICT****. AVI for video, or PICT***.JPG for still images. These files can be played
back using Windows Media player or a compatible .avi media player or an image viewer (for
images)
Note:
1) A Micro SDHC card must be inserted into the device before recording.
2) The NAVC-307 supports cycle recording. It will overwrite the oldest video files with new
ones. Depending on the size of the Micro SDHC card and the speed rating of the card, there
may be as much as a 3 second pause time whilst old files are overwritten with the newer
files. This pause time will not be recorded.
3) As the NAVC-307 has a DC5V input, please use the original car charger which will step
down the car’s 12VDC to 5VDC and fuse the circuit in the event of an overload.
Typical Video/Photos Storage Capacity
Resolution 2GB 4GB 8GB 16GB 32GB
1296 x 1080p (FHD) 10min 20min 40min 80min 160min
Video
Photo
1280*720 (720P) 20min 40min 80min 160min 320min
640*480 (VGA) 40min 80min 160min 320min 640min
1M (1280*1024)
11650
photos
8400
2M (1600*1200)
photos
6000
3M (2048*1536)
photos
3500
5M (2560*1920)
photos
23300
photos
16800
photos
12000
photos
7000
photos
46600
photos
33600
photos
24000
photos
14000
photos
93200
photos
67200
photos
48000
photos
28000
photos
186400
photos
134400
photos
96000
photos
56000
photos
8
Page 9

NAVC-307 USER MANUAL
Connecting the NAVC-307 in the Car
The above wiring diagram shows a left hand drive vehicle. Wiring path is only a
suggestion.
1. NAVC-307 device mounted behind the rear vision mirror.
2. 12v DC cable routed behind rear vision mirror
3. Cable hidden behind roof headlining
4. Cable hidden behind “A” pillar – beware of airbag equipped cars
5. Cable is routed beside the dashboard / near the door hinges
6. Cable is passed under the passenger carpet (or under the dashboard)
7. 12v DC plug is connected to the car’s 12v “cigarette socket”.
Once the wiring and installation of the NAVC-307 have been completed, please check the following:
- With the car’s ignition on (or engine started), the red LED indicator on the NAVC-307 will light up and the LCD
screen should turn on. Recording should start automatically. This will indicate a successful installation –
- When the car’s ignition is turned off, the device should turn off within 20 seconds. If this doesn’t happen then
power is still being supplied to the car’s 12v socket and the device will need to be switched off manually.
9
Page 10

NAVC-307 USER MANUAL
Fault
Suggestion
If in vehicle: check that the
12V socket is not still powered (on) when the key
Cant playback the
Upgrade
your
windows media player
version
or use an alternate media
My video/pictures
Check the capacity of your SD card, the files may have been overwritten in
Check the speed of your Micro SD card. We recommend class 4 for faster
The date/time is
Reset the date / time in the settings menu. If the battery runs
completely
Ensure the windscreen and surface area of the suction cup are clean.
Can’t see the
Check the USB cable connection to the device and USB port. Try another
TROUBLE SHOOTING / Q & A
Device does not
turn off
.avi video files
of an incident are
NOT there
The device has
frozen / stopped
working.
incorrect
The suction cup
keeps coming off
device in my
computer
is removed (as with some European cars).
Wait 20 seconds for file finalisation / closure.
Disconnect power lead to device
Press “ok” to stop recording, then press power to turn off.
player such as VLC media player
the record cycle process. Ensure you STOP THE RECORDING if you want to
keep a video/picture of an event otherwise, it will be over written.
transfer rates, especially if the record file size is bigger (say 10 min recording
increments at 1080p).
Press the “reset” button with a paper clip to reset the settings back to
default
flat, then the date/time will need to be reset
In wet or very hot weather, the suction cup mount may need to be
reapplied.
USB port, possibly directly to the PC/notebook (rather than through a USB
hub)
PRODUCT SPECIFICATIONS
True 1080 FHD video recording in AVI format, no special software needed for playback
Video output: 1080p (not software interpolated)
Video resolution: 1920*1080P
Standard .avi video formats and .jpg image formats for maximum playback
compatibility.
Photo output: Maximum resolution is 8 megapixels
High density CMOS sensor for high quality image capture and processing
High-speed dynamic video recording, instant response to light environment
1.5 inch colour TFT LCD display screen
On board rechargeable Lithium battery
120° HD wide angle lens to capture more detail.
Loop cycle record in selectable 1, 3 or 5 minute increments
Time and date stamp on video or still image whilst recording
USB direct connection to PC (no need for a card reader)
When in used in a car, automatic on / off when car is on / off
This device can be charged and record at the same time.
Supports Micro SDHC up to 32GB. Class 4 cards are recommended
Built-in microphone
For further product information on this and other products please visit our product web
page at www.navig8r.com.au or email support@navig8r.com.au
10
Page 11

NAVC-307 USER MANUAL
Warranty Against Defects
Navig8r is a brand sold and marketed by Laser Corporation Pty Ltd (“Laser”). Laser hereby warrants
your new product to be free from defects in materials and workmanship for 12 months, from the date
of purchase, provided that the product is used in accordance with accompanying recommendations
or instructions where provided. The benefit of this warranty is in addition to your rights under the
Australian Consumer Law and to other rights and remedies of the consumer under a law in relation to
the goods or services to which the warranty relates.
Through a network of retailers and resellers, Laser will provide you with your choice of a refund, repair
or exchange (where possible) for this product if it becomes defective within the warranty period. This
warranty will no longer apply where the defect is a result of alteration, accident, misuse, abuse,
normal wear and tear, neglect or improper storage. Please retain your receipt as proof of purchase
How to make a product warranty claim:
Step 1: Find your receipt which proves the date of purchase. Where the date of purchase cannot be
verified, your place of purchase or Laser will make an assessment based on the date of manufacture,
the condition of the Laser Product and the type of defect.
Step 2a): Contact your place of purchase. They will assess the nature of the fault and refund or replace
the product as per their store refund or warranty policy.
Step 2b): If your place of purchase cannot be contacted, then you can contact Laser. Customer Service
with details of your defective Laser Product: Phone: (02) 9870 3388; or Email:
support@laserco.com.au or online www.laserco.com.au/warranty (click on “Consumers (End
Users)”). Our business address is at 1/6-8 Byfield Street, North Ryde, NSW 2113
Step 3: Laser will issue you with a Return Authorisation (RA) number within 48 hours. When requested,
send us the defective Product and a copy of your receipt. Laser will cover the cost of the return
delivery.
Step 4: Wait for us to contact you. Once we have received your defective Laser Product for inspection,
we will inform you of our assessment of your claim within 7 days. When we contact you, we will firstly
let you know whether you have a valid claim under this Warranty, and if so, we will inform you whether
your defective Laser Product will be replaced or repaired, together with the number of days you can
expect to wait to receive your replaced or repaired Laser Product.
Our goods come with guarantees that cannot be excluded under the Australian Consumer Law. You
are entitled to a replacement or refund for a major failure and compensation for any other reasonably
foreseeable loss or damage. You are also entitled to have the goods repaired or replaced if the goods
fail to be of acceptable quality and the failure does not amount to a major failure.
11
 Loading...