

Page 1

Session Viewer
Us e r Guide
LLEAP
Page 2

Contents
1 Introduction ..................................................................................................................................................................... 3
2 Cautions and warnings .................................................................................................................................................. 3
3 Technical requirements and installing the software .............................................................................................. 3
3.1 Starting Session Viewer ....................................................................................................................................... 4
4 Functions in Session Viewer ........................................................................................................................................ 5
4.1 Open a debriefing file ........................................................................................................................................... 5
5 Working with a licensed Session Viewer ................................................................................................................. 6
5.1 Configuration ......................................................................................................................................................... 6
5.2 Server settings ....................................................................................................................................................... 7
5.3 Adding a USB Camera ......................................................................................................................................... 7
5.4 Adding a Patient Monitor .................................................................................................................................... 9
5.5 Adding a microphone ......................................................................................................................................... 10
6 Working with Session Viewer “stand-a-lone” ...................................................................................................... 11
6.1 Making a video recording .................................................................................................................................. 11
6.1.1 View and edit the recording ........................................................................................................................ 12
6.1.2 Saving or printing the recording ................................................................................................................. 14
7 SessionViewer used with LLEAP .............................................................................................................................. 15
7.1 All in one setup.................................................................................................................................................... 15
7.2 Multiple PC setup ................................................................................................................................................ 15
7.3 Recording a session ............................................................................................................................................ 16
7.4 Debriefing ............................................................................................................................................................. 16
7.5 Saving or printing the debriefing file ............................................................................................................... 16
8 Session Viewer used with the Patient Monitor .................................................................................................... 17
8.1 The setup .............................................................................................................................................................. 17
8.1.1 The LLEAP PC ................................................................................................................................................. 17
8.1.2 The Session Viewer PC ................................................................................................................................. 17
8.2 Recording a session ............................................................................................................................................ 17
8.3 Debriefing ............................................................................................................................................................. 17
8.4 Saving or printing the debriefing file ............................................................................................................... 17
9 Session Viewer used with SimPad ............................................................................................................................ 18
9.1 Opening the files ................................................................................................................................................. 18
9.2 Connect the SimPad ........................................................................................................................................... 18
9.3 Reviewing BLS result with Session Viewer ................................................................................................... 19
9.4 Viewing the opened files ................................................................................................................................... 19
9.4.1 Saving or printing the debriefing file .......................................................................................................... 20
10 Troubleshooting ........................................................................................................................................................... 21
11 Index ................................................................................................................................................................................ 21
2
Page 3

1 Introduction
Hardware
Minimum:
Recommended:
CPU
i3 or higher (multi core)
I5 or higher (multi core)
CPU Mark
2500 or higher
3500 or higher
RAM
2GB
4GB
Hard drive
50GB free
100GB free
Software
Windows Edition
7 Pro, 7Ultimate, 8 Pro and
8.1 Pro.
7 Pro, 7Ultimate, 8 Pro
and 8.1 Pro.
Display resolution
1280x1024 or higher
1366x768 or higher
Session Viewer is a standalone application for viewing and editing exported SimView debriefing files, SimPad
log files and BLS result files.
If you license Session Viewer you can also record the activities during a Standardized Patient Recording or
Laerdal manikin scenarios controlled by Instructor Applications. When a USB-camera and a microphone and
or a Patient Monitor are added to the PC, can you record both video and audio to support the debriefing of
the scenario with the students after the training session. In the following you will find instruction on how to
connect and use USB camera, Patient Monitor and a microphone with Session Viewer.
2 Cautions and warnings
• By using this product, Laerdal® Medical does not condone the use of this system for violating any
government, state or local laws or personal rights.
• Laerdal® Medical will not be responsible for loss or stolen property due to the use nor failure of
operation of this equipment.
• Read understand, and follow all equipment instructions, safety warning and guidelines before
operating the Laerdal® Session Viewer and all associated equipment.
3 Technical requirements and installing the software
Session Viewer and LLEAP computer requirements:
USB Cameras:
Supported: Logitech web cameras: C920, c920C and c920e.
Session Viewer is installed as a part of LLEAP, or separately from a downloaded installer.
When installed read on in chapter 3.1 on next page.
3
Page 4
3.1 Starting Session Viewer
On your desktop you will get a Session Viewer icon: double click it and the program will
start.
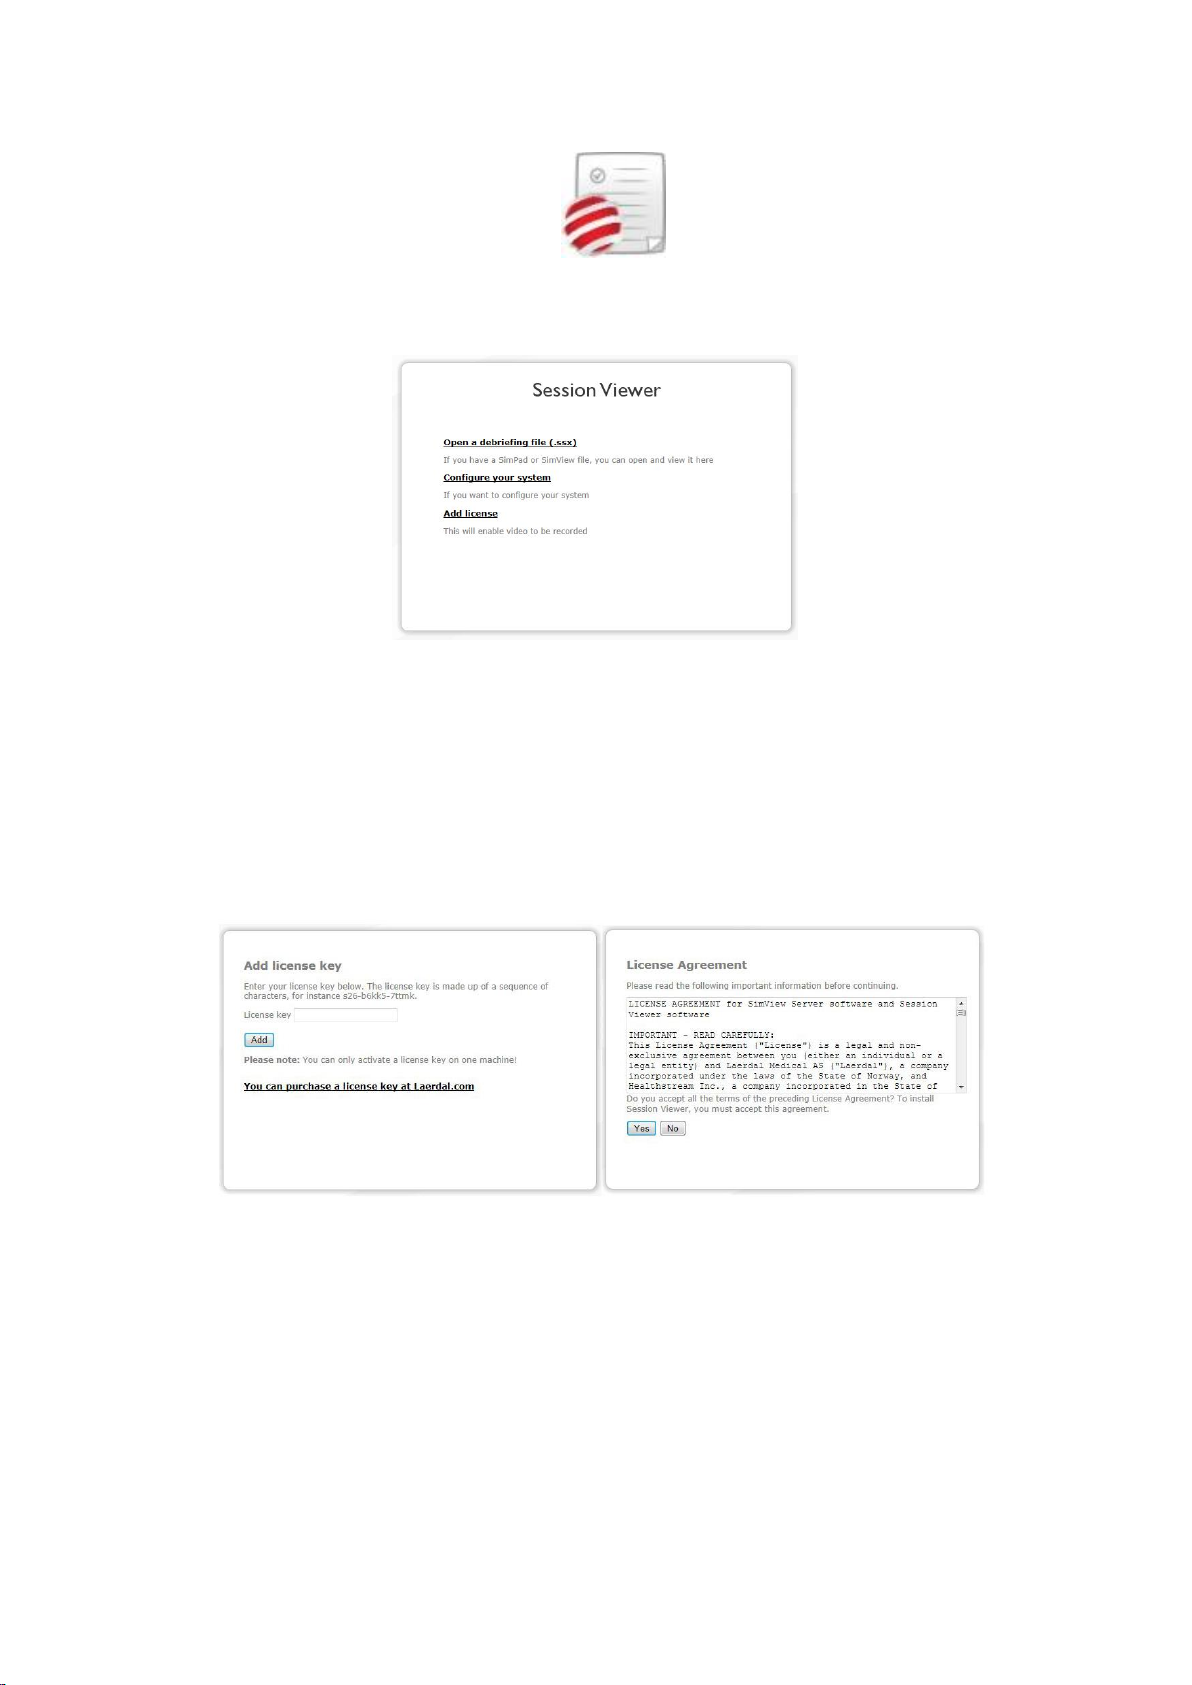
This will be the first message you will get from Session Viewer:
Figure 1
If you only want to see and edit debriefing files just click the “Open a debriefing file” and read on in the next
chapter.
If you want to create activities and record video, you need a license key from Laerdal.
You can purchase the license from www.laerdal.com.
When you have obtained the license file click the “Add license” button, and click “Yes” on the next screen.
Insert the license in the “License key” field and click “Add”
Figure 2
4
Page 5
4 Functions in Session Viewer
In order to work with Session Viewer you must choose one of the options on the start-up screen.
4.1 Open a debriefing file
The Session Viewer can be started in more than one way:
By double clicking an appropriate file (.ssx) in Windows Explorer.
By double clicking the application itself on the desktop.
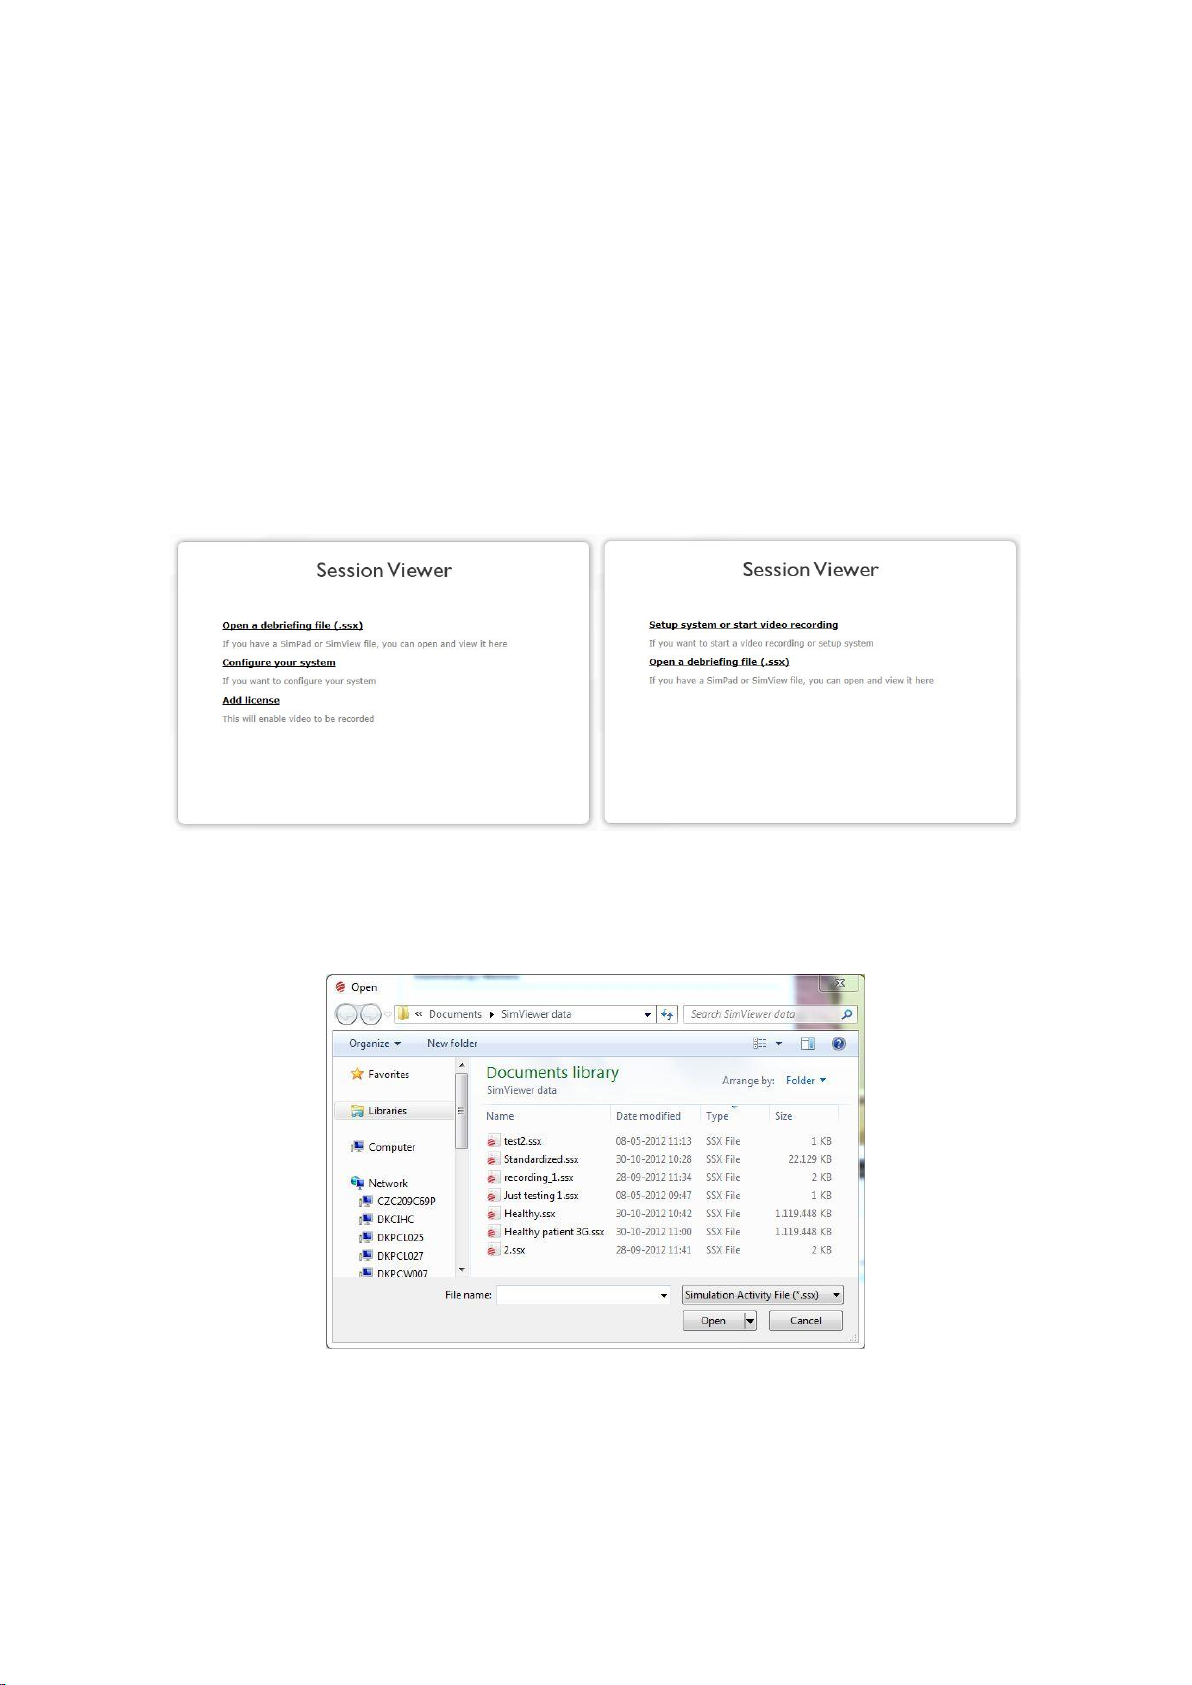
When Session Viewer starts after double clicking the application icon you will get the choice of open a
debriefing file or add a license. If you have a licensed version you can “Create new activity” or “Start video
recording”.
Figure 3 The possible selection windows in the start-up window
When you have clicked the “Open a debriefing file” the normal Windows “Open file” window will be
opened. (See next chapter describing the use of SimPad files).
Figure 4 The Windows “Open file” window
Select the file you would like to see, and open it by double clicking.
If Session Viewer is started by double clicking a simulation file (.ssx) then it starts directly by showing the
simulation file.
5
Page 6
5 Working with a licensed Session Viewer
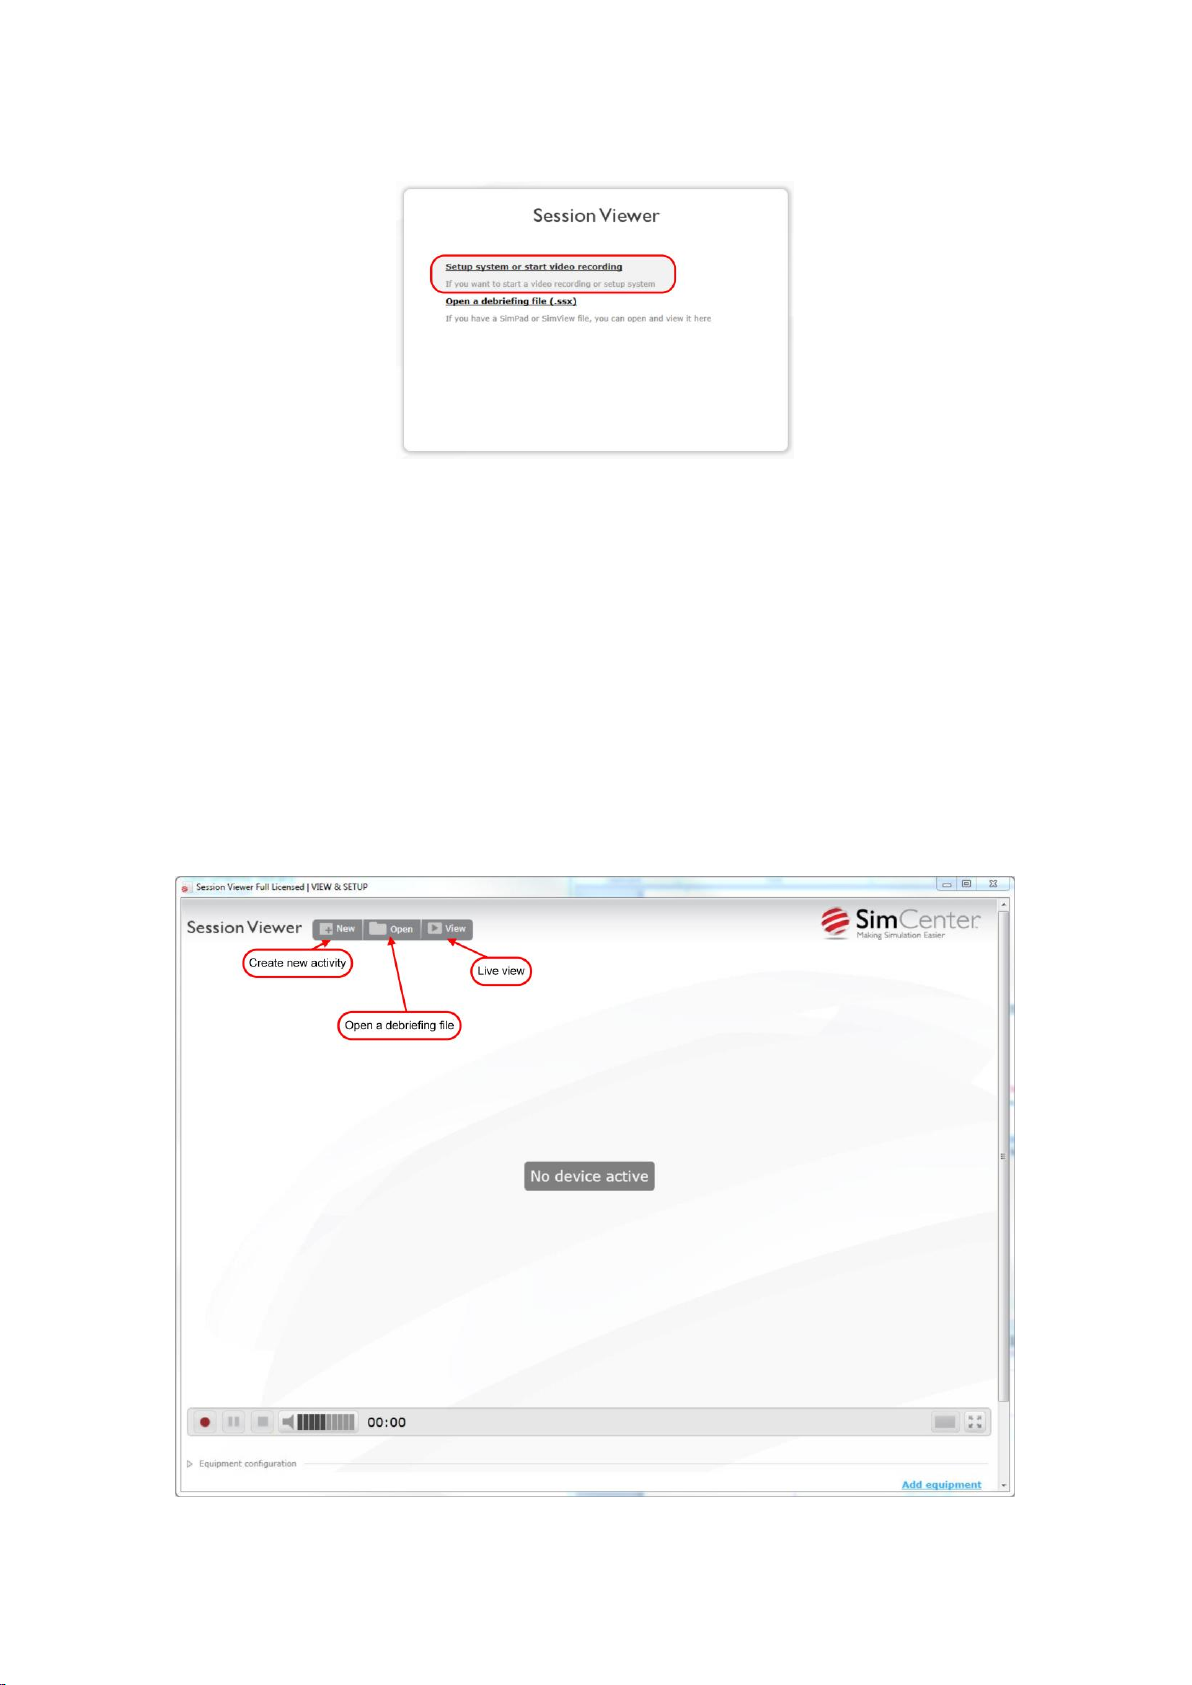
Figure 5 The start-up screen.
If you want to do setup or recording, and access all features press “Setup system or start video
recording”.
The next chapters will go through the possibilities in the main window
5.1 Configuration
To change the configuration by adding equipment to the Session Viewer press the “Setup system or start
video recording” link on the start-up window as shown on Figure 5.
You can add one USB camera, one Patient Monitor (PM) and one audio source to the Session Viewer.
After clicking in the “Setup system or start video recording” you will get to the Session Viewer main
window. This is where you can add equipment, open .ssx file, create new recordings or use the live view.
6
Figure 6 The Session Viewer main window.
Page 7
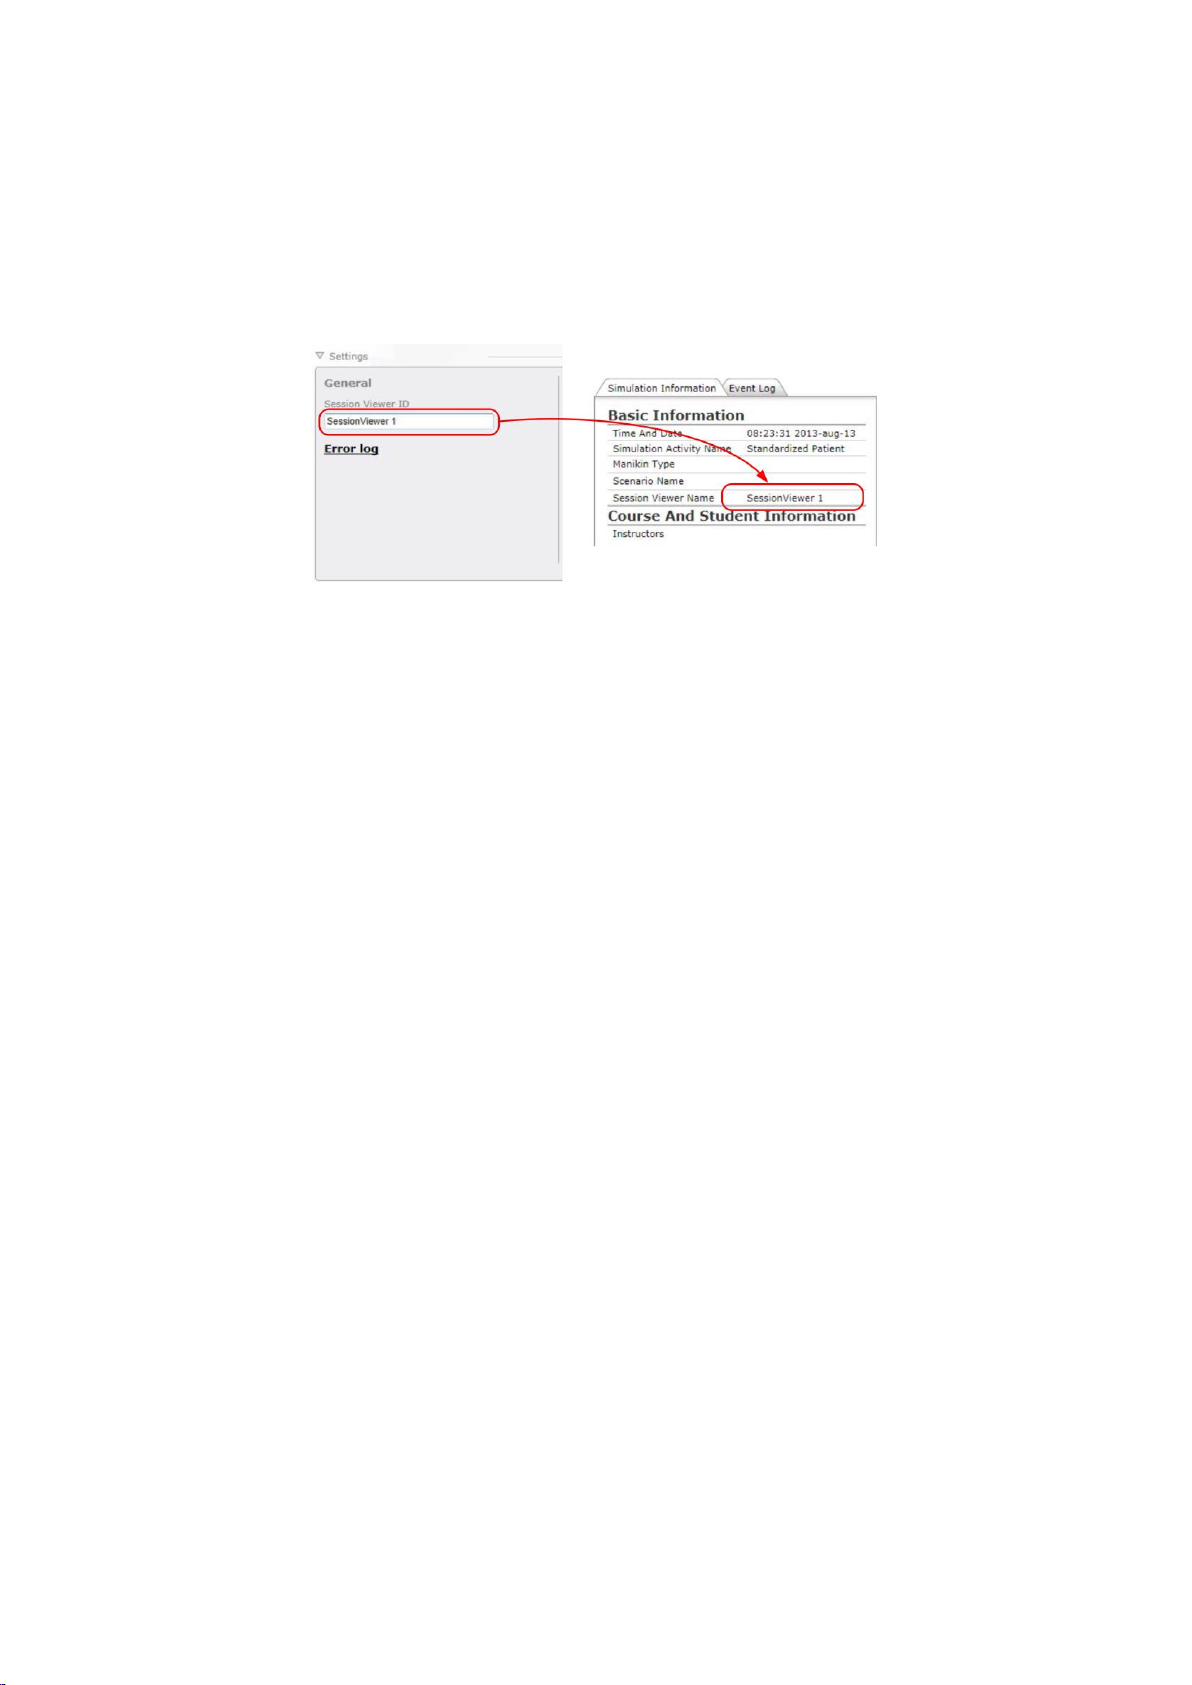
5.2 Server settings
In the server setting for Session Viewer you can provide a name for the Session Viewer. This is the name
that will be added to all recordings done with this particular installation. In this way you can provide different
names if you have more PCs running Session Viewer. You can then when opening the recording see on
which PC it was recorded, as it will be in the “Simulation Information” under “Session Viewer Name” see
Figure 7.
Figure 7
5.3 Adding a USB Camera
To add a USB camera to Session Viewer, start Session Viewer and choose “Setup system or start video
recording” on the start window. See pictures on the next page.
See paragraph 3 “Technical requirements and installing the software” for a list of supported cameras.
If the web-cam includes a microphone, you will have the possibility to use it instead of any other installed
microphone.
Note! When you have added a camera you cannot add one more until you have deactivated the first; you
can only have one camera active at one time.
1. From the Home screen click the “Add equipment” (1) (You may have to scroll down).
2. Click the in the “Select device to add” (2) box.
3. Select USB camera from the drop down list (3).
4. Wait while the list of connected USB cameras is updated.
5. Click in the ”Found devices” (4) to get the drop-down list and select the desired camera
6. Click the “Add equipment” (5).
7. You can now select the resolution on the video quality by clicking the “Video quality” (6) drop-
down list and selecting the video quality you want.
8. The camera is activated by default. If you want to deactivate the camera later then uncheck the
“Active” check box (8).
9. Press “Save changes” (7) if this was the last device to add, otherwise add a new device by clicking
the “Add equipment” button (1) again and continue until you have added all the needed devices.
7
Page 8

Figure 8 Add equipment starting point
Figure 9 How to enable the drop-down list
Figure 10 Drop-down list of possible type of equipment
Figure 11 USB Camera selected
Figure 12 Video resolution selection
Note! Depending on the performance of your PC (laptop) you may have to avoid using the HD resolution
and running any other application, as it may make your PC unresponsive.
8
Page 9

5.4 Adding a Patient Monitor
To add a USB Web camera to Session Viewer, start Session Viewer and choose:
“Setup system or start video recording” on the start window.
1. From the Home screen click the “Add equipment” (1)
2. Click the in the “Select equipment to add” (2).
3. Select the Patient Monitor by clicking in the list window (3).
4. The search for a PM will start immediately
5. If more than one PM is found, select the right one in drop down box by clicking the control handle
(5).
6. Press “Add equipment” (6).
Figure 13
Figure 14
Figure 15
Figure 16
9
Page 10

5.5 Adding a microphone
To add a microphone to the simulation setup, start Session Viewer and the click the
“Setup system or start video recording” on the start window.
1. From the Home screen click the “Add equipment” (1) (You may have to scroll down).
2. Click to enable the drop down menu (2) box.
3. Select Microphone from the drop down list (3).
4. Click the “Add equipment” (4)
5. The Microphone is active by default.
6. If you want to add another device click the “Add equipment” button (1) again and continue until
you have added all the needed devices installed.
After you have installed the microphone, you have some options. If you have added audio equipment to the
line input, you may have to select which channel the audio should be taken from, as the Session Viewer only
records in mono. On Figure 20 you can see the options, enable the drop down list (5) and select the option
you want, then press save changes(6).
Figure 17 Add microphone or audio equipment
Figure 18 Select microphone
Figure 19 Select the wanted microphone
10
Figure 20 Microphone and audio options
Page 11

6 Working with Session Viewer “stand-a-lone”
6.1 Making a video recording
You can start a Video recording from the home window by pressing the red record button, input from USB
camera, PM and audio will be recorded if they are activated.
Note! Only on licensed versions.
Note! The recording button is only active if a camera is activated and you have a license.
Note! Do not run any other application on the PC when in “View & Setup”, it may make your PC
unresponsive.
Figure 21 Start recording
Figure 22 Stop recording
During recording you will see this in the top of the window:
Figure 23 During recording
Figure 24 Press “Yes” to stop the recording, opening the debrief window
Note! You cannot add comments during the recording, see next chapter how to add comments and events
to the recording later.
11
Page 12

6.1.1 View and edit the recording
When viewing the recording you can add comments to the “Event log”.
Figure 25 The debrief window.
To add comment to the event log place the cursor over the event log and a big plus sign will occur, the click
on the plus sign and you will be able to edit the event log, see figures Figure 26 to Figure 28.
12
Figure 26 Hovering over the “Event log” to add comments.
Page 13

Figure 27 The four type of comments that can be added
After choosing and event or drug, you get a new window to add comments or change the dose size, you can
also enter the time for the event or dose, press Add when you have entered the needed data or Cancel if
you don’t want to add the comment or dose.
Figure 28 Adding a drug or event with comments
13
Page 14

6.1.2 Saving or printing the recording
The first time you save a file you will be asked for a where to save and a name for the recording. When you
have added comment etc. to a previously saved recording you will not be asked to provide a name. If you
want to have both the original recording and the one with your additions you must use the “Save as”
option and provide a folder and a name for the recording.
Figure 29 The control bar for print and save.
The print option give the possibility to make a HTML file of the “Event log”.
Figure 30 The HTML print window
14
Page 15

7 SessionViewer used with LLEAP
7.1 All in one setup
Figur 1 One room setup, PC running LLEAP and SessionViewer.
The one room setup, here the room will be used for both training and debriefing, the PC runs all the
necessary programs via LLEAP.
7.2 Multiple PC setup
Figur 2 Two room setup
In the two room setup one PC is running LLEAP and the simulator, while remote controlling the other PC.
The PC in the training room runs Session Viewer and Patient Monitor, recording is controlled from the
simulator in the control room.
The training room is also used for debriefing as the is done by the Session Viewer
15
Page 16

7.3 Recording a session
Remote controlled recording
The “Reserved” sign will be shown when a simulator is selected, but before the recording actually starts.
When the simulation is started the sign will change to “Recording”.
The recording and later debriefing is solely controlled through the simulator; the debriefing will be shown on
the PC running Session Viewer.
7.4 Debriefing
7.5 Saving or printing the debriefing file
16
Page 17

8 Session Viewer used with the Patient Monitor
8.1 The setup
8.1.1 The LLEAP PC
8.1.2 The Session Viewer PC
8.2 Recording a session
8.3 Debriefing
8.4 Saving or printing the debriefing file
17
Page 18

9 Session Viewer used with SimPad
9.1 Opening the files
Open SimPad files from the home screen
9.2 Connect the SimPad
Session Viewer can read the simulation log files saved on a SimPad and show the Simulation Activity, with a
SimPad connected to the PC. The function in Session Viewer is the same as with other .ssx files, there is no
difference between .ssx files exported from SimView or log files from the SimPad.
Connect the SimPad to the PC and use the “Open folder to view files” option
Open the “Logs” folder
Figure 31
Figure 32
18
Page 19

Select the file you want to look at and double click; Session Viewer will then open and show the contents of
the file. If you do any editing you can either save the file as a new file or just update the original file.
9.3 Reviewing BLS result with Session Viewer
You can use Session Viewer to examine the BLS result made with the SimPad. You use the same method to
open the file as with normal SimPad files the previous chapter.
Figure 33 BLS result shown in Session Viewer
9.4 Viewing the opened files
By opening an .ssx file you can view the recordings and do debriefing, and edit the “Event log”.
Figure 34 Debrief window
You can use the timeline to skip forward and backward in the file, you can also jump to an event by clicking
in the event log. You can search in the event log and jump to the desired point by clicking the found event.
19
Page 20

9.4.1 Saving or printing the debriefing file
When you have added comments etc. to an opened debriefing file you will not be asked to provide a name if
you press “Save”, the original file will be overwritten. If you want to have both the original file and the one
with your additions you must use the “Save as” button and provide a folder and a name for the new file.
Figure 35 The Save, Save as, Print and Delete buttons.
Figure 36 Saving the debrief file
The print button give the possibility to print the “Event log”.
Figure 37 The print screen
20
Page 21

10 Troubleshooting
Q: I have added a microphone, but I do not get any sound recorded?
A: You may have to change the input modes clone setting default is clone from left, but your equipment may
only use the right input in the line-in plug, change to clone from right in input mode.
Q: I have added a USB camera, but I get the message “Device not found” instead of the video?
A: You may have moved the camera from one USB port to another port. In the setup window remove the
camera, and then add the USB camera again, then you will get video.
Q: I get the message: “Audio: Media source not ready”
A: If the microphone is a USB camera, it may have been move from one USB port to another port. See
above for a solution.
Q: My PC stopped working properly when I was in View & Setup?
A: Try stopping Session Viewer by clicking on the red X in the upper right corner, it may take some time
before you get the pop up window asking you if you want to stop, but wait and click yes. You should only
run Session Viewer on the PC no other programs, if you did not run other programs consider upgrading
your PC.
11 Index
Configuration, 6 SessionViewer PC requirements, 3
21
 Loading...