

Page 1
CRASH KELLY
Directions for Use
Page 2

Table of Contents
Laerdal Recommends 3
Items Included 4
Skills Taught 4
Head 4
Chest and Belly Plates 4
Injection Pads 5
Waist, Elbow, Knee and Ankle Joints 5
Arms 5
Legs 6
Intubation 6
Care and Maintenance 7
Replacement Parts 8
201-10001 Laerdal
2
Page 3

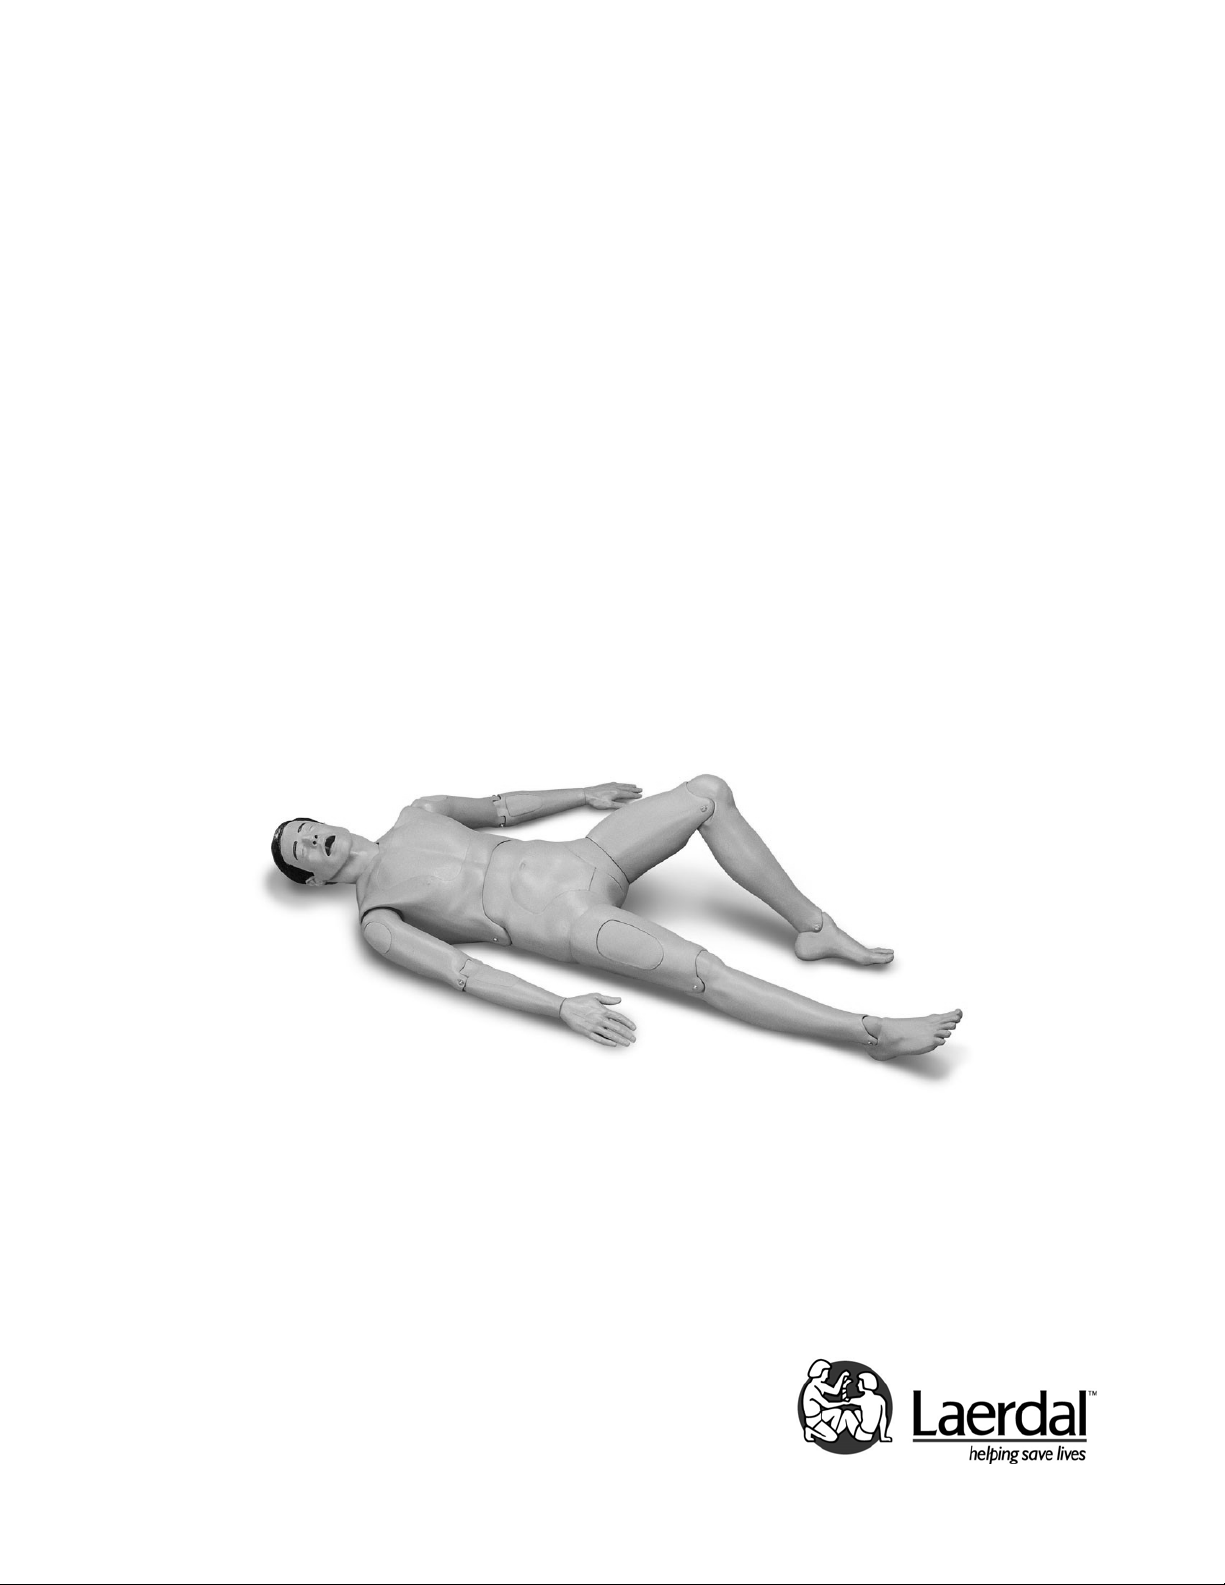
Crash Kelly (201-10001) is a life-like manikin
that realistically simulates a male patient. It is
specifically designed for training professionals in
the field of emergency care and transportation
of the sick and injured.
Quality manufacturing ensures longevity of this
trainer which should provide many sessions of
training when reasonable care and maintenance
is practiced.
Laerdal Recommends:
Endotracheal tube - Size 7.5 ID or smaller
10 ml syringe
Laryngoscope blade - Size #3 or #4, straight or curved
Laryngoscope handle
Manikin Lubricant or liquid soap
Instructor Notes:
201-10001 Laerdal
3
Page 4

Items Included:
(1) Full Body Manikin
(1) Silicone Spray Lubricant Kit
(1) Assembly Tool Kit
(1) Directions for Use
(1) Laerdal Global Warranty Booklet
Skills Taught:
• Oral intubation
• Nasal intubation
• Digital intubation
• EOA/PTL intubation
• Combitube® intubation
• Right mainstem intubation
• Oropharyngeal and nasopharyngeal airway
insertion
• Bag/Valve Mask
• Suctioning techniques
• Carotid pulse palpation
• Extrication
• Basic patient handling
Preparing Manikin for Use:
Head:
Head is connected to torso with a long bolt located at base
of neck, secured with a wing nut.
To remove:
1. Remove chest plate from manikin.
2. Lift esophagus and trachea out of way.
3. Detach stomach reservoir.
4. Remove wing nut.
Head will now slip out of torso.
Chest and Belly Plates:
Chest and belly plates fit into torso by a ledge on plate and
corresponding groove on torso cavity.
To remove:
1. Apply pressure to center of plate.
2. Working your fingers under edge of plate while lifting.
201-10001 Laerdal
4
Page 5

j
p
To insert:
1. Position plate over cavity.
2. Work edges into groove on torso cavity.
Injection Pads:
Injection pads are inserted and removed by squeezing with
fingers.
Waist, Elbow, Knee and Ankle Joints:
A bolt and lock nut connect these joints.
To remove:
1. Unscrew lock nut.
2. Pull bolt out of joint.
The segments will now
easily disconnect.
Laerdal Recommends
When assembled, talcum
powder should be used in
oints to assist articulation.
Arms:
Arms are attached by a 4 ½ inches long bolt,
three washers, a spring and a wing nut.
To attach:
1. Remove chest plate from
manikin to locate hole in
shoulder.
2. Remove deltoid injection
Attachment hardware is
located in envelo
pad from arm.
3. Slide washer over bolt.
4. Insert bolt through hole in arm and then through hole in
manikin’s shoulder.
5. Slide one washer, spring, second washer and wing nut
over bolt.
6. Use a screwdriver to hold bolt steady while tightening
the wing nut. (See Fig. 1)
To remove arms,
reverse procedure.
Fig. 1
Laerdal Recommends
e in box.
201-10001 Laerdal
5
Page 6

Legs:
A 6 inches long bolt, a spring, a large washer, a small washer
and a wing nut attach legs.
To attach:
1. Remove belly plate from manikin.
2. Locate hole in hip.
3. Remove thigh injection pad.
4. Slide spring and then small washer over bolt.
5. Insert bolt through hole in pelvis.
6. Slide large washer and then wing nut over bolt.
7. Use a screwdriver to drive bolt into wing nut. (Fig. 2)
To remove legs, reverse procedure.
Fig. 2
Instructions for Use:
Intubation:
For intubation, MPL recommends:
a. Endotracheal tube size 7.5 ID or smaller
b. Silicone spray or liquid soap
c. 10 ml syringe
d. Laryngoscope blade, sizes #3 or #4 straight or
curved blade
e. Laryngoscope handle
Laerdal Recommends
Intubation tubes and airway passages should be sprayed
with Manikin Lubricant or lubricated with liquid soap prior
to intubation.
201-10001 Laerdal
6
Page 7

Care and Maintenance:
1. Clean with mild soap and water; do not submerse
manikin or parts in cleaning fluids or water.
2. Use only on clean surface. Avoid felt tipped markers, ink
pens, acetone, iodine or other staining products and
avoid placing the manikin on newsprint or inked lines of
any kind.
3. To ensure longevity, each manikin should be cleaned
after each training session and a general inspection
should be conducted regularly.
4. Modules and all other parts should be drained and air
dried thoroughly before storage and disinfected when
needed. After use of injection pads (use water only),
accumulated water should be squeezed out. Do not
store wet foam pads in the skin. To prevent mildew
or mold, pads can be soaked in a mild solution of
disinfectant and water or bleach and water. Squeeze
excess solution from pads, allow them to dry, then store
or reinsert in manikin.
5. Articulating parts will benefit from a light application of
talcum powder prior to training sessions.
6. Store properly between teaching sessions.
201-10001 Laerdal
7
Page 8

REPLACEMENT PARTS:
Product Number: Description:
380460 Genitalia, Blank-Adult
Male
380475 Pin, Pelvis
380600 Leg Assembly, Left
Adult
380650 Leg Assembly, Right
Adult
380800 Arm Assembly, Left
Plain Adult
380801 Hand, Left Adult Male
381401 Arm, Upper Right
Adult Male
381402 Pad Assembly, Deltoid
Injection Adult
101-10150 Belly plate, Hospital Adult Plain
201-00150 Head Assembly, Adult
Male-Intubation
w/Lungs
201-00250 Torso, Adult Male Hospital Full Cut
300-00150 Pad Assembly, Thigh
Injection Adult
300-00250 Pad Assembly,
Ventrogluteal Injection
Adult Male
300-00350 Pad Assembly, Gluteal
Injection Adult Male
300-00650 Lubricant
300-00950 Adult Denture Set,
Upper/Lower
300-01350 Reservoir Assembly,
Stomach-Hosp Adult
Male
300-01450 Pelvis, Adult Male Hospital w/o Bridge
300-01550 Lung Bag Assembly
300-01850 Teeth, Upper-Adult
300-01950 Teeth, Lower-Adult
300-02350 Forearm, Right Adult
Male
201-10001 Laerdal
8
Page 9

300-02450 Pad, Forearm Right
Non-Injection Adult
Male
300-02550 Hand, Right Adult Male
300-02650 Arm, Upper Left Adult
Male
300-02750 Forearm, Left Adult
Male
300-02850 Pad, Forearm Left
Non-Injection Adult
Male
300-02950 Thigh, Right Adult
300-03050 Leg, Lower Right Adult
300-03150 Foot, Right Adult
300-03250 Thigh, Left Adult
300-03350 Leg, Lower Left Adult
300-03450 Foot, Left Adult
300-04250 Hardware Set, Adult
Manikin-Legs/Arms to
Body
300-04350 Hardware Set, Adult
Manikin-Pelvis/Torso
300-05150 Arm Assembly, Right
Plain Adult
300-10250 Chest plate, Hospital
Plain Adult Male
Please contact Customer Service Representatives for more
information on Replacement Parts in other skin tones.
201-10001 Laerdal
9
Page 10

© Laerdal Medical, Gatesville TX. All rights reserved
1001605 rev C
 Loading...