

La Crosse 616-1908v2 Quick Setup Manual
Model: 616-1908 www.lacrossetechnology.com/support Page | 1
Model: 616-1908v2
Quick Setup Guide
DC: 052715
Projection Time Alarm
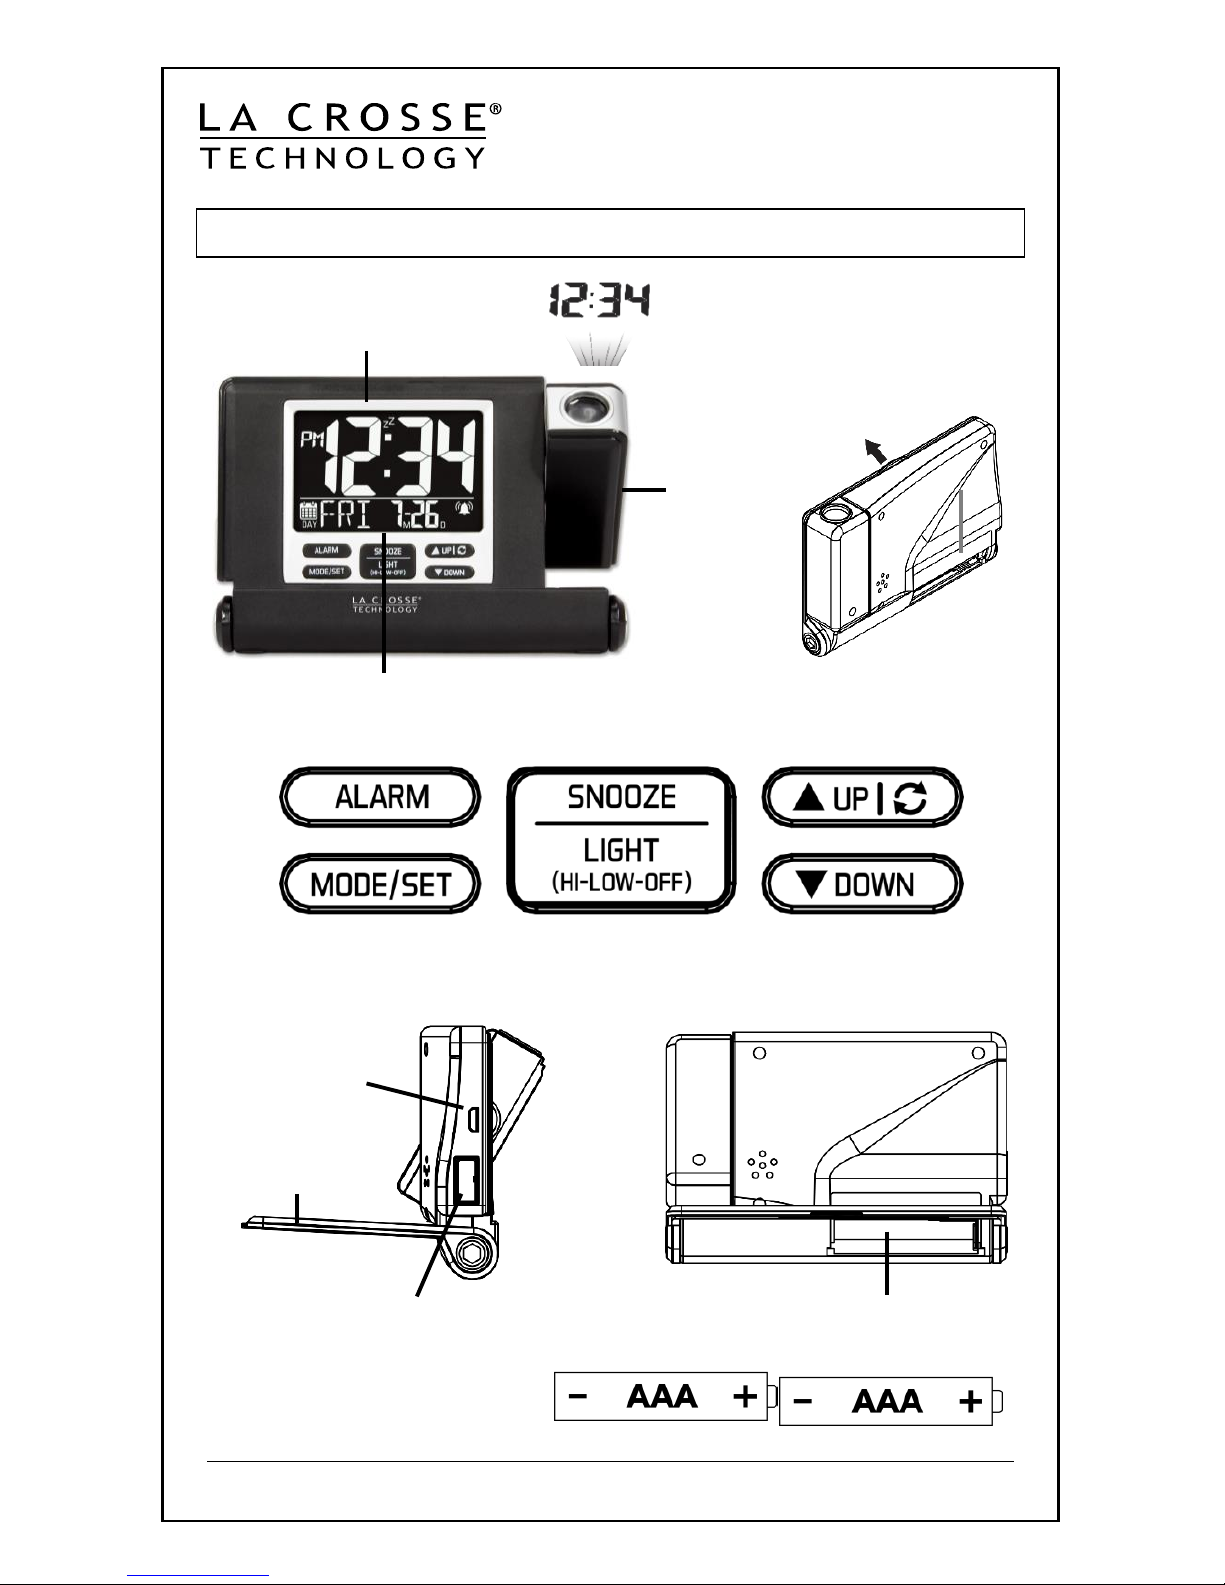
BUTTONS
Time
Calendar or
Alarm Time
Projection
Arm
Adjustable
FRONT
Foldout
Stand Open
Clock cover closed
Pull firmly to open.
Battery compartment
2-“AAA” batteries
Standard USB
for charging
mobile devices
Micro-USB port
to operate clock
Model: 616-1908 www.lacrossetechnology.com/support Page | 2
GET STARTED
Step 1: With the cover/stand closed, insert two AAA batteries (not
included) into the back of projection alarm. Observe correct
polarity.
Step 2: Looking at the top of the clock, firmly pull the cover/stand
open to view the clock.
Step 3: Optional Micro-USB power cord (included) for constant,
adjustable backlight and projection. Insert the Micro-USB end
of the cord into the clock and the USB end into your computer
USB port or a USB outlet.
Restart: Unplug the Micro-USB cord and remove batteries from the
projection alarm, press a button 20 times. After 15 minutes, return to
Step 1 above.
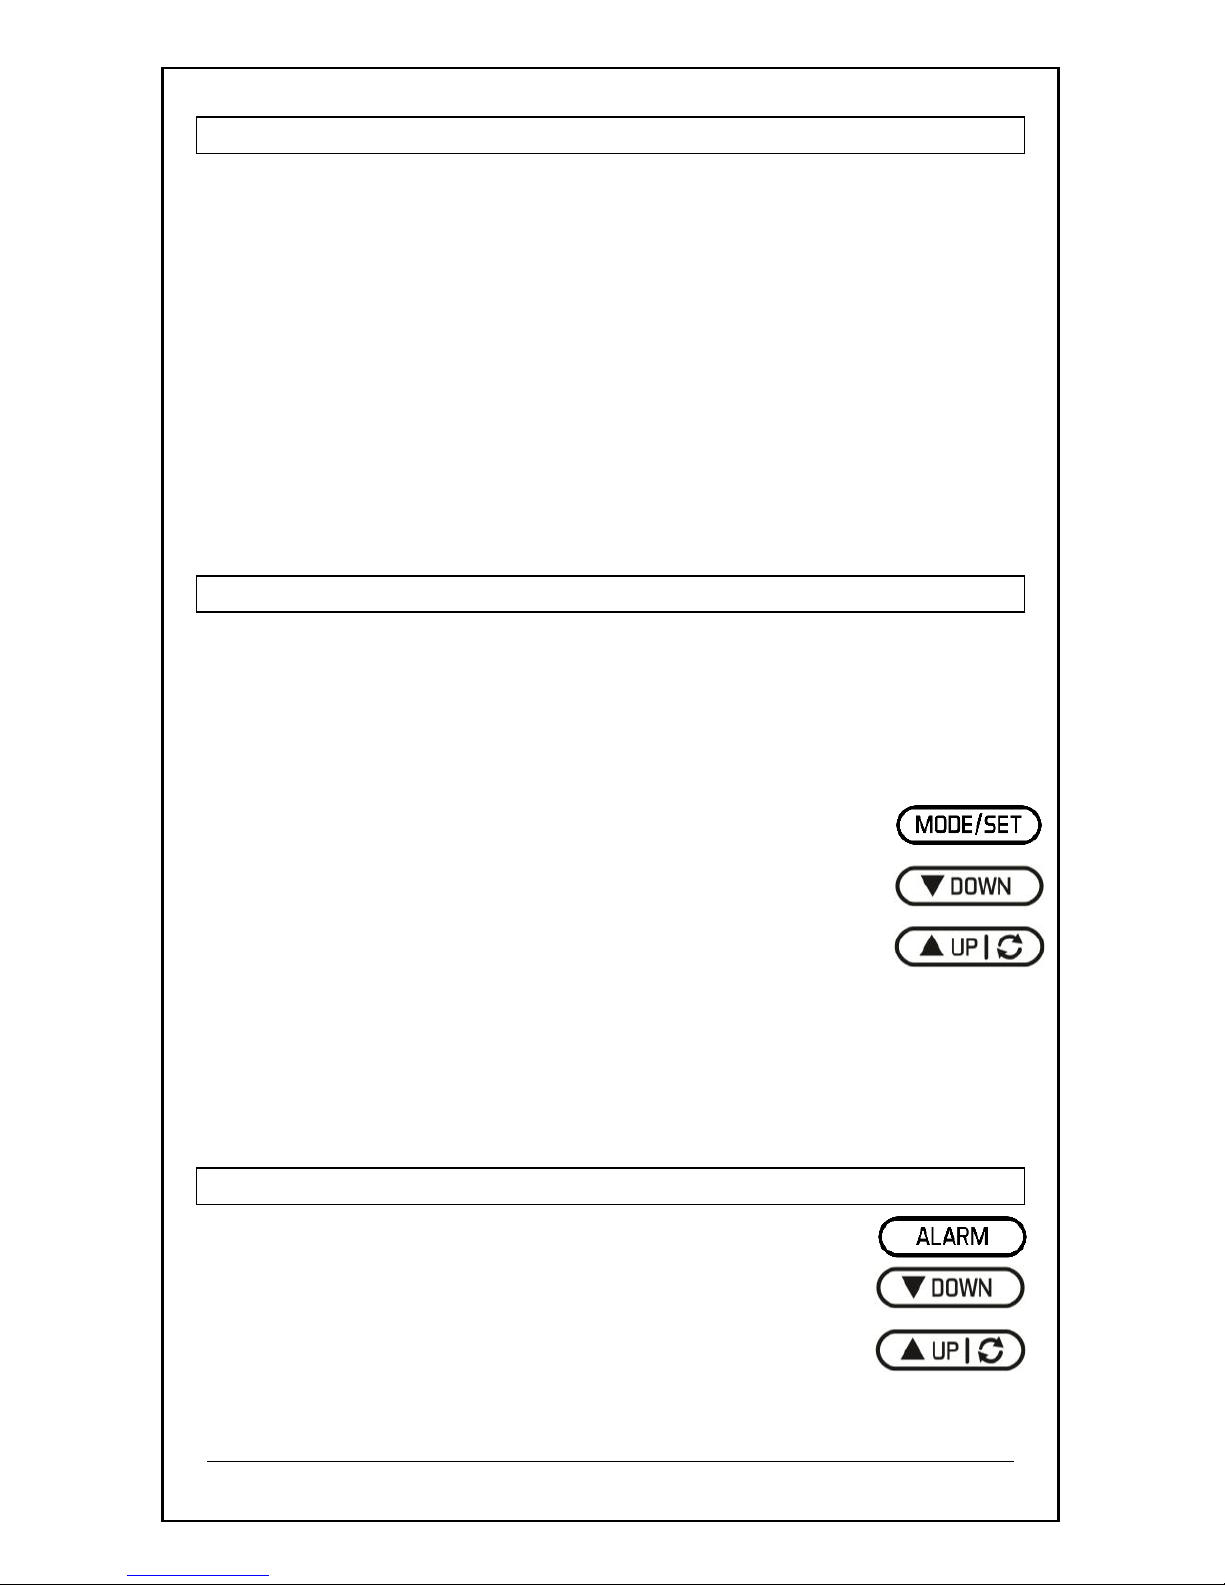
SET TIME AND DATE
1. Hold the MODE/SET button five seconds, to enter time set mode.
2. Use the ▲UP or ▼ DOWN buttons to adjust values.
Press and hold those buttons for fast adjustment.
3. Press the MODE/SET button to confirm adjustments and move to
the next item.
Time and Date setting order:
1. 12/24 Hour Time Format
2. Hour
3. Minutes
4. Year
5. Month
6. Date
Note: Day of the week sets automatically when year, month and date
are set.
Press the MODE/SET button to exit, or wait 20 seconds without
pressing buttons to return to the normal time display.
SET TIME ALARM
1. Press the ALARM button to view the alarm time.
2. In alarm mode, hold the ALARM button to enter
alarm time set mode.
3. Use the ▲UP or ▼ DOWN buttons to adjust
values.
 Loading...