

La Crosse 308-807 Quick Setup Manual

1
2
INSTANT TRANSMISSION is the state-
n
immediate update of all the outdoor data
measured from the transmitters: follow the
This product offers:
WIRELESS PROFESSIONAL COLOR WEATHER
STATION & PHOTO ALBUM WITH 7” TFT SCREEN
Model 308-807
Quick Setup Guide
INVENTORY OF CONTENTS
1. Wireless Display
2. IR Remote Control (98-W2329-000)
3. A/C adapter cord 5-Volt.
4. Wireless Wind/Thermohygro transmitter (W132-Q)
5. Wireless Rain Gauge (W174-Q)
of-the-art new wireless transmission
technology, exclusively designed and
developed by La Crosse Technology®.
INSTANT TRANSMISSION offers you a
climatic variations in real-time!

3
4
FEATURES:
x Time display in 12/24 hour time format
x Manual set time and date.
x Time alarm.
x Calendar display (date, month, year)
x Moon phase with 8 displays.
x 5 weather icons (sunny, partly cloudy. cloudy, rainy & stormy).
x Temperature display in °F/°C: from -4 °F to +140 °F
x Humidity display in RH%: from 20% to 99%
x Relative air pressure reading in inHg/hPa:
x 6-hour pressure history graph
x Wind speed and wind gust displayed in mph, km/h, m/s, and
knots: 0 to 67 mph
x Wind chill in °F/°C: from -4 °F to +140 °F
x Wind speed & direction with LCD compass display (16 steps)
x Rainfall display in inch/mm: from 0” to 393.6”
x Rainfall: total rain, last 24h, last week, last month
x Memory: Supports USB flash drive (up to 32GB), SD & MMC
cards (up to 32GB)
INITIAL SETUP:
x WIRELESS DISPLAY:
Plug in the 5.0V adapter into the adapter socket on the right for
basic operation.
x IR REMOTE CONTROL:
Pull out the battery insulation sheet from the bottom of the IR
remote control.
x PHOTOS:
Save photos (Jpeg) to a USB flash drive, SD (secure digital) or
MMC (multi media card) memory cards.
Insert memory device into the wireless display.
x WIND/THERMOHYGRO SENSOR:
Select a mounting location within range of the wireless display.
Calibrate the direction of the wind: Hold the wind vane pointing
due north and do not allow it to turn.
Insert 2-AA batteries according to the polarity indicated. The red
LED indicator above the battery cover of the anemometer will
flash few times right after battery installation.
x RAIN GAUGE:
Select a mounting location within range of the wireless display.
Lift the rain gauge cover off its base. Then carefully remove the
packing tape from the bucket assembly.
Open battery cover and insert 2-AA batteries according to the
polarity indicated. Close the battery cover. Replace & lock the
rain gauge cover on the base.
x SEARCH FOR SENSORS:
Go to the wireless display and enter SET UP mode. Scroll down
to WIRELESS SENSOR RECEPTION and select SEARCH NOW
5
then exit. The wireless display will search for all remote sensors.
6
If remote sensors are not displayed after 2 minutes, move the
remote sensors closer and search again.
x With display working and reading sensors use the button on the
remote control to view weather and/or photos.
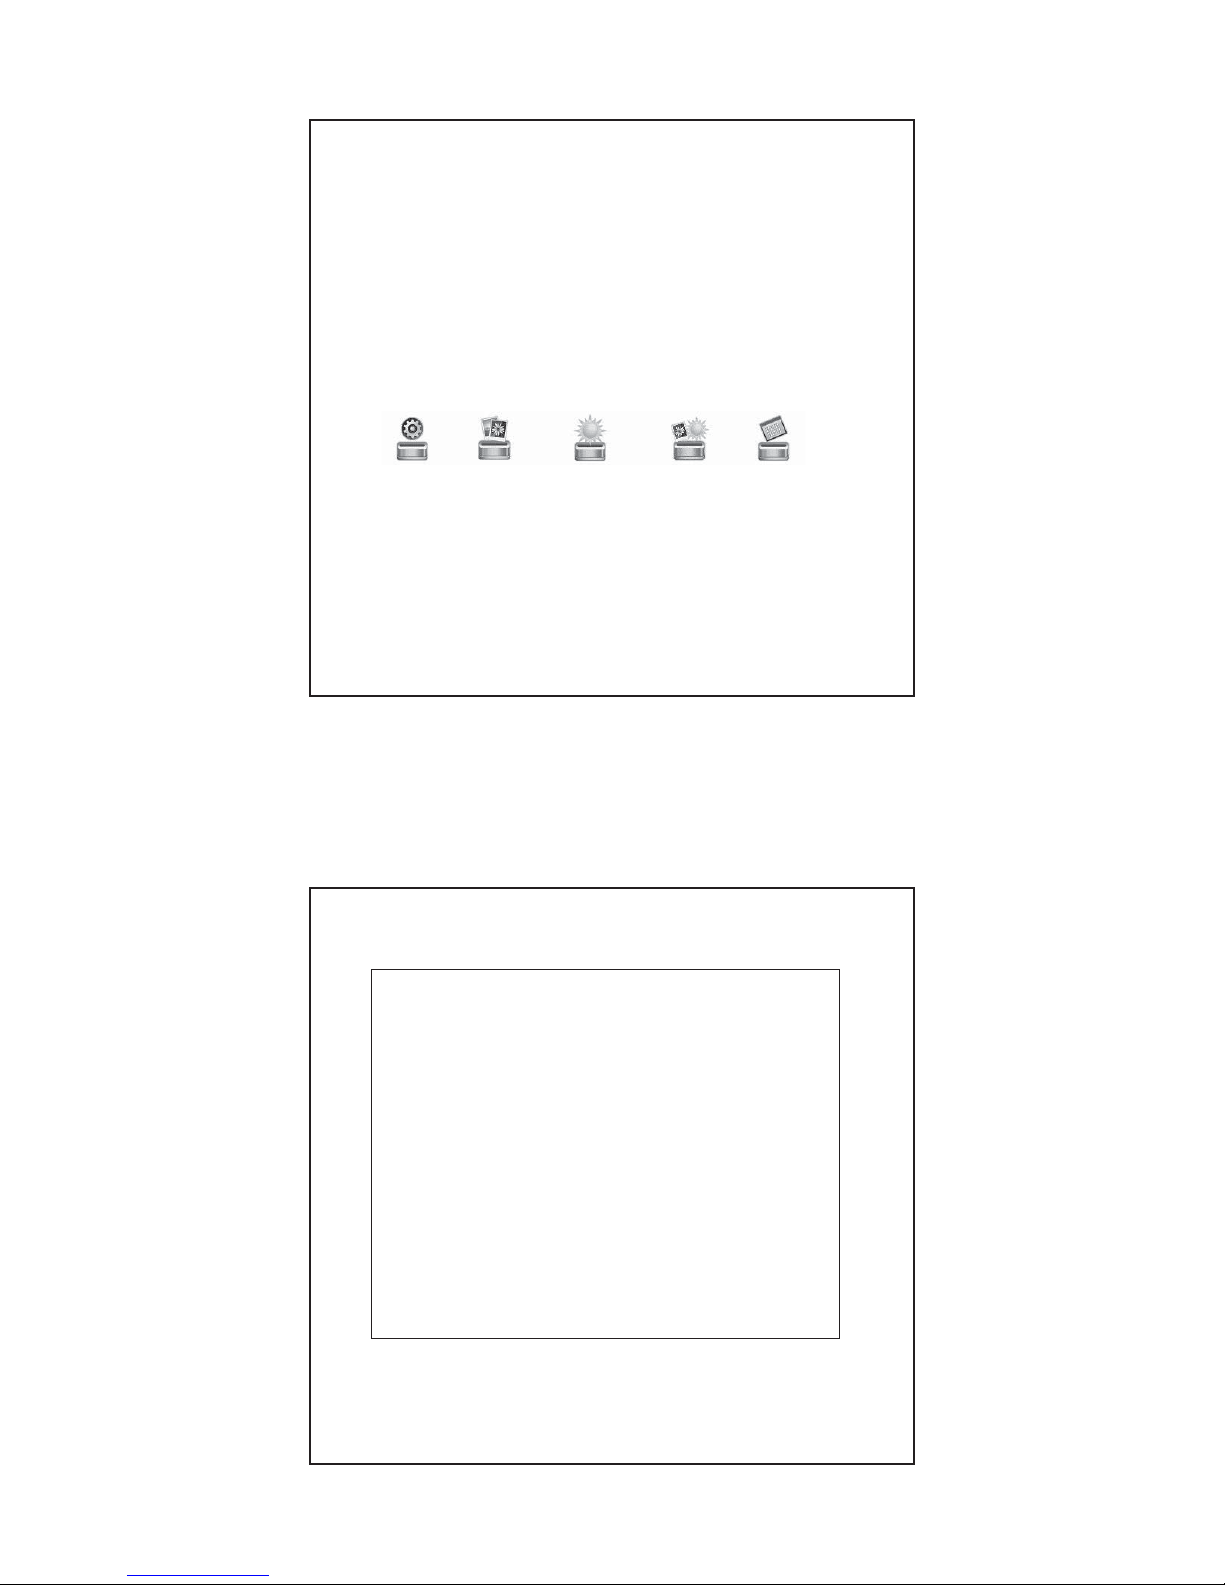
DISPLAY MODES:
There are 5 display modes in the menu selection. Use the buttons
on the wireless display or on the IR remote control to access the
different display modes.
Press LEFT ARROW button or RIGHT ARROW button to select,
and then press ENTER to enter the selected display mode.
SETUP PHOTO WE ATHER WEATHER CALENDAR
& PHOTO
SETUP MODE:
There are three screens of setup information. Press the UP ARROW
or DOWN ARROW buttons to move through each screen and select
an item to set. Press the RIGHT ARROW to select the value to
change. Press ENTER to confirm each setting before moving to
the next.
Screen one:
Language: Select between English, Dutch & French
Slideshow Time: Select between 3s, 5s, 15s, 1 min, 15 min & 1 hour
for photo slideshow mode
Transition Effect: Select the transition effect of the photo slideshow mode.
Chose from: Random, Fading, Expand Top, Expand Bottom, Expand Middle,
Off, Bottom to Top, Top to Bottom, Left to Right, Right to Left, Door Close, Door
Open, Horizontal and Vertical.
Photo repeat mode: Select between random, manual or repeat all, for the
photo slideshow mode
Display mode: Select the photo display mode (cinema, stretch, crop)
On/Off Timer 1 - On: Adjust the first automatic power on time in HH:MM;
enable or disable
On/Off Timer 1 - Off: Adjust the first automatic power off time in HH:MM;
enable or disable
On/Off Timer 2 - On: Adjust the second automatic power on time in HH:MM;
enable or disable
On/Off Timer 2 - Off: Adjust the second automatic power off time in HH:MM;
enable or disable.
Power saving option: select when to turn on or off the wireless display
automatically throughout the day using the On/Off timer 1 or 2.
Brightness: Select the brightness of the display from level 1 to 16

7
Screen two:
8
Contrast: Select the contrast of the display from level 1 to 16
Saturation: Select the saturation of the display from level 1 to 16
Radio-Controlled Reception: (This function is not available for this unit.
Please keep this setting to “Off”)
Time Zone: (This function is not available for this unit. Please keep this
setting to “Ohr”)
Time/Date: Adjust: Year, Month, Date, Hour, Minute
Calendar Display Format: Select between Day/Month or Month/Day display
Time Format: Select between 24or 12-hour formats
Alarm: Adjust the alarm time and enable/disable the alarm
Wireless Sensor Reception: Automatic – default RF reception mode
Search now – Search for remote sensor
Temperature Unit: Select between degree C & F for temperature
Screen three:
Weather Forecast: Select between sunny, partly cloudy, cloudy, rainy & stormy
Rainfall unit: Select between mm & inch
Wind unit: Select between m/s, knots, mph & km/h
Sea Level Pressure: Adjust the sea level pressure for your local area see chart
below. Pressure must be set in hPa but can be displayed in inHg.
Pressure Unit: Select pressure unit between hPa, mmHg, inHg or mb
Remote Channel Display: Automatic – Show indoor and the channel(s) being
registered
Indoor & Channel 1 only – Shows only channel 1 reading only
Indoor & Channel 2 only – Shows only channel 2 reading only
Indoor & Channel 3 only – Shows only channel 3 reading only
NOTE: Channel 1 is the Wind/Thermohygro sensor. Channels 2 & 3 are only
available if extra Thermohygro sensors were purchased. Extra sensors may not
be available at this time.
Clear All Rainfall Record Now: Yes / No (clears hourly, daily, weekly, monthly
and total rain)
Default Setting: Yes / No (All settings default back to set up).
S/W Version: Software version (not upgradeable)
Air pressure is adjusted in the set up menu in hPa (hectopascal).
Please use this conversion chart to set the relative pressure.
Pressure can be displayed in inHg (inches of mercury), but needs to
be set in hPa.
 Loading...