

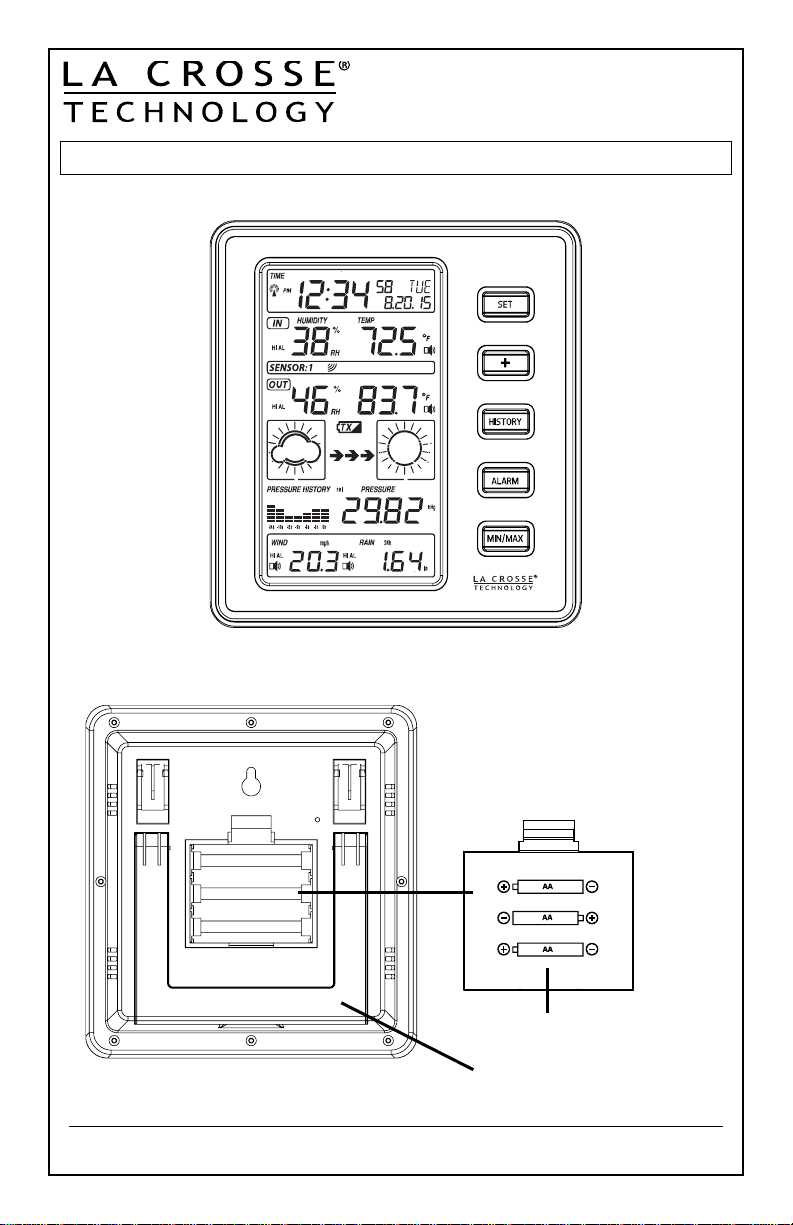
La Crosse 308-2316 Quick Setup Manual
Weather
Station
Model: 308-2316
Battery Cover
Stand
Quick Setup Guide
DC: 070716
PROFESSIONAL WEATHER STATION
Model: 308-2316 www.lacrossetechnology.com/support Page | 1

Battery Cover
Showerproof casing for
Thermo-Hygro sensor
Wind Speed Sensor TX231W
Rain Sensor TX231R
U-Bolts
(Included)
Connection Ports
Pole (NOT INCLUDED)
Thermo-Hygro TX231TH
Get Started
Model: 308-2316 www.lacrossetechnology.com/support Page | 2
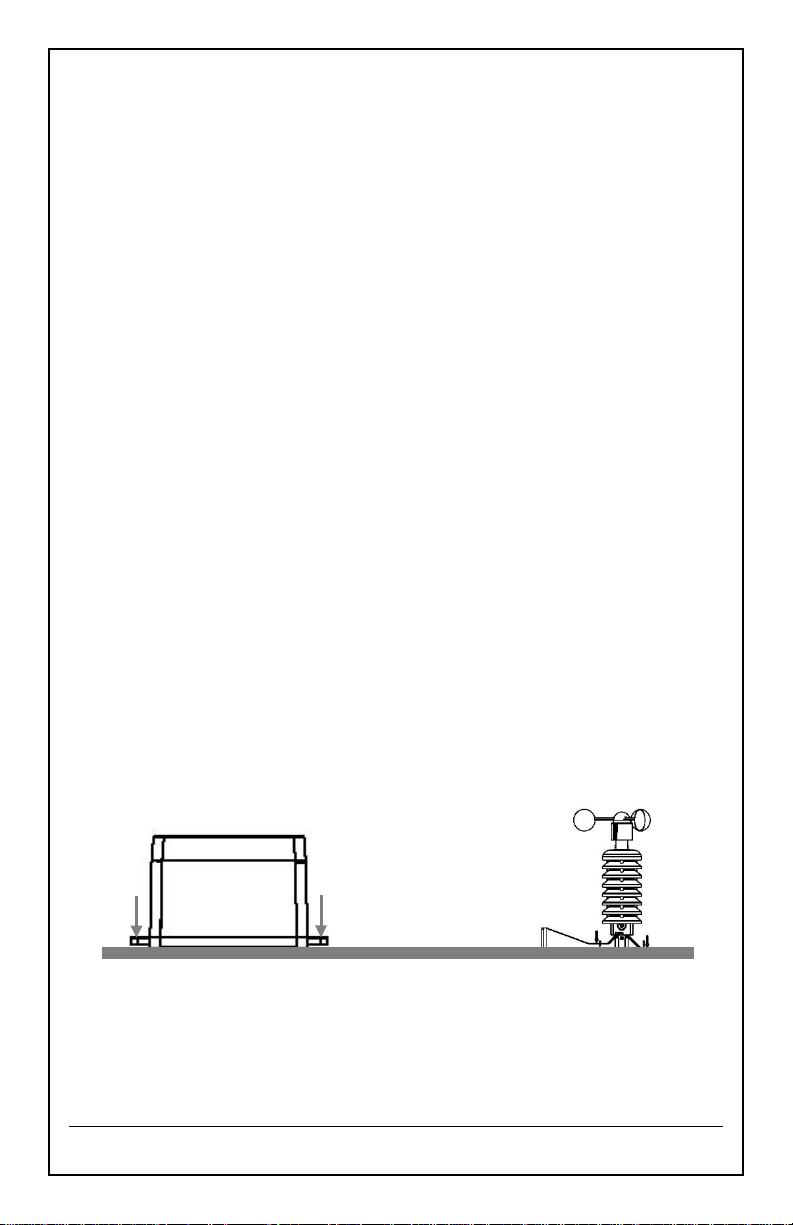
1. Place all sensors and the weather station 5-10 feet apart.
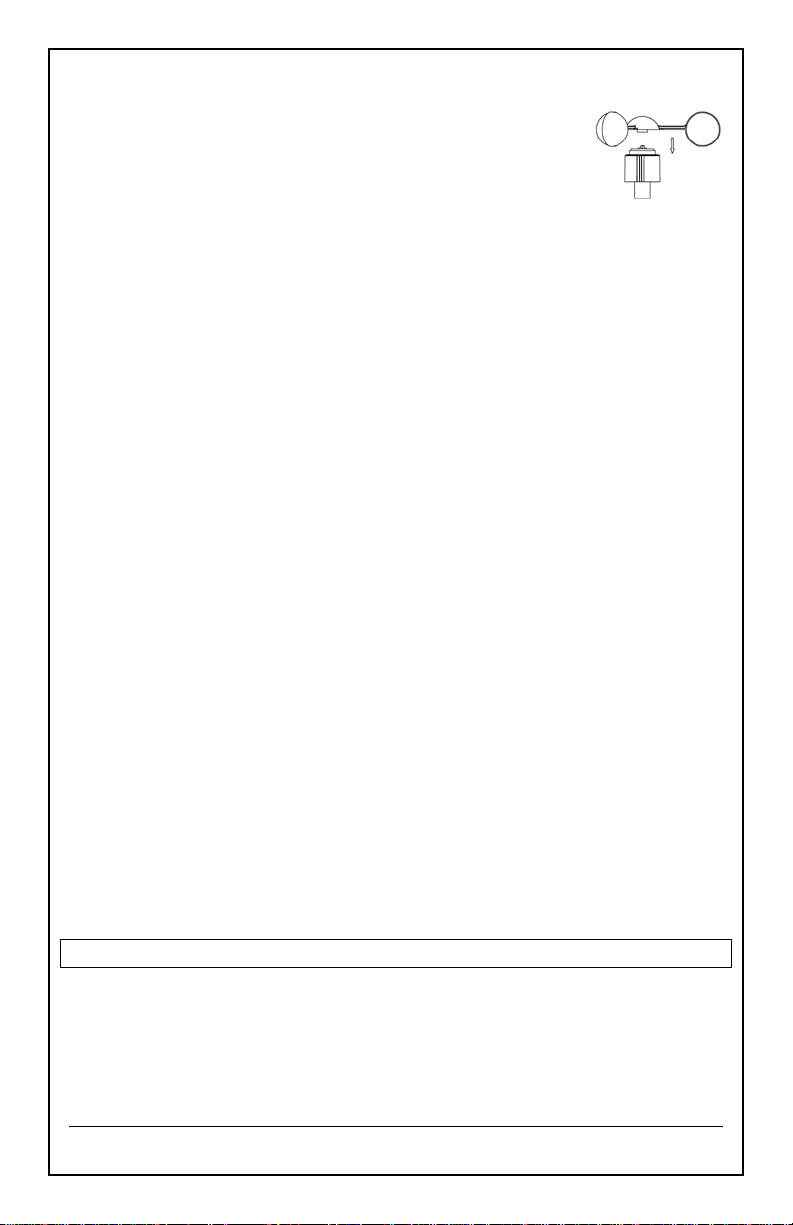
2. Push the wind cups onto the base. Spin the
wind cups. If the wind cups spin freely and can hear
the slight sound of rolling bearing rotate, the
anemometer is ready and can be installation.
3. Remove the wind speed sensor/showerproof casing from the
thermo-hygro sensor to reveal the two ports (for the wind sensor
and rain sensor)
4. Connect the attached cables of wind and rain sensors to the
correct ports of the thermo-hygro sensor. The cords should click into
place. Double-check the rain and wind cords are in the correct port.
5. Insert 3 x AA, 1.5V Alkaline batteries into the back of the weather
station. Observe the correct polarity.
6. Open the battery cover of the thermo-hygro sensor located
below the two ports and insert 2 x AA, 1.5V Alkaline batteries.
7. Observe the correct polarity. The red LED will light up for 4 seconds.
8. Do not press buttons or move the sensors or weather station for
at least 10 minutes to avoid signal interruption.
WWVB Signal Search: The thermo-hygro sensor will transmit weather
data within the first 24 seconds. Then, the sensor will start radio
controlled time (WWVB) reception. During the time reception period
(max imum 5 minutes), no weather data will be transmitted. The LED
indicator will be blink 5 times once WWVB signal is received. Weather
data will be sent again once the WWVB search finished. If the WWVB
time signal is not received, the thermo-hygro sensor will search every 2
hours until it is receive d. Weather data will be transmitted when not in
search mode.
For information about WWVB visit:
www.nist.gov/pml/div688/grp40/wwvb.cfm
Restart: If there is no outdoor temperature or wind data after 10 minutes, remove batteries from the weather station & outdoor sensor and press a button 20 times. After 15 minutes, return to Step 1 above.
Sensor Assembly and Placement
The Wind speed/ Thermo-hygro sensor and the rain sensor may be
mounted on a pole (not included) with the U-bolts (included) or mounted
on a flat surface.
Mount on a Pole:
Model: 308-2316 www.lacrossetechnology.com/support Page | 3
1. Select a pole (not included) on which to mount the sensors. The pole
should not be more that 0.75 inches in diameter.
2. Firmly place the bottom of the thermo-hygro sensor into the plastic
mounting bracket. Use a short bolt and nut to secure in place. Do not
over tighten.
3. Check the wind and rain cord are secured to the correct ports. Slide
the wind speed sensor and shower proof cover over the thermohygro sensor. Careful, it will only go on if the insides slots are align
with the corner of the Thermo-Hygro sensor.
4. Attach the rain sensor to the plastic mounting bracket and secure
with a long set screw. Do not over tighten.
5. Attach the rain sensor mounting bracket to the pole with the included
U-bolts. Do not over tighten.
Note: Attach the rain sensor lower than the wind/TH sensor so that
rain water does not follow the cord into the port of the TH sensor.
6. Attach the wind speed/thermo-hygro sensor mounting bracket to the
wooden pole with the included U-bolts. Do not over tighten.
Mount on a Flat Surface:
1. Firmly place the bottom of the thermo-hygro sensor into the plastic
mounting bracket. Use a short bolt and nut to secure in place. Do not
over tighten.
2. Check the wind and rain cord are secured to the correct ports. Slide
the wind speed sensor and shower proof cover over the thermohygro sensor.
3. Place two screws through the plastic mounting bracket to secure to a
flat surface. Do not over tighten.
4. Place two screws through the rain gauge to secure to a flat surface.
Do not over tighten the screws. Use the bubble level on the top of
the rain sensor to be sure it is level.
Note: The plastic mounting bracket is not used for the rain sensor
when mounting on a flat surface.
Placement:
1. Place the sensors in an open area at least 6 feet above ground.
2. Avoid obstructions that will block wind and rain. Allow a 50 foot
clearance or more from tall buildings, trees etc. When the sensors
are installed next to a tall building, the wind and rain will not be
accurate.
Model: 308-2316 www.lacrossetechnology.com/support Page | 4
 Loading...