


Rikiki USB 2.0 Hard Drive User Manual 1
RIKIKI USB 2.0 HARD DRIVE USER MANUAL
CLICK HERE TO ACCESS UP-TO-DATE ONLINE VERSION
of this document for the most recent content as well as for features such as expandable
illustrations, easier navigation, and search capability.
Rikiki USB 2.0 Hard Drive User Manual 2
INTRODUCTION
Building on over a decade of design excellence, LaCie has created a new
line of drives that are timeless and crafted to blend sharp design with
high-technology. These latest drives are performance-based solutions
that will power you through your specific applications.
Perfect for storage on the go, the LaCie Rikiki is small in size but large in capacity. Carry it with you when
moving important data or use the Rikiki at home knowing it requires very little room on your desk. Secure and
stable, the LaCie Rikiki is an ideal way to add space to your computer; you can divide the drive into specific
spaces (partitions) for different parts of your data, or leave it alone and simply use it as one big volume.
These pages will guide you through the process of connecting your LaCie product and will explain its features. If
this manual doesn't answer your questions or if you are having trouble, consult the Getting Help page.
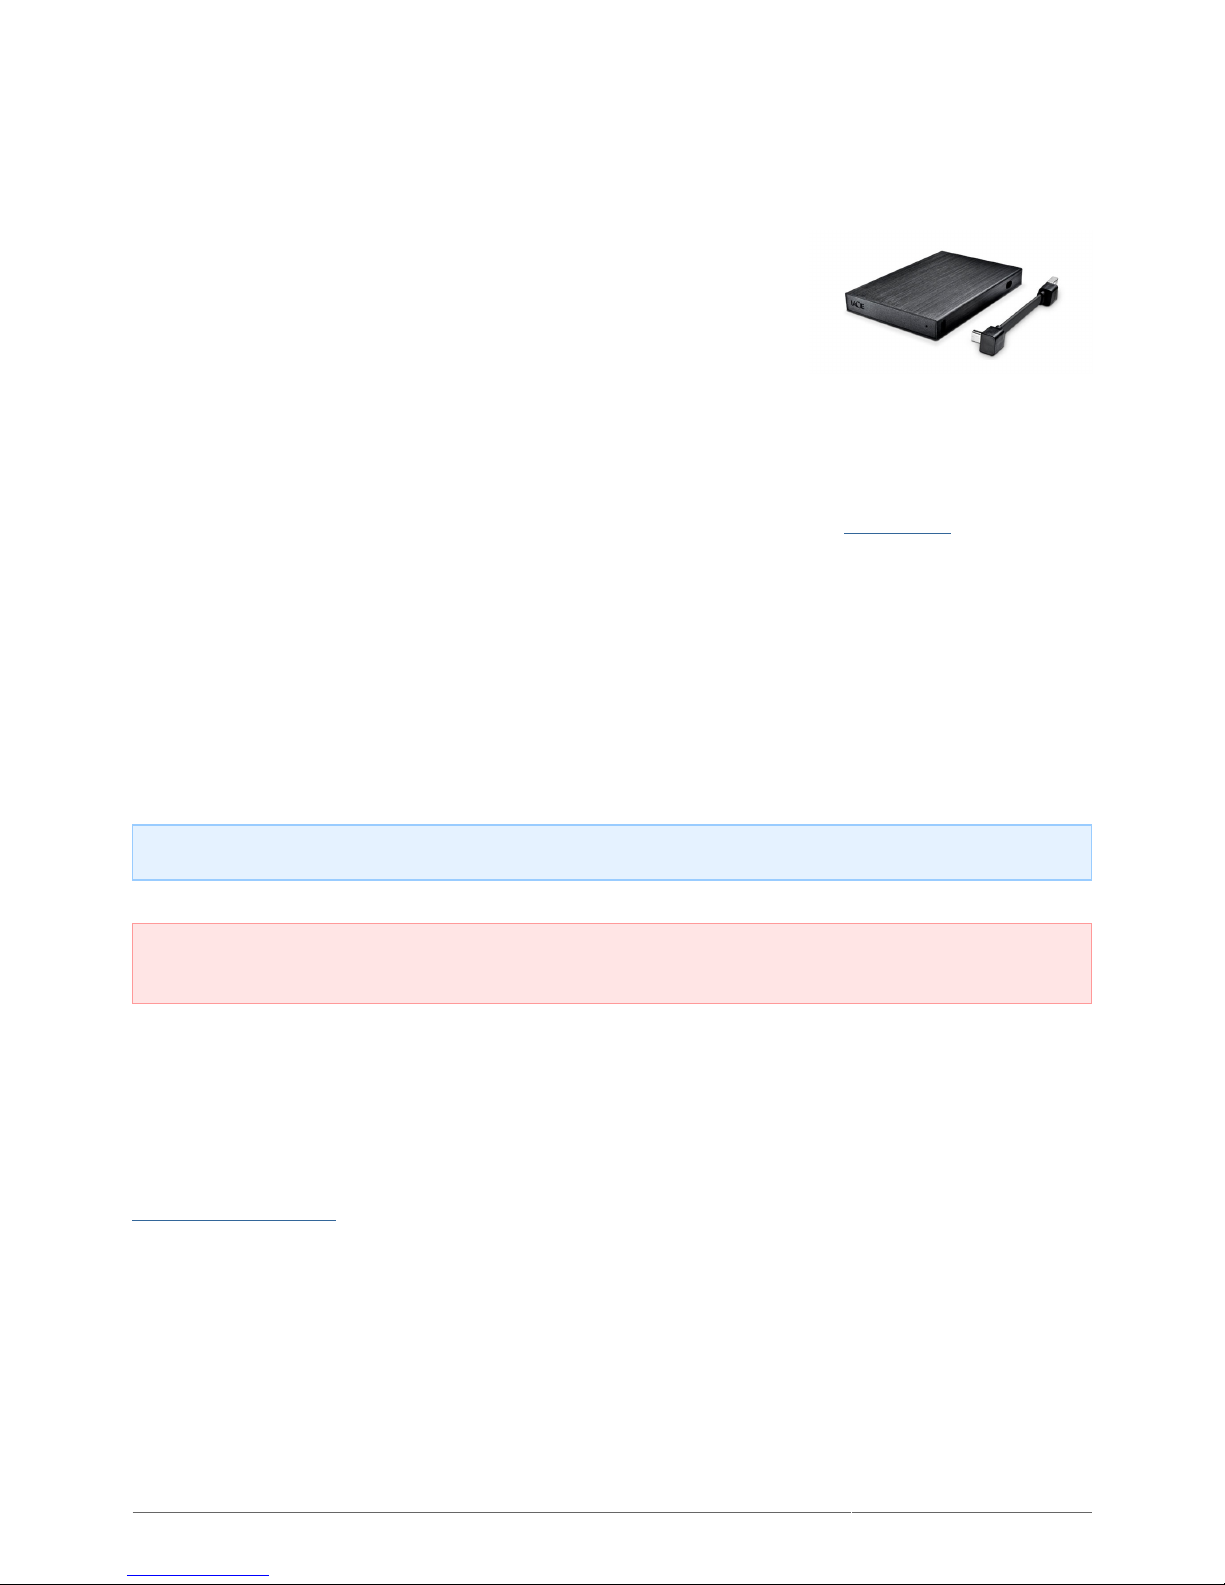
BOX CONTENT
Your box contains the following:
LaCie Rikiki USB 2.0 hard disk
■
USB 2.0 cable
■
Quick Install Guide (printed on packaging)
■
Note: A PDF of this User Manual and software utilities are pre-loaded on the drive.
Important info: Please save your packaging. In the event that the drive should need to be repaired or
serviced, it must be returned in its original packaging.
MINIMUM SYSTEM REQUIREMENTS
Your system must meet certain requirements in order for your LaCie product to function properly. For a list of
these requirements, please refer to the product packaging or consult the product support web page at
www.lacie.com/support/.
STATUS LIGHT INFORMATION
Your hard drive features a status light, which will indicate certain disk behaviors. Refer to the chart below for
details.

Rikiki USB 2.0 Hard Drive User Manual 3
Light Behavior Status
On, Steady Drive is on
Flickering Data access
Off Drive is off

Rikiki USB 2.0 Hard Drive User Manual 4
CABLES AND CONNECTORS
USB 2.0
USB is a serial input/output technology for connecting peripheral devices to a computer or to each other.
Hi-Speed USB 2.0 is the second-to-latest implementation of this standard, and it provides the necessary
bandwidth and data transfer rates to support high speed devices such as hard drives, CD/DVD drives and digital
cameras.
Your LaCie product is shipped with a Hi-Speed USB 2.0 cable to ensure maximum data transfer performance
when connected to a Hi-Speed USB 2.0 port. The cable will also work when connected to a USB 1.1 port, but
performance will be limited to USB 1.1 transfer rates.
Connector Face
(to computer)
Cable End
(to computer)
Cable End
(to product)
Connector Face
(to product)

Rikiki USB 2.0 Hard Drive User Manual 5
USB-Y CABLE
In the event that the USB bus on your computer does not provide the necessary power to operate your mobile
LaCie hard disk, you can connect a USB-Y cable to the drive and to your computer's USB 2.0 ports to ensure
adequate power. If a USB-Y cable is not included in the packaging, you can purchase one from
www.lacie.com/accessories/.
Connector Face
(to Computer)
Cable End
(to Computer)
Cable End
(to Hard Drive)
Connector Face
(to Hard Drive)
Power
Data
Attach the single connector end of the USB-Y cable to the back of your LaCie drive.1.
Attach the double connector end of the USB-Y cable to two USB ports on your computer.2.
Rikiki USB 2.0 Hard Drive User Manual 6
GETTING CONNECTED
Installing your LaCie hard drive is easy for all users thanks to LaCie Setup Assistant. Please follow the setup
steps in the order they are given to ensure that your LaCie hard drive's volume mounts correctly on your
computer.
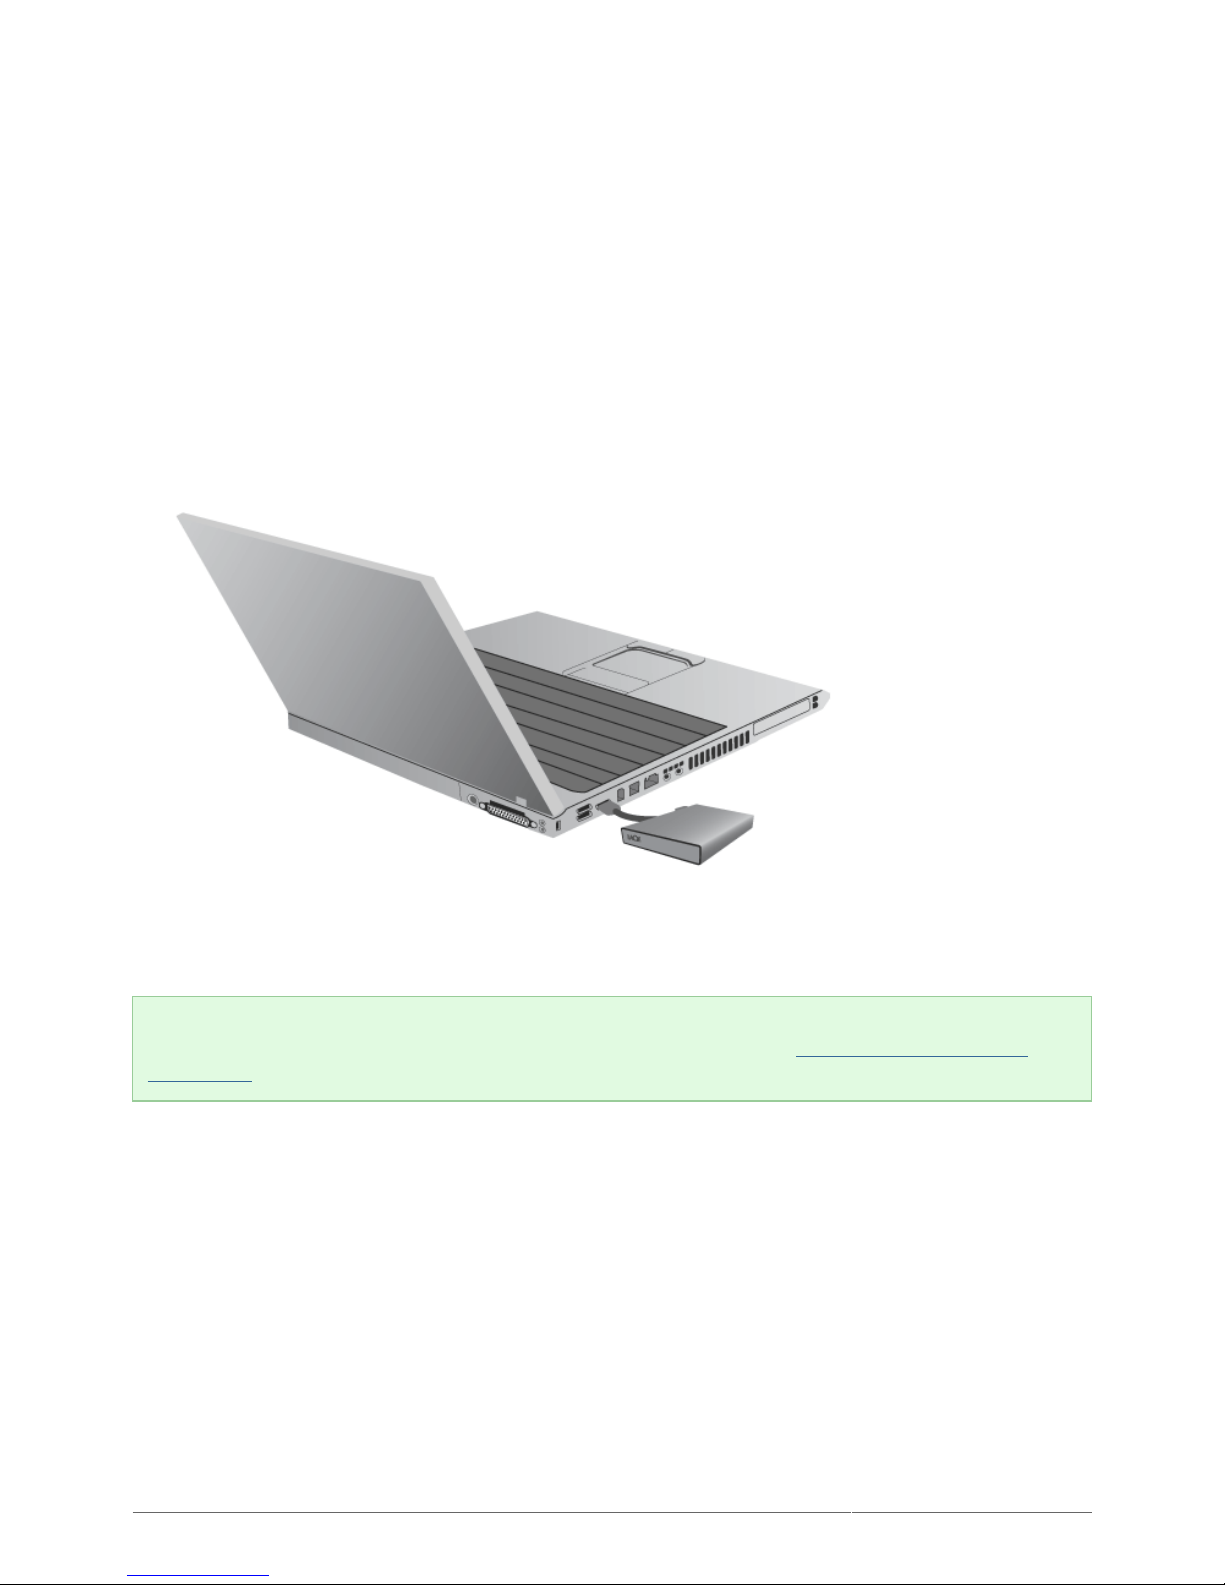
STEP 1 - CONNECT THE USB CABLE
Connect the USB cable from the drive to the computer.1.
The drive will mount on your computer.2.
Technical note: If the USB bus on your computer does not provide the necessary power to operate your
LaCie device, you may require a USB-Y cable, which can be purchased from www.lacie.com/accessories. See
USB-Y Cable for details.

Rikiki USB 2.0 Hard Drive User Manual 7
STEP 2 - LAUNCH LACIE SETUP ASSISTANT

Rikiki USB 2.0 Hard Drive User Manual 8
UNMOUNTING YOUR DRIVE
USB, FireWire, Thunderbolt, and eSATA external devices feature “plug & play” connectivity, which means that
your LaCie storage can be connected and disconnected while the computer is running. To prevent failures,
however, it is important to follow these steps when disconnecting your device.
WINDOWS XP USERS
From the System Tray (located in the lower right-hand side of your screen), click the Eject icon (a small green
arrow over a hardware image). A message will appear, listing the devices the Eject icon controls (it should say,
“Safely remove…”). Click on the LaCie storage device in this prompt.
This message will appear: “Safe to Remove Hardware” (or similar). It is now safe to disconnect the device.
WINDOWS VISTA & WINDOWS 7 USERS
From the System Tray (located in the lower right-hand side of your screen) click on the plug icon (note the white
check mark inside a green circle).
A message will appear, detailing the devices that may be safely unmounted.
Select Eject for the device you wish to unmount. A message will appear notifying you that it is safe to remove it.
 Loading...