

Kyocera 1815 Advanced Operation Manual

1815
Advanced Operation Guide

i
Caution
No liability is assumed for any damage caused by improper installation.
Notice
The information in this guide is subject to change without notification. Additional pages may be
inserted in future editions. The user is asked to excuse any technical inaccuracies or
typographical errors in the present edition.
No responsibility is assumed if accidents occur while the user is following the instructions in this
manual. No responsibility is assumed for defects in the printer’s firmware (contents of its
read-only memory).
This guide, any copyrightable subject matter sold or provided with or in connection with the sale
of the machine, are protected by copyright. All rights are reserved the prior written consent of
Kyocera Mita Corporation is prohibited. Any copies made of all or part of this manual, any
copyrightable subject must contain the same copyright notice as the material from which the
copying is done.
Regarding Tradenames
PRESCRIBE is a registered trademark of Kyocera Corporation. KPDL and KIR (Kyocera Image
Refinement) are trademarks of Kyocera Corporation.
Diablo 630 is a product of Xerox Corporation. IBM Proprinter X24E is a product of International
Business Machines Corporation. Epson LQ-850 is a product of Seiko Epson Corporation.
Hewlett-Packard, PCL, and PJL are registered trademarks of Hewlett-Packard Company.
Centronics is a trade name of Centronics Data Computer Corp. PostScript is a registered
trademark of Adobe Systems Incorporated. Macintosh is a registered trademark of Apple
computer, Inc. Microsoft, Windows, and Windows NT are registered trademarks of Microsoft
Corporation. PowerPC is a trademark of International Business Machines Corporation.
ENERGY STAR is a U.S. registered mark. All other brand and product names are registered
trademarks or trademarks of their respective companies.
GPL
This product contains GPL (www.fsf.org/copyleft/gpl.html) software as part of its firmware. For
information on availability of the source code, see the Kyocera Mita dealer from which you
purchased this product.
Legal Restriction On Copying
• It may be prohibited to copy copyrighted material without permission of the copyright owner.
• It is prohibited under any circumstances to copy domestic or foreign currencies.
• Copying other items may be prohibited.

ii
Introduction to the Operation Guide
This guide has following chapters:
1 Copying Functions
Explains the copying functions of this machine.
2 Scanning Functions
Explains the scanning functions of this machine.
3 Printer Settings
Explains the printing functions of this machine.
4 Operation Status
Explains the procedure for verifying the operating status of this machine.
5 System Settings
Explains general system settings.
6 Using COMMAND CENTER
Explains how to use COMMAND CENTER to verify the operating status of the machine.
Appendix
This appendix includes a chart which shows the available combinations of functions and
settings.

iii
Guides included
The following guides are included with this machine. Refer to the guide that corresponds to your
particular objective.
Basic Operation Guide
The Basic Operation Guide contains explanations on the initial installation and set-up of this
machine, the procedure to connect it to a computer, and the basic procedures for using this
machine as a copier, printer, and scanner as well for resolving problems if trouble occurs.
Advanced Operation Guide (This guide)
This Advanced Operation Guide contains explanations on copier, printer, and scanner functions
as well as default settings adjusted on this machine. This guide is stored in the CD-ROM as PDF
document.
KX Printer Driver Operation Guide
Describes how to install and set the printer driver. This guide is stored in the CD-ROM as PDF
document.
PRESCRIBE Technical Reference
PRESCRIBE is the native language of the Kyocera Mita printers. This Technical Reference
contains the information about how the printing is performed using the PRESCRIBE commands
as well as the font and emulation description. This guide is stored in the CD-ROM as PDF
document.
PRESCRIBE Command Reference
Gives a detailed explanation of the PRESCRIBE command syntax and parameters with the aid
of print examples. This guide is stored in the CD-ROM as PDF document.
KM-NET for Clients Operation Guide
KM-NET for Clients is a network printing utility intended to monitor and configure the printing
system. This guide describes how to install and operate KM-NET for Clients. This guide is stored
in the CD-ROM as PDF document (at [CD-ROM drive]:\Document\Utility\Clients\ClientsE.pdf).
KM-NET Direct Printing Operation Guide
KM-NET for Direct Printing is a utility that allows you to directly print PDF files without starting
Adobe Acrobat by directly sending a PDF file through the Windows spooler. This guide
describes how to install and operate KM-NET for Direct Printing. This guide is stored in the
CD-ROM as PDF document (at [CD-ROM drive]:\Document\Utility\D_Printing\
DirectPrintingE.pdf).
KM-NET for Accounting Operation Guide
KM-NET for Accounting is a utility that supports department management. This guide describes
how to install and operate KM-NET for Accounting. This guide is stored in the CD-ROM as PDF
document (at [CD-ROM drive]:\Document\Utility\Accounting\AccountingE.pdf).
iv
Conventions
This manual uses the following conventions:
1Bold indicates key names.
2 Courier indicates content of the message display.
3Caution and Note contain important information aside from the text.
4 Italic refers to another page or other guide.
2
3
4
1

v
Contents
1 Copying Functions ........................................................................................ 1-1
Selecting the Source of Paper Feed ........................................................................................1-2
Selecting a Cassette ...........................................................................................................1-2
Selecting the MP Tray ........................................................................................................1-2
Select the Original Size for Copying ........................................................................................1-4
Setting Others for Original Size ..........................................................................................1-5
Selecting Original Quality Mode ...............................................................................................1-6
Adjusting Copy Exposure .........................................................................................................1-7
Setting the Number of Copies ..................................................................................................1-8
Zoom Copying ..........................................................................................................................1-9
Auto Zoom ..........................................................................................................................1-9
Standard Zoom .................................................................................................................1-10
Zoom Entry .......................................................................................................................1-11
Selecting Original Placement .................................................................................................1-12
Using Collate Mode ................................................................................................................1-13
Using Combine Mode .............................................................................................................1-14
Using the Document Processor with Combine Mode .......................................................1-17
Using the Platen with Combine Mode ..............................................................................1-18
Continuous Copying ...............................................................................................................1-19
Selecting Continuous Copying .........................................................................................1-19
Using Continuous Copying ...............................................................................................1-19
Turning EcoPrint On and Off ..................................................................................................1-21
Entering the Name of Copying Jobs ......................................................................................1-22
Reporting the End of Copying ................................................................................................1-24
2 Scanning Functions ....................................................................................... 2-1
Using the Scanning Function ...................................................................................................2-2
Scanning Documents ...............................................................................................................2-3
Entering the E-mail Address Using the Operation Panel ....................................................2-3
Changing the E-mail Address .............................................................................................2-4
Deleting the E-mail Address ...............................................................................................2-5
Selecting Color Scan Mode ......................................................................................................2-6
Selecting the Original Quality for Scanning ..............................................................................2-7
Selecting the Scanning Resolution ..........................................................................................2-8
Adjusting the Exposure for Scanning .......................................................................................2-9
Select the Original Size for Scanning .....................................................................................2-10
Select the Send Size ..............................................................................................................2-11
Zoom Scanning ......................................................................................................................2-12
Auto Zoom ........................................................................................................................2-12
Selecting the Original Placement for Scanning ......................................................................2-13
Continuous Scanning .............................................................................................................2-14
Using Continuous Scanning .............................................................................................2-14
Selecting the Image File Format ............................................................................................2-16
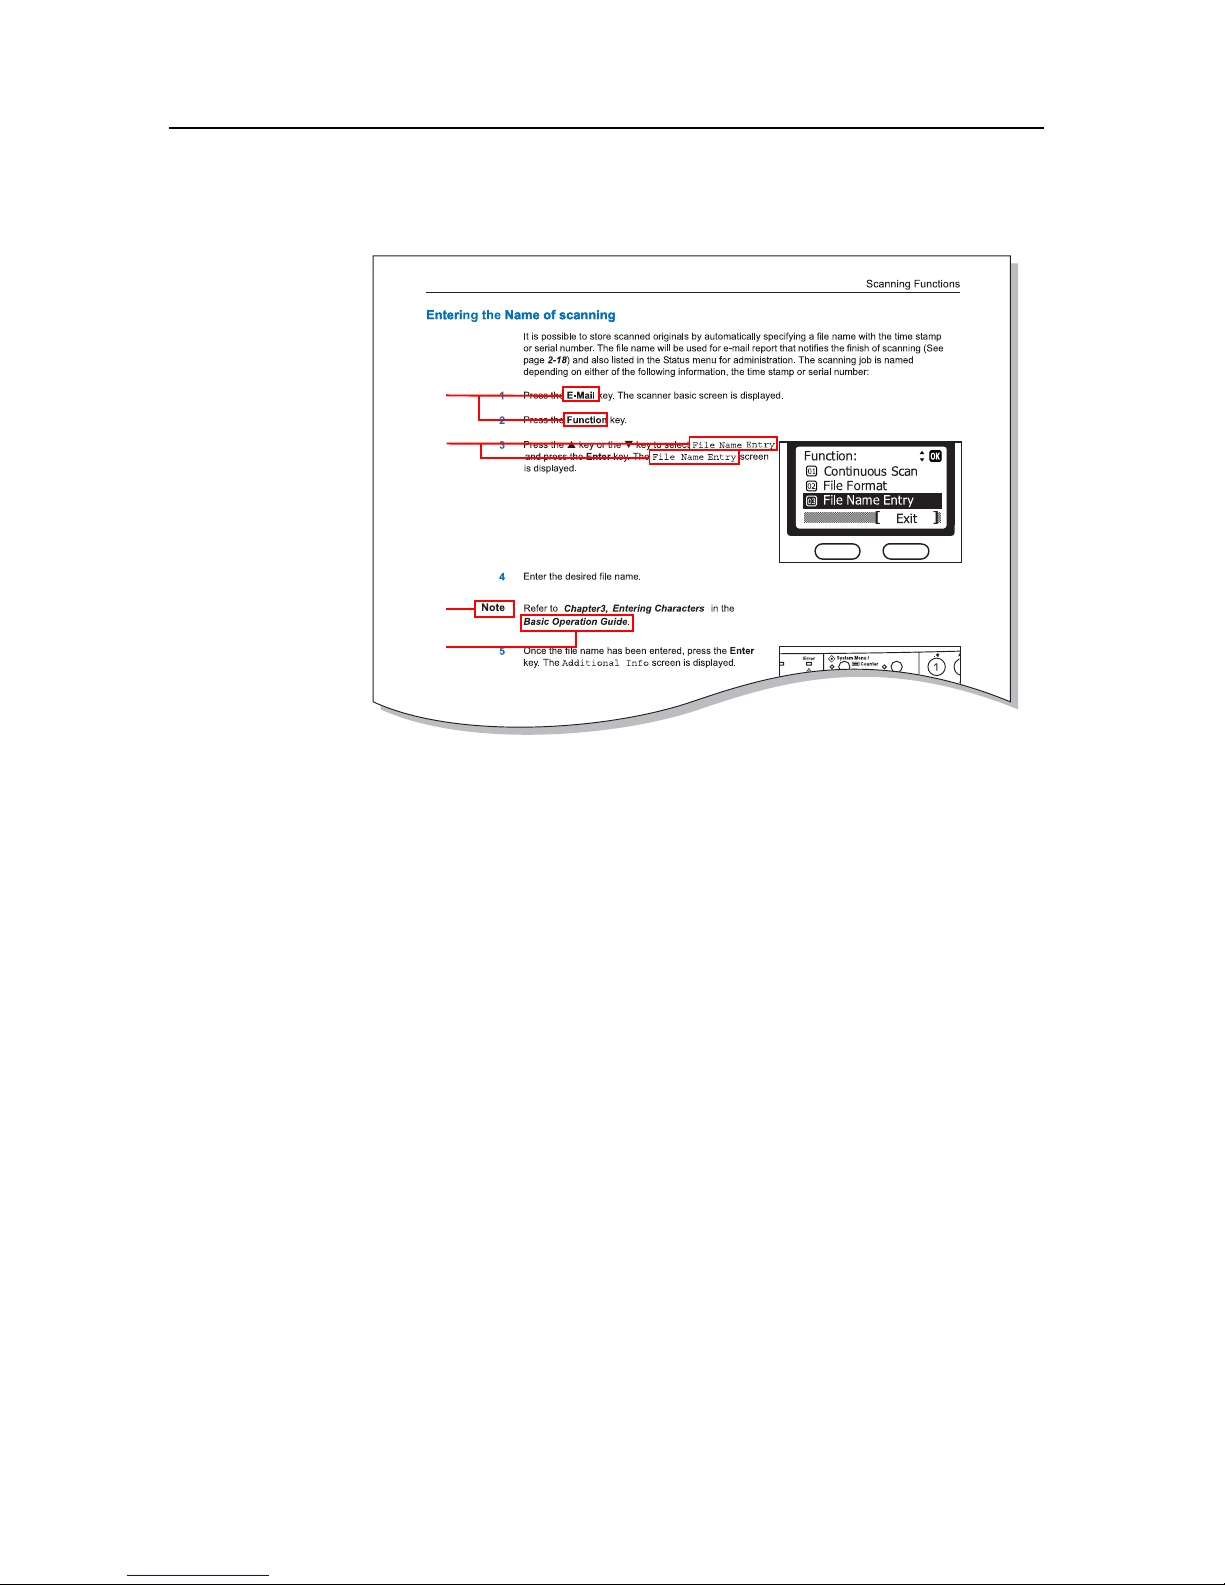
Entering the Name of Scan Job .............................................................................................2-18
File Name for Scan Data ..................................................................................................2-19
Entering the Subject and Body Message of E-Mail ................................................................2-20
Reporting the End of Scanning ..............................................................................................2-21
3 Printer Settings .............................................................................................. 3-1
Using the Machine as a Network Printer ..................................................................................3-2
Parallel Setting .........................................................................................................................3-3

vi
Network Settings ..................................................................................................................... 3-4
AppleTalk Setting ............................................................................................................... 3-4
TCP/IP Setting ................................................................................................................... 3-5
DHCP Setting .................................................................................................................... 3-6
IP Address Setting .............................................................................................................3-6
Subnet Mask Setting .......................................................................................................... 3-7
Default Gateway Setting .................................................................................................... 3-8
Setting the Emulation Mode .................................................................................................... 3-9
COMMAND CENTER .............................................................................................................3-11
4 Operation Status ............................................................................................ 4-1
Icons ........................................................................................................................................ 4-2
Checking Jobs Status .............................................................................................................. 4-3
Verifying Job Log ..................................................................................................................... 4-5
Pausing Jobs ........................................................................................................................... 4-7
Canceling Jobs During Pausing ......................................................................................... 4-7
Resuming Jobs ..................................................................................................................4-8
Canceling Jobs ........................................................................................................................ 4-9
Verifying Scanner Status ........................................................................................................4-11
Verifying Printer Status .......................................................................................................... 4-12
Verifying the Toner Status ...................................................................................................... 4-13
Verifying Settings for the Cassettes and MP Tray ................................................................. 4-14
Printing Reports ..................................................................................................................... 4-15
Procedure to Print Reports .............................................................................................. 4-15
Sample Reports ............................................................................................................... 4-17
Verifying Total Number of Prints and Scans .......................................................................... 4-21
5 System Settings ............................................................................................. 5-1
Adjusting the Contrast of Message Display ............................................................................. 5-2
Message Language ................................................................................................................. 5-3
Default Operation Mode .......................................................................................................... 5-4
Unit of Measurement ............................................................................................................... 5-5
Adjusting Copy Exposure ........................................................................................................5-6
Turning Scan Noise Reduction On and Off ............................................................................. 5-8
Photo Processing Method ....................................................................................................... 5-9
Resetting Toner Status .......................................................................................................... 5-10
Changing Function Defaults ...................................................................................................5-11
Registering Destination E-mail Addresses ............................................................................ 5-13
Restarting the Machine .......................................................................................................... 5-15
Adjusting Alarms .................................................................................................................... 5-16
Date and Time ....................................................................................................................... 5-19
Date Format ........................................................................................................................... 5-21
Time Zone ............................................................................................................................. 5-22
Summer Time ........................................................................................................................ 5-23
Auto Panel Reset ................................................................................................................... 5-24
Enabling Auto Panel Reset .............................................................................................. 5-24
Reset Timer ..................................................................................................................... 5-25
Low Power Timer ................................................................................................................... 5-26
Auto Sleep Timer ................................................................................................................... 5-27
Enabling Auto Sleep ........................................................................................................ 5-27
Sleep Timer ...................................................................................................................... 5-28
Auto Error Clear ..................................................................................................................... 5-29
Enabling Auto Error Clear ................................................................................................ 5-29
Error Clear Time .............................................................................................................. 5-30
Registering Custom Original Size .......................................................................................... 5-31
Registering Custom Paper Size ............................................................................................ 5-33
Default Original Size .............................................................................................................. 5-35

vii
Selecting Paper Size and Media Type ...................................................................................5-36
Cassettes ..........................................................................................................................5-36
MP Tray ............................................................................................................................5-38
Registering Custom Media Type ............................................................................................5-40
Selecting the Paper Feed Source ..........................................................................................5-42
Selecting the APS (Auto Paper Selection) Media Type .........................................................5-43
Printing the Service Pages .....................................................................................................5-44
6 Using COMMAND CENTER ........................................................................... 6-1
System Requirements ..............................................................................................................6-2
Accessing COMMAND CENTER .............................................................................................6-3
COMMNAD CENTER Pages ..............................................................................................6-4
Start Page ................................................................................................................................6-5
Start > Start Page ...............................................................................................................6-5
Start > Status Pages ...........................................................................................................6-6
Start > Information > About Page .......................................................................................6-6
Start > Links Page ..............................................................................................................6-6
Basic Page ...............................................................................................................................6-7
Basic > Security > Account Setup Page .............................................................................6-7
Basic > Security > Device Page .........................................................................................6-7
Basic > Network Page ........................................................................................................6-8
Basic > Time Page .............................................................................................................6-8
Basic > Reset Page ............................................................................................................6-9
Basic > Device Defaults Page ............................................................................................6-9
Printer Page ...........................................................................................................................6-10
Printer > Defaults > System Page ....................................................................................6-10
Printer > Media Input Page ...............................................................................................6-10
Scanner Page ........................................................................................................................6-11
Scanner> Defaults > Settings Page .................................................................................6-11
Scanner> One Touch Keys > One Touch keys Page .......................................................6-11
Advanced Page ......................................................................................................................6-12
Advanced > Protocols > TCP/IP > General ......................................................................6-12
Advanced > Protocols > TCP/IP > IP Filters ....................................................................6-12
Advanced > Protocols > TCP/IP > Logical Printers ..........................................................6-12
Advanced > Protocols > IPP .............................................................................................6-13
Advanced > Protocols > AppleTalk ...................................................................................6-13
Advanced > Protocols > NetBEUI ....................................................................................6-13
Advanced > Management/E-mail > SMTP .......................................................................6-14
Advanced > Management/E-mail > SNMP .......................................................................6-14
Troubleshooting ......................................................................................................................6-16
Appendix ......................................................................................................Appendix-1
Paper Selection ...........................................................................................................Appendix-2
General Guidelines ................................................................................................Appendix-2
Selecting the Right Paper ......................................................................................Appendix-2
Special Paper ........................................................................................................Appendix-5
Media Type ............................................................................................................Appendix-8
Specifications ..............................................................................................................Appendix-9
Main Body ..............................................................................................................Appendix-9
Copying Functions ...............................................................................................Appendix-10
Printing Functions ................................................................................................Appendix-10
Scanning Functions .............................................................................................Appendix-10
Document Processor (Option) .............................................................................Appendix-11
Paper Feeder (Option) .........................................................................................Appendix-11
Environmental Specifications ...............................................................................Appendix-11
Function Combination Tables ....................................................................................Appendix-12
Glossary ....................................................................................................................Appendix-14

viii

1-1
1 Copying Functions
This chapter explains the following topics:
• Selecting the Source of Paper Feed
• Select the Original Size for Copying
• Selecting Original Quality Mode
• Adjusting Copy Exposure
• Setting the Number of Copies
• Zoom Copying
• Selecting Original Placement
• Using Collate Mode
• Using Combine Mode
• Continuous Copying
• Turning EcoPrint On and Off
• Entering the Name of Copying Jobs
• Reporting the End of Copying
Copying Functions
1-2
Selecting the Source of Paper Feed
Perform the following procedure to select the desired source for paper feed.
Notes • For more information on registering the paper size in the cassette(s), refer to Default Original
Size on page 5-35.
• For information of the specifications of the paper used with this machine, refer to Paper
Selection on page 2 of the Appendix.
Selecting a Cassette
1
Press the Copy key. The copy basic screen is displayed.
2
Press the Paper select key.
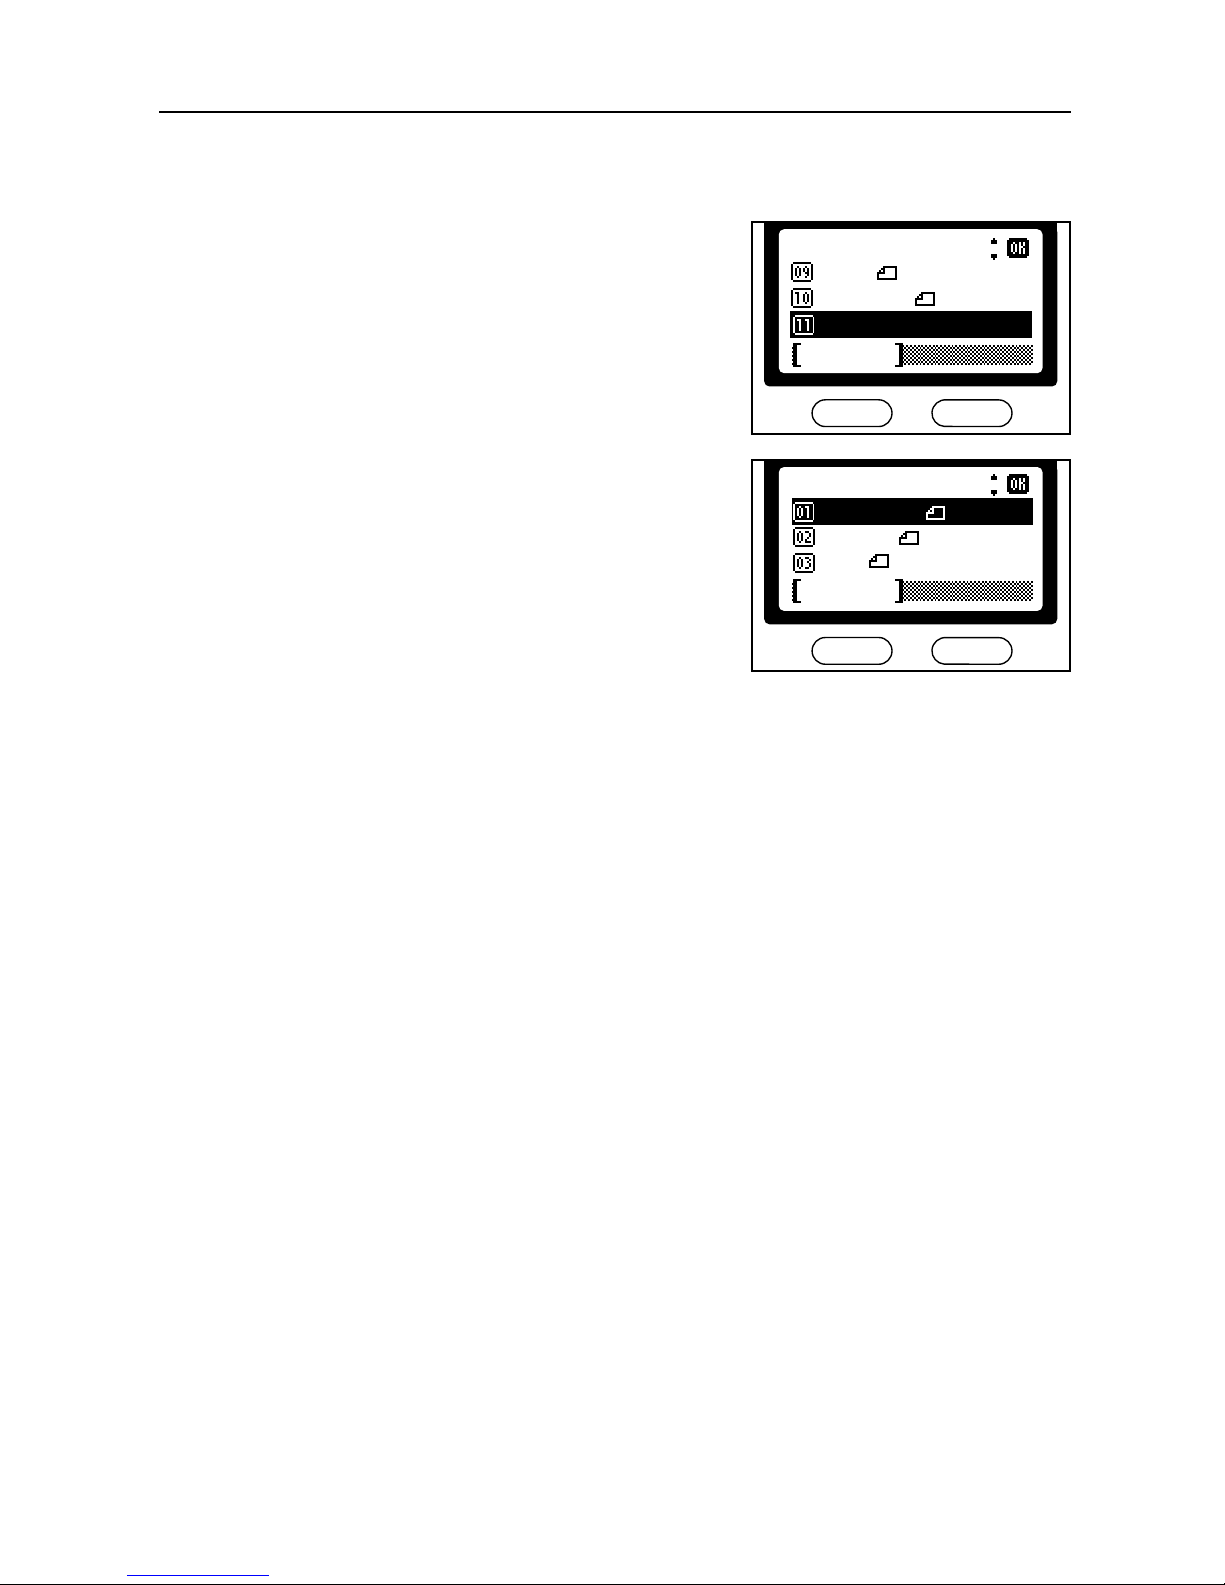
3
Press the S key or the T key to select the required
cassette and press the Enter key. The message
display shows Completed and returns to the copy
basic screen.
Selecting the MP Tray
1
Press the Copy key. The copy basic screen is displayed.
2
Press the Paper select key.
3
Press the S key or the T key to select MP Tray and
press the Enter key. The MP Tray Size screen is
displayed.
Mode Description
Auto Automatically selects and feeds paper from either the cassette or the
MP tray, whichever holds the paper size to be copied or printed onto.
Cassette1 Feeds paper from cassette 1.
Cassette2 Feeds paper from cassette 2. Cassette 2 is an optional accessory. If
it is not installed, it will not be available for selection.
MP Tray Feeds paper from the MP tray. The paper size and type must be
registered in advance.
*
Cancel
A 4 Plain
MP Tray
A 5 Plain
Paper Select:
*
Cancel
A 4 Plain
MP Tray
A 5 Plain
Paper Select:
Copying Functions
1-3
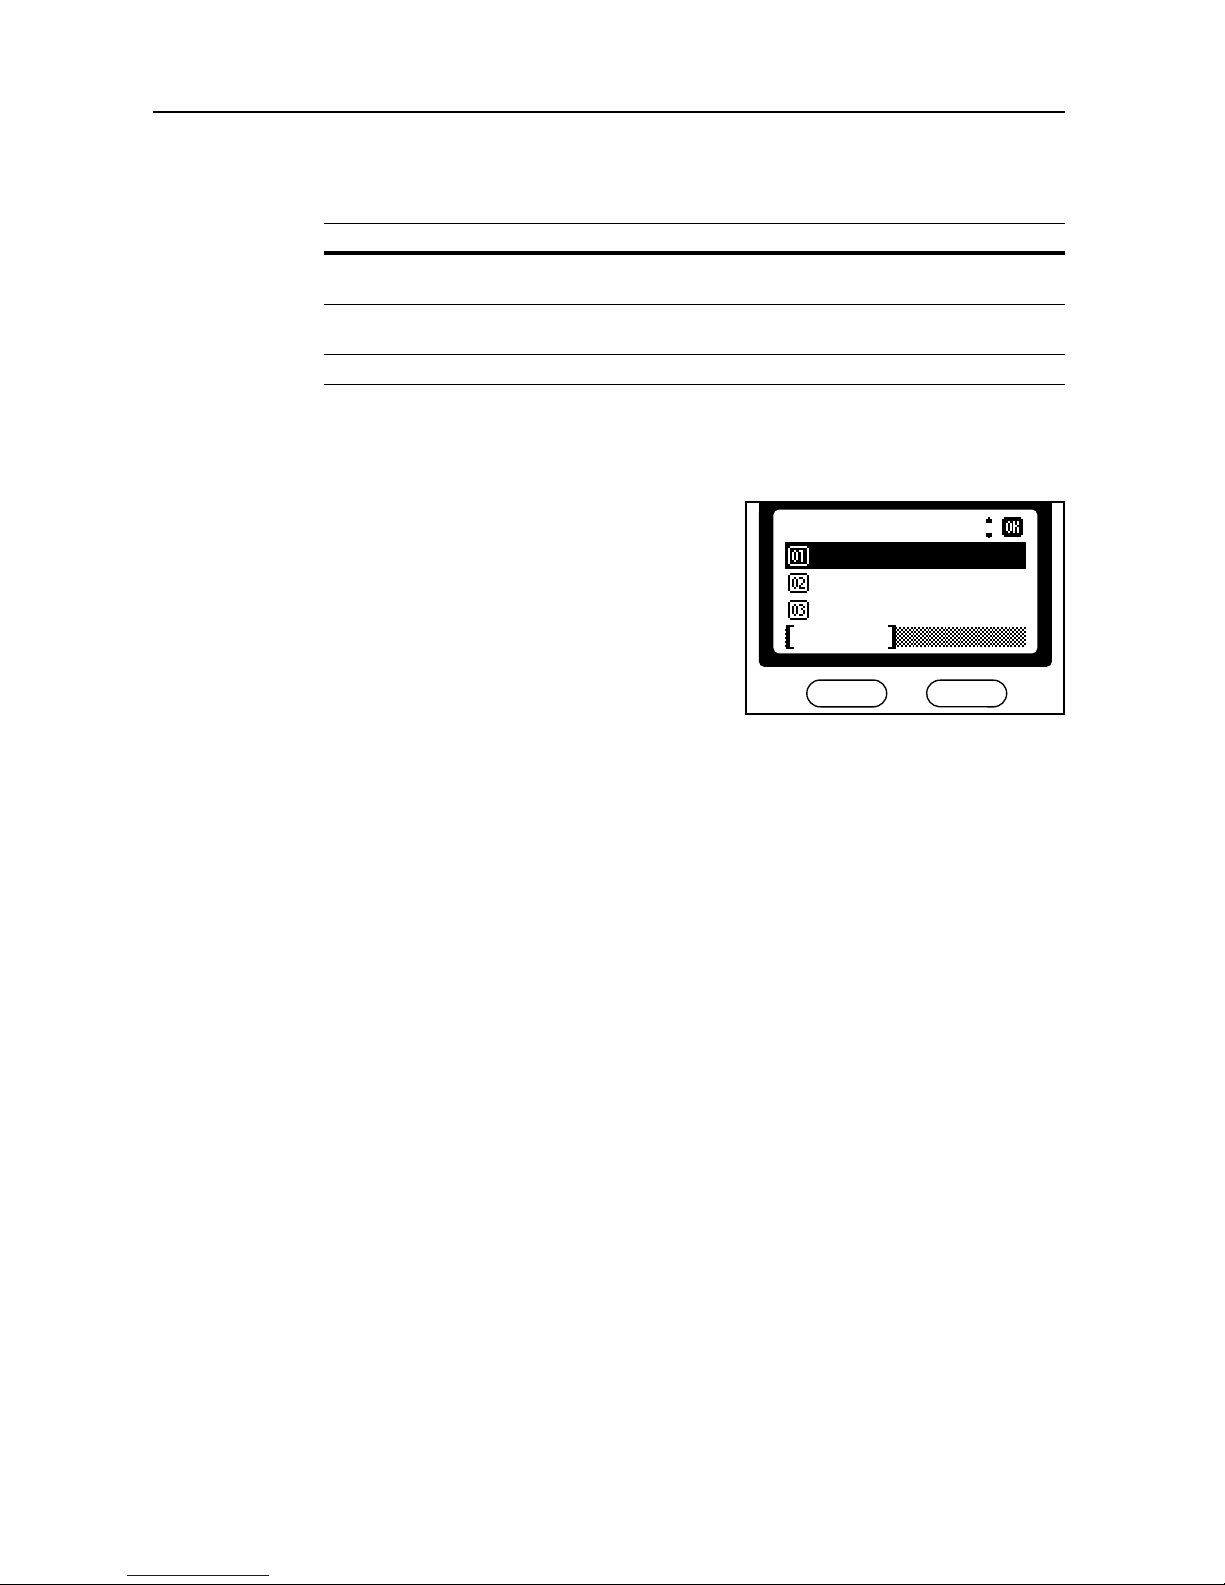
4
Press the S key or the T key to select the paper size
required and press the Enter key. The MP Tray Type
screen is displayed.
Note If the paper size is not shown in the MP Tray Size
screen, select Others and press the Enter key. The
Others screen is displayed and other sizes are
available for selection.
5
Press the S key or the T key to select the media type
required and press the Enter key. The message
display shows Completed and returns to the copy
basic screen.
*
MP Tray Size:
Legal
Letter
Cancel
Statement
MP Tray Size:
Folio
Oficio II
Others
Cancel
*
Cancel
Others:
ISO B5
Executive
16K
*
Cancel
MP Tray Type:
Transparency
Rough
Plain
*
Copying Functions
1-4
Select the Original Size for Copying
Perform the following procedure to select the size of the original for copying.
The original sizes available for copying are as follows:
Letter, Legal, Statement, A4, A5, A6, B5, B6, Folio, Oficio II, Executive,
ISO B5, 16K, Envelope #10, Envelope #9, Envelope Monarch, Envelope #6,
Envelope C5, Envelope DL, Hagaki, Oufukuhagaki, Youkei 2, Youkei 4, and
Custom
Note It is necessary to register a custom original size in advance in order to select the Custom setting.
For more information on the custom original size, refer to Registering Custom Original Size on
page 5-31.
1
Set the original.
2
Press the Copy key. The copy basic screen is displayed.
3
Press the Original size key.
4
Press the S key or the T key to select the size of the
original.
5
Press the Enter key. The message display shows Completed and returns to the copy basic
screen.
*
Original Size:
Legal
Letter
*
Cancel
Statement
Copying Functions
1-5
Setting Others for Original Size
If the size of the original is not shown in the display, select the Others setting above.
1
Press the Enter key.
2
Press the S key or the T key to select the size of the
original and press the Enter key. The message display
shows Completed and returns to the copy basic
screen.
Original Size:
Cancel
Folio
Oficio II
Others
*
Cancel
Others:
ISO B5
Executive
16K
Copying Functions
1-6
Selecting Original Quality Mode
The original quality mode selects the copy quality according to the type of originals.
1
Press the Copy key. The copy basic screen is displayed.
2
Press the Original Quality key.
3
Press the S key or the T key to select the desired
mode and press the Enter key. The message display
shows Completed and returns to the copy basic
screen.
Mode Description
Text+Photo Select this mode when the original contains a mixture of both text
and photographs.
Photo Select this mode when the original contains mostly photographs
taken by camera.
Text Select this mode when the original contains mostly text.
Photo
Text+Photo
Cancel
Text
*
Original Quality:

Copying Functions
1-7
Adjusting Copy Exposure
This section explains how to make adjustments to the exposure mode. The default exposure is
Manual.
1
Press the Copy key. The copy basic screen is displayed.
2
Press the Exposure key.
3
Press the S key or the T key to select Manual and
press the Enter key.
If you selected Manual, the Manual screen is
displayed. Proceed to the next step.
If you selected Auto, the message display shows
Completed and returns to the copy basic screen.
4
Press the S key or the T key to adjust the value for
the exposure as desired. Press the Enter key. The
message display shows Completed and returns to the
copy basic screen.
Mode Description
Auto The machine automatically selects the optimal exposure setting for
the original being copied.
Manual The copy exposure setting is selected manually. There are 7
exposure levels available.
*
Exposure:
Manual
Auto
Cancel
*
*
Manual:
Cancel
Lighter -2
Lighter -1
Normal
Copying Functions
1-8
Setting the Number of Copies
Perform the following procedure to set the number of copies to be made. The number of copies can
be up to 999.
Notes • To avoid paper jam or damage to the machine, do not leave more than approximately 30 sheets
of standard paper (80 g/m2) or one sheet of special paper in the face-up tray.
• To avoid paper jam or damage to the machine, do not leave more than approximately 150
sheets of standard paper (80 g/m
2
) in the output tray.
1
Set the original.
2
Press the Copy key. The copy basic screen is displayed.
3
Use the numeric keys to change the number of copies
to be made.
Notes • To cancel the number of copies entered, press the Stop/Clear key. The display will be set to 1.
• If you attempt to enter more than 999, the number of copies will automatically be set to 999.
*
Ready to copy.
A 4
A 4
Zoom
100%
Set: 1

Copying Functions
1-9
Zoom Copying
This section explains how to make copies in an enlarged or reduced size. The following modes are
available for zooming.
Auto Zoom
1
Set the original.
2
Press the Copy key. The copy basic screen is displayed.
3
Press the left select key.
Mode Description
100% Makes copies of the same size as the original.
Auto Adjusts the zoom ratio so that the copied image fits onto the
selected copy size.
Standard Zoom Makes copies at one of the fixed zoom ratios. The following
ratios are available:
200 %
141 % (A5 >> A4)
129 % (Statement >> Letter)
115 % ( B 5 > > A 4 )
100 %
90 % (Folio >> A4)
86 % (A4 >> B5)
78 % (Legal >> Letter)
70 % (A4 >> A5)
64 % (Letter >> Statement)
50 %
Zoom Entry Sets the zoom ratio between 50 % and 200 % in 1 %
increment.
*
Ready to copy.
A 4
A 4
Zoom
100%
Set: 1
Copying Functions
1-10
4
Press the S key or the T key to select either 100% or
Auto and press the Enter key. The message display
shows Completed and returns to the copy basic
screen. The original is copied fitting on the selected
paper size.
Standard Zoom
1
Perform steps 1 to 3 in the Auto Zoom section.
2
Press the S key or the T key to select Standard
Zoom and press the Enter key. The Standard Zoom
screen is displayed.
3
Press the S key or the T key to select the zoom ratio.
Press the Enter key. The message display shows
Completed and returns to the copy basic screen. The
original is copied using the selected zoom ratio.
*
Zoom:
Auto
Standard Zoom
100%*
Cancel
*
Cancel
Zoom:
Auto
Standard Zoom
100%
*
*
Cancel
Standard Zoom:
129% STMT >> LTR
141% A5 >> A4
*200%
Copying Functions
1-11
Zoom Entry
1
Perform steps 1 to 3 in the Auto Zoom section.
2
Press the S key or the T key to select Zoom Entry.
Press the Enter key. The Zoom Entry screen is
displayed.
3
Press the S key or the T key to change ratio in 1 %
increments. Press the Enter key. The message display
shows Completed and returns to the copy basic
screen.
*
Zoom:
Standard Zoom
Zoom Entry
Auto
Cancel
*
Zoom Entry:
(50
150 %
~ 200)
Cancel

Copying Functions
1-12
Selecting Original Placement
Perform the following procedure to select the direction that the original is copied.
Using the Platen
Using the Document Processor
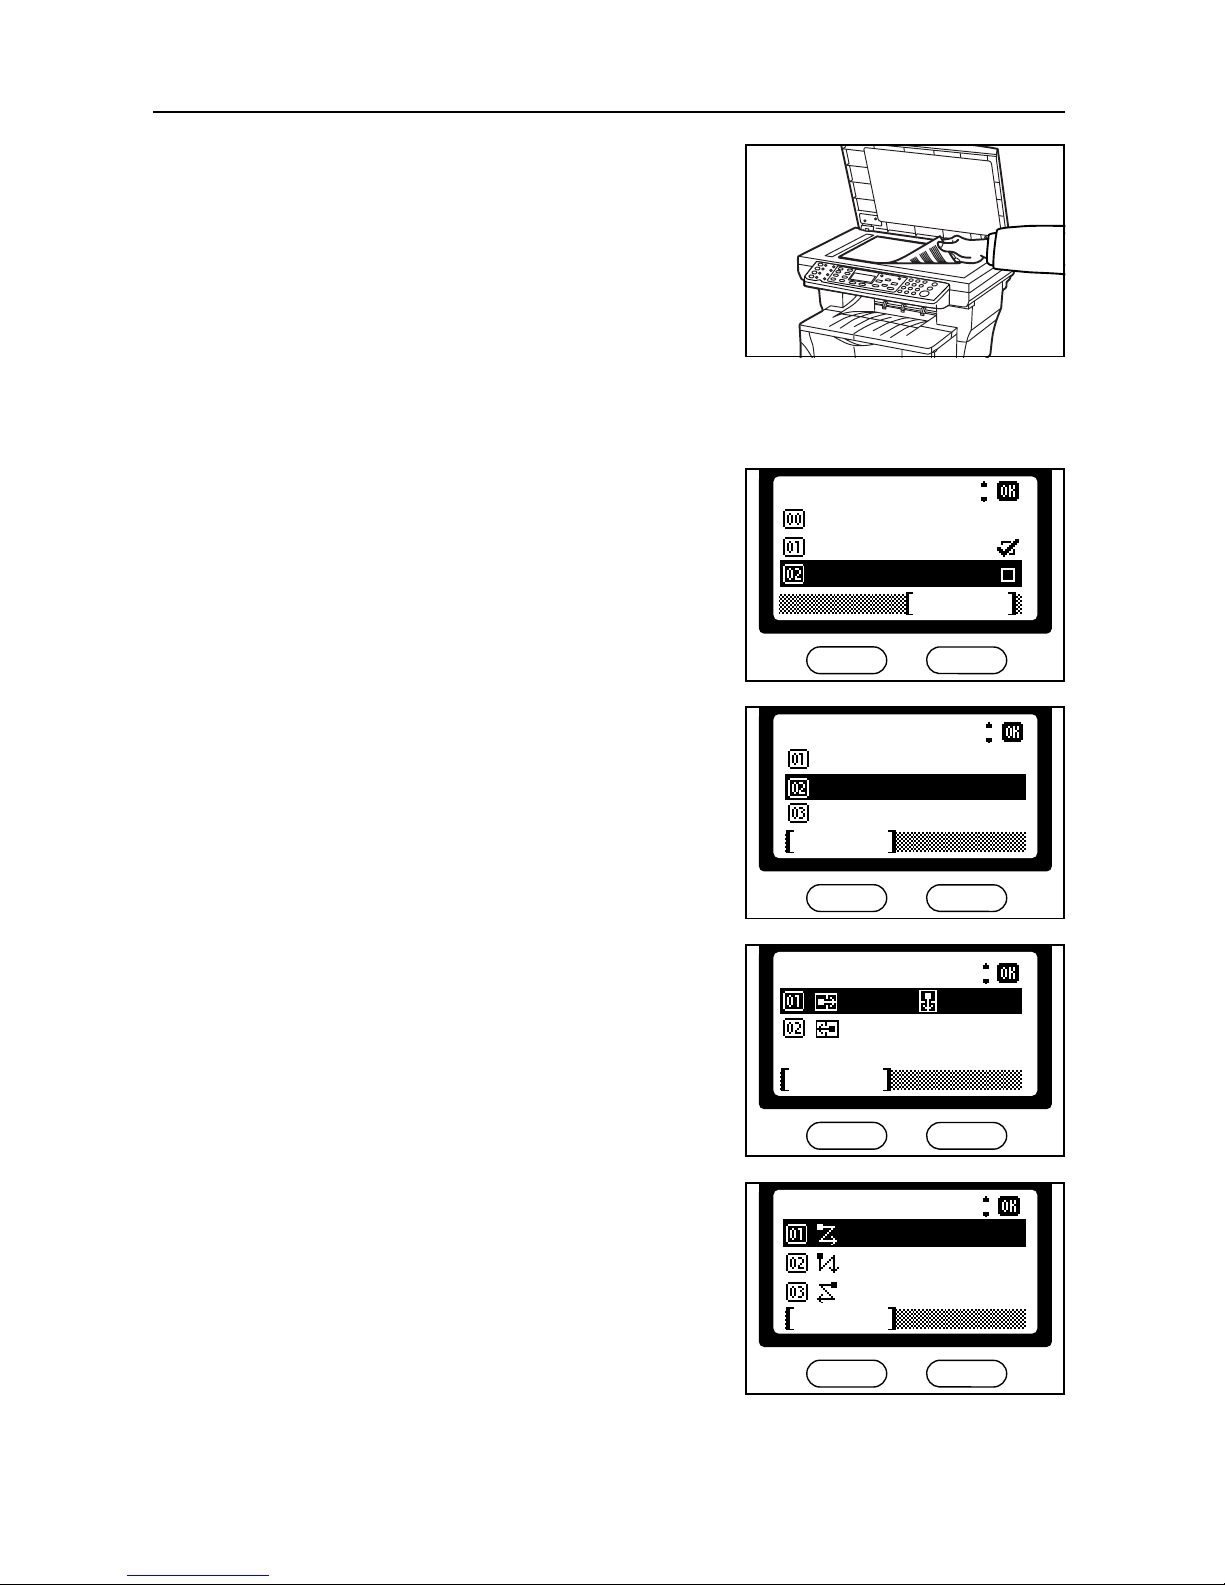
1
Press the Copy key. The copy basic screen is displayed.
2
Press the Function key.
3
Press the S key or the T key to select Orig.
Placement and press the Enter key. The Orig.
Placement screen is displayed.
4
Press the S key or the T key to select either Top
Edge to Rear or Top Edge to Left and press the
Enter key. The message display shows Completed
and returns to the Function screen.
5
Press the right select key. The message display returns to the copy basic screen.
Left
Top Edge to Rear Top Edge to Left
Rear
Top Edge to Rear Top Edge to Left
Rear
Left
*Combine
Collate
Orig. Placement
Function:
Exit
Orig. Placement:
Cancel
*
Top Edge to Rear
Top Edge to Left

Copying Functions
1-13
Using Collate Mode
Multiple originals can be scanned into memory in a single operation and the desired number of copy
sets created.
1
Press the Copy key. The copy basic screen is displayed.
2
Press the Function key.
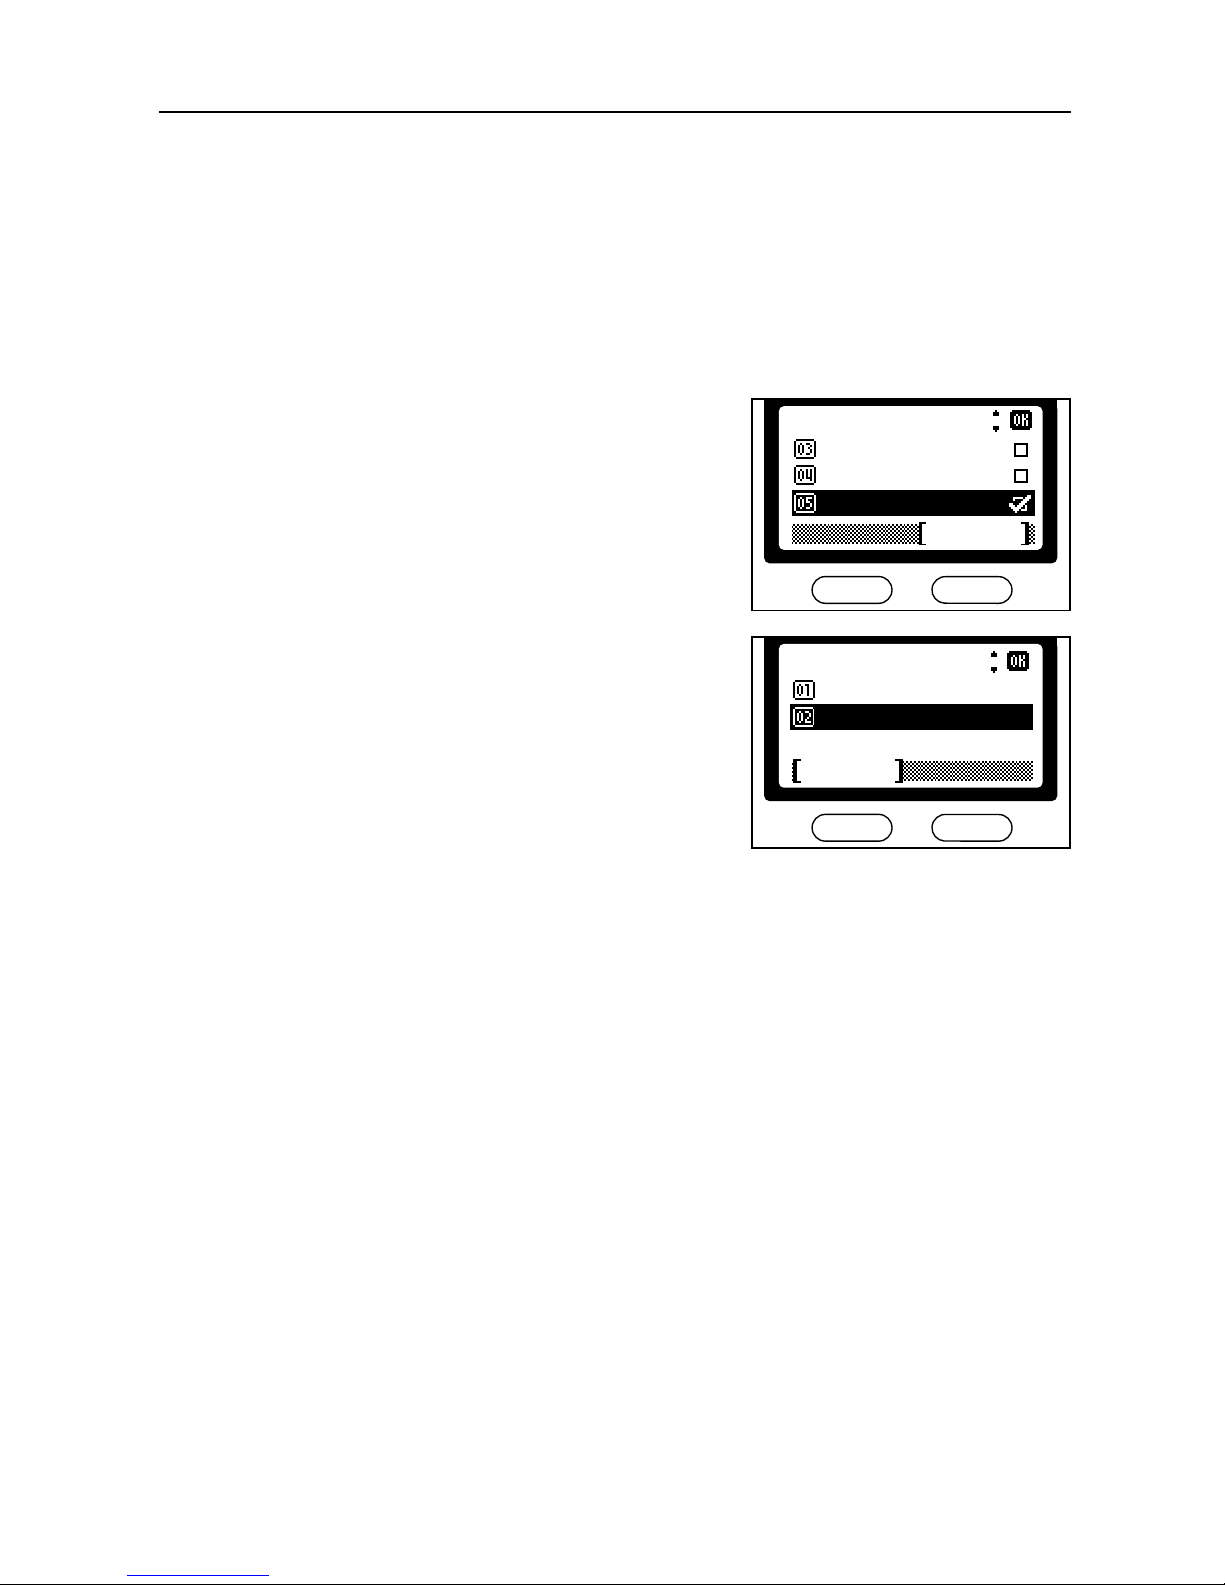
3
Press the S key or the T key to select Collate and
press the Enter key. The Collate screen is
displayed.
4
Press the S key or the T key to select either On or
Off and press the Enter key. The message display
shows Completed and returns to the Function
screen.
5
Press the right select key. The message display returns to the copy basic screen.
Original Collate: OnCollate: Off
*
Combine
Zoom
Collate
Function:
Exit
*
Collate:
*
Cancel
Off
On
Copying Functions
1-14
Using Combine Mode
The images from either 2 or 4 originals can be reduced and combined onto a single copy. The
borderline of each original can also be marked with a solid line or a dotted line.
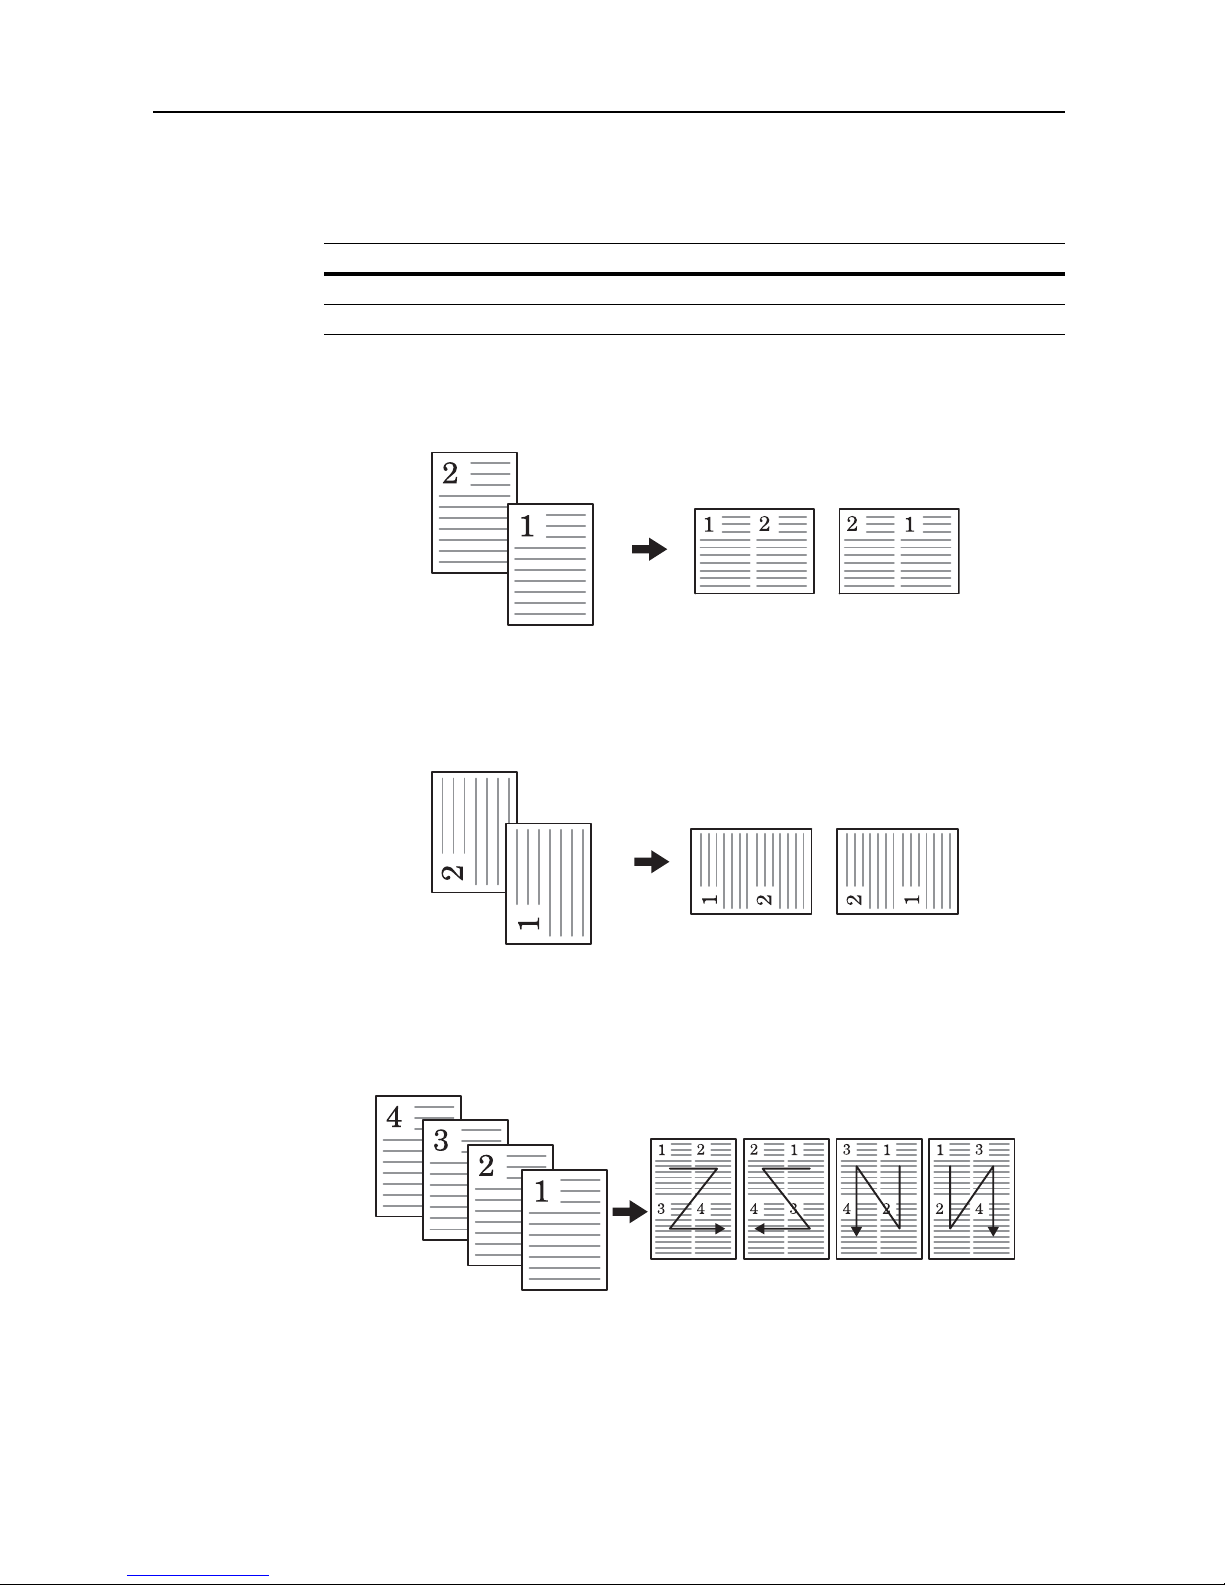
2 in 1 > Top Edge to Rear
2 in 1 > Top Edge to Left
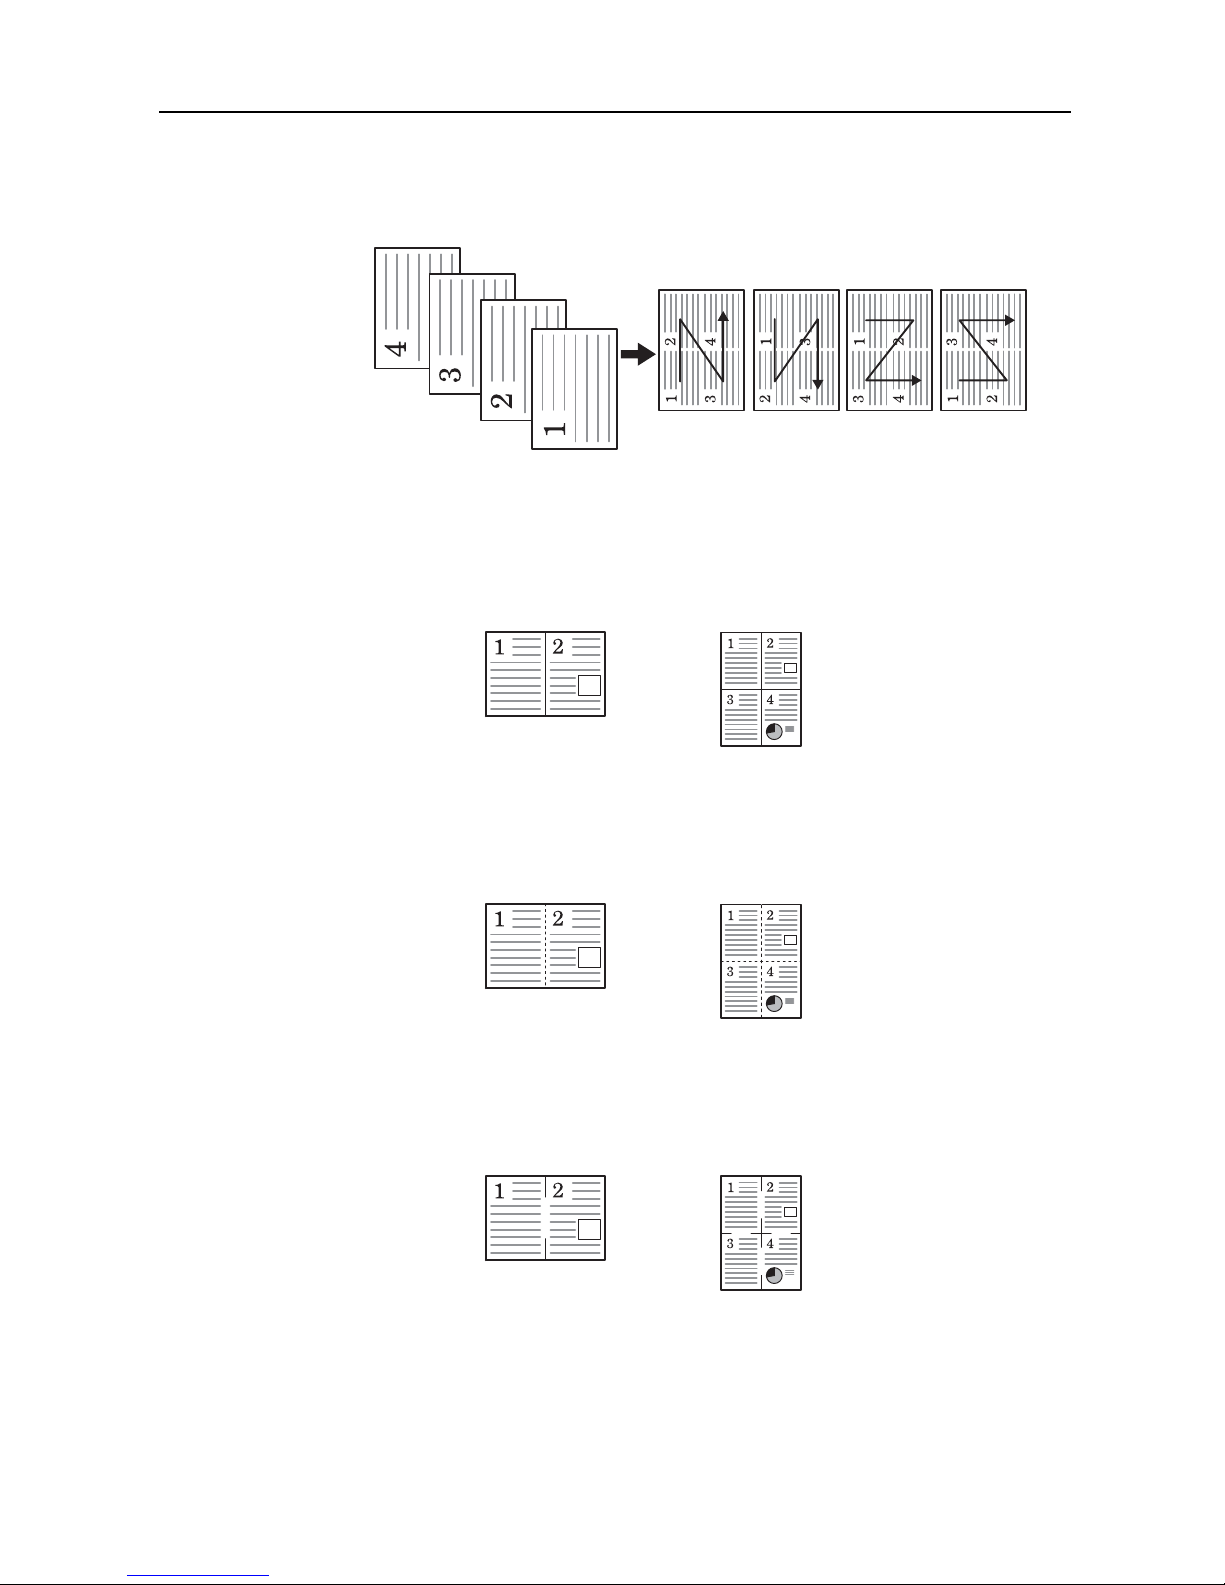
4 in 1 > Top Edge to Rear
Mode Description
2 in 1 Copies two originals onto one sheet.
4 in 1 Copies four originals onto one sheet.
Original Copied Image
Left to Right/
Top to Bottom
Right to Left
Original Copied Image
Left to Right/
Top to Bottom
Right to Left
Original Copied image
Top t o
Bottom to
Right
To p t o
Bottom to
Left
Right to
Left to
Bottom
Left to
Right to
Bottom
Copying Functions
1-15
4 in 1 > Top Edge to Left
The following illustrations indicate the effects of each borderline setting
Solid Line
Dotted Line
Positioning Mark
Note The size of both the originals and the copy paper must be a standard size.
Original Copied Image
Top to
Bottom to
Right
Top to
Bottom to
Left
Right to
Left to
Bottom
Left to
Right to
Bottom
Copied Image
4 in 1
2 in 1
Copied Image
4 in 12 in 1
Copied Image
4 in 12 in 1
Copying Functions
1-16
1
Set the original.
2
Press the Copy key. The copy basic screen is displayed.
3
Press the Function key.
4
Press the S key or the T key to select Combine and
press the Enter key. The Combine screen is
displayed.
5
Press the S key or the T key to select either 2 in 1 or
4 in 1 and press the Enter key. The Layout screen is
displayed.
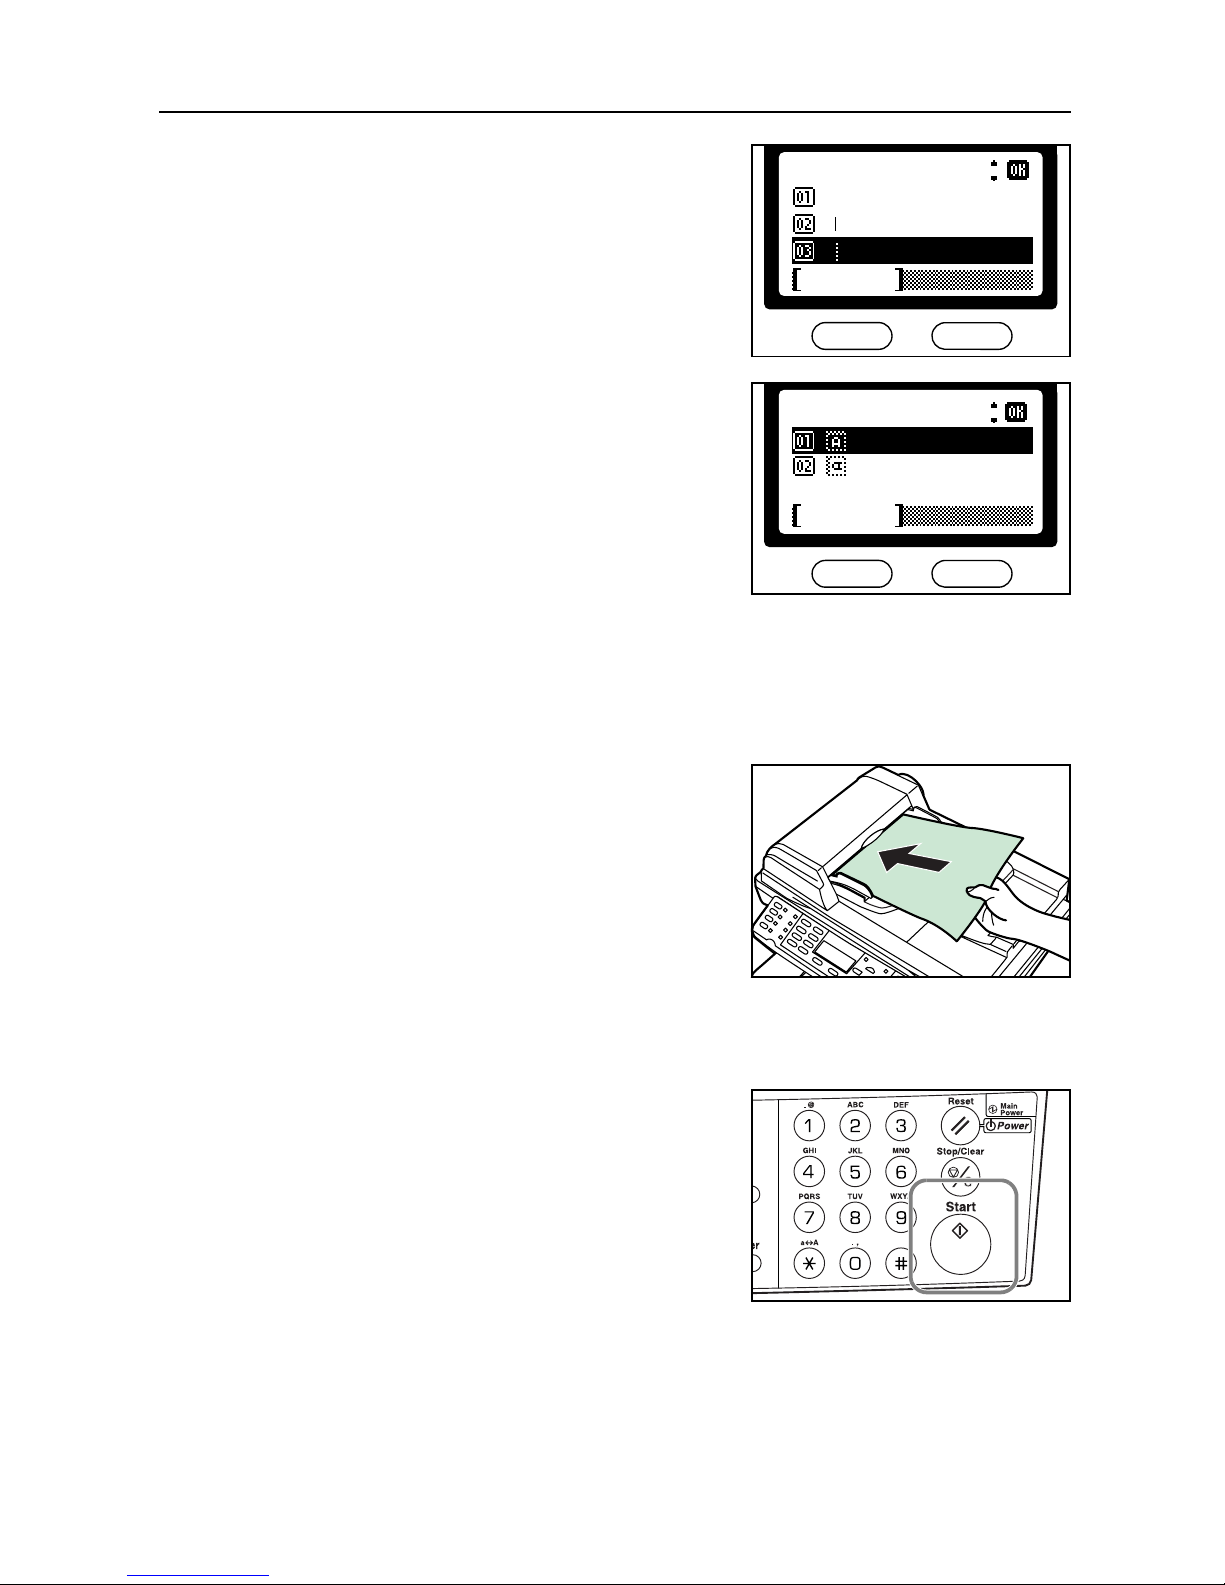
6
Press the S key or the T key to select the direction of
the layout and press the Enter key. The Border Line
screen is displayed.
*
Function:
Combine
Zoom
Exit
Exit
*
Combine:
4in1
2in1
*
Cancel
None
*
Layout:
*
Cancel
T to BL to R
R to L
Cancel
Layout:
L to R to B
T to B to R
R to L to B
Copying Functions
1-17
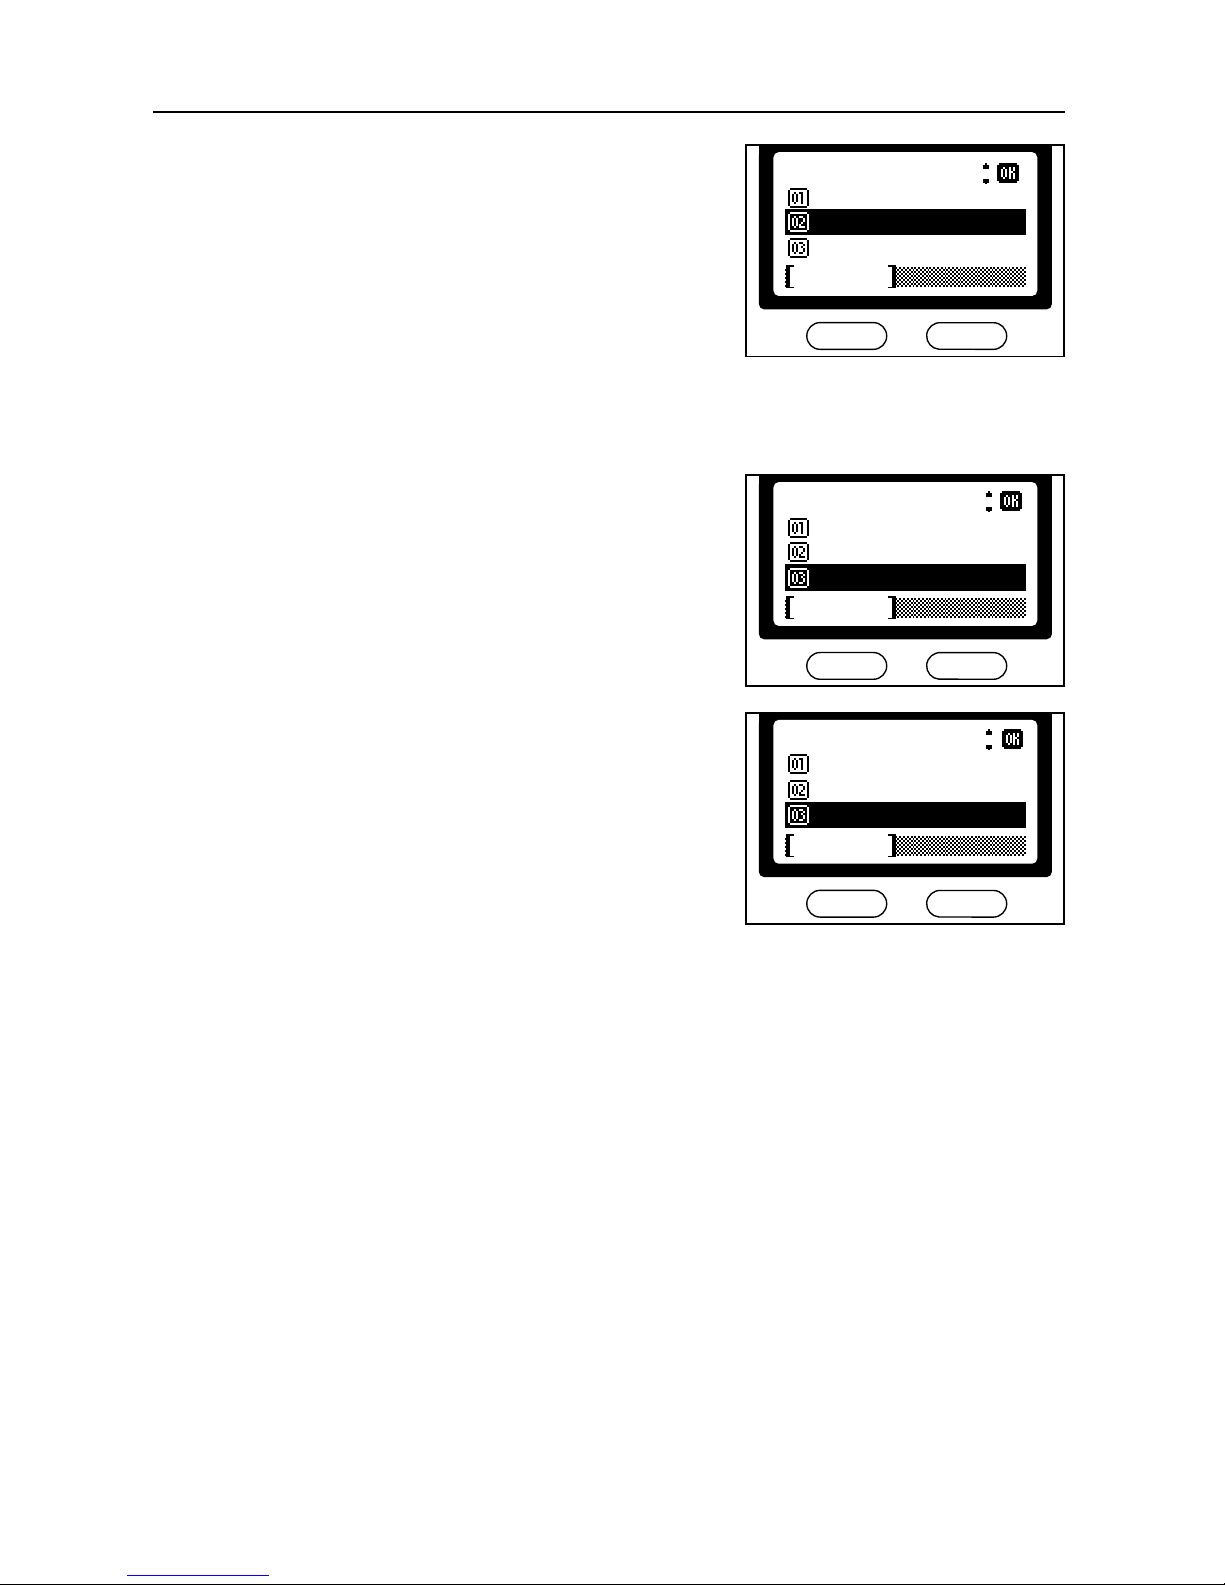
7
Press the S key or the T key to select the type of the
borderline and press the Enter key. The Orig.
Placement screen is displayed.
8
Press the S key or the T key to select the original
placement and press the Enter key. The message
display shows Completed and returns to the
Function screen.
9
Press the right select key. The message display returns to the copy basic screen.
Using the Document Processor with Combine Mode
The following explains how to make copies with the combine modes when the document processor
is installed.
1
Set the originals in the document processor.
2
Press the Copy key. The copy basic screen is displayed.
3
Select the combine mode. For more information, refer to page 1-14.
4
Press the Start key. The originals are scanned
automatically and copying in the combine mode will
begin.
*
Border Line:
Solid Line
None
*
Cancel
Dotted Line
Orig. Placement:
Cancel
*
Top Edge to Rear
Top Edge to Left
Copying Functions
1-18
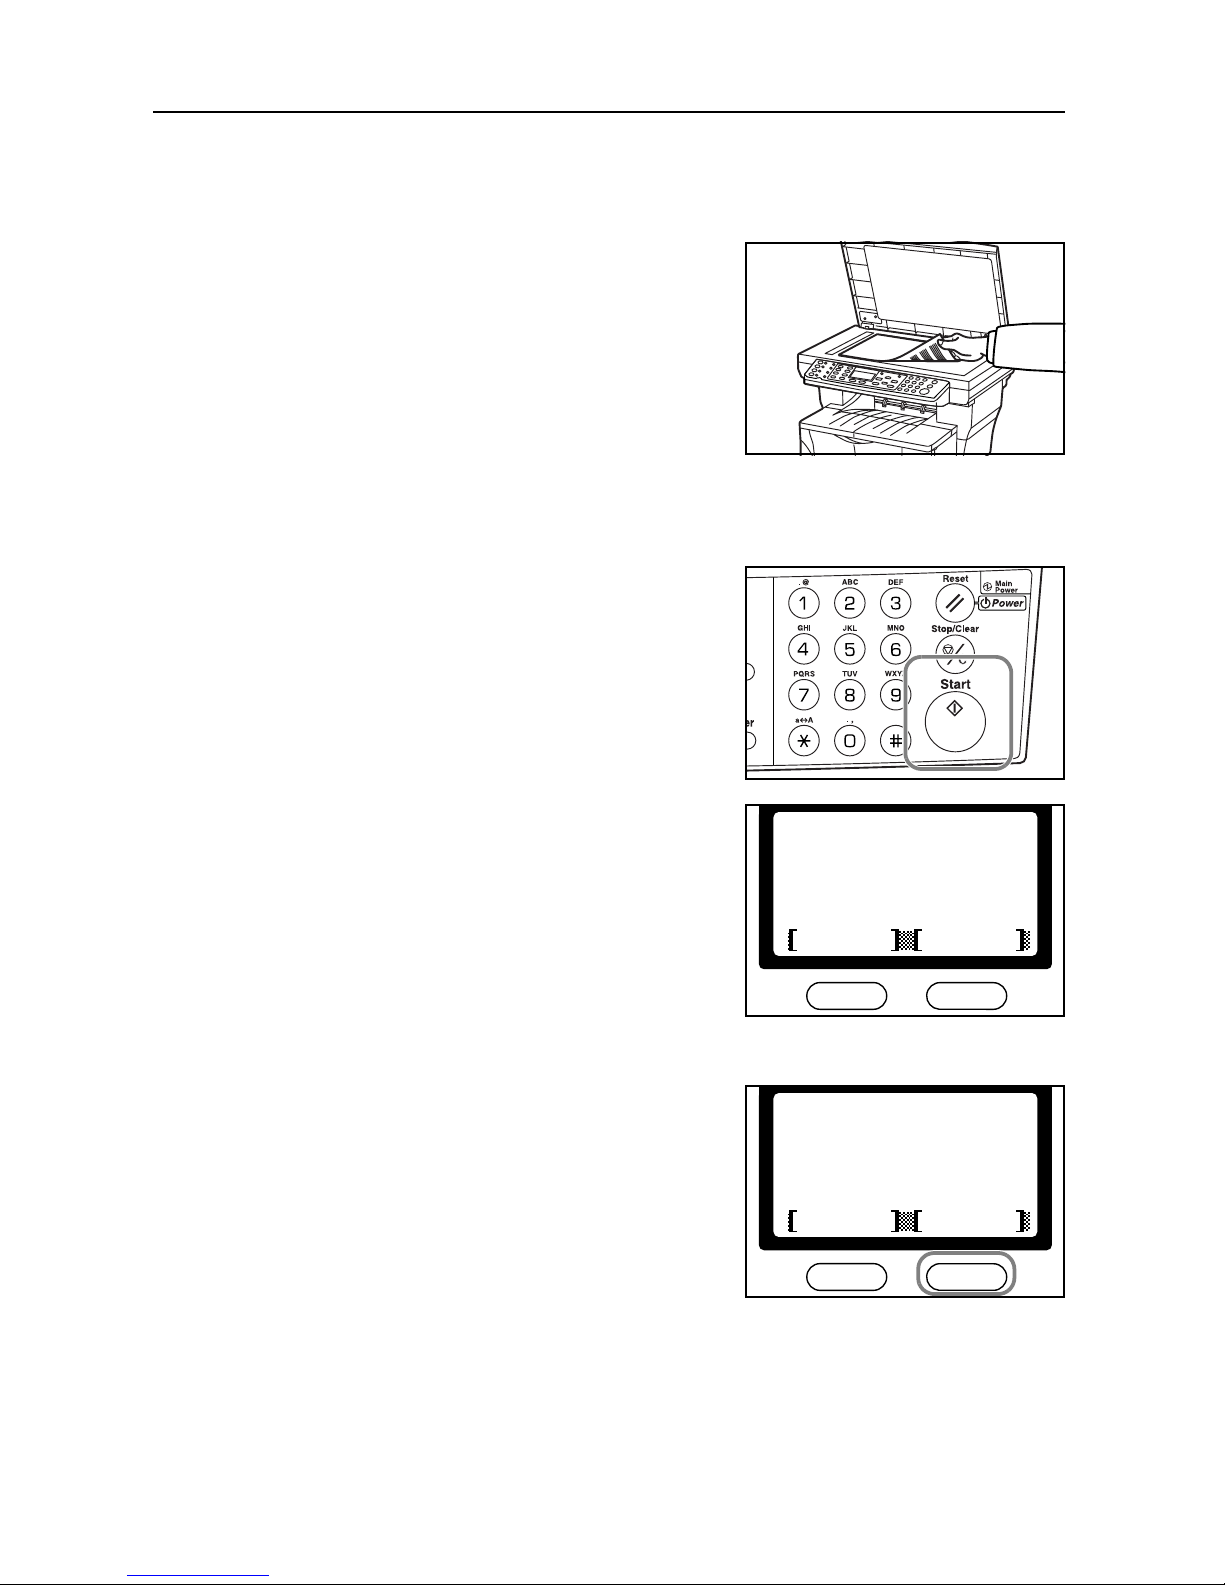
Using the Platen with Combine Mode
The following explains how to make copies with the combine modes when the document processor
is not installed.
1
Set the first original to be copied.
2
Press the Copy key. The copy basic screen is displayed.
3
Select the combine mode. For more information, refer to page 1-14.
4
Press the Start key. The original is scanned.
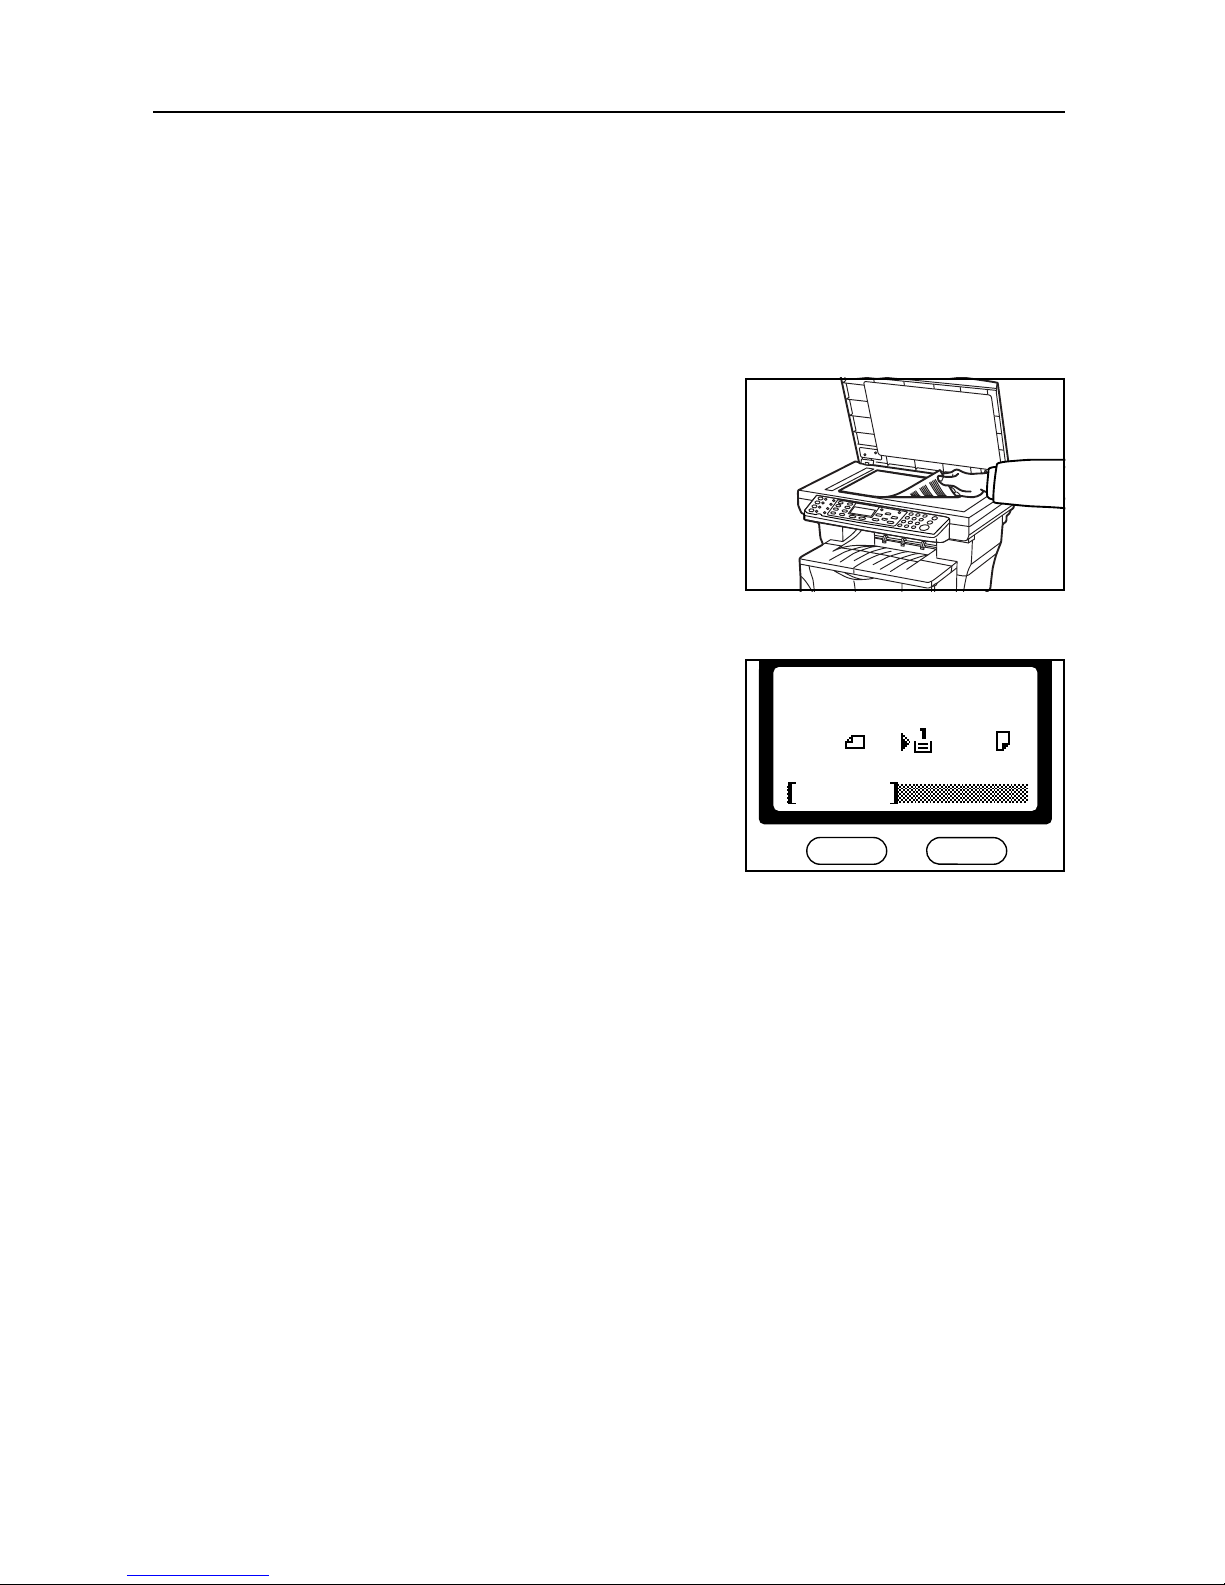
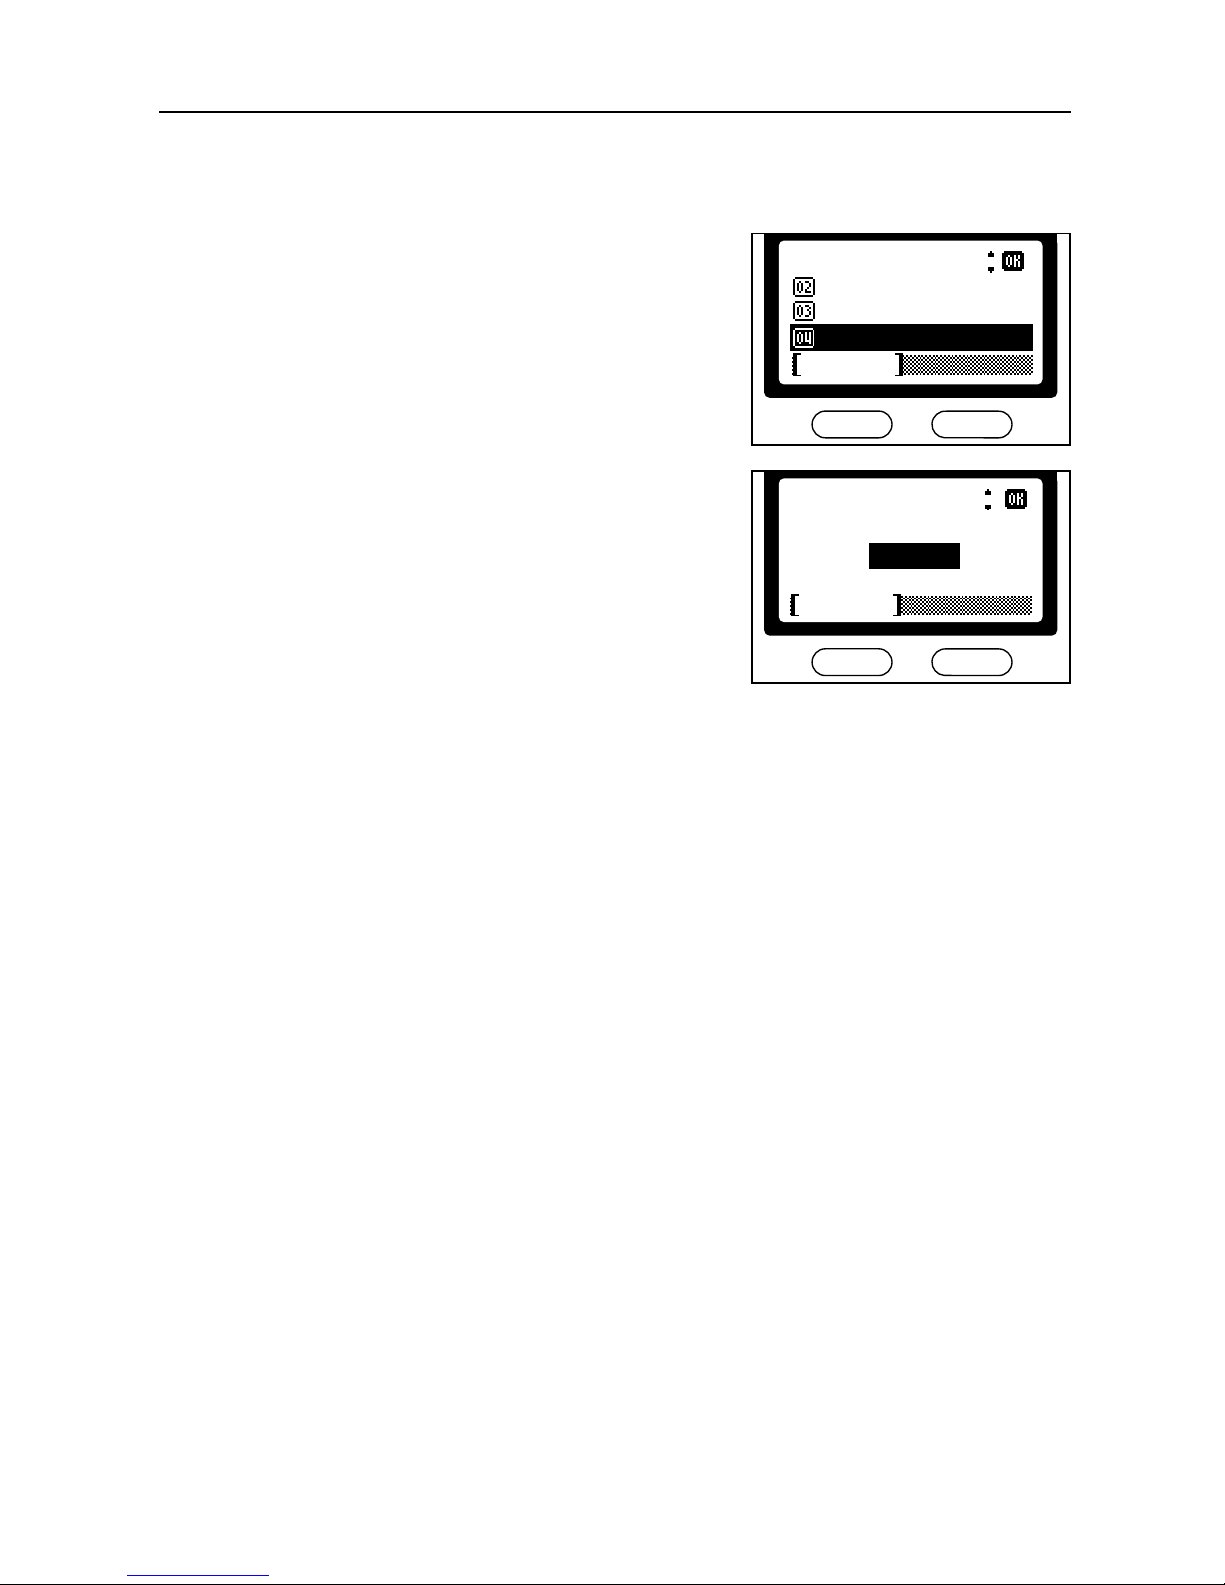
5
Once the scanning operation is completed, Set
original and press Start key is displayed.
Position the next original on the Platen ready for
scanning and press the Start key. The next original is
scanned.
6
Repeat step 5 until all the originals have been scanned.
7
When all the originals have been scanned, press the
right select key. Accepted will appear and copying
commences.
*
Set original
Page:
Cancel
Job No.:
1
123
and press Start key.
End Scan
*
Set original
Page:
Cancel
Job No.:
6
123
and press Start key.
End Scan
Copying Functions
1-19
Continuous Copying
Use Continuous Copying to scan originals into memory in individual sections.The machine then
groups the sections together to form a single job. The copies are then produced in one batch, as a
single job.
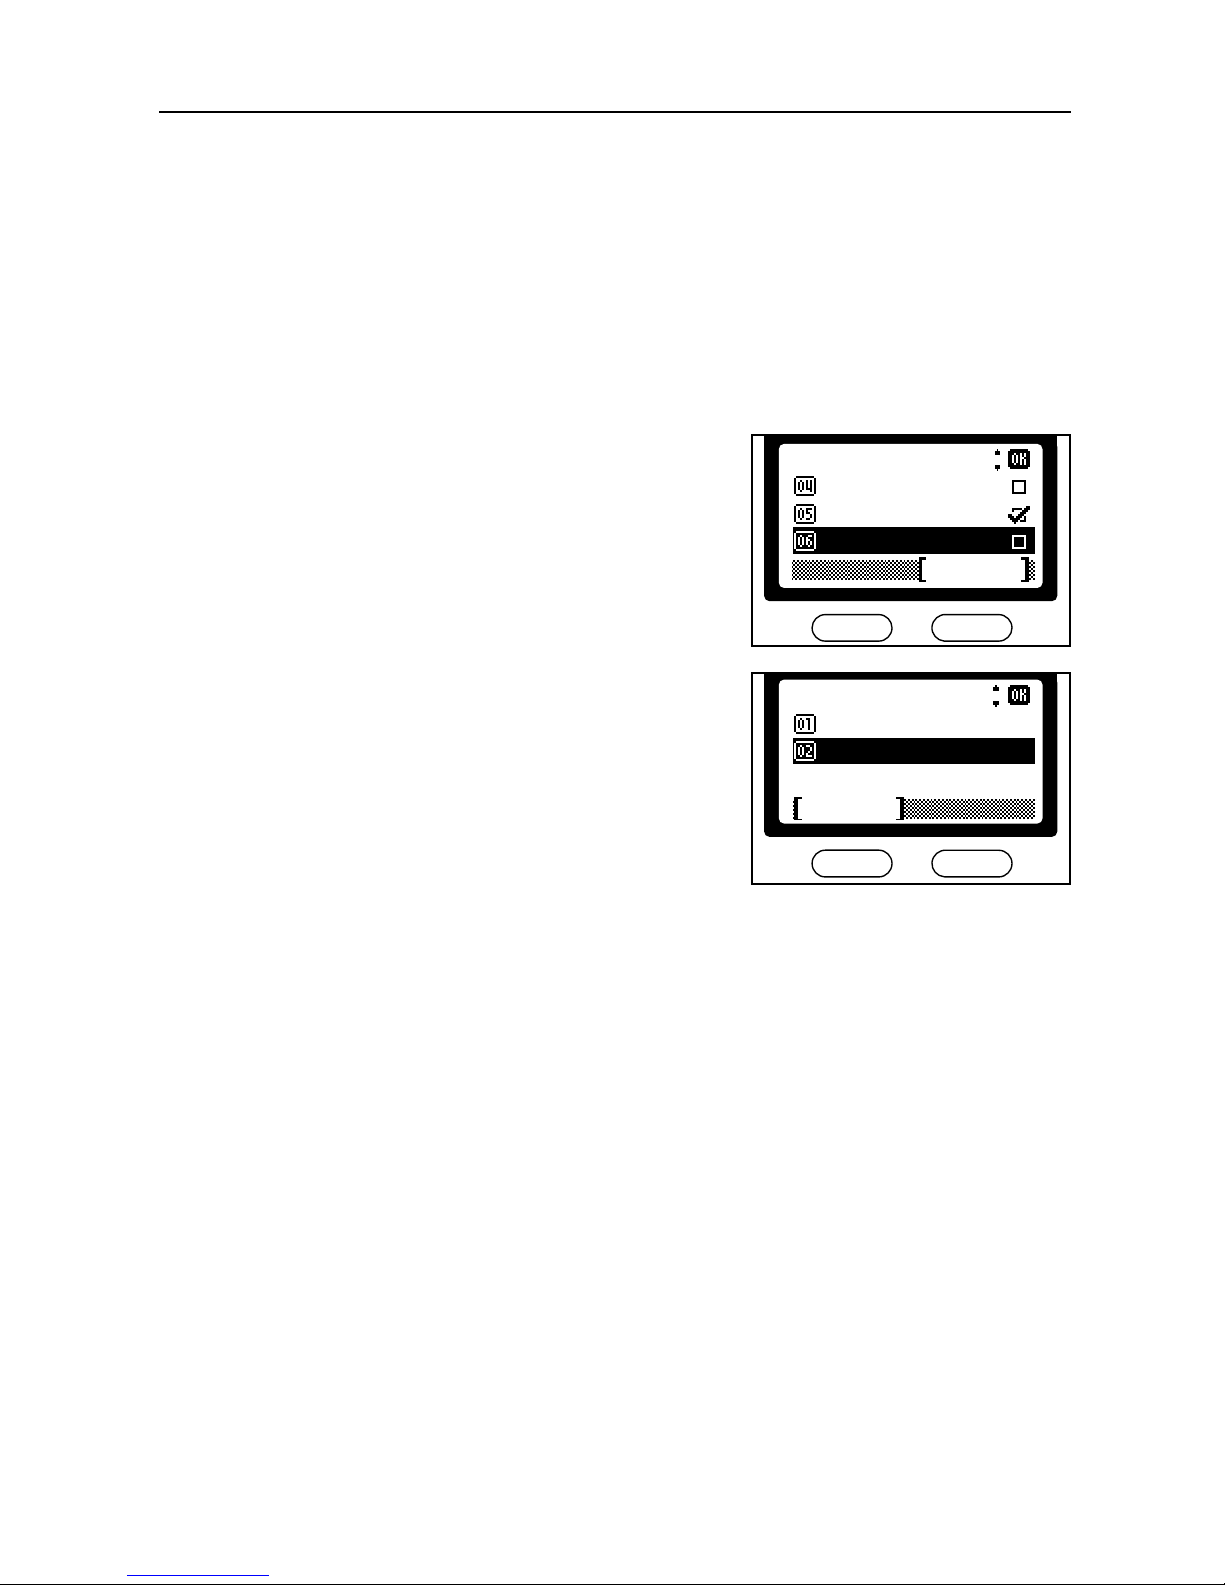
Selecting Continuous Copying
Perform the following procedure to turn continuous copying on.
1
Press the Copy key. The copy basic screen is displayed.
2
Press the Function key.
3
Press the S key or the T key to select Continuous
Scan and press the Enter key. The Continuous
Scan screen is displayed.
4
Press the S key or the T key to select On and press
the Enter key. The message display shows
Completed and returns to the Function screen.
5
Press the right select key. The message display returns to the copy basic screen. To start
continuous copying, refer to the section which follows.
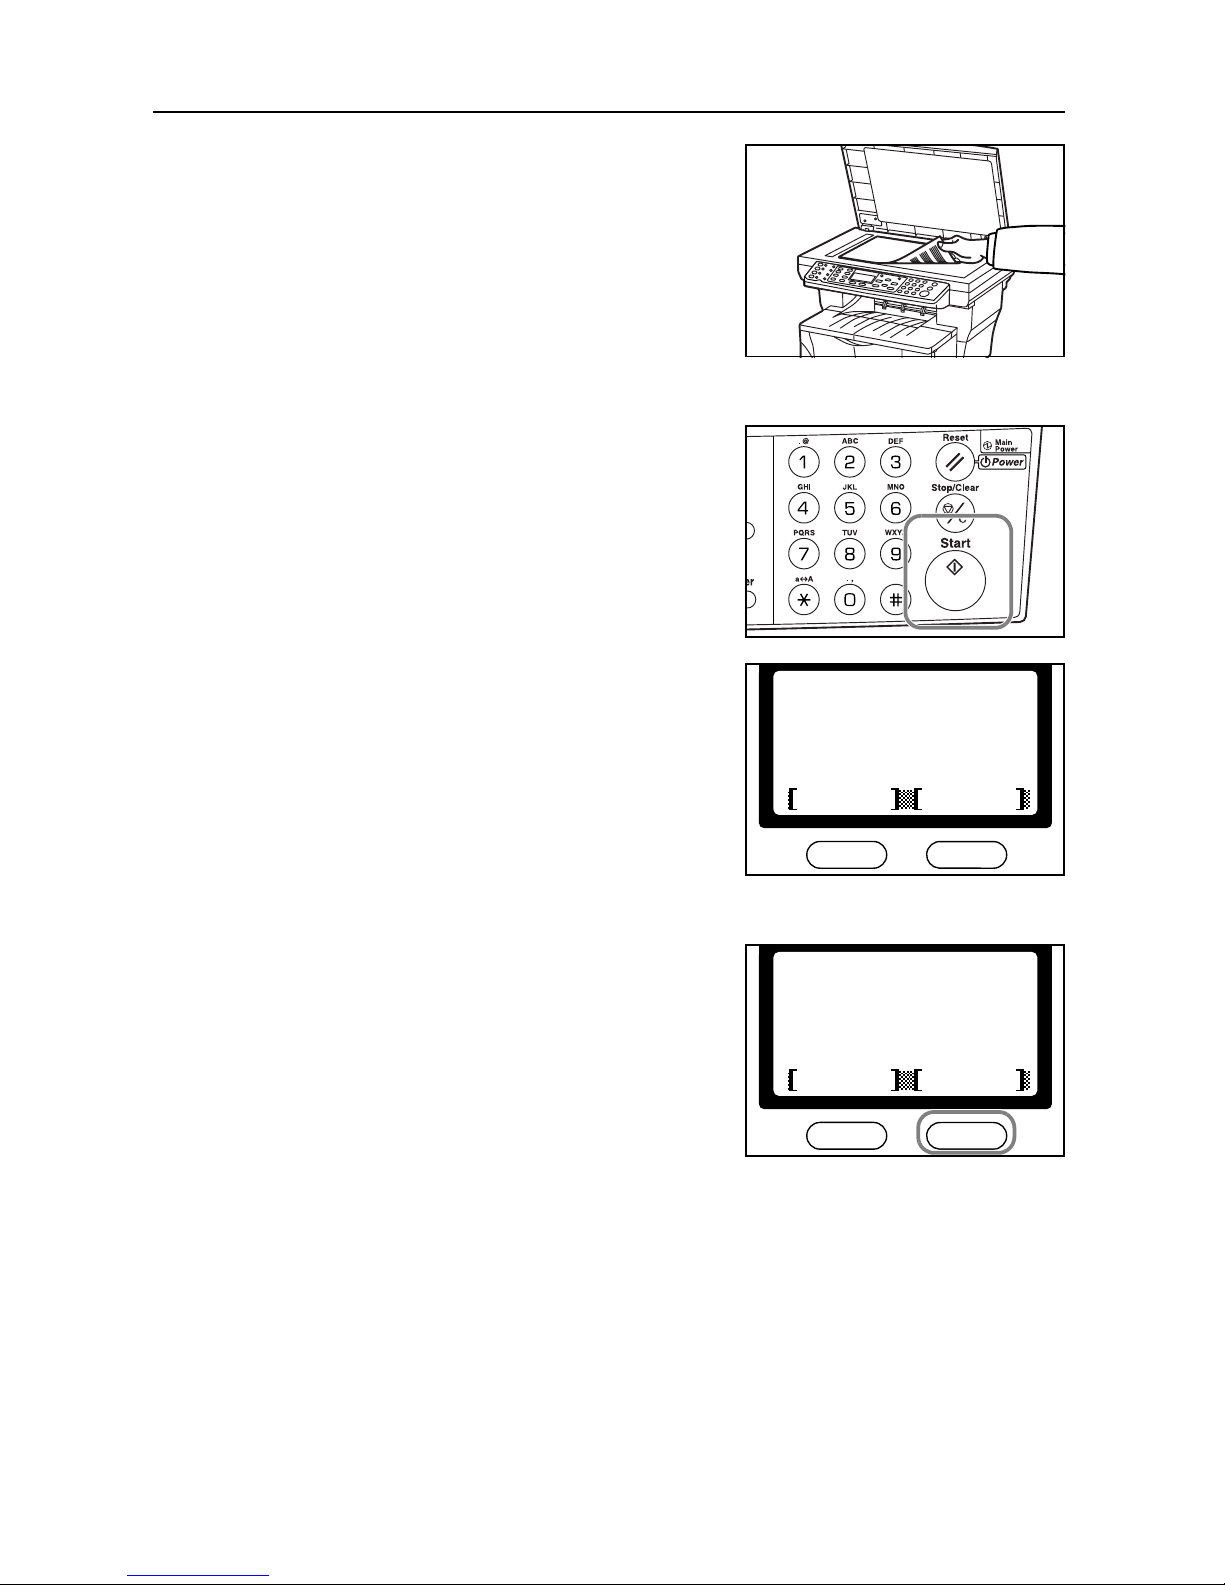
Using Continuous Copying
Perform the following procedure to use continuous copying.
Note The maximum number of originals to scan depends on the available memory in the machine.
Number of scannable originals (Letter, 5 %, Text+Photo mode) are as follows:
• 96 MB (standard): Approximately 70 sheets
• 128 MB: Approximately 115 sheets
• 192 MB: Approximately 380 sheets
• 320 MB: Approximately 535 sheets
*
Orig. Placement
EcoPrint
Continuous Scan
Function:
Exit
*
Continuous Scan:
*
Cancel
Off
On
Copying Functions
1-20
1
Set the original.
2
Press the Copy key. The copy basic screen is displayed.
3
Press the Start key. The first original is scanned.
4
Once the scanning operation is completed, Set
original and press Start key is displayed.
Position the next original on the platen and press the
Start key. The next original is scanned.
5
Repeat step 4 until all originals have been scanned.
6
When all originals have been scanned, press the right
Select key. Accepted will appear and copying
commences.
*
Set original
Page:
Cancel
Job No.:
1
123
and press Start key.
End Scan
*
Set original
Page:
Cancel
Job No.:
6
123
and press Start key.
End Scan
Copying Functions
1-21
Turning EcoPrint On and Off
EcoPrint enables the machine to consume less toner for a page to save your printing costs. When
EcoPrint mode setting is On, the printing image becomes lighter, but readable.The EcoPrint setting
has no effect on the print speed.
Note Images will be printed lighter than normal.
1
Press the Copy key. The copy basic screen is displayed.
2
Press the Function key.
3
Press the S key or the T key to select EcoPrint and
press the Enter key. The EcoPint screen is
displayed.
4
Press the S key or the T key to select On and press
the Enter key. The message display shows
Completed and returns to the Function screen.
5
Press the right select key. The message display returns to the copy basic screen.
*
Orig. Placement
Collate
EcoPrint
Exit
Function:
EcoPrint:
*
Cancel
Off
On
 Loading...