

Page 1
y
t
Eas
Star
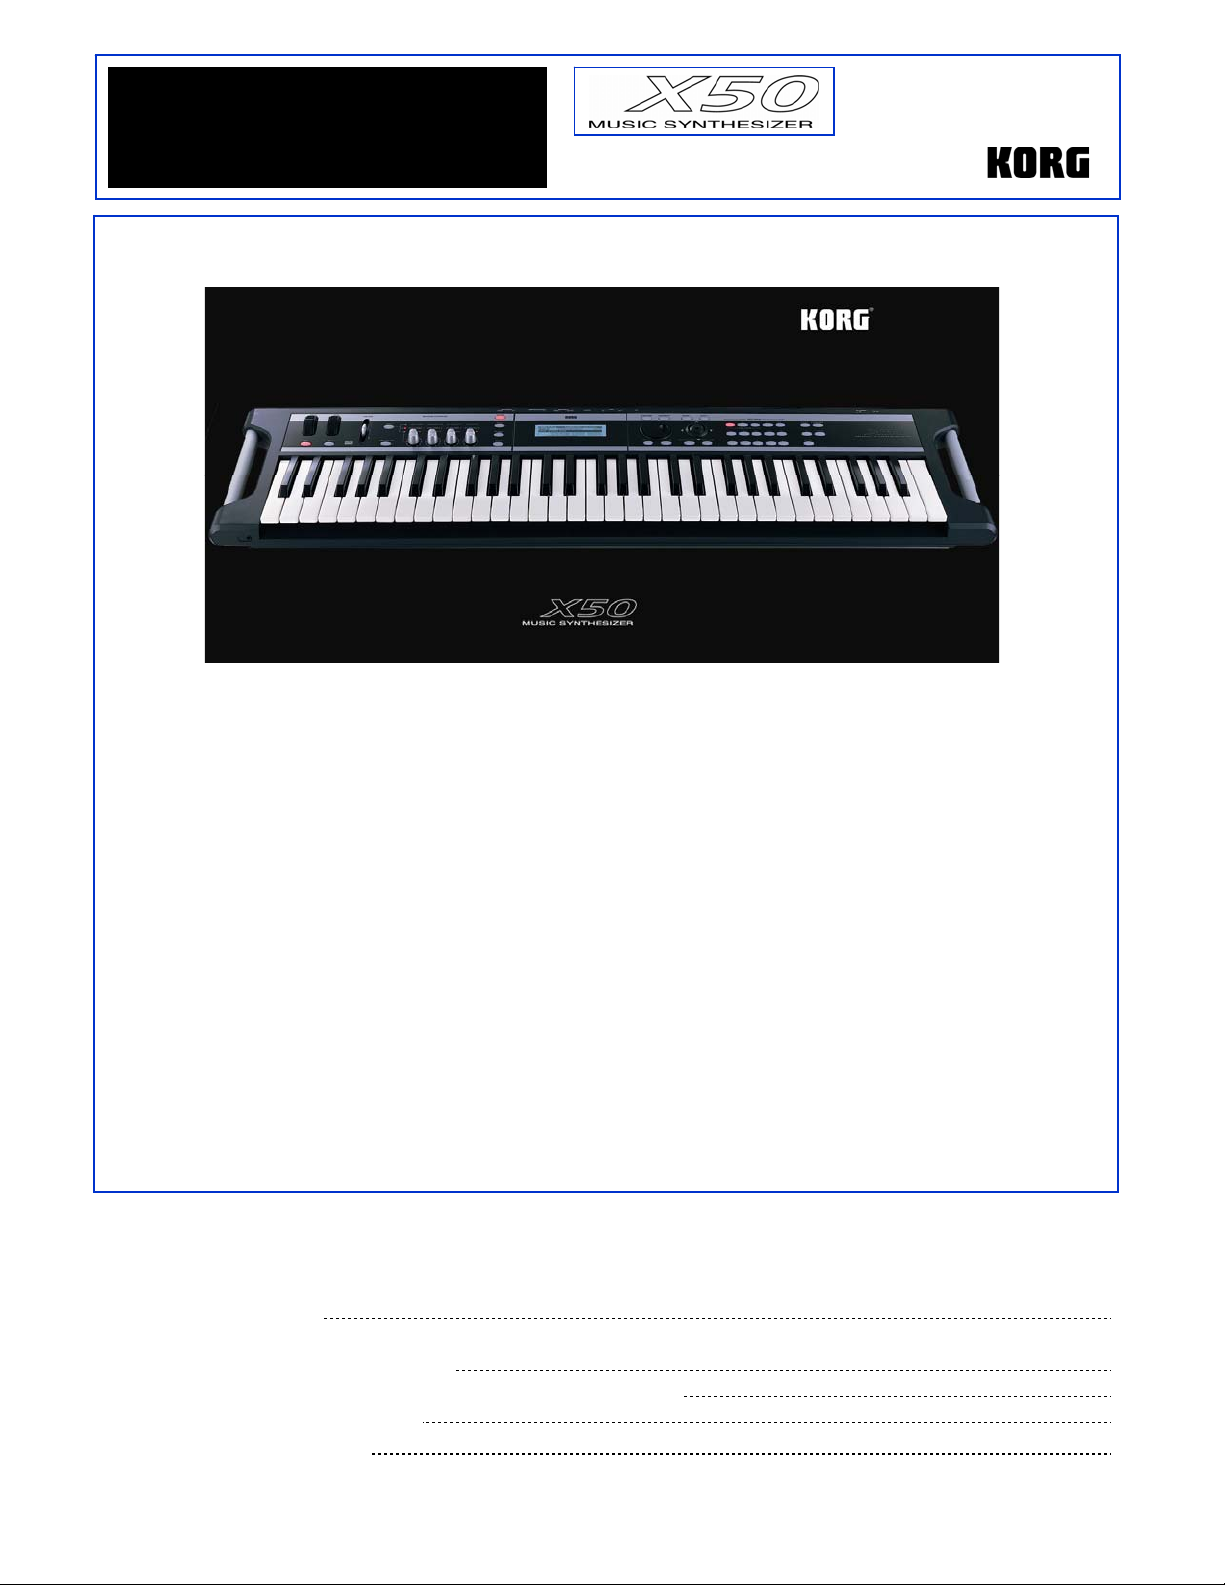
• 64 MB sample ROM: twice the ROM of the “classic’ TRITON or TRITON Le61/76, including
lots of new Programs and Combinations - featuring a new velocity-switched stereo piano
and expressive acoustic instrument sounds
• Dual polyphonic arpeggiators with a new Arp Length parameter
• Powerful four-part effects processor with one Insert, two Masters, and 3-band EQ
• 16 part/channel Multi mode w/ 128 Multi sets for use with computer sequencers, including
16 preset Multis like Pop, Latin, Jazz, etc. – to get you started sequencing quickly!
• Tone Adjust matrix allows editing sounds in a Combi or Multi witho ut affecting the original
programs
• User-friendly ClickPoint™ interface makes it easy to navigate the display
• USB-MIDI interface connects to the included Editor/Librarian, which runs stand-alone, or as
a VST/RTAS/AU plug-in
• 4 outputs: Main L/R plus two assignable outs
• 61-key velocity-sensitive action, innovative lightweight design, with convenient handles
XX5500 MMaaiinn FFeeaattuurreess
EEaassyySSttaarrtt CCOONNTTEENNTTSS
Getting Started:
X50 Connections and Navigation 2
Operation:
Loading the Factory Data; Playing the Demo Songs 2
Selecting and Playing Programs and Combinations; Category; Audition; Tap Tempo 3
Work with Example Sounds; Realtime Controls
Multi Mode; Tone Adjust; X50 Librarian
4
5
Page 2

X50 EasyStart
CCoonnnneeccttiioonnss
1. First, connect the AC power cable, which is a two-part cable > Make sure that the VOLUME slider is all the way
down first, and then connect audio cables from the MAIN OUTPUT L/R jacks on the back of the X50 to your
stereo powered monitor system (or connect headphones to the mini phone jack located on the front panel).
2. Press the POWER ON button on the rear panel.
GGeettttiinngg AArroouunndd oonn tthhee XX5500
In this section, you’ll become fa miliar with navigating the X50…
The X50 uses a number of elements to create a fast and flexible navigation system, allowing you to quickly select any
parameter. These elements include:
• ClickPoint system
• PAGE - / PAGE + buttons
• ENTER button
• MENU/OK button
• EXIT/CANCEL button
• VALUE WHEEL
From any of the four Modes (PROG, COMBI, MULTI, or GLOBAL) press the MENU/OK button: ClickPoint is a
fingertip trackball that allows access to any ‘page’ of the display by simply moving the on-screen cursor over the page
selection and pressing down.
Finally, the PAGE - / PAGE + buttons allow you to change Tab Pages within the display. Use ClickPoint to highlight
any field of the display: once selected, the parameter will appear in the display with a dark “box” outline. Parameters
can be adjusted using the VALUE WHEEL as well as the INC and DEC buttons for precise incremental control.
LLooaaddiinngg tthhee FFaaccttoorryy DDaattaa
!
If you’ve made any changes to the Programs, Combis or Multis in the X50, make sure to back up these changes
via USB to your computer using the included Editor/Librarian; or transmit the data to a connected MIDI data
filer before proceeding. For more information, see the X50 Editor/Plug-In Editor Manual and the X50 Owner’s
Manual, pgs. 27 and 115.
1. Press the GLOBAL mode button, and then press the UTILITY button.
2. Navigate with ClickPoint down to “Load Preload Data” > Press down on ClickPoint or press the MENU/OK
button > Press the MENU/OK button twice to confirm.
2
Page 3

X50 EasyStart
PPllaayyiinngg tthhee DDeemmoo SSoonnggss
The X50 features three built-in demo songs to give you an idea of how great this synthesizer sounds and how it can be
used in a multi-timbral environment, as well as showing off some of its superb internal effects. Here’s how to playback
the demo songs:
1. Simultaneously press the CATEGORY and AUDITION buttons to enter Demo Song Player Mode.
2. Press the AUDITION button again to start playback of the first song > Turn the VALUE WHEEL at any time to
select and playback another song.
3. Press the EXIT/CANCEL button when you’ve finished listening to the demo songs.
SSeelleeccttiinngg aanndd PPllaayyiinngg PPrrooggrraammss aanndd CCoommbbiinnaattiioonnss
1. To select Programs, press the PROG Mode button. To select Combinations, press the COMBI Mode button.
2. Once you’ve selected a desired mode, press a BANK button to select one of the sound banks > Use the
VALUE WHEEL, INC/DEC buttons, or the numeric keypad to select sounds from within a bank.
! Programs are located in BANKS A-D (and GM for General MIDI); Combinations are in BANKS A-C.
SSeelleeccttiinngg PPrrooggrraammss aanndd CCoommbbiinnaattiioonnss bbyy CCaatteeggoorryy
1. Press the CATEGORY button > Select the category in the display with the PAGE +/PAGE- buttons > Use the
VALUE WHEEL or ClickPoint to select sounds or…
2. Press the CATEGORY button > Select the category by moving ClickPoint left, pressing down, and then
highlighting the Category and its two-digit code > Change the category with the VALUE WHEEL, then move
ClickPoint right to highlight “Sel” (Select) > Use ClickPoint or the VALUE WHEEL to choose sounds.
UUssiinngg tthhee AAUUDDIITTIIOONN ffuunnccttiioonn iinn PPrrooggrraamm MMooddee
When you select a Program in normal Play Mode, or when using the Category Select function, press the AUDITION
button to hear a pre-programmed musical p hr ase - this is a great way to hear how the sound you’ve selected will work
in performance or recording applications. Note that the phrase even responds to tweaking of the selected sound with the
Realtime Control Knobs. Try it!
WWoorrkkiinngg wwiitthh tthhee TTaapp TTeemmppoo ffuunnccttiioonn
Select a Program such as A084, Filter Drums (Note: the ARP ON/OFF switch should already be ON). Hold down any
key and press the ENTER button 3 or 4 times to set the desired tempo: The Metronome updates accordingly. Notice that
the BPM Delay on this sound is also in sync to the newly-tapped tempo.
Tap tempo with the ENTER button works the same way in Combi and Multi modes.
3
Page 4

X50 EasyStart
WWoorrkk wwiitthh tthheessee ggrreeaatt XX5500 PPrrooggrraammss aanndd CCoommbbiinnaattiio
onnss::
PROGRAM NAME PERFORMANCE TIPS
A001 StereoPiano mf/f SW1:Transpose down one octave
A004 Mashed Kit SW2: Pitch / Knob 2: Decay
A021 Velo Scat Voices Play with Velocity / Knob 2: Talking Mod / Knob 4: Reverb
A030 Vibrato Flute SW2: Flutter-tongue / Knob 4: Reverb
A044 A. Guitar Gliss Velocity: Fret-slide / Knob3:Chorus / Knob 4: Reverb
A112 Cosmic Furnace ModWhl: Pitch of OSC 2 / SW 2 : LFO pulsing
C017 EP Dark mf/f Knob1: Auto Pan / ModWhl: Tremolo
COMBI NAME PERFORMANCE TIPS
A001 Archi Prime File Gorgeous new strings! / SW2: Tremolo / Knob 1: Attack
A003 Wonkaville New E.P.! / SW2: Bass mute / Knob 1: String filter
A005 D’Ya Wanna Ride? SW1: Synth octave up Mod Whl: Synth LFO
A014 Reasons Unclear Knob 1: String volume / Knob 3: String phase speed
A028 South Beach Gtr. SW1: Muted guitar / Knob 4: Reverb
A029 Pro-Brass SW1: Octave up / Knob 1: Attack
A051 Funky Buttons SW2: Filter LFO / Knob 1: Filter intensity
A043 Stereo Voices SW2: Octave up / Knob 1: Amp start level / Knob4: Reverb
A054 Rap Bass Split SW2: Bass Resonance / Knob 4: Release
RReeaallttiimmee CCoonnttrroollss sseeccttiioonn rreevviissiitteedd
As you played the above sounds, you started to appreciate the power of being able to quickly edit useful parameters
with the Realtime Controls as outlined in the Performance Tips.
1. Press the SELECT button: each press cycles through the three rows of knob assignments, A, B, and C.
2. Row A is a fixed row of assignments, affecting filter and envelope settings.
3. Row B is a flexible, assignable row of functions that can modify volume, portamento, effects parameters, etc.
Hint: As a general rule, Korg puts Reverb Depth on Knob 4 and other effects control on Knob 3 > To see the
current assignments on any Program, Combi or Multi, press the MENU/OK button, and use Click Point to
navigate to the Arp/Controls page - press ClickPoint down to ‘open’ the page, and use the PAGE+ button
to navigate to the Controls tab.
4. Row C is dedicated to the arpeggiators (Remember, two arps at a time are available in Combi and Multi
mode!) > There is a new function for Knob #3 in Row C, ARP LENGTH. As an example, select Combi A006,
The Fire Inside > Press the Select button until Row C is selec ted > Play some notes on the keyboard, and
start turning Knob #3 fully counter-clockwise, eventually ‘squashing’ the arpeggiators to a single event,
capturing the vibe of a realtime remix!
4
Page 5

X50 EasyStart
MMuullttii MMooddee
Multi Mode is the setup mode for using the X50 as a 16-channel, 16-part sound source in conjunction with a software or
hardware sequencer. It also enables the X50 to be used as a master controller for other MIDI keyboards and sound
modules.
1. Press the MULTI button > Turn the VALUE WHEEL clockwise slowly, and notice that the first 16 of 128 Multis
have titles: Pop/Ballade, Rock/Metal Rock, etc. > These are Style Templates, which choose the right
instruments and the effects routing for the first eight of the X50’s parts, allowing for speedy setups with your
external sequencer!
TToonnee AAddjjuusstt
The Tone Adjust matrix is available both in Combination and Multi Mode. It is a list of over 30 parameters, any six of
which can be applied to tweak any of the eight Timbres in a Combi, or any of the 16 Timbres in a Multi; and it can b e a
different set of six parameters for each part! The benefit is to be able to tweak sounds to fit a given composition without
worrying about editing the original Prog rams.
1. Once again select Combi A006, The Fire Inside > Press the MENU/OK button and use ClickPoint to
navigate to Tone Adjust > Press ClickPoi nt down to ‘open’ the page: you are viewing the first two of the six
possible TA parameters for the first eight parts > The additional parameters, and in Multi Mode, the additional
parts, are available by pressing the PAGE+ button to the TA1 tab.
2. Use ClickPoint to navigate to Part 6 - the Drum part in this example with LPF Fc highlig hted, and rotate the
Value Wheel fully clockwise to select Reverse as the parameter to tweak > Use ClickPoint to highlight
PRG: this is telling the X50 to obey the Program’s instructions on whether the drum samples play forwards or
backwards > Turn the Value Wheel one clockwise notch, or press the INC button: the drum samples will now
play backwards!
Tone Adjust, in conjunction with the Realtime Control knobs, affords the performer an incredible amount of
sophisticated control, and allows the songwriter an easy way to tailor soun d s to a project.
XX5500 EEddiittoorr//LLiibbrraarriiaann SSooffttwwaarree
The X50 ships with a CD-ROM, containing the Korg USB MIDI Driver and a powerful and easy-to-use editor. Once the
keyboard is connected to a computer via USB, the editor can run in one of two ways: 1) As a stand-alone editor for
modifying the sounds in a computer environment; or 2) as a plug-in editor inside a host application. As such, it
supports VST, Audio Units, and RTAS protocols. Merely assign a virtual instrument track to look at the X50 editor,
and sounds can be freely edited and saved as part of your DAW song project! By the way, you’ll find an in-depth
X50/microX Editor/Librarian Owner’s Manual on the CD-ROM, or as part of the Editor/Plug-in Editor Software download,
available at www.korg.com\X50.
For more information, see the X50 Owner’s Manual and X50 Editor/Plug-In Editor
Manual, and visit www.korg.com
/x50 for more support, tips and tricks!
5
 Loading...